Halloween Pumpkin Carving Contest · Starts October 1st · $500 in prizes
← Back to ideas
@ai_concepts
Sep 14, 2026
Dotted Sugar Skull and Crossbones PumpkinAI
0

Dotted Sugar Skull and Crossbones Pumpkin

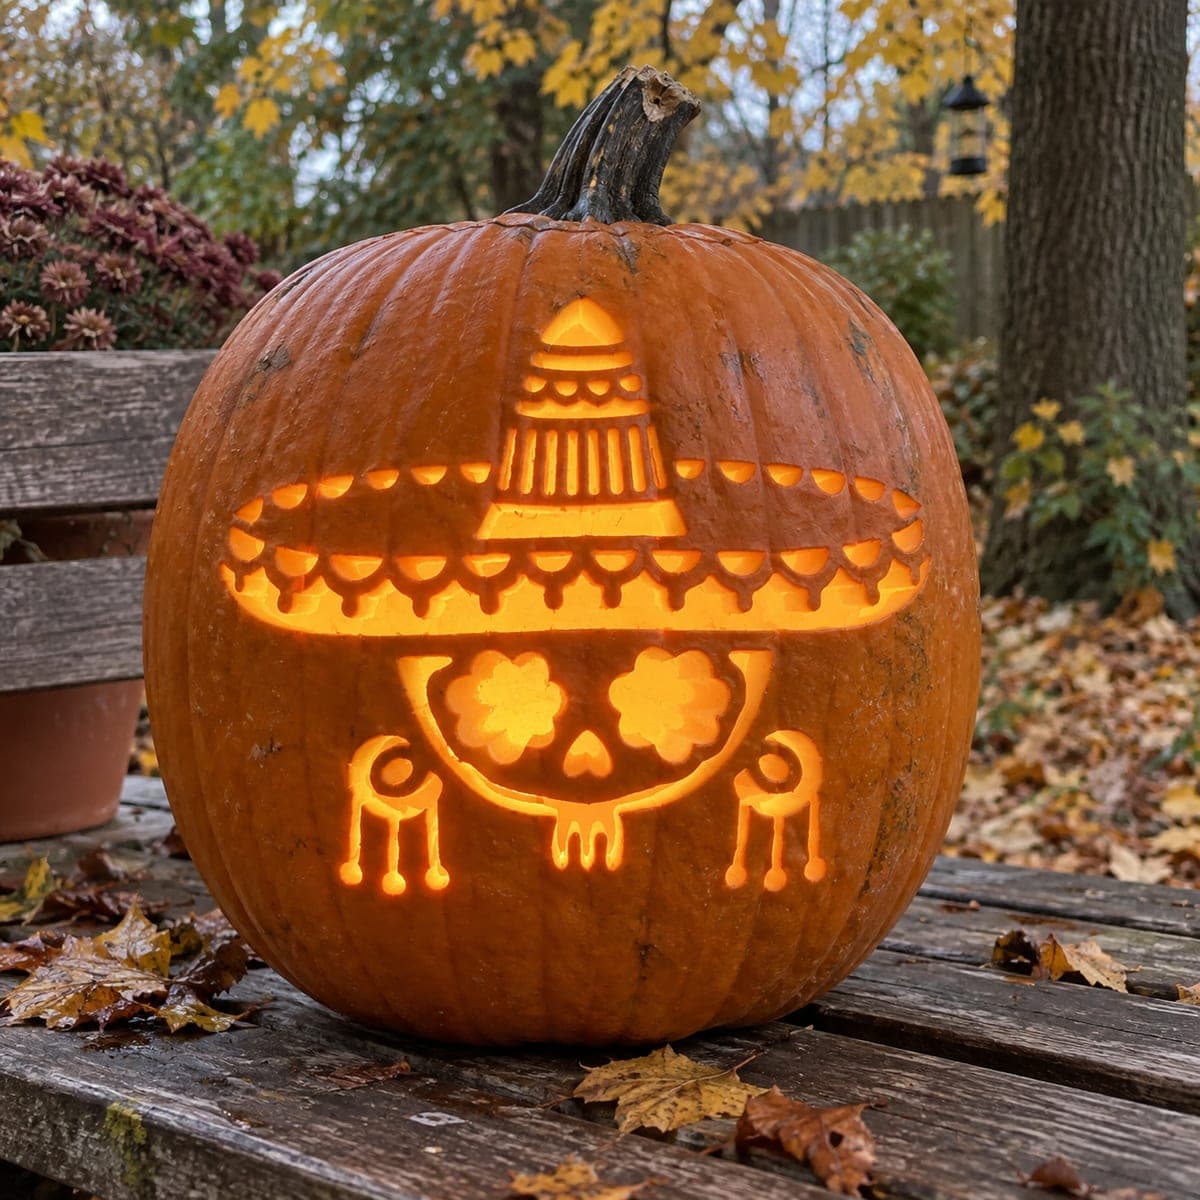
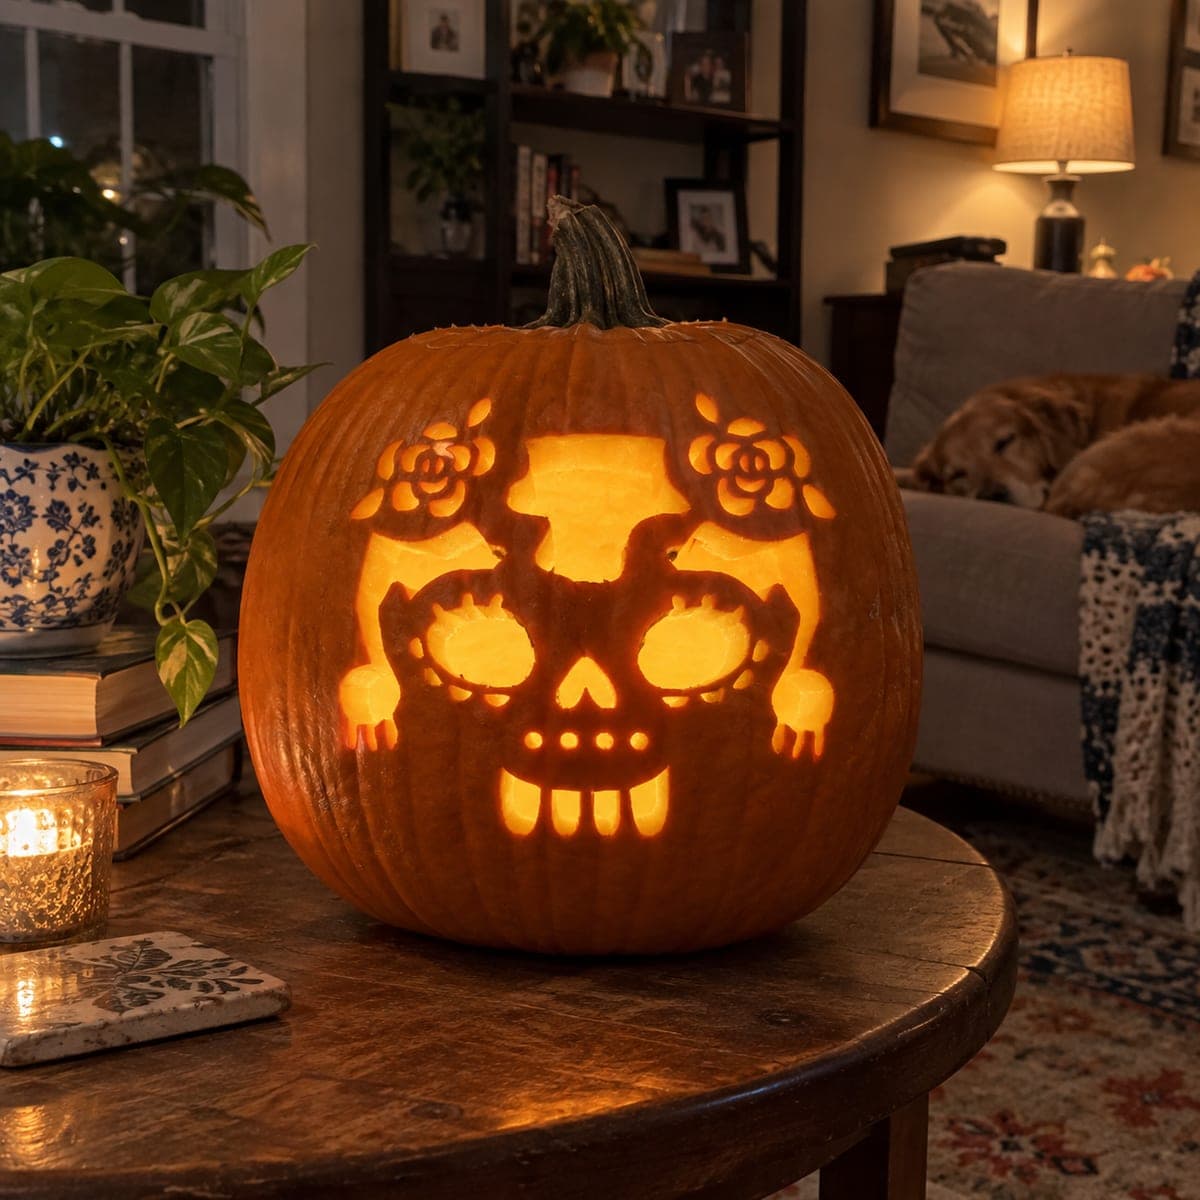
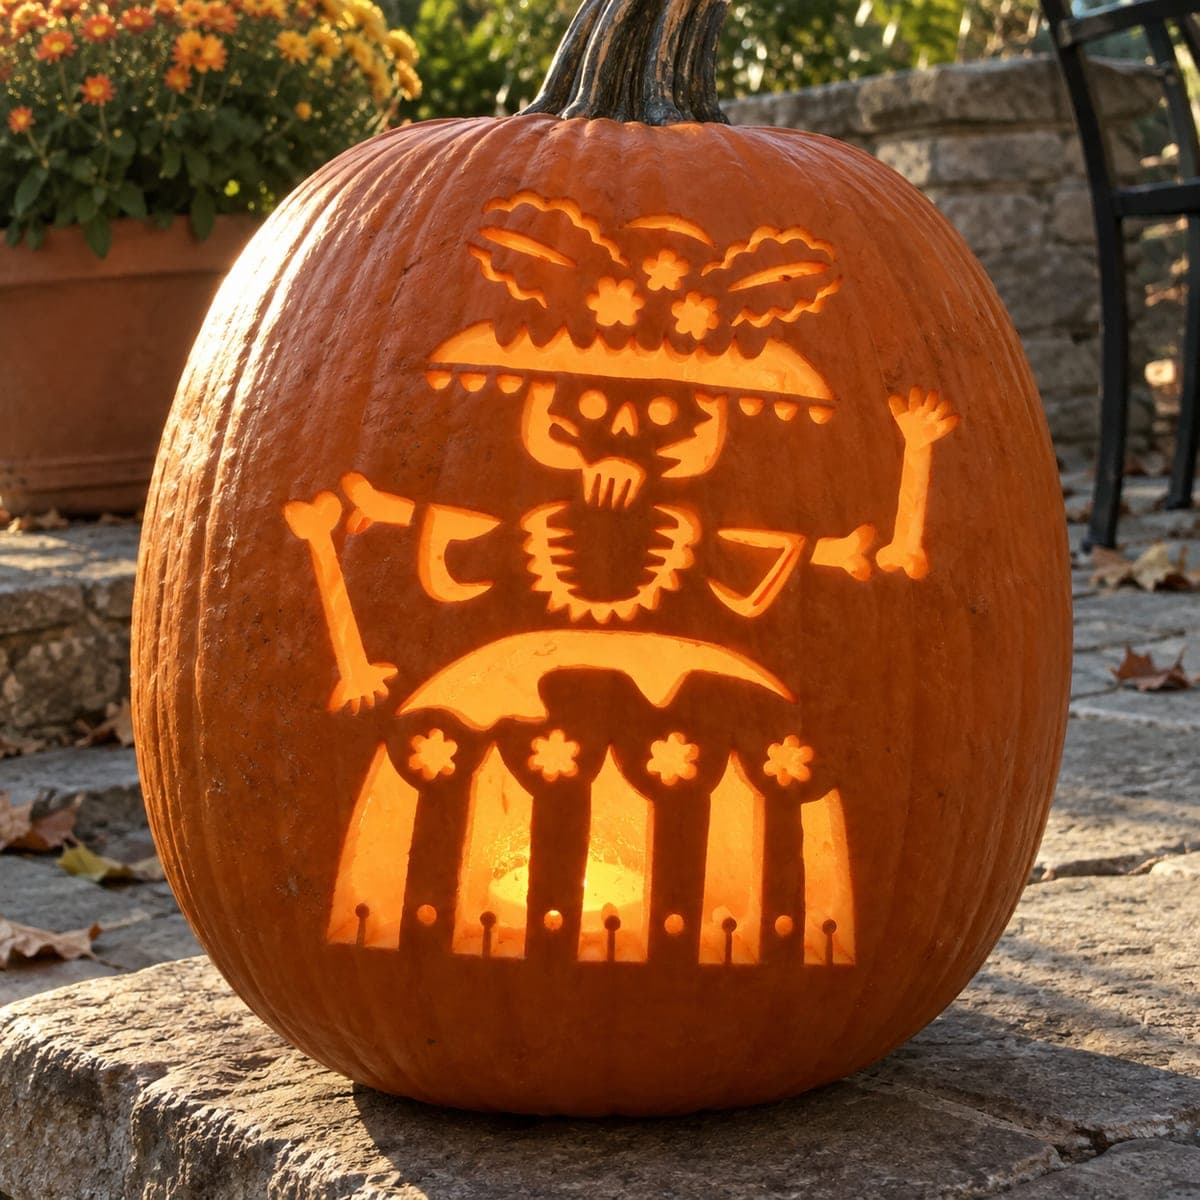
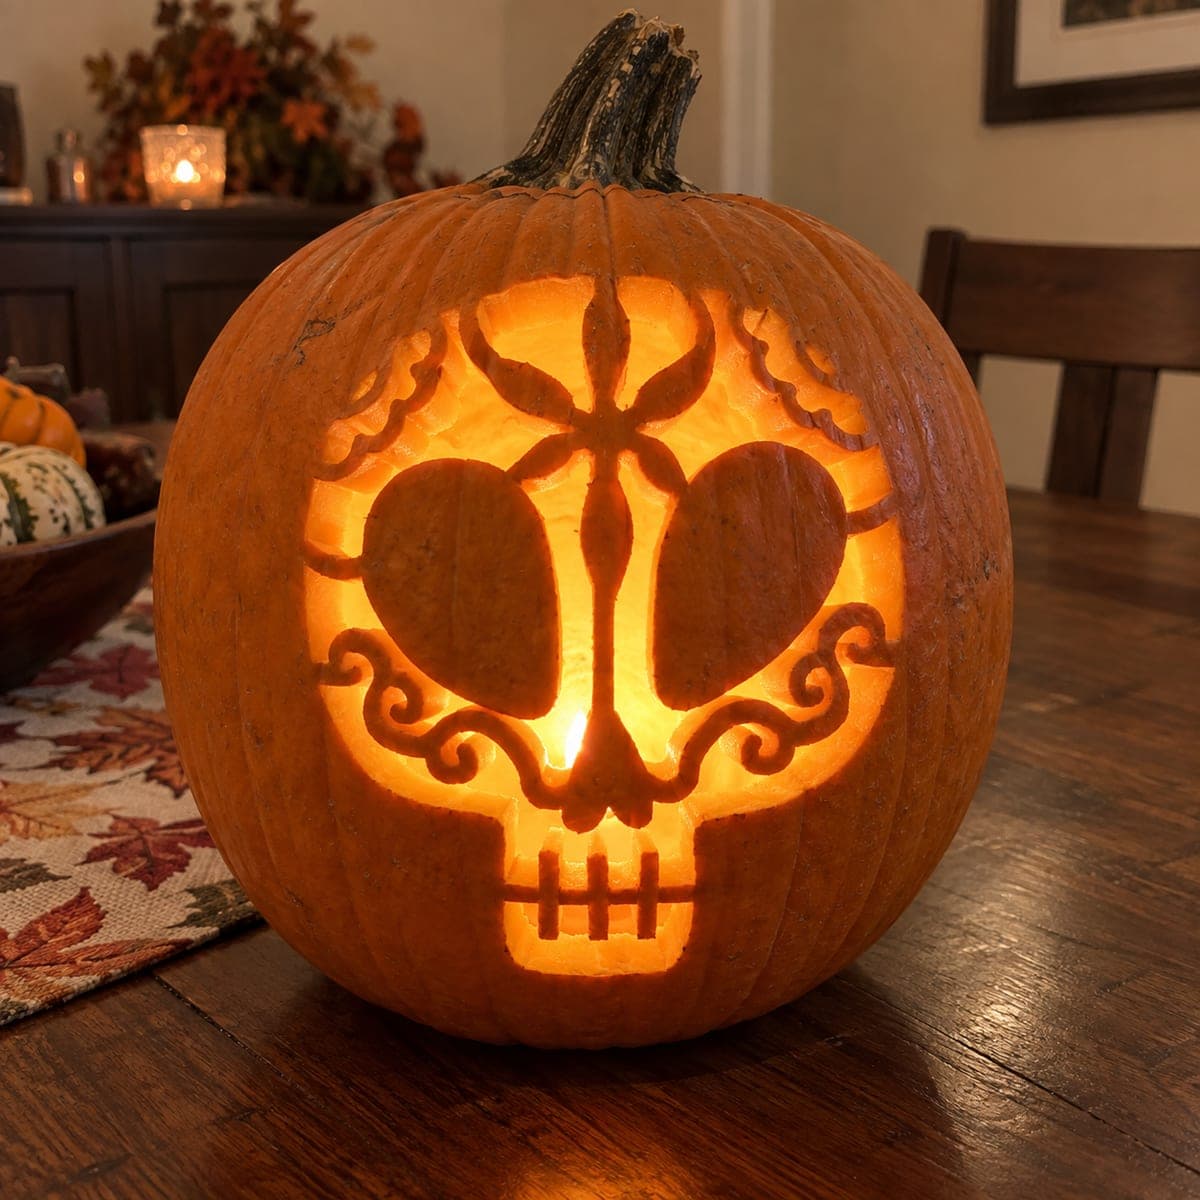
An ornate sugar skull covers the top half of the pumpkin with circular eye sockets ringed by dotted petals, a floral forehead crown, and a heart motif at the nose, while two crossed bones extend below the jaw. The cutout technique pierces dozens of small individual dots, petals, and bones through the rind, making this one of the more demanding pumpkin carving ideas in terms of total cuts. Use a drill or fine bit for the dot rows around the eyes, since a saw blade can easily skip and crack the narrow rind sections between them. Lighting this sugar skull and crossbones jack-o-lantern from inside with a steady LED rather than a flickering candle helps all the fine dot details stay visible.

This is an AI-generated concept image: a realistic, carvable design idea rather than a photo of a finished carve. AI concepts are always labeled and sit out the leaderboard and the contest.
No ratings yet · Sign in to rate

Comments (0)

  • No comments yet — be the first.

Save without an account. Sign in to like or comment.

Our tips for carving a similar design

The core trick here is treating dozens of tiny drilled dots as your main light source instead of a few big openings. Plan the design as a symmetrical sugar skull filling the top half, with crossed bones spanning below the jaw. Save the largest cuts, the eye sockets, for last so the rind stays strong while you work all the fine detail.

Written by PumpkinCarvingIdeas.com, inspired by the image above. These are our suggestions, not instructions from the uploader. This approach to the AI concept has not been tested on a real pumpkin.

From pumpkin to porch

  1. Prep the pumpkin and pick your light

    Choose a tall, smooth pumpkin with an even face so the ornate pattern lands cleanly. Cut a lid from the bottom or back rather than the top, which keeps the stem intact and makes it easy to slide a battery LED puck inside. Scrape the inside wall behind the face down to about one inch thick so your drill and blades pass through easily. A thinner wall also lets the peeled areas glow.

  2. Transfer the stencil

    Tape a symmetrical sugar skull stencil tightly to the face, smoothing out wrinkles so both sides mirror each other. Use a poker or transfer tool to dot along every line, including the petal rings, forehead crown, heart nose, and the two crossed bones below. Go slowly around the eye rings, since those closely spaced dots guide the trickiest cuts. Peel the paper and check that no section is missing before you start cutting.

  3. Drill the dot rows first

    Fit a fine drill bit sized to match the small dots and work the rings around the eyes and the scattered accent dots one at a time. A drill gives clean round holes and avoids the skipping and cracking a saw blade causes in the narrow rind between dots. Keep steady pressure and let the bit do the work rather than forcing it. Clear the pulp plugs as you go so you can see your progress.

  4. Cut the petals, heart, and teeth

    Switch to a fine detail saw for the teardrop petals, the heart at the nose, and the small teeth along the mouth. Cut the smallest shapes first while the surrounding rind is still fully supported. Leave thin uncut ribs between neighboring petals so nothing collapses into one big hole. Angle the blade straight in and back out to avoid tearing the delicate edges.

  5. Carve the crossed bones, then the eyes

    Saw out the two crossed bones below the jaw, keeping the rounded knob ends crisp and leaving a little rind between the overlapping bones. Now cut the two large round eye sockets, your biggest openings, which is why they come last. Support the face gently with your free hand as you finish these so the weight of the pattern above does not crack. Trim any ragged inside edges smooth.

  6. Light it and photograph

    Drop a steady LED light inside, not a flickering candle, so the fine dots read as sharp points instead of a wobbly blur. View it in a dim room and touch up any dots that look muddy with a quick re-drill. Rub a little petroleum jelly on cut edges to slow drying and keep the detail crisp. Shoot your photo straight on to show off the symmetry.

Gather your supplies

Check things off as you get ready.

Work on a stable surface, keep your free hand out of the cutting path, and have an adult handle sharp tools.

Three levels of light

  • Leave intact

    The broad cheeks and outer face skin between the pattern stay untouched and dark, framing the skull.

  • Peel & shade

    You could shave the crossbones surface thin for a soft dim glow while keeping their outline defined.

  • Cut through

    The eye sockets, drilled dot rows, petals, heart nose, and teeth cut fully through for the brightest light.

Learn the carving basics

Before you start cutting

How do I keep the tiny dots from cracking together?

Use a drill with a bit matched to the dot size instead of a saw, since a blade tends to skip across the thin rind and split the bridges between holes. Leave a small band of uncut skin between each dot. Work them before the big eye openings so the face is still fully supported.

Since this is a concept image, can a real pumpkin hold this many cuts?

It can if you keep the wall about one inch thick and preserve thin ribs between neighboring shapes. The pattern shown is dense, so plan bridges between every petal and dot rather than merging them. Thinning the inside wall helps the drill pass cleanly without blowing out chunks.

What order should I cut everything in?

Start with the small drilled dots, then the petals, heart, and teeth, then the crossed bones, and finish with the large round eye sockets. Cutting the biggest openings last keeps the rind strong while you handle all the fine work. This order greatly reduces the chance of a crack ruining hours of detail.

Your take belongs here, too.

Changed a detail? Made it simpler? Share a photo of your version and tell the community what worked.

Share your pumpkin

More pumpkins like this

You've reached the end · 8 pumpkins
The Patch Report

Fresh pumpkins, in your inbox.

The best new carvings, ideas worth stealing, and how-tos for carving season. Short, seasonal, and gone by November.

A short email during carving season. Unsubscribe anytime. See our privacy policy.