Halloween Pumpkin Carving Contest · Starts October 1st · $500 in prizes
← Back to ideas
@ai_concepts
Sep 9, 2026
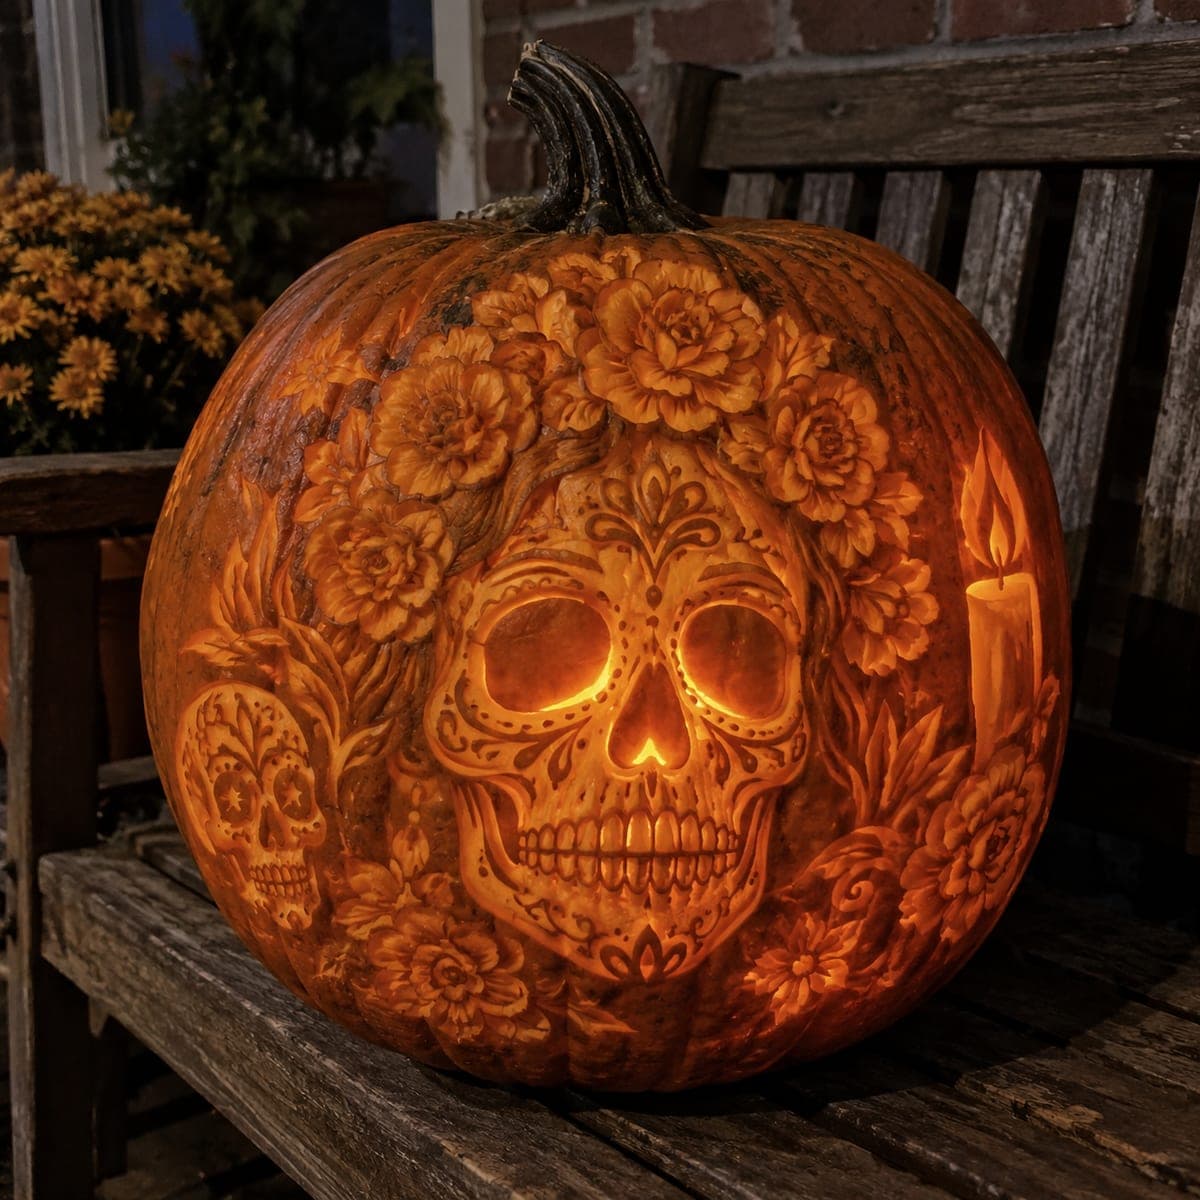
Sugar Skull with Marigold Crown Shaded PumpkinAI
0

Sugar Skull with Marigold Crown Shaded Pumpkin

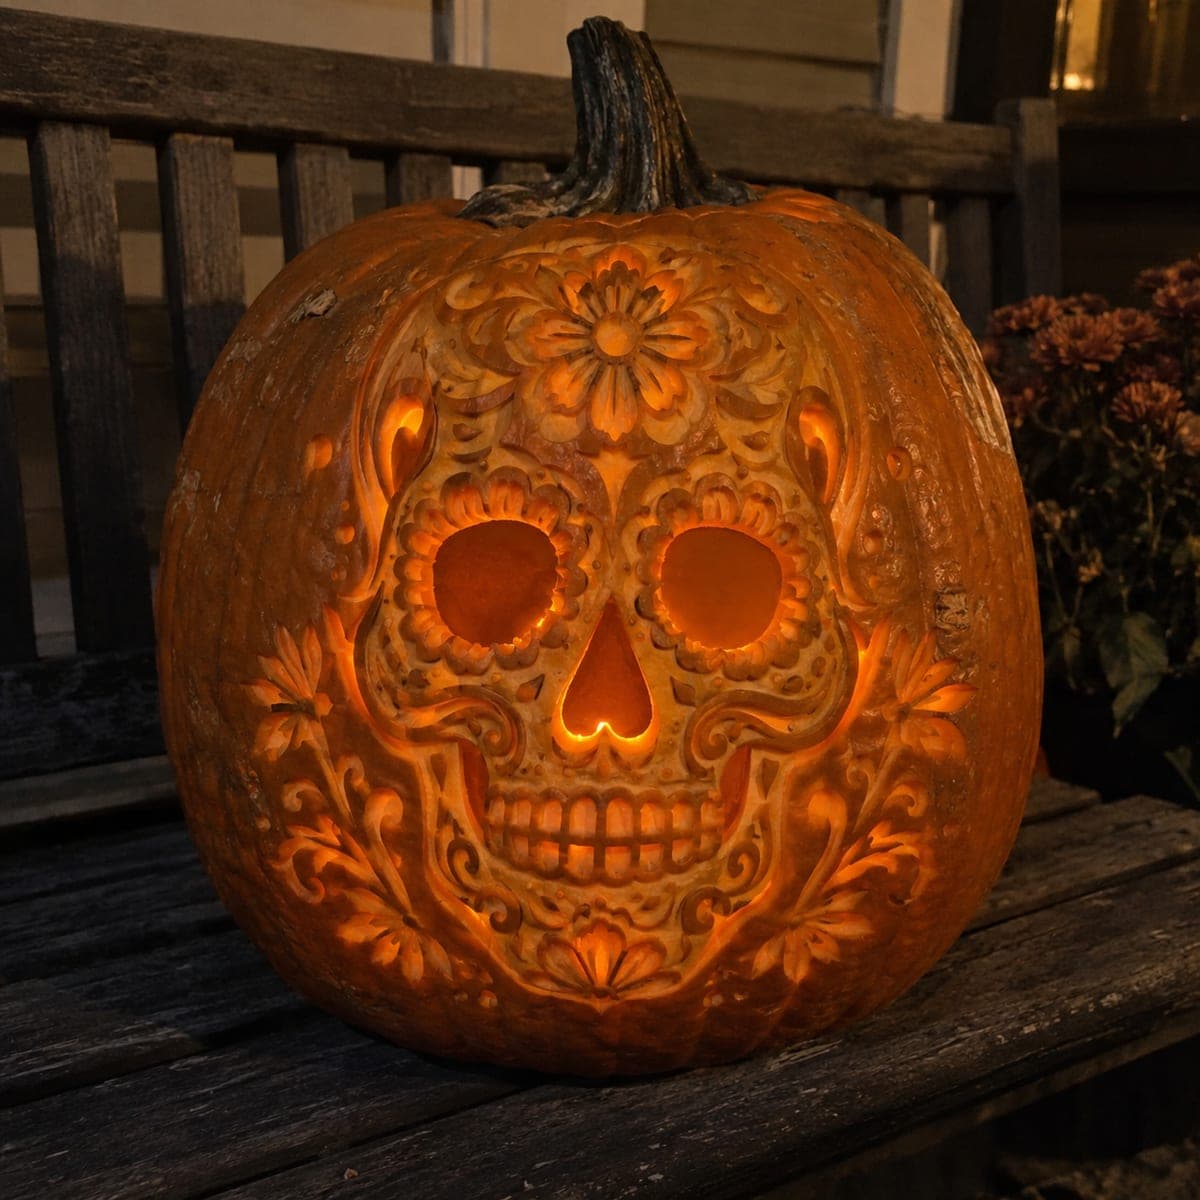
A Day of the Dead sugar skull surrounded by marigold blossoms, rose vines, and a small candle motif is etched in extraordinary detail across this large pumpkin, with cutout eyes radiating warm candlelight. The composition layers surface shading for the floral crown and scrollwork against fully cut-through eye sockets, so the face reads both as intricate art by day and as a glowing lantern by night. Seal the outer skin with petroleum jelly before starting so tools glide smoothly across the large surface. Lit from within by a pillar candle, the marigolds appear to bloom in golden relief.

This is an AI-generated concept image: a realistic, carvable design idea rather than a photo of a finished carve. AI concepts are always labeled and sit out the leaderboard and the contest.

No ratings yet · Sign in to rate

Comments (0)

  • No comments yet — be the first.

Save without an account. Sign in to like or comment.

Our tips for carving a similar design

The core trick here is contrast between deep surface shading and a few clean cutouts. Almost the entire design, the floral crown, rose vines, scrollwork, and the small candle motif, stays as skin-deep relief carving, while only the eye sockets are cut all the way through. That balance lets the pumpkin read as detailed art in daylight and as a warm glowing skull once an LED is dropped inside.

Written by PumpkinCarvingIdeas.com, inspired by the image above. These are our suggestions, not instructions from the uploader. This approach to the AI concept has not been tested on a real pumpkin.

From pumpkin to porch

  1. Pick a big canvas and prep it

    Choose a large, smooth pumpkin with a broad flat-ish front face for the skull. Wipe it clean and rub a thin coat of petroleum jelly over the outer skin so your tools glide and the cut edges stay fresh longer. Cut a wide access hole in the bottom rather than the top so the stem and marigold crown stay intact. Scrape the inside wall behind the face down to about an inch thick for easier shading.

  2. Transfer the full pattern

    Tape your printed sugar skull and marigold stencil snugly onto the front, easing pleats around the pumpkin's curve. Poke the outlines with a transfer tool or push pin, spacing dots close together on the fine scrollwork so nothing gets lost. Peel the paper and connect any faint areas with a washable marker. Take a photo now so you have a reference once cutting begins.

  3. Shade the floral crown and scrollwork

    Use a ribbon or gouge tool to peel only the top skin off the marigolds, roses, leaves, and the forehead scrollwork, leaving the flesh below intact. Vary your depth so petal centers glow brighter than their edges, which is what gives the flowers their relief. Keep the darkest untouched skin as outlines between petals so each bloom stays separate. Work slowly across the large surface and rest your hand often.

  4. Detail the skull face

    Skin-peel the decorative dots, the nose curls, the teeth lines, and the small side skull the same way, treating them as shading rather than holes. Leave narrow ridges of skin between the teeth so the grin stays crisp and structurally solid. Do the same for the little candle motif on the side, peeling the flame area thinner so it looks lit. Save all the deep cutting for the next step.

  5. Cut the eyes last

    Only now cut fully through the two eye sockets with a fine saw, working from the center outward and supporting the flesh with your free hand. Angle the cut so the inner edge is wider than the outer, which throws more light forward. Because these are the only openings, go slow to keep their teardrop shape clean. Clear the plugs and smooth the inside edges.

  6. Light it and photograph

    Set a bright battery LED or two inside, never an open flame, since the thin shaded areas can scorch. The eyes will blaze while the peeled marigolds and scrollwork glow a soft amber. Test in a dark room and add a second light if the shaded zones look flat. Shoot it at dusk on a porch step for that warm lantern effect.

Gather your supplies

Check things off as you get ready.

Work on a stable surface, keep your free hand out of the cutting path, and have an adult handle sharp tools.

Three levels of light

  • Leave intact

    The dark outlines between petals, the deep vine shadows, and the crisp lines separating the teeth stay as untouched skin.

  • Peel & shade

    The marigold blooms, rose vines, forehead scrollwork, side skull, candle motif, and the skull's decorative dots are skin-peeled for a dim amber glow.

  • Cut through

    Only the two eye sockets are cut fully through for the brightest light.

Learn the carving basics

Before you start cutting

This is shown as a concept image, so can a design like this really be carved?

Yes, a similar pumpkin is achievable, though it is an advanced project. The key is treating nearly everything as surface shading and cutting only the eyes through. Keep teeth ridges and petal outlines as attached skin so nothing collapses.

How do I keep the teeth and fine scrollwork from breaking?

Never cut those areas all the way through. Peel only the outer skin so the flesh underneath still supports the shape. Leaving narrow bridges of untouched skin between teeth and between petals keeps the whole face rigid.

Why cut the eyes last instead of first?

The eye sockets are the only large openings, and cutting them early would weaken the wall while you still have hours of detail shading to do. Finishing all the peeled work first keeps the surface firm and stable. Save the through-cuts for the very end.

Your take belongs here, too.

Changed a detail? Made it simpler? Share a photo of your version and tell the community what worked.

Share your pumpkin

More pumpkins like this

You've reached the end · 8 pumpkins
The Patch Report

Fresh pumpkins, in your inbox.

The best new carvings, ideas worth stealing, and how-tos for carving season. Short, seasonal, and gone by November.

A short email during carving season. Unsubscribe anytime. See our privacy policy.