Halloween Pumpkin Carving Contest · Starts October 1st · $500 in prizes
← Back to ideas
@ai_concepts
Aug 30, 2026
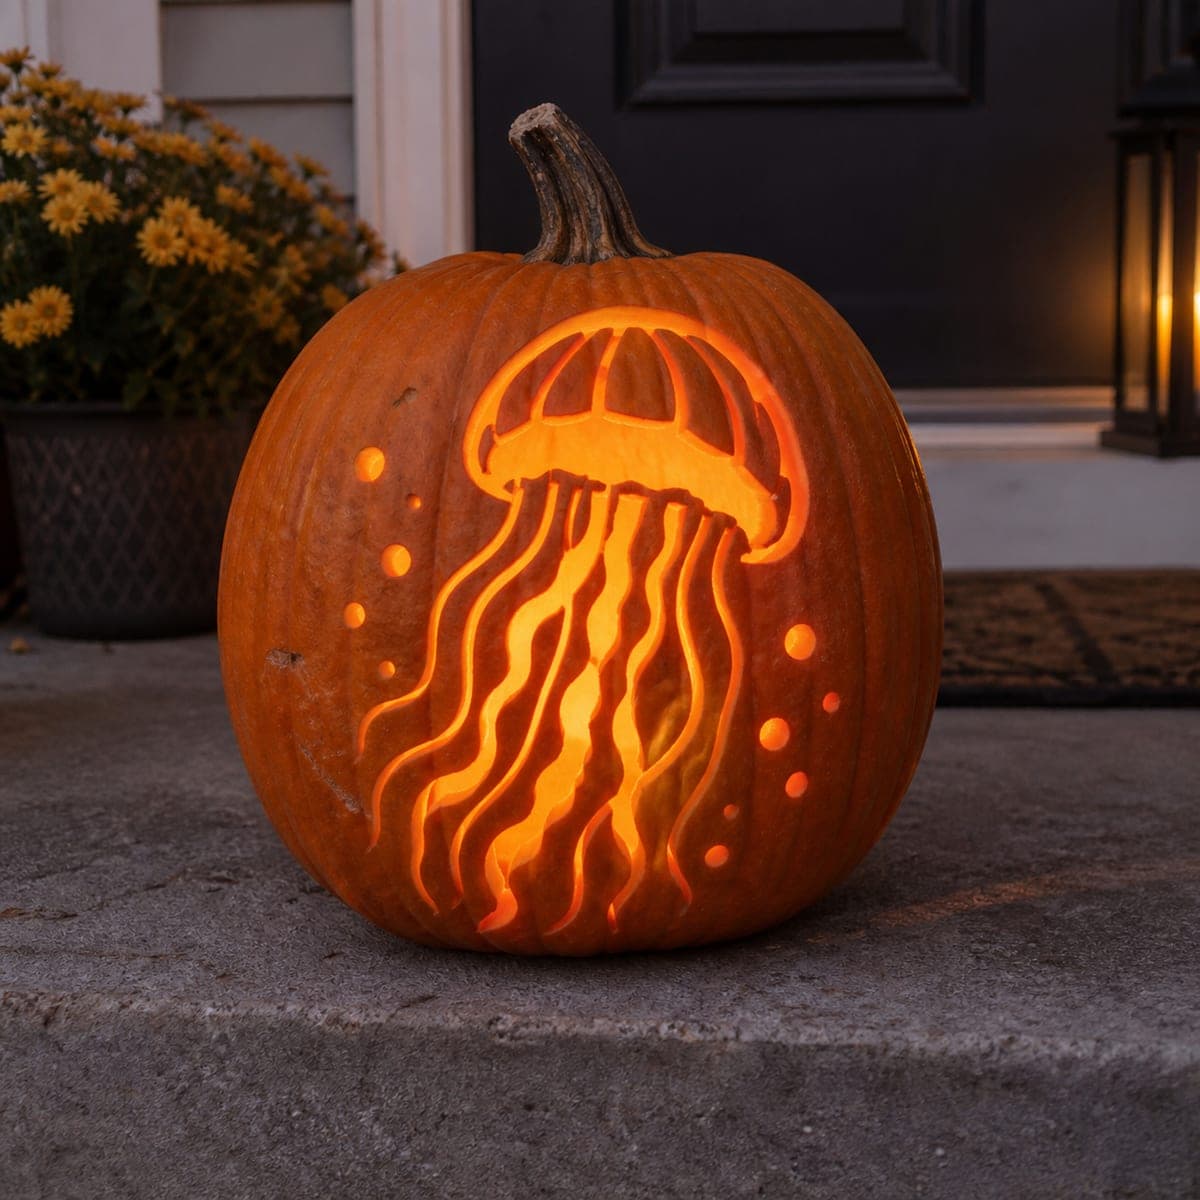
Drifting Jellyfish Etched Pumpkin With BubblesAI
0

Drifting Jellyfish Etched Pumpkin With Bubbles

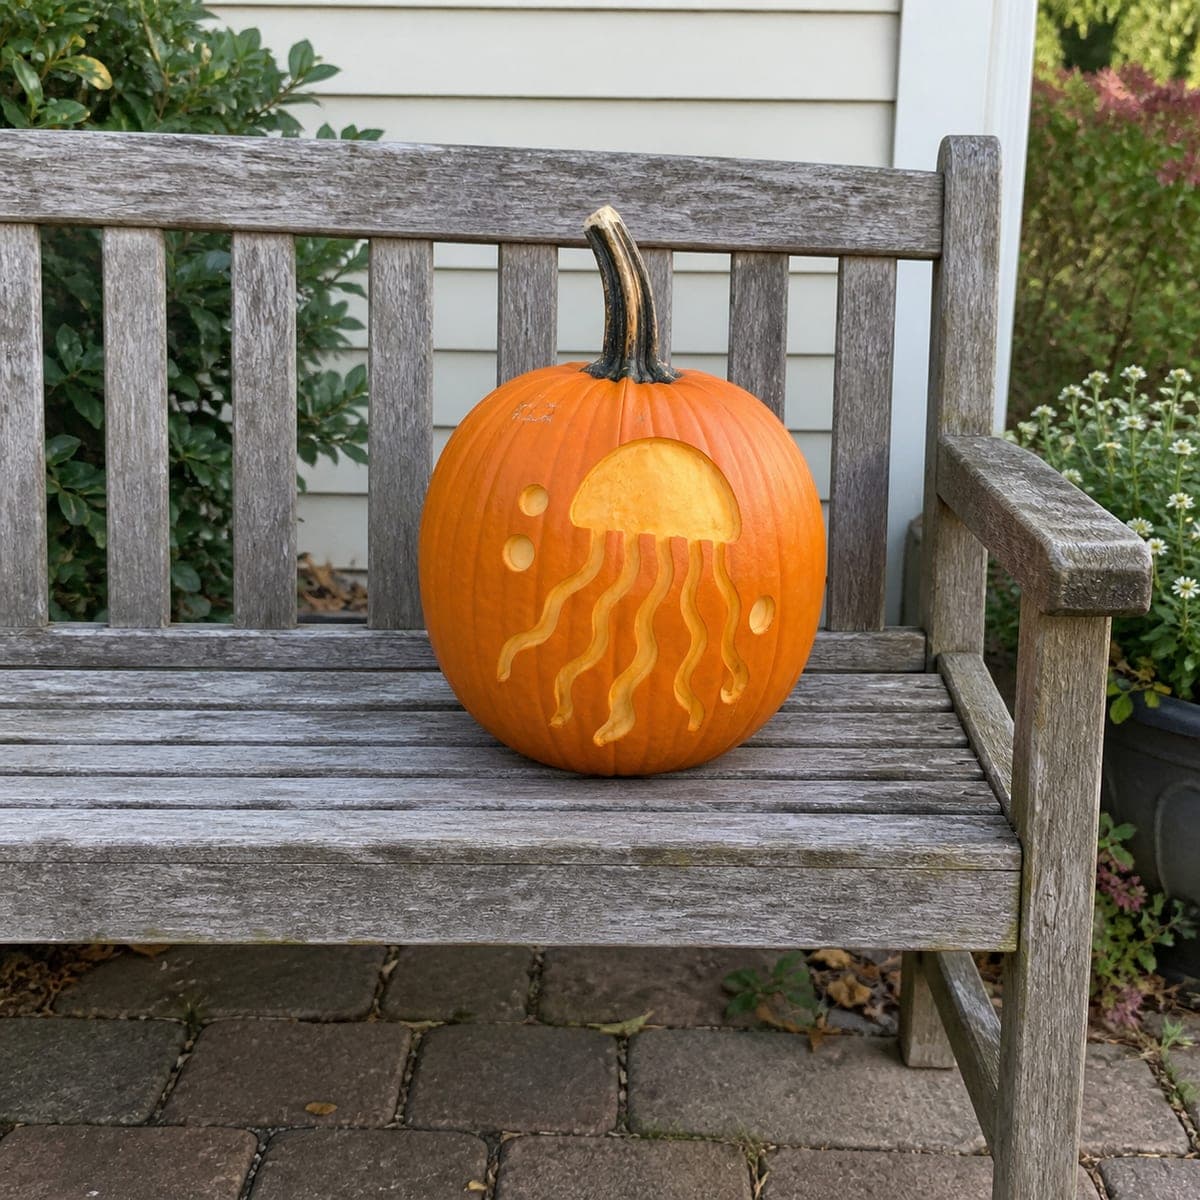
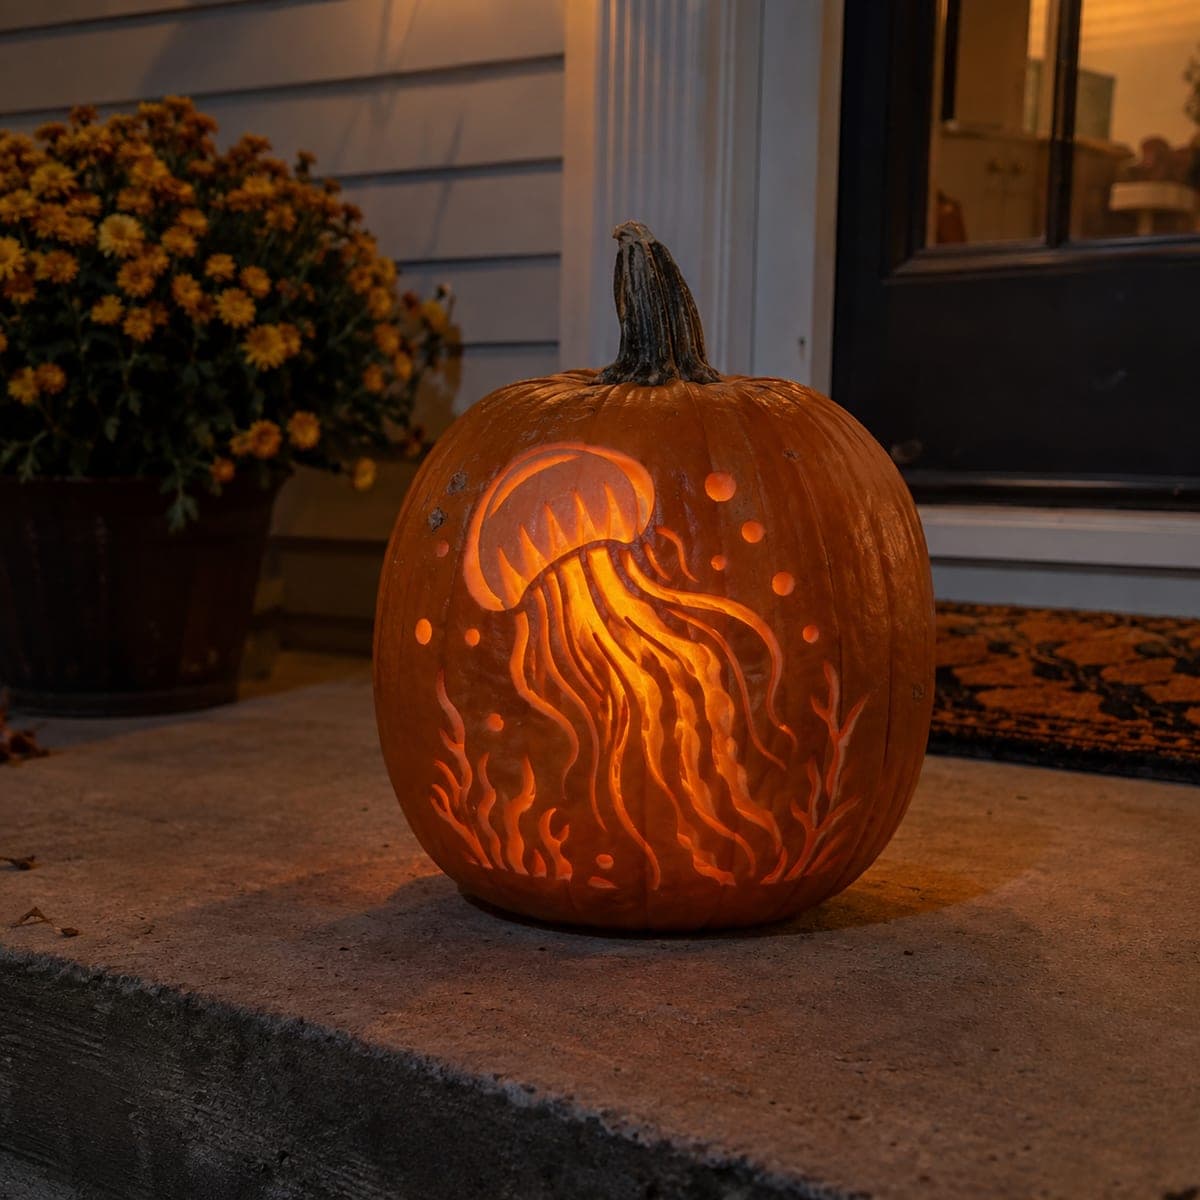
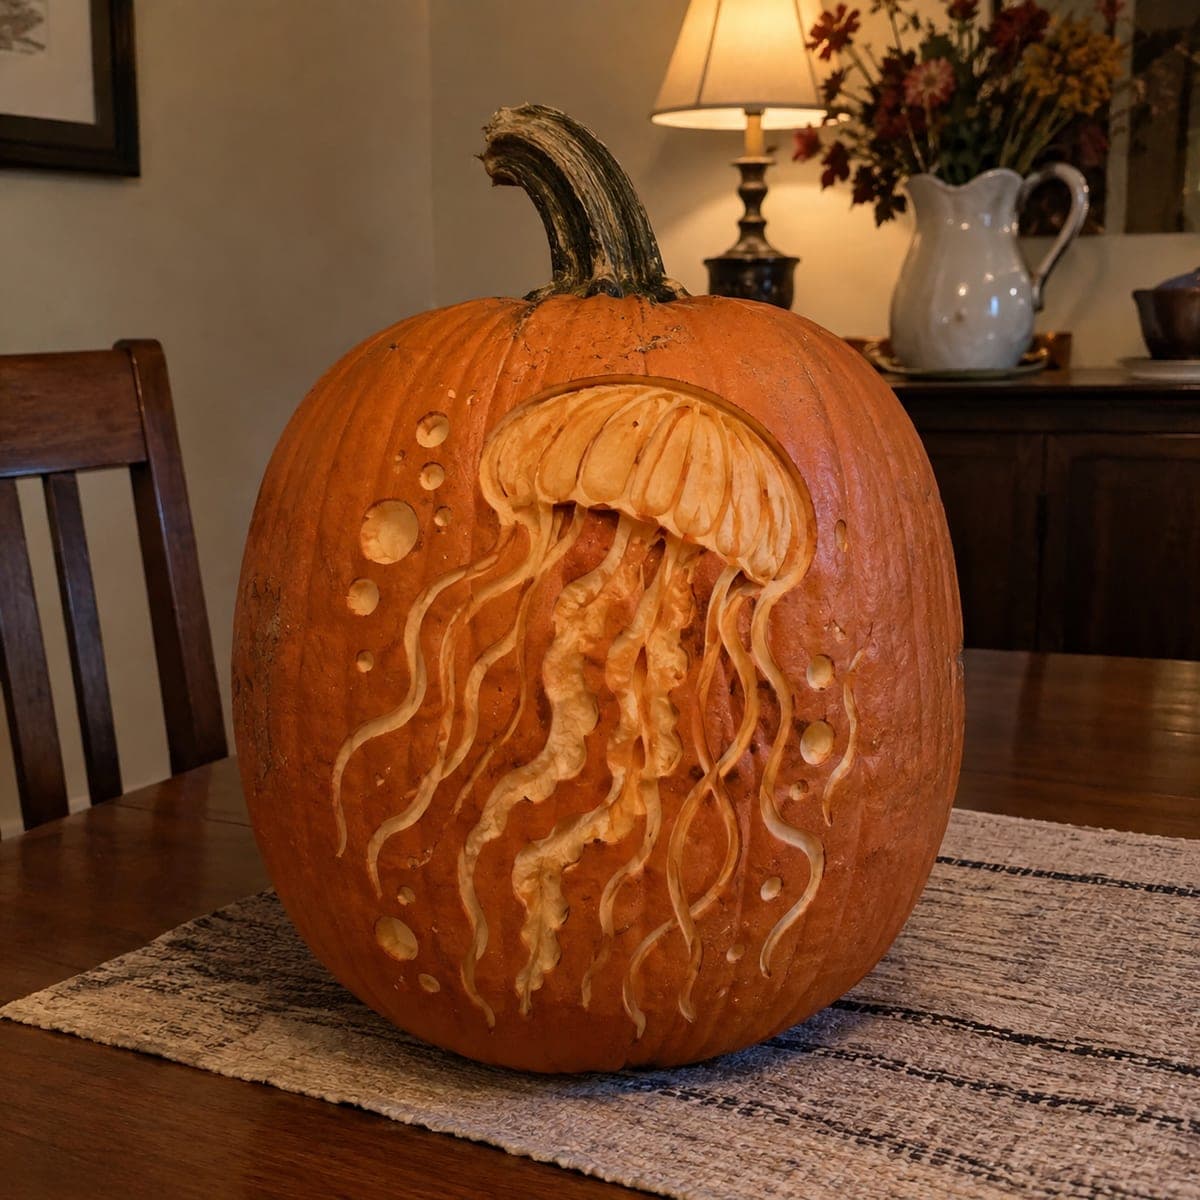
A jellyfish drifts down this tall pumpkin, its ribbed bell carved in relief and long wavy tentacles trailing nearly to the base among etched bubbles. The flowing lines are the challenge here: draw every tentacle first and carve each one in a single continuous gouge stroke to keep the curves smooth. Scatter small round bubble divots with a melon baller. An unexpected ocean-themed pumpkin carving idea that looks elegant lit or unlit.

This is an AI-generated concept image: a realistic, carvable design idea rather than a photo of a finished carve. AI concepts are always labeled and sit out the leaderboard and the contest.

No ratings yet · Sign in to rate
Comments (0)

  • No comments yet — be the first.

Save without an account. Sign in to like or comment.

Our tips for carving a similar design

The core trick here is relief shading, not cutting all the way through. You peel the skin off the ribbed bell so it glows dim, carve every tentacle as one continuous gouge stroke to keep the curves flowing, and scatter round bubble divots with a melon baller. Because so little is cut through, the design reads well both lit and unlit.

Written by PumpkinCarvingIdeas.com, inspired by the image above. These are our suggestions, not instructions from the uploader. This approach to the AI concept has not been tested on a real pumpkin.

From pumpkin to porch

  1. Pick a tall pumpkin and plan the light

    Choose a tall, oval pumpkin with a smooth front panel so the tentacles have room to trail toward the base. Since this is an artistic relief design with almost no full cutouts, cut a small access hole in the back rather than the top. Set a battery LED inside and test where the glow lands before you draw. Wipe the front dry so your transfer lines stay put.

  2. Transfer the full drawing first

    Trace or draw the whole jellyfish before any carving: the ribbed dome bell at the top, then every long wavy tentacle flowing down to the base. Mark the scattered bubbles as small circles of varied sizes off to the sides. Getting all the flowing lines drawn now is what keeps the curves smooth later. Step back and check the tentacles do not cross awkwardly.

  3. Shade the bell in relief

    With a fine detail loop tool, peel only the skin off the jellyfish bell so it turns pale and glows softly. Follow the ribbed sections one at a time, keeping the raised divider lines between them so the dome looks pleated. Keep your strokes shallow and even for a consistent dim orange glow. Leave the outer edge of the bell as untouched skin to frame it.

  4. Carve tentacles in single strokes

    Switch to a small V-gouge and carve each tentacle in one continuous pull from top to bottom, letting your whole arm move rather than just your wrist. A single unbroken stroke keeps the curves smooth and avoids choppy stops and starts. Vary the depth slightly so some tentacles catch more light. Work the longest center tentacles first while the pumpkin wall is strongest.

  5. Add bubbles and a few accent cutouts

    Press a melon baller into the surface to scoop round bubble divots in different sizes, peeling just the skin for a soft glow. If you want a few brighter points, cut fully through on just a handful of the smallest bubbles and tentacle tips. Save these full cutouts for last so the pumpkin stays sturdy. Keep any cut openings small so the design still reads when unlit.

  6. Light it and photograph

    Drop in a warm LED puck and adjust it until the bell and tentacles glow evenly. Take one photo lit and one in daylight, since this relief design looks elegant either way. Rub a little petroleum jelly on the peeled areas to slow drying and keep the pale glow fresh. Shoot slightly above eye level to show the tentacles trailing to the base.

Gather your supplies

Check things off as you get ready.

Work on a stable surface, keep your free hand out of the cutting path, and have an adult handle sharp tools.

Three levels of light

  • Leave intact

    The background skin and the outer rim of the bell stay untouched and dark

  • Peel & shade

    The ribbed bell, the tentacles, and the round bubble divots are skin-peeled for a soft mid glow

  • Cut through

    Only a few tiny bubbles and tentacle tips are cut through for bright accent points

Learn the carving basics

Before you start cutting

How do I keep the long tentacles from looking choppy?

Draw each tentacle completely before carving, then carve it in one continuous gouge stroke from top to bottom. Move your whole arm instead of just your wrist so the curve stays fluid. If you stop partway, you will see a bump where the tool restarted.

Should I cut all the way through anywhere?

Mostly no. This design relies on relief shading, so the bell, tentacles, and bubbles are peeled to just below the skin for a dim glow. Cut fully through only a handful of tiny bubbles or tentacle tips if you want brighter sparks, and do that last so the wall stays strong.

Why carve an access hole in the back instead of the top?

The jellyfish design sits on the front face and uses no big top opening, so a back hole keeps the silhouette clean and lets the tall shape read as intact. It also gives easy access to swap the LED. Keep the hole just large enough for your hand and the light.

Your take belongs here, too.

Changed a detail? Made it simpler? Share a photo of your version and tell the community what worked.

Share your pumpkin

More pumpkins like this

You've reached the end · 8 pumpkins
The Patch Report

Fresh pumpkins, in your inbox.

The best new carvings, ideas worth stealing, and how-tos for carving season. Short, seasonal, and gone by November.

A short email during carving season. Unsubscribe anytime. See our privacy policy.