Halloween Pumpkin Carving Contest · Starts October 1st · $500 in prizes
← Back to ideas
@ai_concepts
Sep 25, 2026
Easy Medical Symbol Pumpkin Carving IdeaAI
0

Report this carving

Tell us what is wrong. Reports are private.

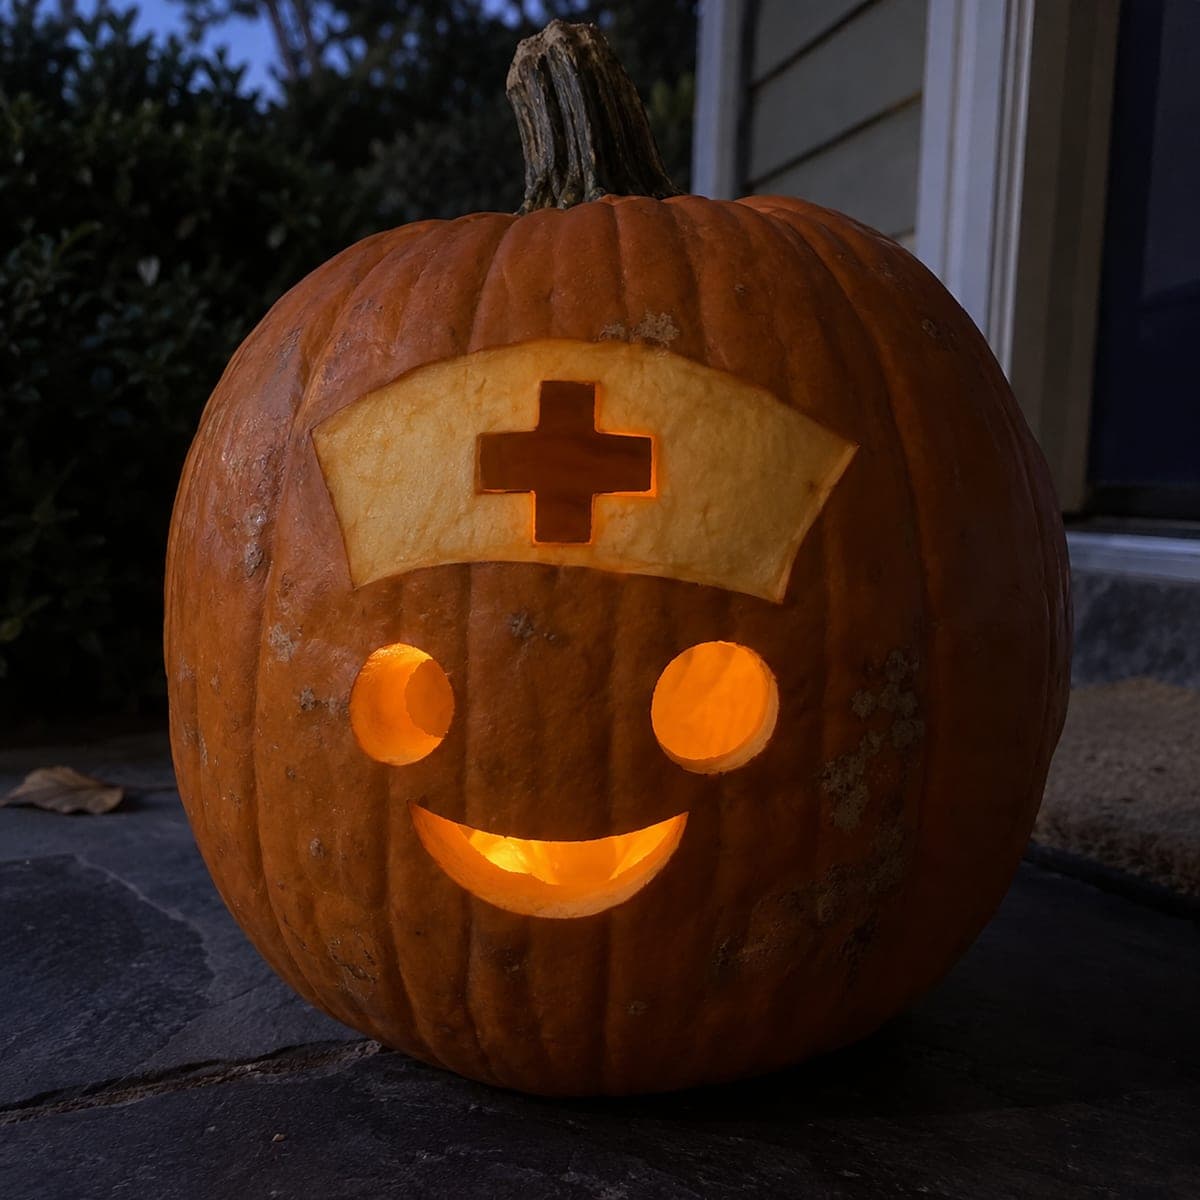
Easy Medical Symbol Pumpkin Carving Idea

A clean medical symbol cut fully through the rind glows invitingly from a hospital waiting room or staff desk in this simple medical pumpkin idea. The broad rind connecting each element to the shell keeps the design structurally sound even in warmer indoor settings. Transfer the pattern with a pin tool before cutting so curves stay smooth and symmetrical. Battery-powered lights eliminate the fire concern in any medical facility.

No ratings yet · Sign in to rate

Comments (0)

  • No comments yet — be the first.

Save without an account. Sign in to like or comment.

Our tips for carving a similar design

A single medical symbol cut fully through the rind is the whole design, making this one of the quickest pumpkin projects in the collection. The broad rind connecting the symbol to the outer shell is the structural backbone, so keeping those connecting sections wide is the main thing to watch while cutting. Battery-powered lights are the right call for any setting where open flames are restricted.

From pumpkin to porch

  1. Prep the pumpkin

    Cut a lid from the back at a slight inward angle so it rests in place without sliding in. Scoop out all seeds and stringy flesh until the inner wall is about an inch thick across the carving area. Thicker walls are fine for a simple cutout like this. Wipe the outer face dry with a cloth.

  2. Transfer the symbol

    Print the medical symbol at the desired size and tape it to the front of the pumpkin. Use a pin tool to poke holes along every outline, spacing the holes close enough that the dots connect clearly. Remove the paper and connect any gaps with a marker so you have a solid guide line to cut along.

  3. Cut the symbol in one continuous pass

    Use a fine-toothed pumpkin saw to follow the outline of the symbol. Where possible, complete each enclosed section in a single continuous loop without lifting the blade. This produces cleaner, smoother edges than multiple short strokes. Cut at a slight inward angle so pieces can be pushed out from behind without catching.

  4. Check bridges and remove cutouts

    Before pushing any cut piece free, run your finger along the outside of each connecting rind bar to confirm it is solid and broad. Then press the cut pieces through gently from the outside. If any piece feels like it wants to bring a bridge with it, score the edge a second time with a craft knife first.

  5. Light and place

    Insert a battery-powered LED tea light and place the pumpkin in its display spot. Center the light directly behind the symbol for the most even glow. Swap fresh batteries at the start of each evening to keep the brightness consistent throughout the display period.

Written with AI to match this design

Gather your supplies

Check things off as you get ready.

Work on a stable surface, keep your free hand out of the cutting path, and have an adult handle sharp tools.

Three levels of light

  • Leave intact

    The rind surrounding the symbol and the connecting sections stay fully dark and define the shape.

  • Peel & shade

    Shallow backed marks behind the symbol provide optional warm accent glow without complicating the design.

  • Cut through

    The medical symbol aperture is cut fully through for bright, clean illumination.

Learn the carving basics

Before you start cutting

What medical symbol works best for a first-time carver?

A simple plus-sign cross or a bold letter H are the most beginner-friendly shapes because they have straight lines and wide connecting rind sections. A caduceus with its intertwined snakes is trickier and better suited to intermediate skill. For this easy version, stick to a cross or other bold geometric symbol.

How do I keep the symbol proportional on a curved pumpkin surface?

Print the pattern at the right scale, then hold it against the pumpkin and check whether the width matches the available flat area. If the symbol looks distorted on the curve, scale it down five to ten percent and reprint. A slightly smaller symbol with clean, well-cut edges always looks better than a larger one that wraps awkwardly around the curve.

Can I do this carving with a child helping?

Pattern transfer with a pin tool is a good task for older children under close supervision. The sawing steps should be handled by an adult only, as pumpkin saws are sharp enough to cause injury even when designed for craft use. Children can scoop the gutted flesh, apply the pattern tape, and choose the battery light.

Your take belongs here, too.

Changed a detail? Made it simpler? Share a photo of your version and tell the community what worked.

Share your pumpkin

More pumpkins like this

You've reached the end · 8 pumpkins
The Patch Report

Fresh pumpkins, in your inbox.

The best new carvings, ideas worth stealing, and how-tos for carving season. Short, seasonal, and gone by November.

A short email during carving season. Unsubscribe anytime. See our privacy policy.