Halloween Pumpkin Carving Contest · Starts October 1st · $500 in prizes
← Back to ideas
@ai_concepts
Sep 25, 2026
Mid-Level Medical Cutout Pumpkin Carving IdeaAI
0

Report this carving

Tell us what is wrong. Reports are private.

Mid-Level Medical Cutout Pumpkin Carving Idea

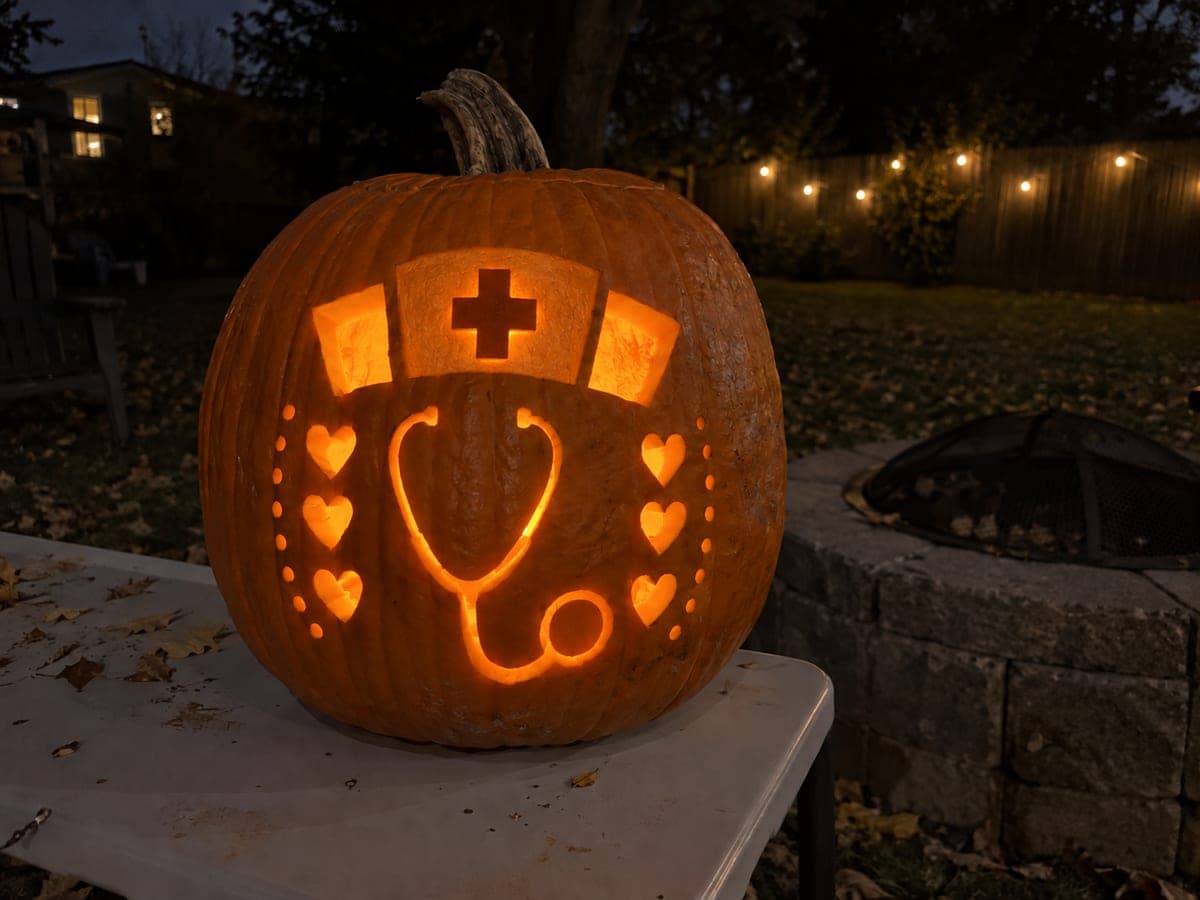
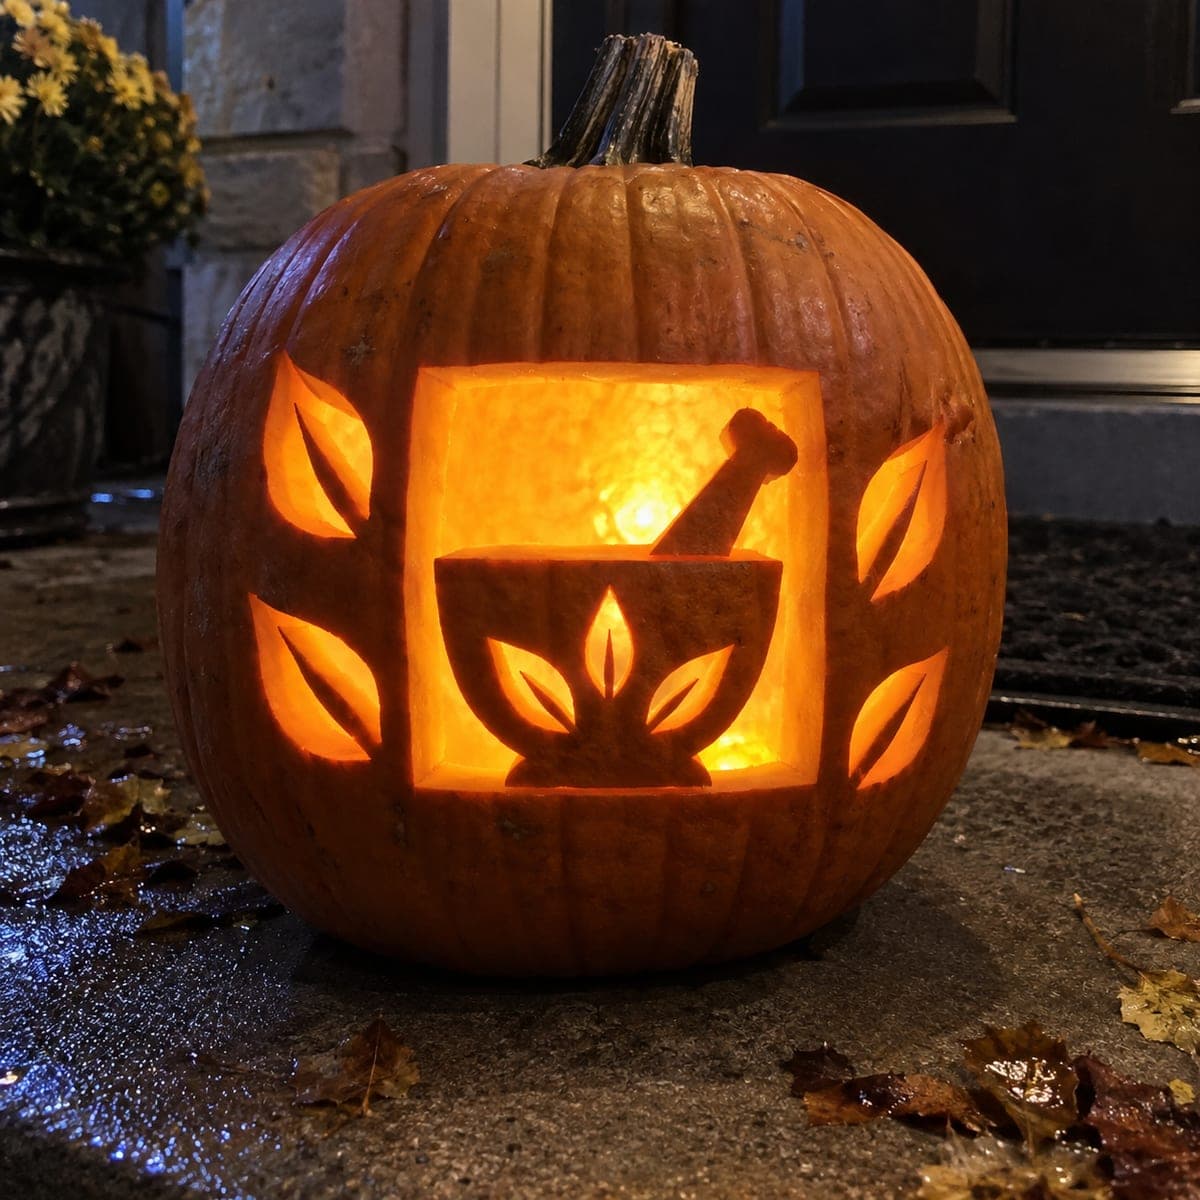
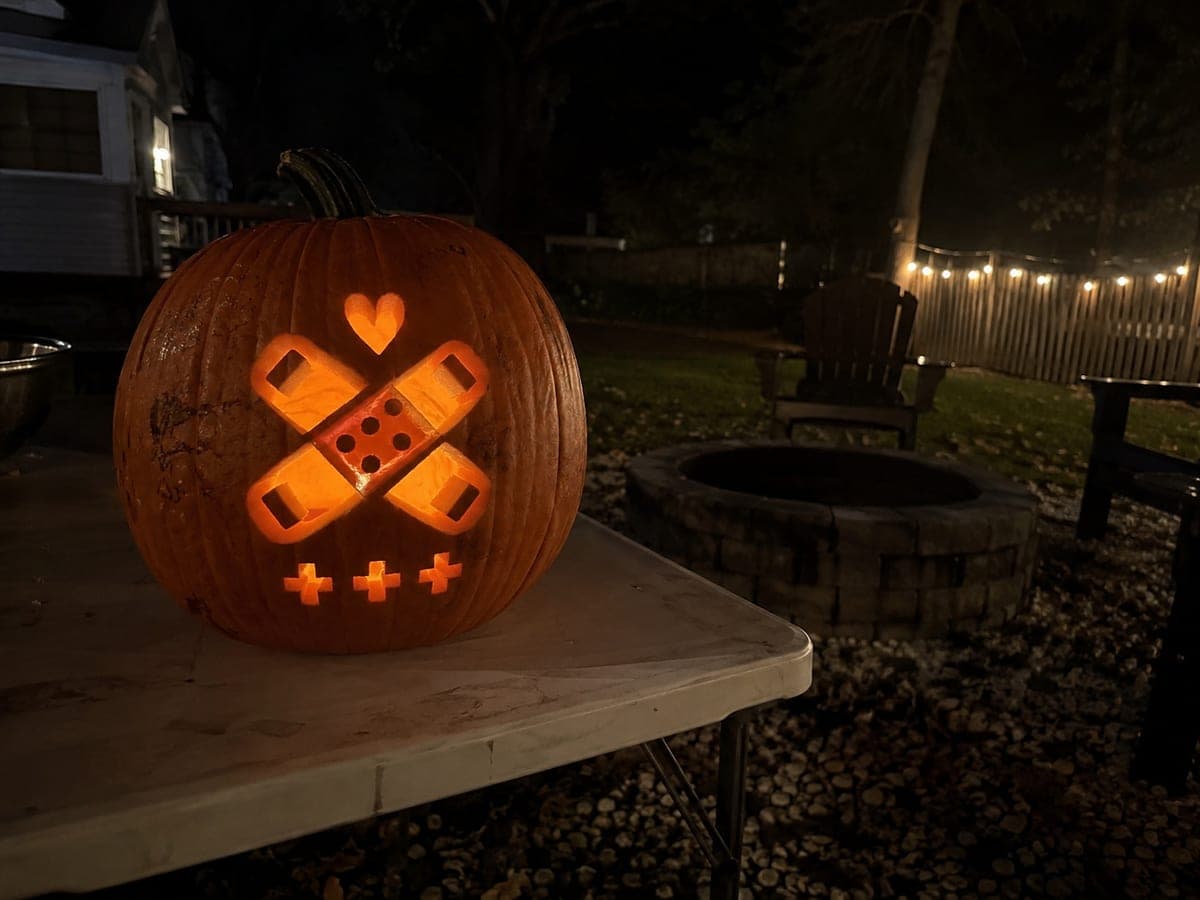
Multiple medical-themed apertures with broad rind connections create a glowing healthcare-inspired jack-o-lantern at an intermediate skill level. Work each opening from the center outward so the pumpkin remains balanced and easy to hold throughout the carving session. Backed shallow details behind the through-cuts give depth to the finished medical pumpkin idea without adding fragile freestanding elements. A high-quality pumpkin with thick rind holds up well for multi-symbol designs like this one.

No ratings yet · Sign in to rate

Comments (0)

  • No comments yet — be the first.

Save without an account. Sign in to like or comment.

Our tips for carving a similar design

This intermediate design uses several medical-themed openings spread across the pumpkin face, all connected to the outer shell by broad rind sections that keep the piece stable throughout carving. Working each opening from the center of the symbol outward helps maintain a balanced grip on the pumpkin and prevents it from becoming top-heavy as material is removed. Backed shallow details behind the cut areas add warmth to the glow without requiring freestanding elements that could snap.

From pumpkin to porch

  1. Select and gut a thick-rind pumpkin

    A pumpkin with a wall thickness of at least an inch and a quarter holds up best for multi-symbol designs, since more material is removed overall. Check thickness at the grocery store by pressing the sides gently; a firm, solid feel indicates good density. Scoop the interior to an even inch of wall depth before transferring any pattern.

  2. Plan symbol spacing before marking

    Lightly sketch oval guides in chalk to map where each symbol will sit on the pumpkin face, checking that all symbols fit with rind borders of at least three-quarters of an inch between them. This spacing check prevents symbols from crowding each other and protects the connecting rind between adjacent openings.

  3. Transfer the full pattern

    Pin-tool the outline of each symbol through the printed pattern. Remove the paper and strengthen faint dot lines with a marker. Identify and label each structural bridge on the pumpkin surface with a small checkmark so you know where not to cut.

  4. Cut each opening from center outward

    For each symbol, start a pilot hole in the center of the opening with a pointed awl or the tip of the pumpkin saw, then saw outward toward the outline. This approach keeps the pumpkin balanced and prevents the far side of the opening from cracking as the piece comes free. Remove one symbol at a time, checking bridges before starting the next.

  5. Carve backed details

    Once all through-cuts are finished, hold a small gouge at a shallow angle and scrape away the outer skin in designated accent areas. Aim for about a third of the rind thickness removed, leaving a translucent layer. Backed areas directly behind the cut openings will catch internal light and soften the sharp bright-to-dark contrast.

  6. Light and evaluate

    Place a warm LED puck inside and scan the design in a darkened room. If any symbol aperture looks significantly brighter than its neighbors, shift the light source closer to the dimmer side. A foil reflector behind the light can help even out brightness across a wide pumpkin face.

Written with AI to match this design

Gather your supplies

Check things off as you get ready.

Work on a stable surface, keep your free hand out of the cutting path, and have an adult handle sharp tools.

Three levels of light

  • Leave intact

    Outer shell and rind borders between symbols remain fully dark, providing clean visual separation between each motif.

  • Peel & shade

    Backed accent areas scraped to a third of rind thickness glow with a warm amber haze behind the cut openings.

  • Cut through

    Each medical symbol aperture is cut fully through for direct, bright illumination.

Learn the carving basics

Before you start cutting

How much rind should separate two adjacent symbol openings?

At least three-quarters of an inch of solid rind between neighboring openings keeps the pumpkin from weakening as both adjacent areas lose structural support. For medium-difficulty designs, one inch of separation is a safer target. If two symbols end up closer than that after transfer, shrink one of them slightly before cutting.

In what order should I carve if I have four symbols on one pumpkin?

Start with the symbol nearest the top of the face and work your way down, completing one symbol fully before starting the next. Working top to bottom keeps the pumpkin easy to hold because the lower uncut area remains solid. Alternatively, carve diagonally opposite symbols in pairs so weight is always balanced.

Do backed details require any special tools beyond a basic carving kit?

A small linoleum V-gouge, which costs a few dollars at a craft store, is the most controllable tool for backed details. A pumpkin scraping tool with a serrated edge also works but is less precise. In a pinch, the bowl of a metal spoon can scrape away outer skin fairly evenly on flat areas of the rind.

Your take belongs here, too.

Changed a detail? Made it simpler? Share a photo of your version and tell the community what worked.

Share your pumpkin

More pumpkins like this

You've reached the end · 8 pumpkins
The Patch Report

Fresh pumpkins, in your inbox.

The best new carvings, ideas worth stealing, and how-tos for carving season. Short, seasonal, and gone by November.

A short email during carving season. Unsubscribe anytime. See our privacy policy.