Halloween Pumpkin Carving Contest · Starts October 1st · $500 in prizes
← Back to ideas
@ai_concepts
Sep 25, 2026
Glowing Nurse Symbol Easy Pumpkin Carving IdeaAI
0

Report this carving

Tell us what is wrong. Reports are private.

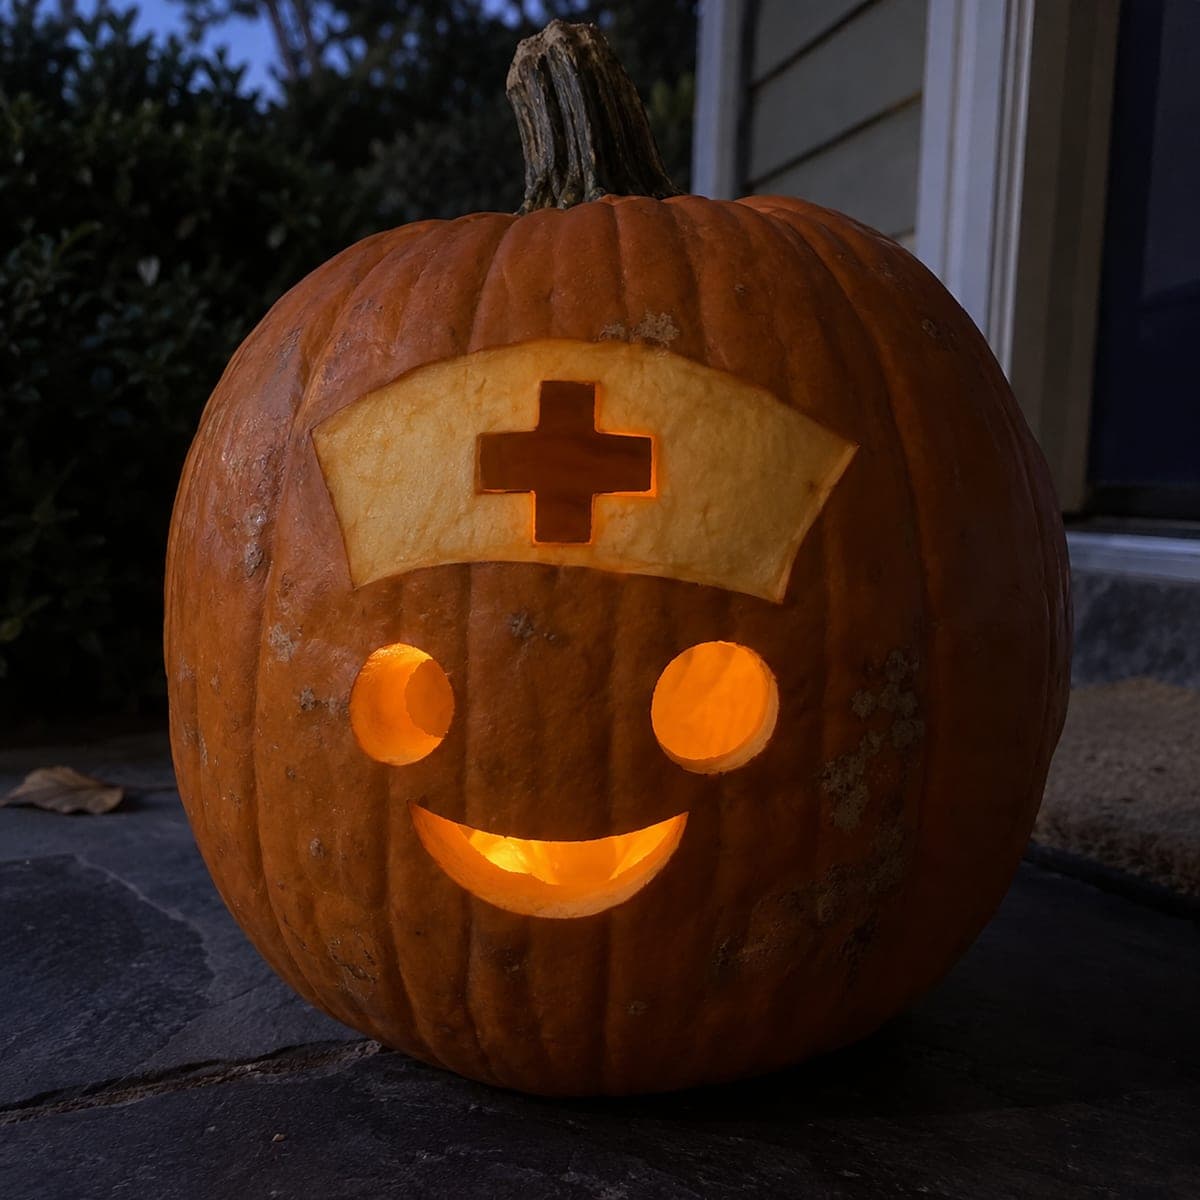
Glowing Nurse Symbol Easy Pumpkin Carving Idea

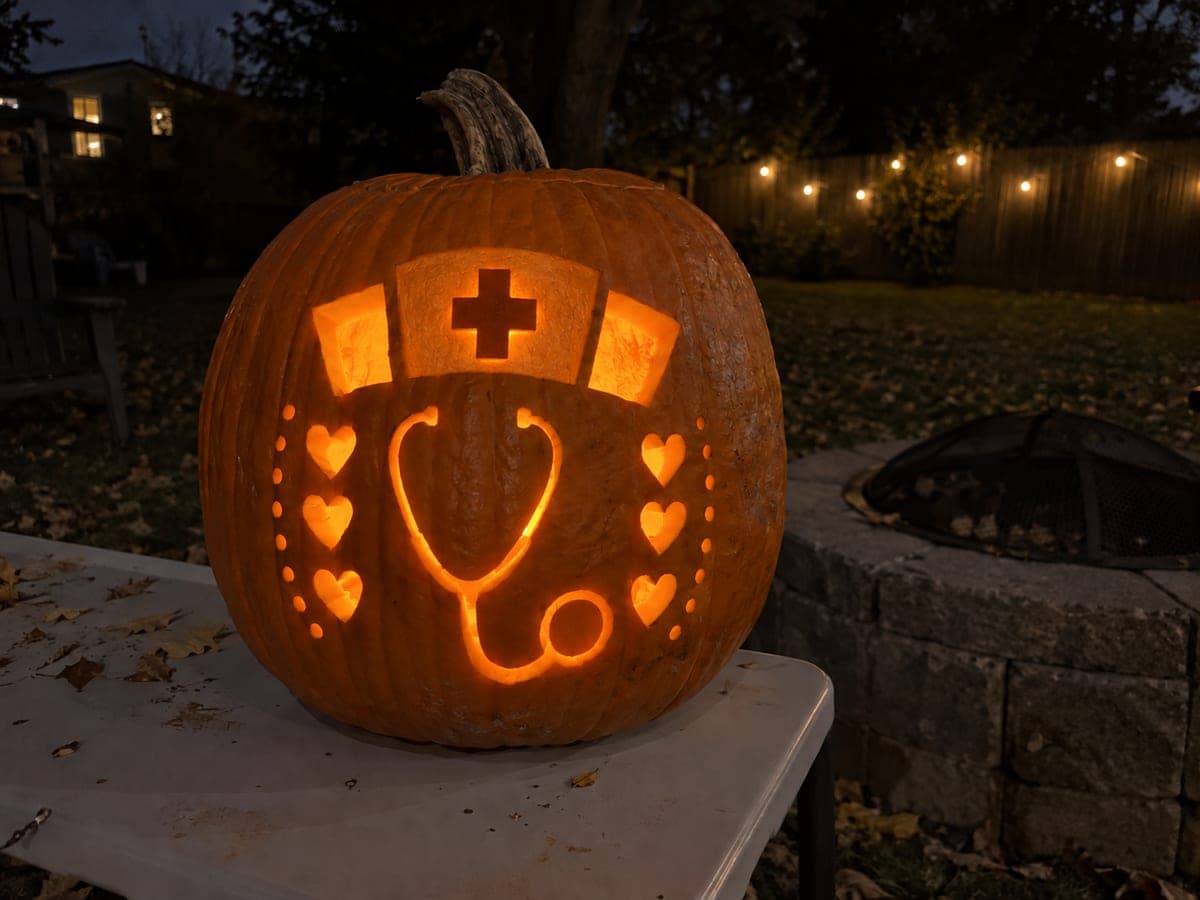
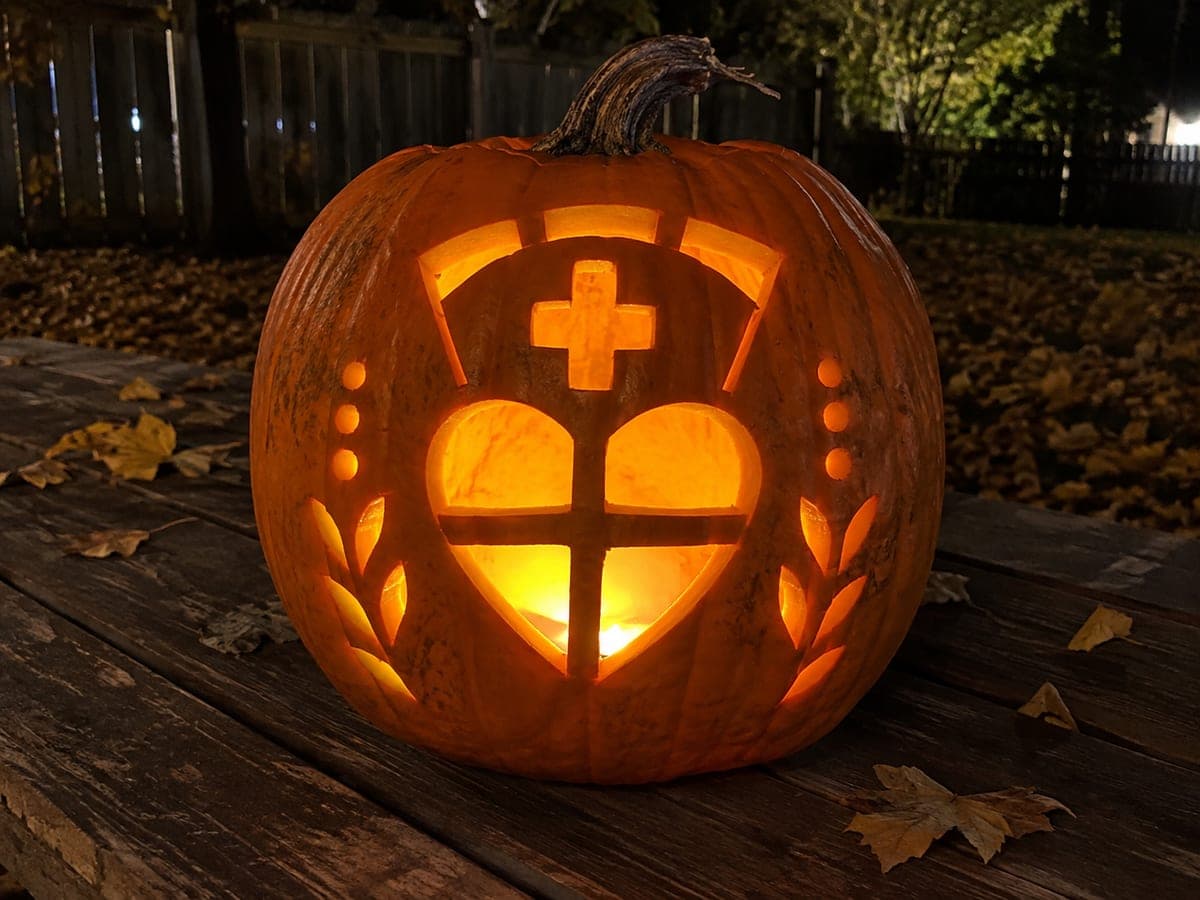
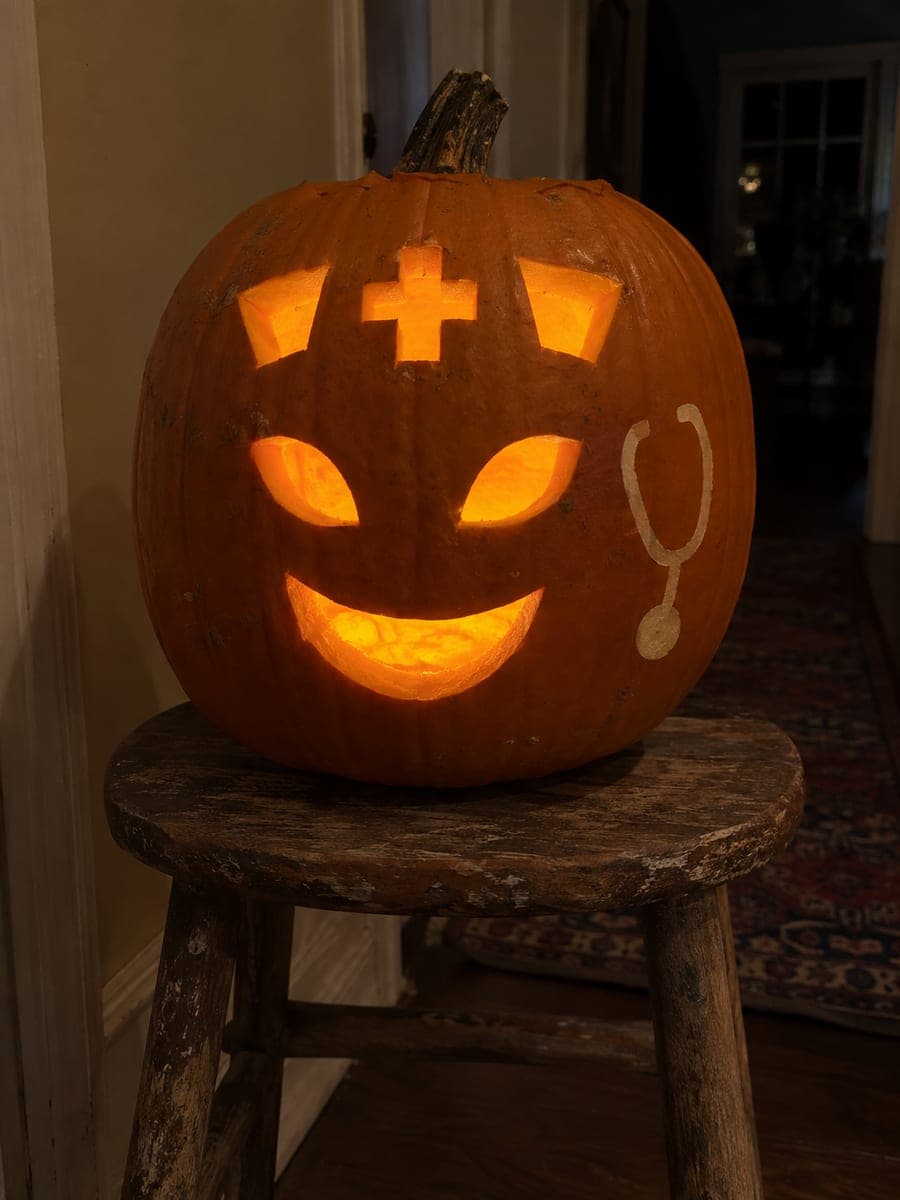
Medical symbols cut cleanly through an easy-to-carve pumpkin make this a quick and recognizable nurse pumpkin carving idea for a hospital break room or front porch. Keep all retained rind pieces broadly connected so the design stays solid when moved or bumped. Shallow backed details behind the main apertures add warmth to the overall glow without complicating the cut. This design comes together in under an hour and looks polished when lit.

No ratings yet · Sign in to rate

Save this design for carving night, then share a photo of your own jack-o'-lantern once it's glowing.

Comments (0)

  • No comments yet — be the first.

Save without an account. Sign in to like or comment.

Our tips for carving a similar design

The design works by cutting a recognizable nurse symbol cleanly through the rind so the interior light pours out in a single bold shape. Broad rind sections connect every retained piece to the outer shell, keeping the pumpkin solid enough to move without worry. Shallow backed details behind the main apertures warm the glow without adding any freestanding fragile bits.

From pumpkin to porch

  1. Prep and gut the pumpkin

    Cut a lid from the back of the pumpkin at an angle so it rests without falling in. Scoop out seeds and stringy flesh until the inner wall is roughly an inch thick all around. A consistent wall thickness helps backed details glow evenly later. Wipe the outer surface dry before tracing.

  2. Transfer the pattern

    Print or sketch the nurse symbol at the right scale for your pumpkin's face. Tape the pattern on and trace every line with a pin tool or toothpick, leaving a dotted outline in the rind. Remove the paper and connect any gaps in your dot lines with a felt-tip marker so you have a clear guide to follow.

  3. Cut the main apertures

    Use a fine-toothed pumpkin saw or a craft knife to cut along the traced lines of the symbol openings. Work in smooth continuous passes rather than short choppy strokes to keep the edges clean. Confirm each retained piece is broadly connected to the outer shell before removing it. Push cut pieces through gently from outside to avoid tearing.

  4. Add shallow backed details

    For any accent marks behind the main cuts, use a small linoleum gouge held nearly flat against the surface. Scrape away just the outer skin and a thin layer of flesh to reveal the lighter inner rind, stopping well before you cut through. Keep the depth consistent so these areas glow with a warm amber tone rather than a sharp white hole.

  5. Light and display

    Place a battery-powered LED tea light just behind the center of the design. LED lights are the only safe option for a healthcare or office setting where open flames are not allowed. Turn off the room lights to check the glow, and reposition the light if any area looks uneven. Set the pumpkin on a stable surface away from foot traffic.

Written with AI to match this design

Gather your supplies

Check things off as you get ready.

Work on a stable surface, keep your free hand out of the cutting path, and have an adult handle sharp tools.

Three levels of light

  • Leave intact

    The broad rind connecting the symbol to the outer shell stays dark and solid, forming the outline of the design.

  • Peel & shade

    Shallow backed areas behind the main apertures are scraped to a thin translucent layer for a soft amber glow.

  • Cut through

    The main nurse symbol openings are cut fully through for bright, direct light output.

Learn the carving basics

Before you start cutting

How wide should the rind bridges be to keep the design from cracking?

Aim for connecting sections at least three-quarters of an inch wide for an easy design like this. Thinner bridges can crack as the pumpkin dehydrates over the first couple of days on display. If a bridge looks narrow after cutting, leave it alone and accept a slightly different shape rather than risk the whole piece falling free.

Can I use a regular kitchen knife instead of a pumpkin saw?

A thin serrated bread knife can work for straight cuts on thick rind, but it is difficult to follow curves accurately. A small fine-toothed pumpkin saw gives you far more control on curved lines and reduces the risk of the blade jumping. For the cleanest symbol edges, a pointed craft knife drawn slowly is a good option.

How long will this pumpkin look good on display?

An easy cutout pumpkin typically stays fresh for five to seven days at room temperature. Rubbing petroleum jelly along all cut edges after carving slows moisture loss noticeably. Bringing the pumpkin indoors overnight can add a day or two to its life.

Your take belongs here, too.

Changed a detail? Made it simpler? Share a photo of your version and tell the community what worked.

Share your pumpkin

More pumpkins like this

You've reached the end · 8 pumpkins
The Patch Report

Fresh pumpkins, in your inbox.

The best new carvings, ideas worth stealing, and how-tos for carving season. Short, seasonal, and gone by November.

A short email during carving season. Unsubscribe anytime. See our privacy policy.