Halloween Pumpkin Carving Contest · Starts October 1st · $500 in prizes
← Back to ideas
@ai_concepts
Sep 25, 2026
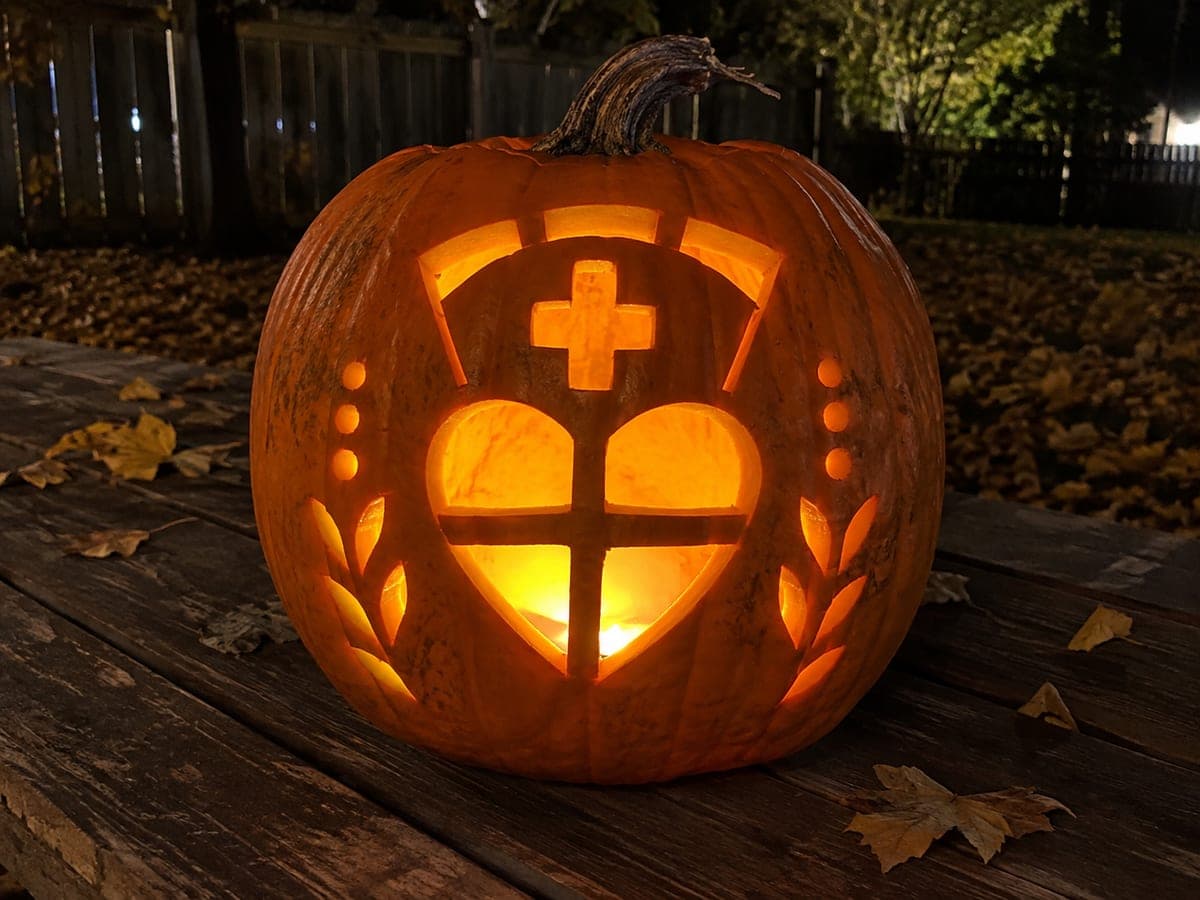
Detailed Nurse Pumpkin Carving With Glowing AccentsAI
0

Report this carving

Tell us what is wrong. Reports are private.

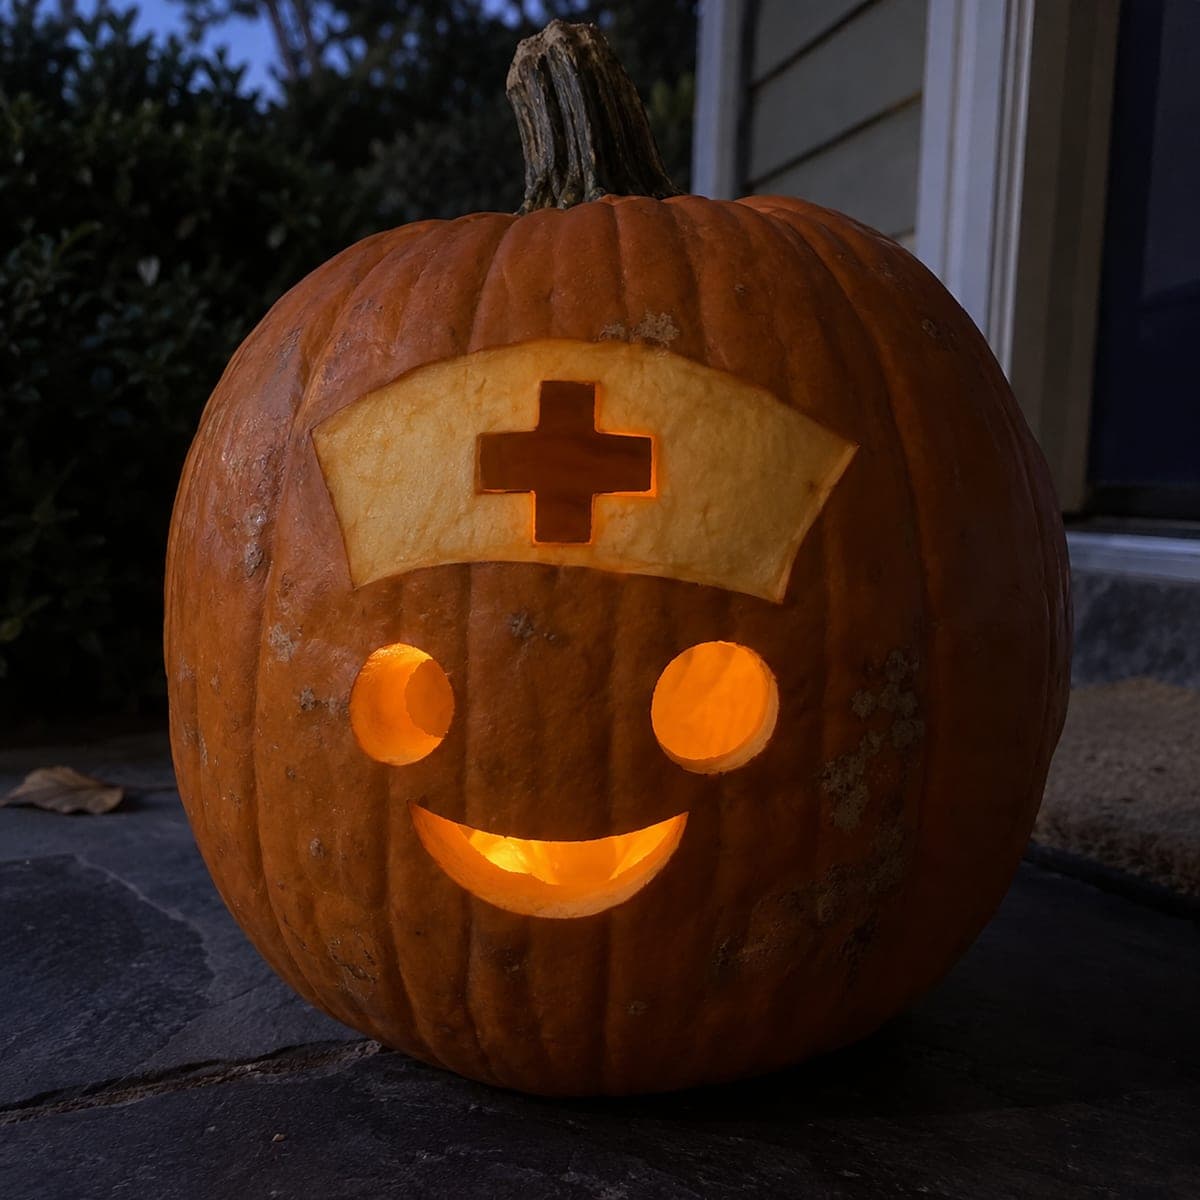
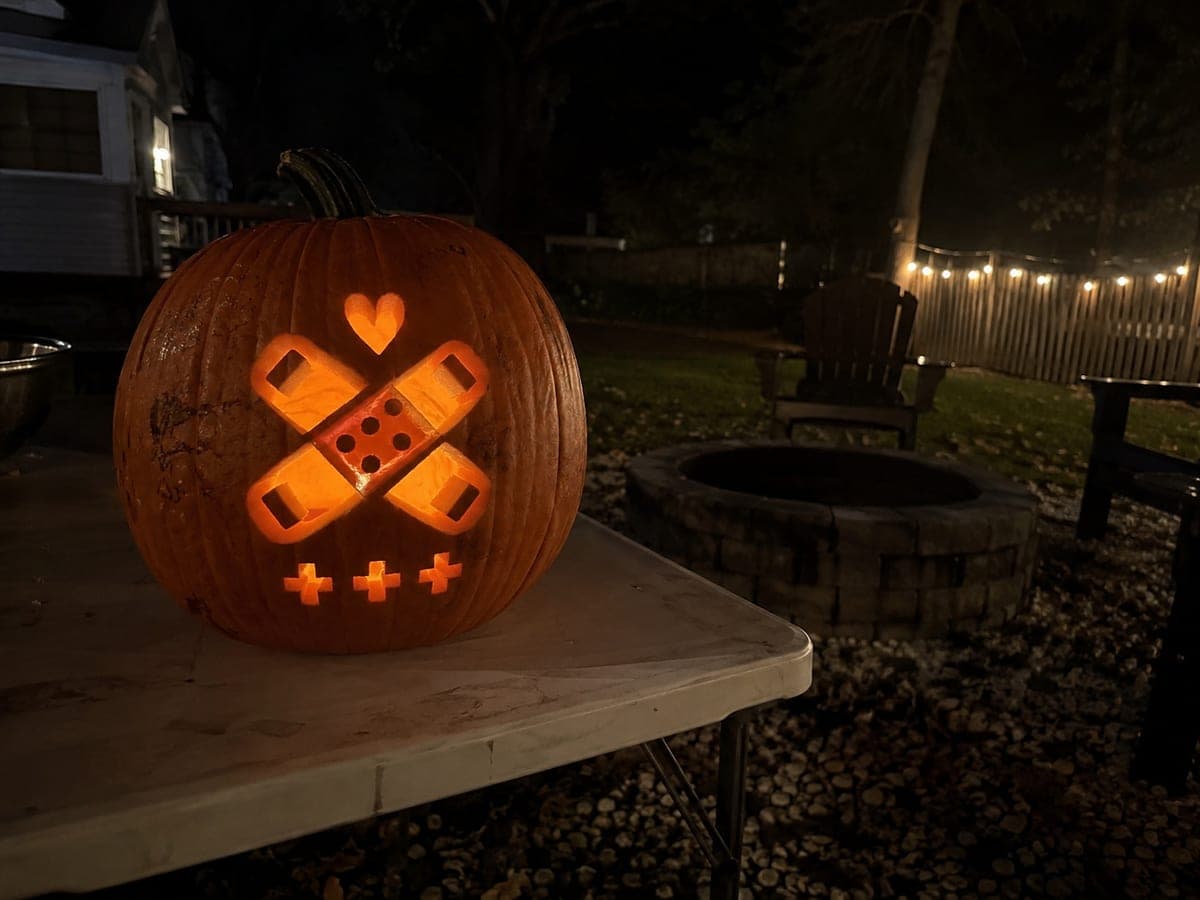
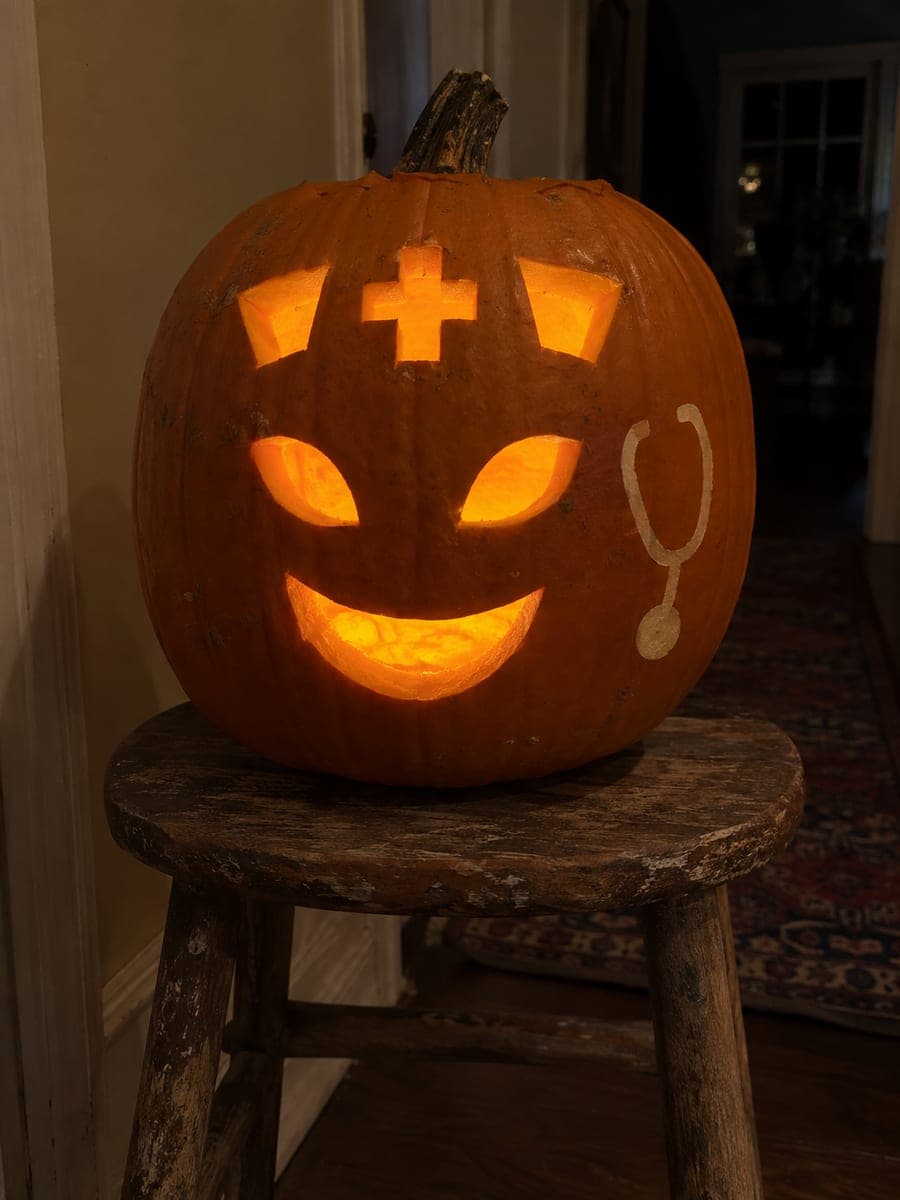
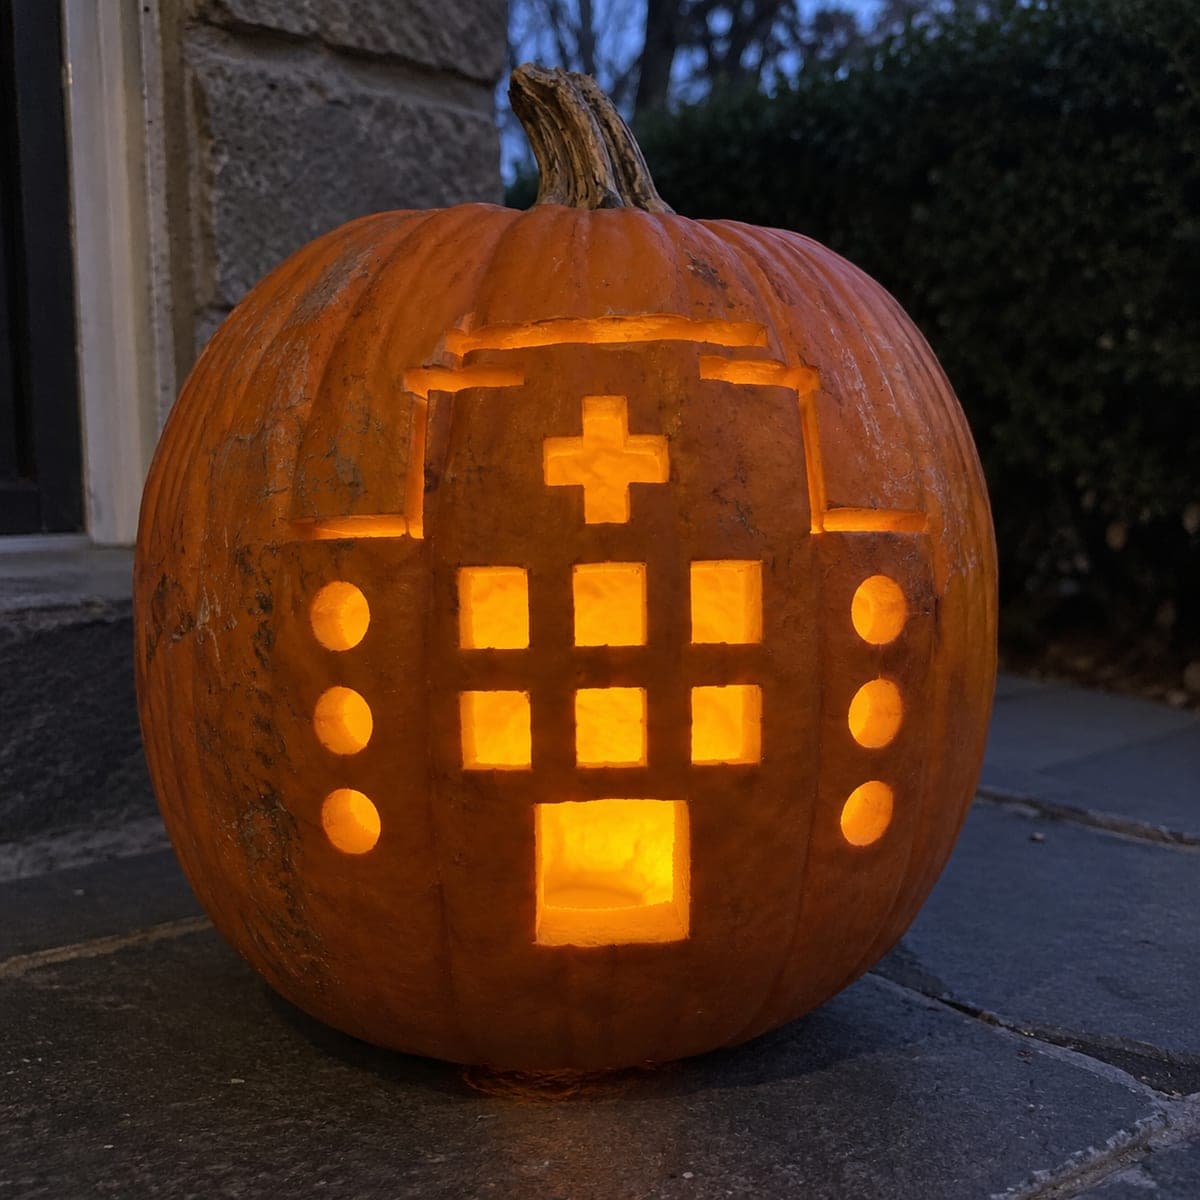
Detailed Nurse Pumpkin Carving With Glowing Accents

Intricate nurse-themed cutouts with broadly connected retained rind elements create a glowing display suited for a hospital unit hallway or staff lounge in this hard-level nurse pumpkin carving idea. Identify every bridge between retained islands and the outer shell before removing any material so nothing loosens mid-carve. Shallow backed accent details are carved after through-cuts are complete, using a small gouge held at a low angle to avoid puncturing the rind. A warm LED inside shows off the full depth of the layered design.

No ratings yet · Sign in to rate
Comments (0)

  • No comments yet — be the first.

Save without an account. Sign in to like or comment.

Our tips for carving a similar design

The hard difficulty comes from managing multiple closely spaced retained rind islands while keeping each one securely bridged to the outer shell. The approach is to map every bridge before touching a blade, then cut the largest openings first so the pumpkin stays rigid as long as possible. Shallow backed accents are added only after all through-cuts are finished, using a small gouge held at a low angle to avoid puncturing the thinned rind.

From pumpkin to porch

  1. Map the structural bridges

    Before transferring the pattern, draw a diagram on paper showing every retained rind island and at least two connection points from each island to the outer shell. Any island that connects by only one thin bridge is a weakness to redesign before you start. Increasing a bridge width by even a quarter inch can double its resistance to cracking.

  2. Prep and transfer

    Gut the pumpkin to a consistent one-inch inner wall, slightly thicker in the areas planned for backed accents. Tape the printed pattern onto the pumpkin face and trace all lines with a pin tool. Remove the paper and confirm the full dotted outline is visible before starting any cuts.

  3. Cut outer openings first

    Start with the largest, outermost openings and work inward toward the most detailed center elements. This sequence keeps the pumpkin structurally sound longest and gives you room to maneuver the saw blade. Use a fine-toothed pumpkin saw and cut with gentle forward pressure, never forcing the blade on curves.

  4. Proceed to smaller detail cuts

    Work through medium and small apertures in the same outside-in order. Pause after each opening to confirm no bridge has cracked. If a narrow bridge shows a hairline crack, apply a drop of craft glue immediately and let it tack before continuing. Keep a damp cloth nearby to wipe away flesh and keep your view of the design clear.

  5. Add backed accent details

    Once all through-cuts are complete, switch to a small gouge and hold it nearly flat against the rind surface at a shallow angle. Scrape away just the outer skin and a thin flesh layer over the accent marks, aiming for consistent translucency. Check the depth regularly by holding a flashlight inside the pumpkin; backed areas should glow amber rather than show as a bright hole.

  6. Light and display

    Insert a warm LED light source inside and darken the room to evaluate the full effect. Adjust the light forward or back until backed accents and cut-through openings balance well. A reflective foil disk placed behind the light can boost overall brightness without overexposing the delicate carved areas.

Written with AI to match this design

Gather your supplies

Check things off as you get ready.

Work on a stable surface, keep your free hand out of the cutting path, and have an adult handle sharp tools.

Three levels of light

  • Leave intact

    The outer shell and all structural bridge sections stay fully dark, defining the silhouette of the nurse motifs.

  • Peel & shade

    Shallow backed accent marks and detail areas are carved to translucency for a warm amber mid-glow.

  • Cut through

    Main symbol apertures and face openings are cut fully through for bright direct illumination.

Learn the carving basics

Before you start cutting

How do I know if a bridge is wide enough before I start cutting?

A useful rule of thumb is that any bridge should be at least as wide as it is long. For a hard design with dense detail, plan bridges at three-quarters of an inch minimum for short spans and wider for longer unsupported stretches. Sketch the bridge dimensions on paper first and adjust the pattern if anything looks marginal before touching the pumpkin.

What should I do if a retained island cracks loose mid-carve?

Stop cutting immediately, clean the broken surfaces with a dry cloth, and press a thin line of craft glue or wood glue into the crack. Hold the piece in place for a minute or two with gentle pressure. Once set, the repair holds well enough to finish carving, though the repaired area will show a thin dark line when lit.

Is there a way to practice the backed accent technique before trying it on the real pumpkin?

Yes, cut a spare section of pumpkin rind from the cap cutout and practice gouging on the back side. This lets you find the angle and pressure that shaves cleanly without punching through. Five minutes of practice on scrap rind is worth far more than reading any description of the technique.

Your take belongs here, too.

Changed a detail? Made it simpler? Share a photo of your version and tell the community what worked.

Share your pumpkin

More pumpkins like this

You've reached the end · 8 pumpkins
The Patch Report

Fresh pumpkins, in your inbox.

The best new carvings, ideas worth stealing, and how-tos for carving season. Short, seasonal, and gone by November.

A short email during carving season. Unsubscribe anytime. See our privacy policy.