Halloween Pumpkin Carving Contest · Starts October 1st · $500 in prizes
← Back to ideas
@ai_concepts
Sep 14, 2026
Einstein E Equals MC Squared PumpkinAI
0

Einstein E Equals MC Squared Pumpkin

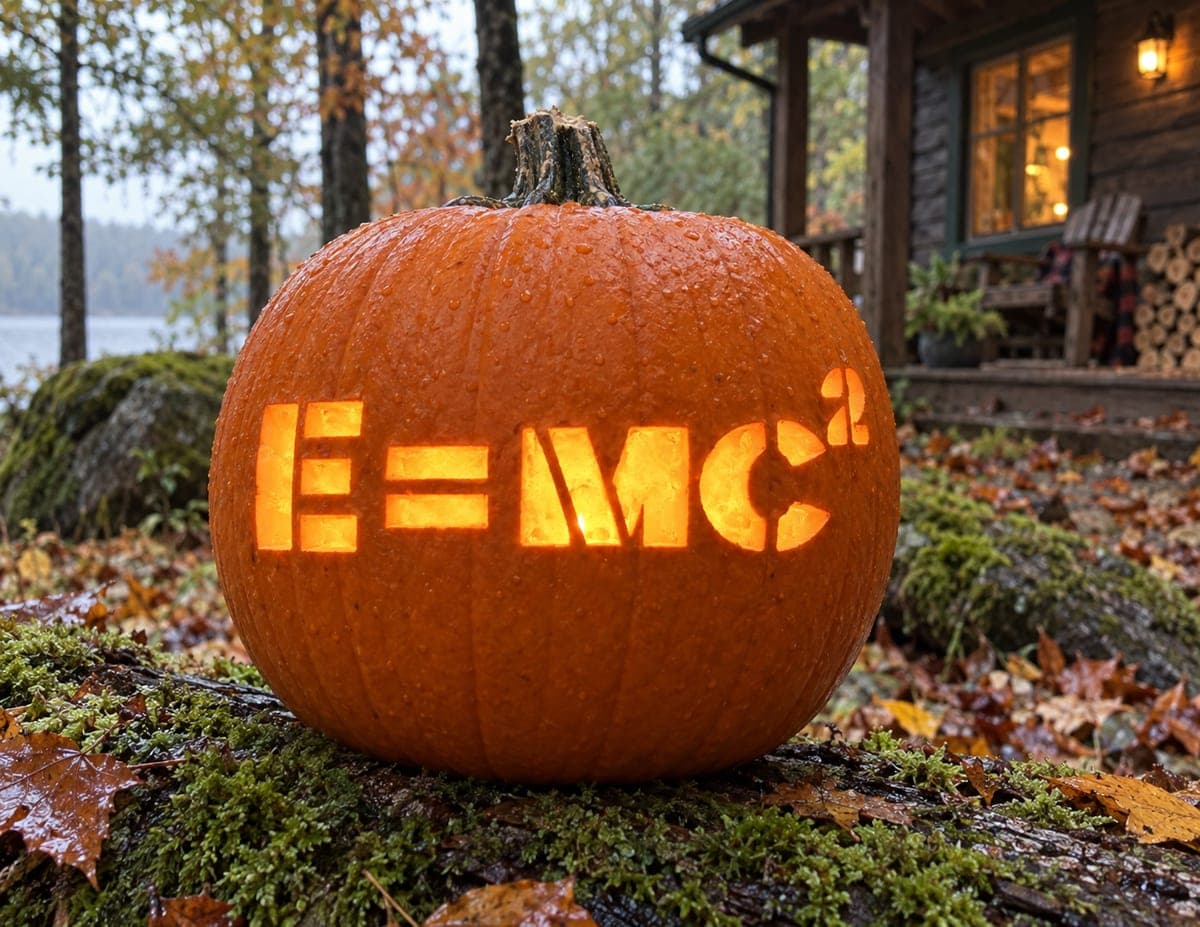
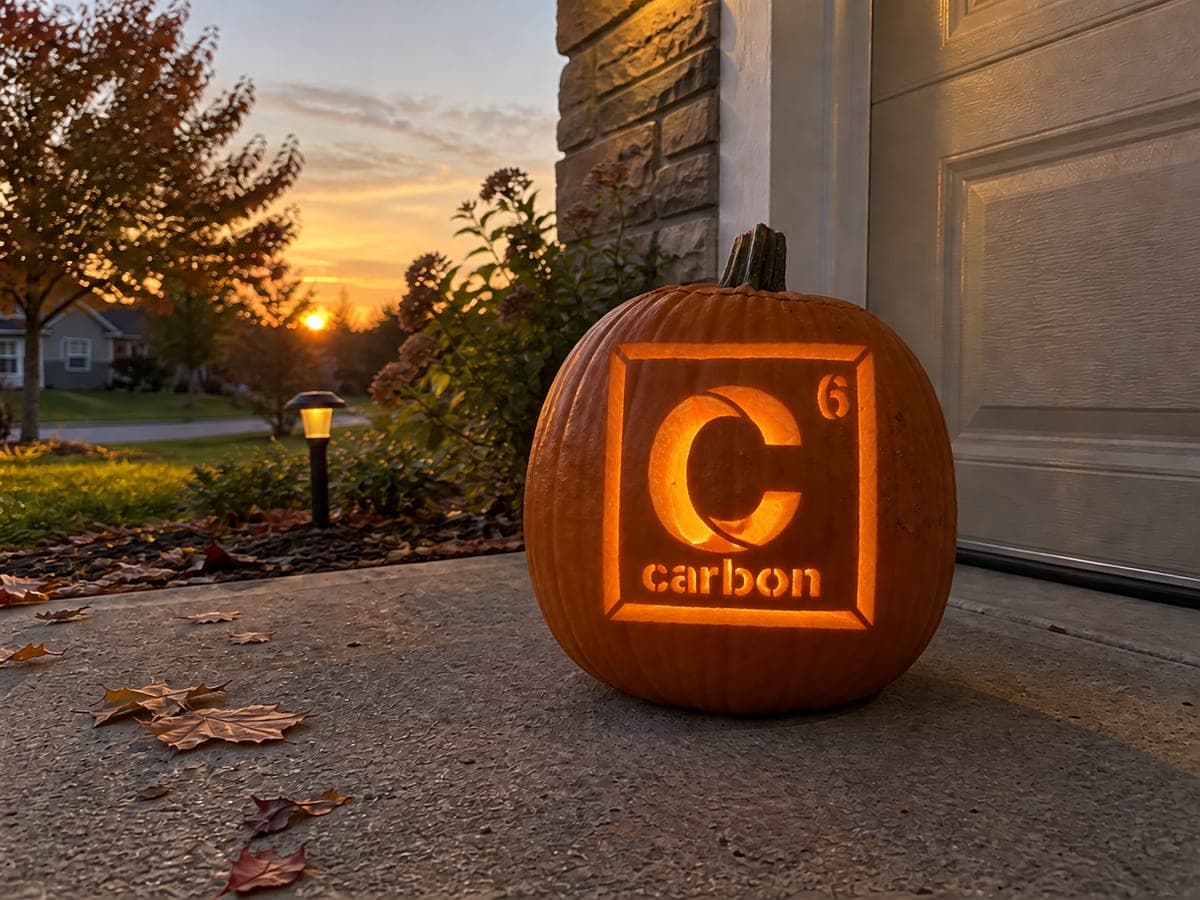
The equation E=MC2 is carved in bold block stencil letters across the center of this jack-o-lantern, with a raised superscript 2 after the C that glows as a smaller cutout above the main line. All characters are pierced through the rind so the formula blazes clearly in the dark, making this a fun pumpkin carving idea for science enthusiasts. The enclosed counter inside the C and the small superscript 2 are the trickiest cuts; carve those first while the pumpkin wall is still fully supported, then work through the remaining open letters from left to right.

This is an AI-generated concept image: a realistic, carvable design idea rather than a photo of a finished carve. AI concepts are always labeled and sit out the leaderboard and the contest.
No ratings yet · Sign in to rate

Comments (0)

  • No comments yet — be the first.

Save without an account. Sign in to like or comment.

Our tips for carving a similar design

The whole design leans on one trick: crisp, evenly weighted block characters spelling E=MC2, all pierced fully through so the formula reads instantly when lit. The plan is to keep the pumpkin wall strong by carving the fussy shapes first, the counter inside the C and the small raised superscript 2, then open the simpler letters left to right. Keep every character its own island so the rind between letters stays solid and the line stays legible.

Written by PumpkinCarvingIdeas.com, inspired by the image above. These are our suggestions, not instructions from the uploader. This approach to the AI concept has not been tested on a real pumpkin.

From pumpkin to porch

  1. Pick a smooth, wide face

    Choose a round pumpkin with a broad, even front so the whole equation fits on one flat plane without wrapping around a curve. A flatter face keeps the letters from distorting when viewed head on. Wipe the surface dry and check for soft spots or deep ribs that would cut through a character. Center your working area between the stem and the base.

  2. Open a back door and clean out

    Have an adult cut an access hole in the back or bottom of the pumpkin, not the top, so the front stays uninterrupted. Scoop the seeds and scrape the inside wall behind the equation down to about one inch thick. A thinner wall behind the letters makes piercing easier and lets more light through. Save the pulp and seeds if you want to roast them.

  3. Transfer the equation and space it out

    Tape your E=MC2 stencil flat and centered, then poke the outlines with a pin or transfer tool. Keep even gaps between each character so the rind acts as a natural divider and nothing runs together. Mark the small superscript 2 riding just above and to the right of the C. Step back and confirm the whole line reads clearly before you cut anything.

  4. Carve the trapped shapes first

    While the wall is still fully supported, start with the enclosed counter inside the C and the little superscript 2, since these are the smallest and most fragile cuts. Use a fine detail saw and gentle, steady strokes, letting the tool do the work rather than forcing it. Support the surrounding rind with your free hand as you finish each piece. Getting these done early means the pumpkin is at its strongest.

  5. Open the letters left to right

    Now pierce the remaining characters, E, the equals sign, M, and the body of the C, working left to right so a hand can rest on uncarved rind. Keep each bar and stroke fully cut through the rind for the brightest, cleanest glow. Push cut pieces inward and out through your back hole so you do not chip the front edges. Take your time on the diagonal insides of the M.

  6. Light it and photograph

    Drop a battery LED puck or a short string of LEDs inside and skip open flame entirely near dry leaves. Test the glow in a dark room and reposition the light so every character lights evenly, tucking it low and central. If one letter looks dim, shave a little more from the inside wall behind it. Shoot your photo at dusk to catch both the warm cutouts and the surrounding scene.

Gather your supplies

Check things off as you get ready.

Work on a stable surface, keep your free hand out of the cutting path, and have an adult handle sharp tools.

Three levels of light

  • Leave intact

    The full orange face around and between the characters stays dark, framing the formula.

  • Peel & shade

    Optional shallow skin-peeling just around the letter edges can add a soft halo without weakening the wall.

  • Cut through

    Every character, E, equals, M, C, the C's inner counter, and the superscript 2, is cut fully through for the brightest glow.

Learn the carving basics

Before you start cutting

How do I keep the letters from running into each other?

Leave a consistent band of uncarved rind between each character so the pumpkin skin itself divides them. Spacing your stencil out before you cut is the key step. If two shapes sit too close, the light bleeds together and the equation gets hard to read.

The inside of the C and the little 2 look fragile. What is the safest order?

Carve those two smallest shapes first, while the pumpkin wall is whole and rigid. A supported wall resists cracking far better than one already full of openings. Then open the larger, simpler letters from left to right so your free hand always rests on solid rind.

Since this is a concept image, can a real pumpkin glow this evenly?

Yes, though real results depend on light placement rather than one perfect shot. Thin the wall behind the letters to about an inch and use a bright LED puck or a small LED string set low and centered. Move the light around in a dark room until each character reads at the same brightness.

Your take belongs here, too.

Changed a detail? Made it simpler? Share a photo of your version and tell the community what worked.

Share your pumpkin

More pumpkins like this

You've reached the end · 8 pumpkins
The Patch Report

Fresh pumpkins, in your inbox.

The best new carvings, ideas worth stealing, and how-tos for carving season. Short, seasonal, and gone by November.

A short email during carving season. Unsubscribe anytime. See our privacy policy.