Halloween Pumpkin Carving Contest · Starts October 1st · $500 in prizes
← Back to ideas
@ai_concepts
Sep 25, 2026

Elaborate Pirate Pumpkin with Segmented Hat and Double MouthAI
0

Report this carving

Tell us what is wrong. Reports are private.

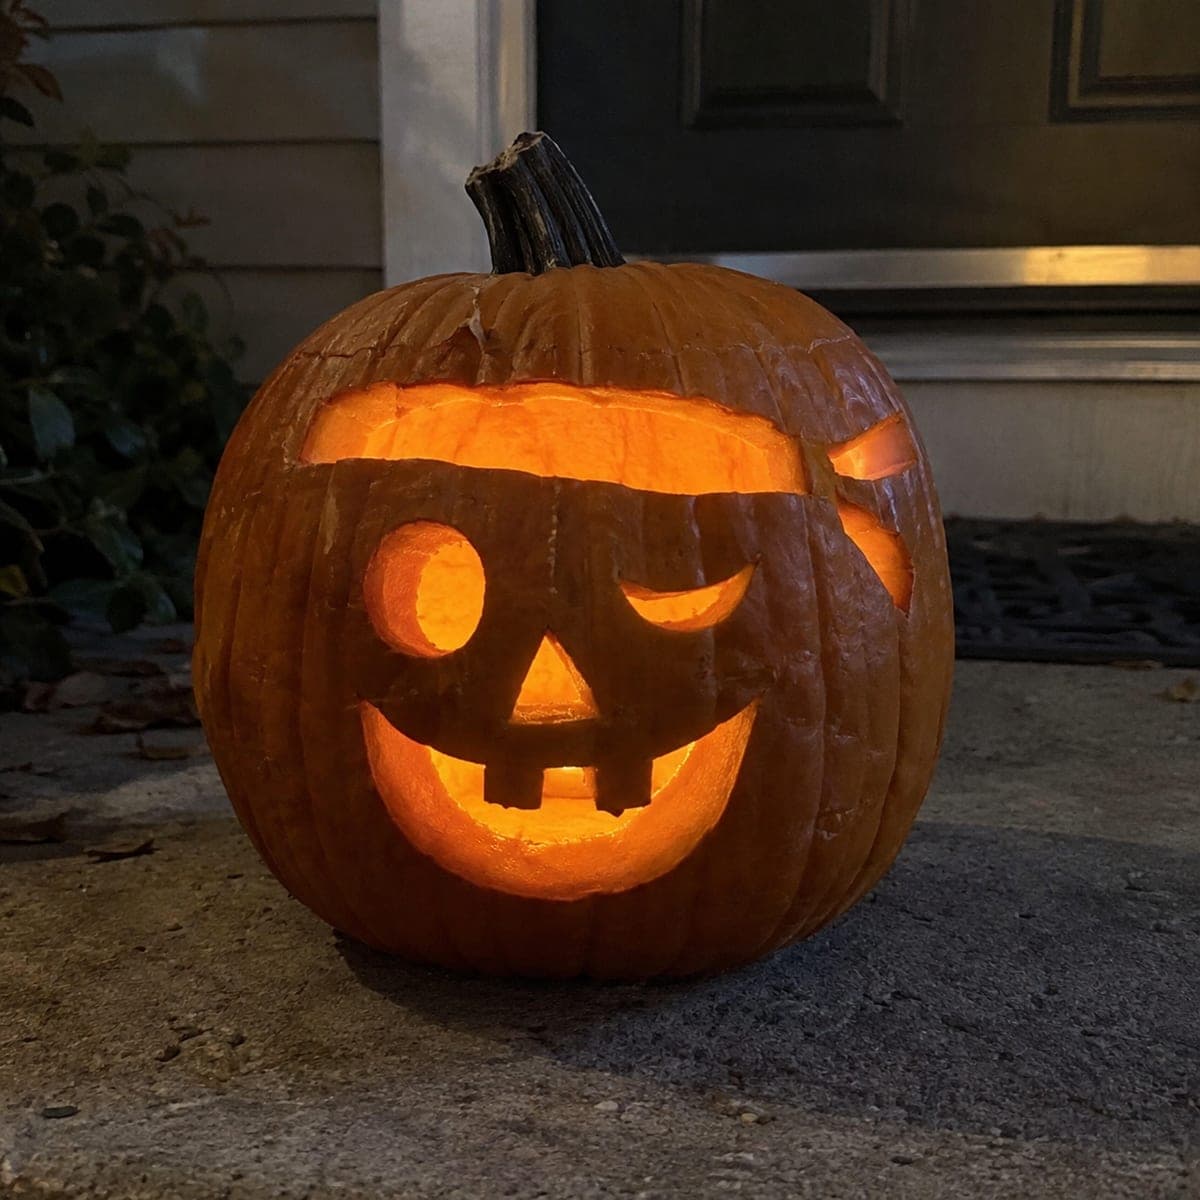
Elaborate Pirate Pumpkin with Segmented Hat and Double Mouth

A segmented tricorn hat, a four-way supported eye crossbar, two rows of rectangular mouth openings separated by a solid horizontal band, and independent border holes make this expert pirate pumpkin carving idea a complex build. Start with the hat panels, keeping all rind between segments broad and connected, then establish the eye crossbar with its four support connections before cutting any surrounding rind. Cut the upper row of mouth holes before the lower row so you can check for flexing between passes. The layered mouth rows create a cage-like glow that looks unlike any standard pumpkin face.

No ratings yet · Sign in to rate

Comments (0)

  • No comments yet — be the first.

Save without an account. Sign in to like or comment.

Our tips for carving a similar design

This design stacks four structurally complex elements: a segmented tricorn hat where the panels are separated by broad rind; a four-way supported eye crossbar; a double-row mouth where each row of rectangular openings is separated by a solid horizontal band; and independent border holes. The sequence of operations is dictated by structural priority: hat panels first, then eye crossbar, then upper mouth row, then lower mouth row, then border holes last. Checking for shell flex between each pass is mandatory.

From pumpkin to porch

  1. Draft the complete design on paper

    Draw all four structural elements to scale and verify that every rind connection traces back to the outer shell frame. Pay particular attention to the horizontal band between the mouth rows; it must remain at least half an inch tall throughout its full width. Mark all four crossbar support connections and confirm no hat panel cut can intersect them.

  2. Hollow to precise wall thickness

    Scoop to a consistent three-quarter-inch wall. Measure at multiple points across the face with a depth probe. Uniform thickness makes the double-row mouth cuts behave predictably and prevents the horizontal band from varying in strength across its width.

  3. Cut the hat panels

    Remove each hat panel as a separate aperture, keeping the rind strips between them broad and firmly connected. Work from one outer hat panel inward to the center, then cut the opposite outer panel. The broad hat rind provides the upper structural anchor for everything below.

  4. Establish the eye crossbar with four supports

    Cut the four eye opening areas flanking the crossbar, working from the outermost support inward on each side. After each cut, test the crossbar with a gentle press to confirm all four supports remain solid. Never proceed to the next cut until the current one passes the press test.

  5. Cut the upper mouth row, then check for flex

    Remove each rectangular upper mouth hole in sequence from left to right. After completing the full upper row, press the shell gently at the horizontal band to confirm no flex. If the band moves at all, stop and reinforce before cutting the lower row.

  6. Cut the lower mouth row and border holes

    With the upper row confirmed stable, remove the lower row of rectangular mouth holes working left to right again. Cut independent border holes last, as the final finishing pass once all structural elements are solid and the shell is verified firm throughout.

Written with AI to match this design

Gather your supplies

Check things off as you get ready.

Work on a stable surface, keep your free hand out of the cutting path, and have an adult handle sharp tools.

Three levels of light

  • Leave intact

    The outer shell frame, hat rind strips, horizontal mouth band, and all structural bridges stay solid and dark.

  • Peel & shade

    None; all shapes are full through cuts.

  • Cut through

    All hat panels, eye crossbar flanking openings, both rows of mouth rectangles, and border holes are cut through for layered full-brightness glow.

Learn the carving basics

Before you start cutting

The double-row mouth is the most complex part. How do I keep the horizontal band intact?

Mark the minimum band height, half an inch, across its full width before cutting either row. After each hole in the upper row, run a chalk marker along the band top edge to confirm it has not been accidentally narrowed. Cut with a very narrow blade and stop each stroke exactly at the band boundary.

What does a four-way supported crossbar mean in practice?

It means the crossbar has rind connecting it to the outer shell at four points: the left anchor, the right anchor, a rind strip above connecting to the hat area, and a rind strip below connecting to the nose or mid-face area. All four must remain intact until every surrounding cut is complete.

The cage-like glow from the double mouth row does not look as dramatic as expected. What is wrong?

The effect depends on the horizontal band being visible as a solid dark strip between two rows of light. If the band is too thin or the mouth rows are too narrow, the effect collapses into a single wide opening. Check that the band is at least half an inch and each mouth hole is at least three-quarters of an inch tall.

Your take belongs here, too.

Changed a detail? Made it simpler? Share a photo of your version and tell the community what worked.

Share your pumpkin

More pumpkins like this

You've reached the end · 8 pumpkins
The Patch Report

Fresh pumpkins, in your inbox.

The best new carvings, ideas worth stealing, and how-tos for carving season. Short, seasonal, and gone by November.

A short email during carving season. Unsubscribe anytime. See our privacy policy.