Halloween Pumpkin Carving Contest · Starts October 1st · $500 in prizes
← Back to ideas
@ai_concepts
Sep 25, 2026
Detailed Cat Pumpkin with Fur Slots and Glowing BorderAI
0

Report this carving

Tell us what is wrong. Reports are private.

Detailed Cat Pumpkin with Fur Slots and Glowing Border

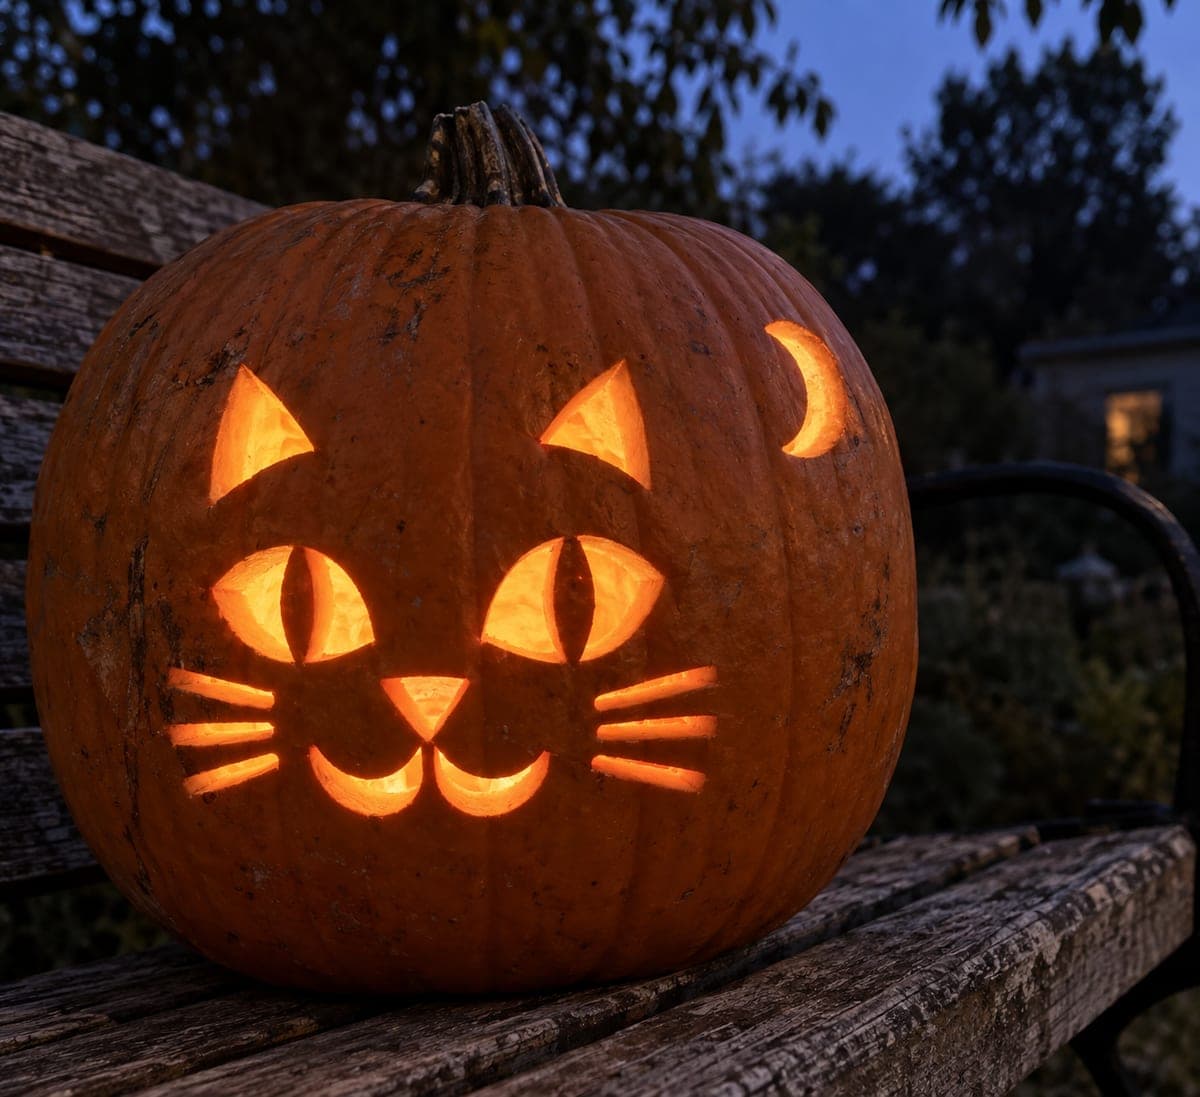
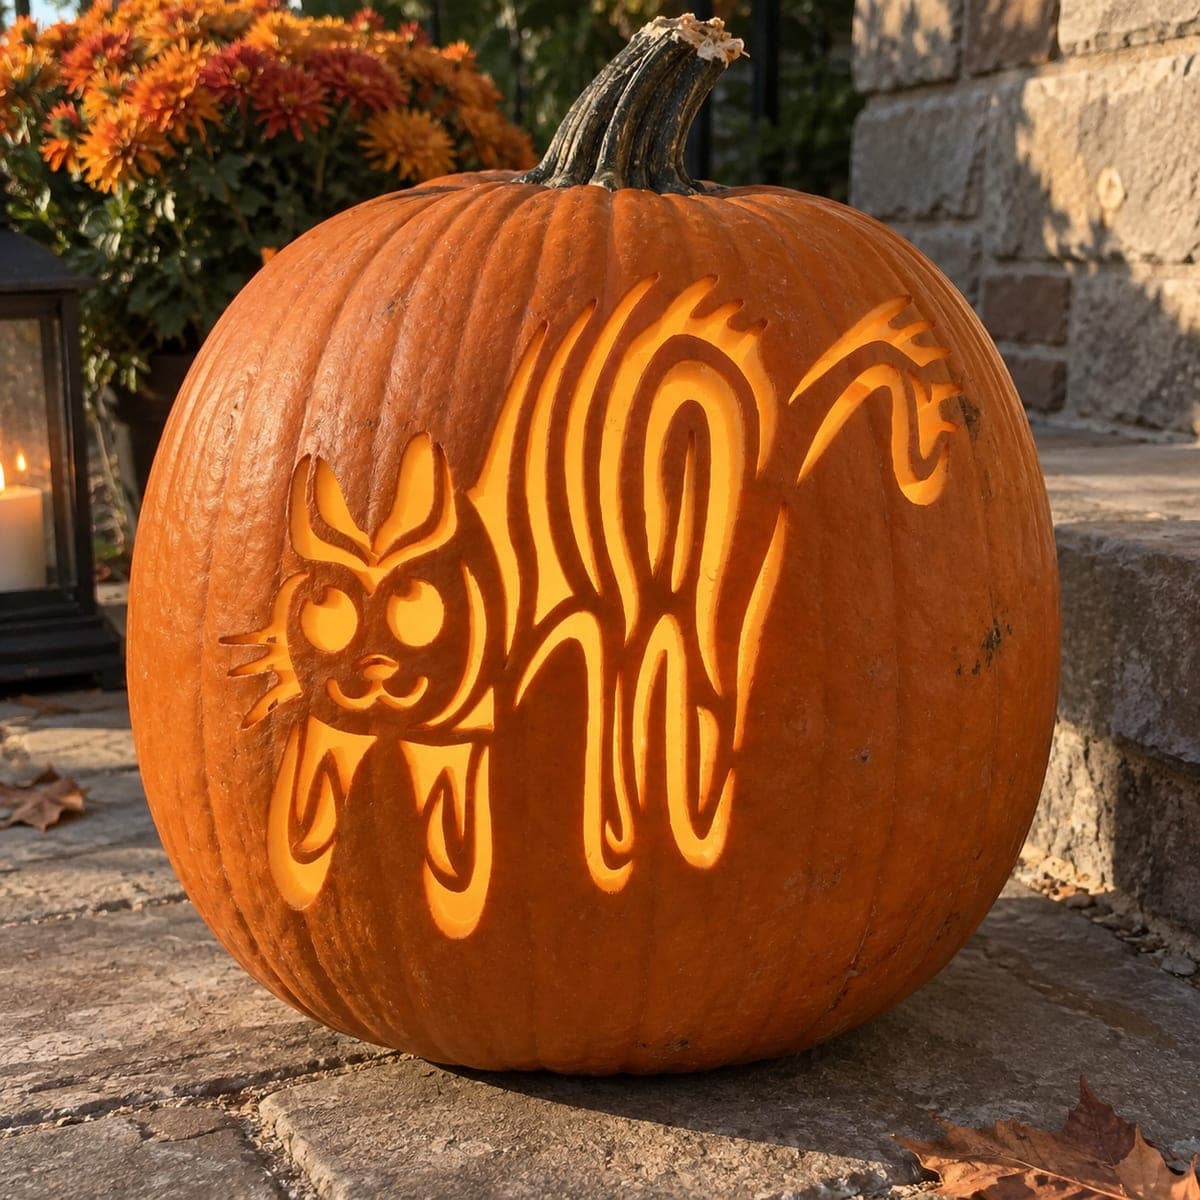
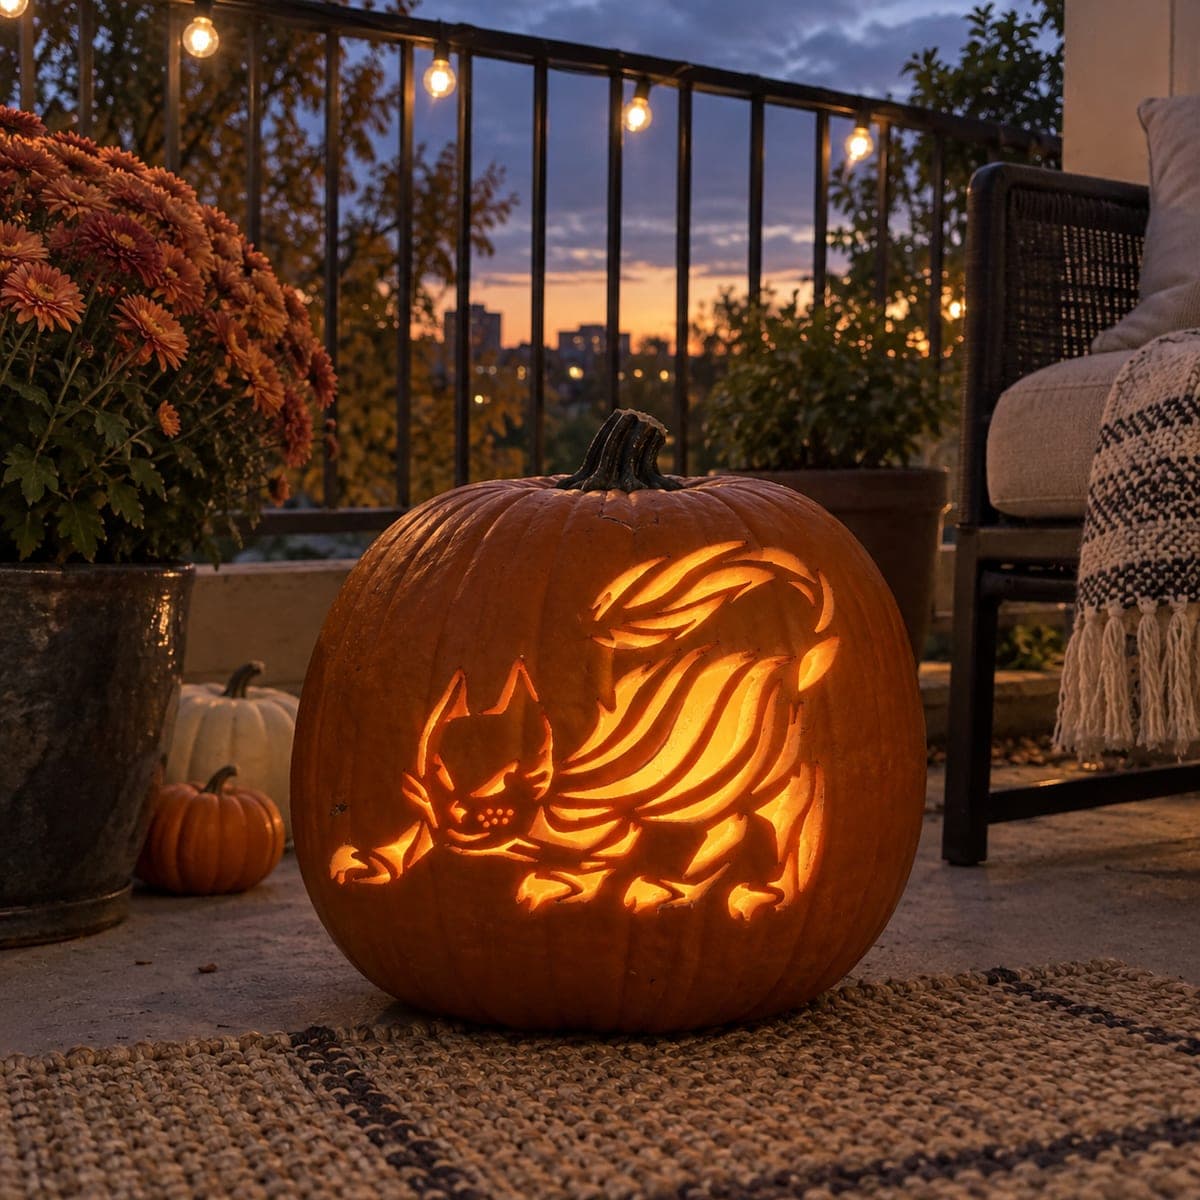
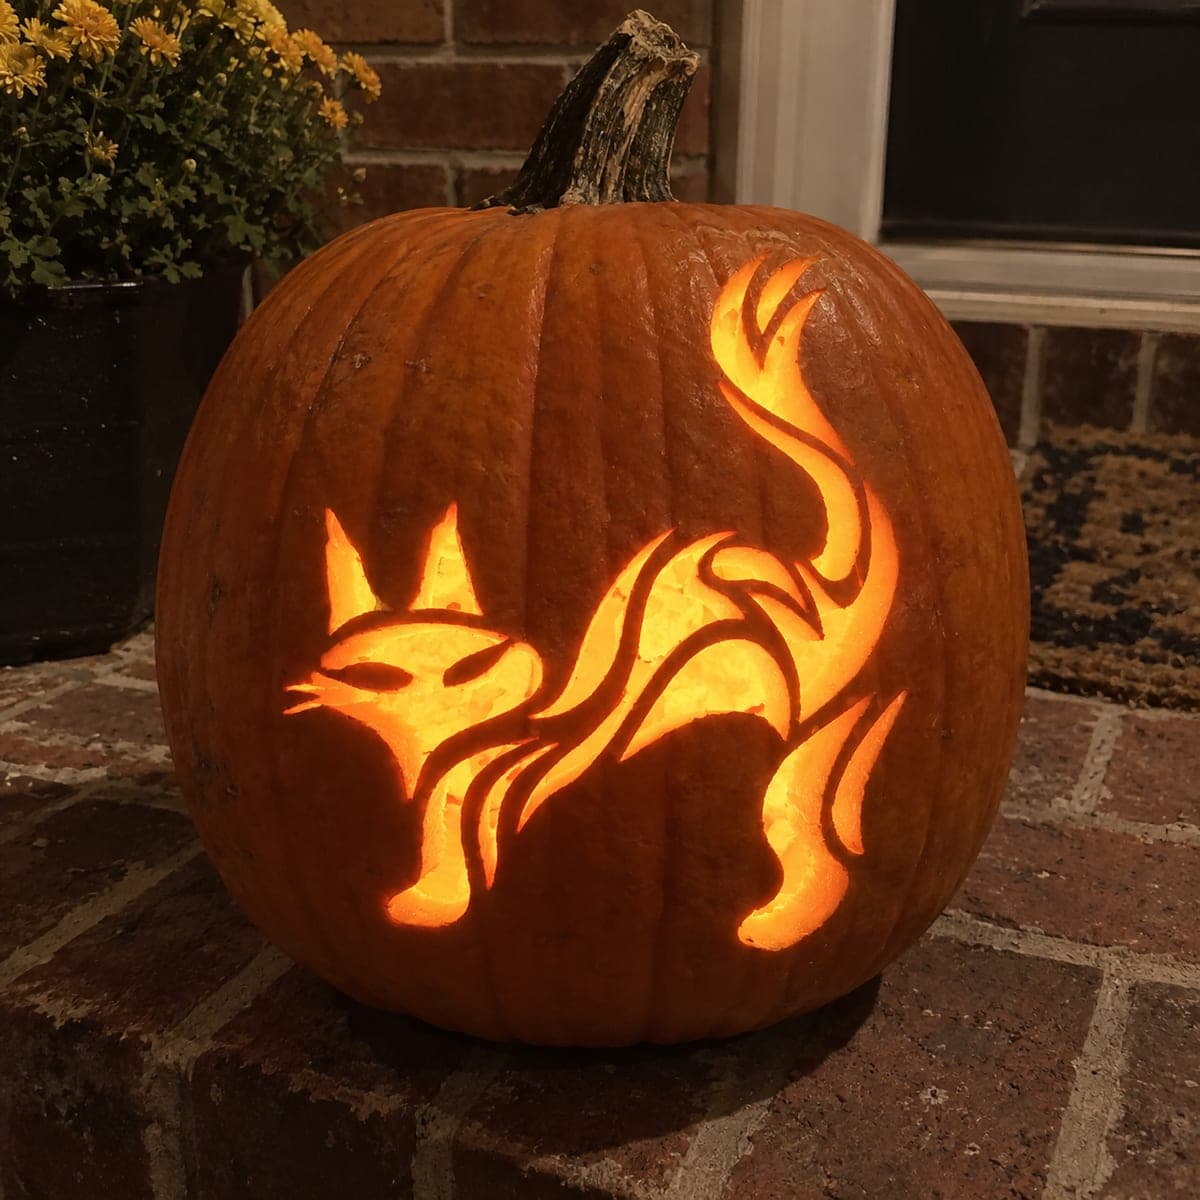
Spanning eye bars, individually cut facial features, radiating fur slots and a ring of border holes combine in this expert cat pumpkin carving idea for a portrait-quality result. All retained rind must remain fully continuous, with every fur slot and border hole sitting as an independent cut never touching another. Trace the full pattern in pencil and mark every bridge point before making a single cut, since the density of openings means one wrong cut can compromise several adjacent pieces. A focused LED spotlight inside, aimed slightly upward, lifts the fine fur detail clearly.

No ratings yet · Sign in to rate

Comments (0)

  • No comments yet — be the first.

Save without an account. Sign in to like or comment.

Our tips for carving a similar design

The challenge of this design is density: spanning pupil bars, individual facial holes, radiating fur slots and a full ring of border holes must coexist without any retained rind island becoming detached. Every single piece of rind must trace a continuous path back to the pumpkin wall. Mapping every bridge on paper before touching the pumpkin is not optional at this complexity level.

From pumpkin to porch

  1. Plan bridges on paper first

    Draw the full pattern to scale on paper and trace every bridge point with a highlighter. Confirm that every retained piece connects back to the main wall. Only transfer the pattern to the pumpkin once you can trace a continuous rind path from every element to the outer rim. This planning step prevents irreversible mistakes.

  2. Prep and thin the wall carefully

    Scoop the interior thoroughly and thin the front face wall to about 1.2 cm. The fur slots and border holes need a thin wall to glow sharply. Use a melon baller to thin targeted areas without affecting the surrounding structure. Mark the wall thickness from the outside using a toothpick as a depth gauge.

  3. Transfer and cut the eye apertures

    Poke the full pattern through with a pin, marking bridge points in a contrasting color. Cut each eye opening in two passes: first the main lobe above the pupil bar, then the main lobe below, keeping the spanning bar fully intact. Press the bar gently between passes to confirm it is holding.

  4. Cut the facial details

    Work through the nose, mouth and surrounding facial apertures in order from the center outward. Each hole must be surrounded by solid rind on all sides with no adjacent cut allowed to touch it. Use a detail cutter for any aperture smaller than 1 cm. Remove all cut pieces cleanly before moving on to the fur slots.

  5. Cut fur slots, then border holes

    Work the radiating fur slots from the face outward, confirming after each slot that the rind between it and its neighbor is at least 5 mm. Cut the ring of border holes last, since they are the outermost elements and do not affect the structural core. A focused LED aimed at the face reveals whether any bridge is becoming too thin.

  6. Light and display

    Aim a focused LED spotlight slightly upward from the base of the interior to lift the fur slot detail. Place the pumpkin at eye level on a pedestal in a fully dark room. The density of glowing openings creates a jewel-like effect that rewards a close viewing distance.

Written with AI to match this design

Gather your supplies

Check things off as you get ready.

Work on a stable surface, keep your free hand out of the cutting path, and have an adult handle sharp tools.

Three levels of light

  • Leave intact

    All bridge rind connecting the eye bars, facial elements, fur slots and border holes must stay continuous and dark.

  • Peel & shade

    None. The design uses through-cuts only.

  • Cut through

    Pupil bars span the glowing eye apertures; every facial opening, fur slot and border hole is cut through for full light.

Learn the carving basics

Before you start cutting

What happens if I accidentally cut through a bridge?

Stop immediately and do not try to move the pumpkin. From the inside, apply a strip of clear packing tape across the break, pressing it firmly against both sides of the split rind. Allow the tape to set for a few minutes before continuing. The repair will hold for a day or two, which is usually enough time to display the pumpkin for Halloween.

How do I keep track of which rind areas still need bridging?

After transferring the pattern, shade every cut-away area with a pencil or marker directly on the pumpkin so you can see at a glance what stays and what goes. Cross off each cut section as you complete it. This running visual map makes it easy to spot any remaining isolated pieces before they become a problem.

How long will a pumpkin with this many cuts last before collapsing?

A heavily carved pumpkin typically stays firm for three to five days. To maximize display life, rub petroleum jelly into every cut edge, store the pumpkin in a cool place during the day, and use an LED rather than a candle to prevent heat damage. Carving two or three days before Halloween gives you the best window.

Your take belongs here, too.

Changed a detail? Made it simpler? Share a photo of your version and tell the community what worked.

Share your pumpkin

More pumpkins like this

You've reached the end · 8 pumpkins
The Patch Report

Fresh pumpkins, in your inbox.

The best new carvings, ideas worth stealing, and how-tos for carving season. Short, seasonal, and gone by November.

A short email during carving season. Unsubscribe anytime. See our privacy policy.