Halloween Pumpkin Carving Contest · Starts October 1st · $500 in prizes
← Back to ideas
@ai_concepts
Sep 25, 2026
Intricate Black Cat Pumpkin with Leaf-Border AperturesAI
0

Report this carving

Tell us what is wrong. Reports are private.

Intricate Black Cat Pumpkin with Leaf-Border Apertures

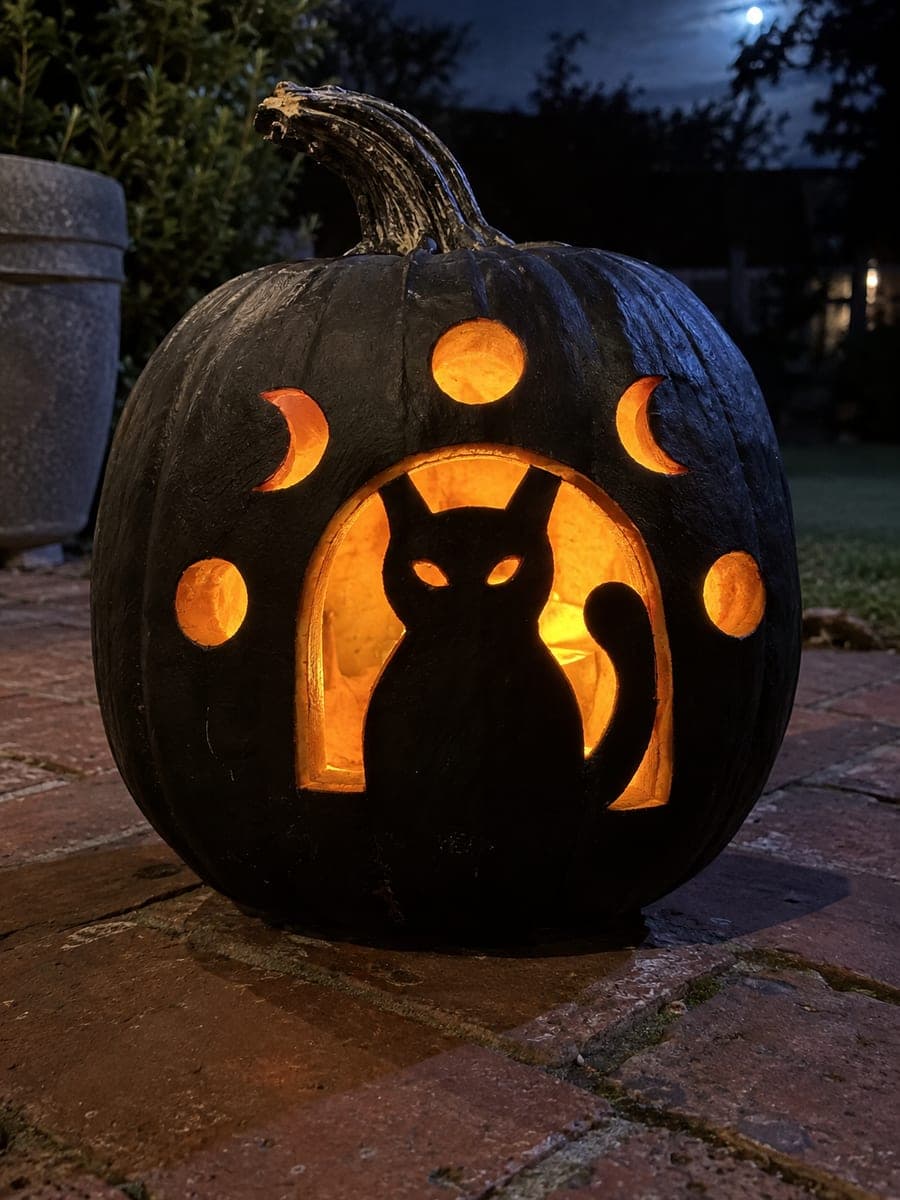
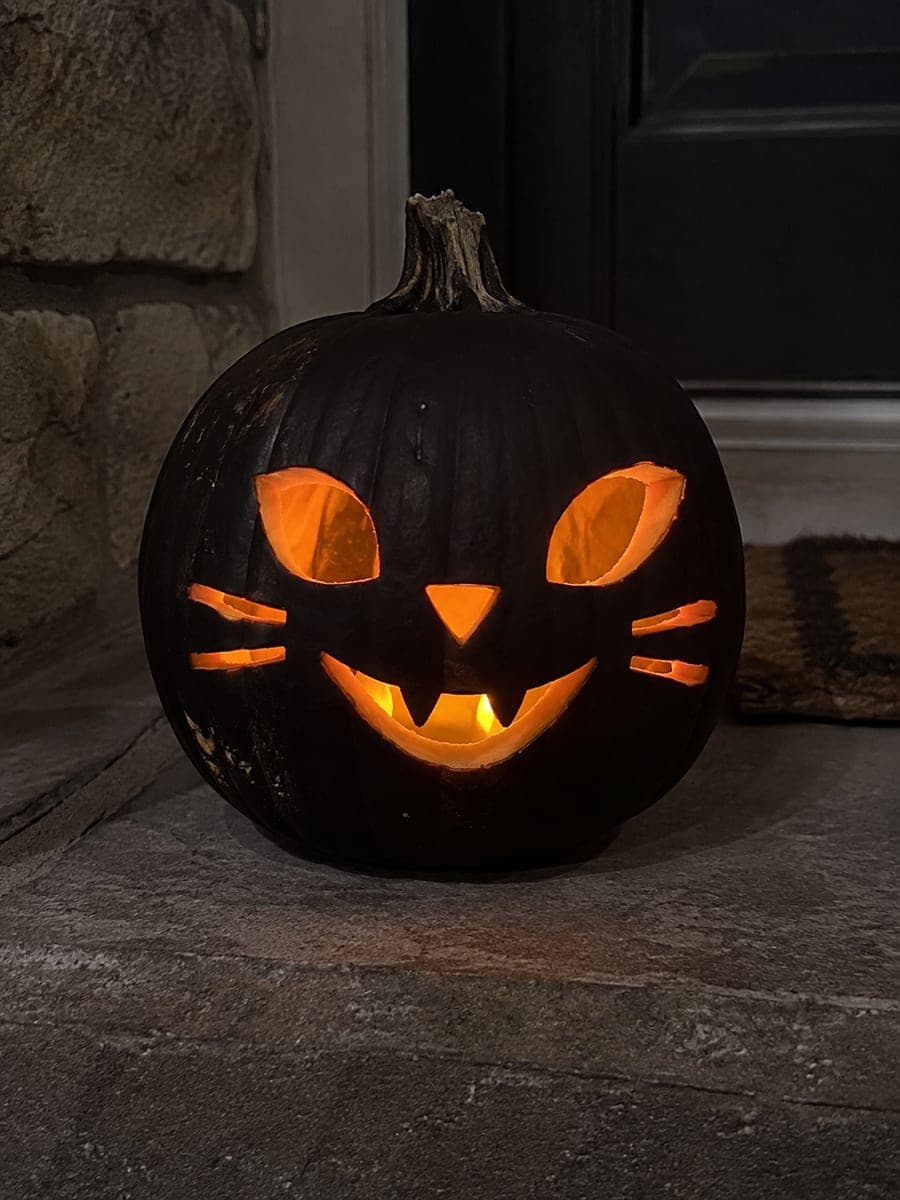
Glowing eyes, fine whisker slots and a ring of leaf-shaped border holes cut through a black-painted shell give this expert black cat pumpkin carving its elaborate, jewel-like appearance. All apertures are genuine through-cuts, with spanning pupil bridges and broad connected rind between every leaf and facial element. Paint the rind black and let it cure before cutting so the orange interior walls glow in full contrast through each opening. Arrange the finished pumpkin at eye level on a pedestal to show off the border detail.

No ratings yet · Sign in to rate

Comments (0)

  • No comments yet — be the first.

Save without an account. Sign in to like or comment.

Our tips for carving a similar design

Every aperture here is a genuine cut-through hole in a black-painted shell, so the orange inner walls glow through each leaf shape, whisker slot and eye opening in sharp, jewel-like contrast. Spanning pupil bridges and broad connected rind between every element must remain continuous throughout. The black paint amplifies every cut edge glow, so precision matters more than on a natural rind.

From pumpkin to porch

  1. Plan and map every bridge

    Draw the full pattern on paper and trace every bridge connection with a highlighter before transferring anything to the pumpkin. Confirm that each leaf-border hole and facial aperture is surrounded by rind that connects back to the main wall. Count the number of independent cuts and plan your cutting sequence from center outward.

  2. Scoop, thin and paint

    Scoop the interior clean and thin the front wall to around 1.2 cm. Apply two coats of matte black acrylic and cure overnight. Thin walls allow the LED light to travel through the many small leaf apertures clearly; underpowered glow in tiny holes looks muddy rather than bright.

  3. Transfer the pattern

    Poke the full pattern through paper onto the cured surface. Mark pupil bridge positions prominently in grease pencil. Mark each leaf-border hole individually so no two adjacent holes are confused during cutting.

  4. Carve the eyes and nose

    Cut the eye apertures in two passes per eye, preserving each pupil bridge. Work the nose hole and any central facial apertures next. Check all bridges after each cut; a focused LED inside during cutting shows you in real time if any area is becoming dangerously thin.

  5. Carve whisker slots and face detail

    Work through the whisker slots and any intermediate facial detail holes, always leaving broad rind between adjacent cuts. Cut each slot cleanly in a single pass using a thin blade. Avoid levering the blade sideways to free a stuck piece, as this can crack the rind of the neighboring bridge.

  6. Add leaf border holes last

    Work around the border ring one leaf at a time, confirming rind integrity between each pair of holes. The outermost holes are the last structural risk, so take your time here. Set the finished pumpkin at eye level on a pedestal and let a bright LED show off every glowing element.

Written with AI to match this design

Gather your supplies

Check things off as you get ready.

Work on a stable surface, keep your free hand out of the cutting path, and have an adult handle sharp tools.

Three levels of light

  • Leave intact

    All bridge rind including pupil bars, leaf-border bridges and facial connectors stay black and continuous.

  • Peel & shade

    None. The black paint and through-cuts handle all visual contrast.

  • Cut through

    Eye apertures (bridged), nose, whisker slots, all leaf-border holes and any intermediate face holes are cut through for glowing orange edges.

Learn the carving basics

Before you start cutting

How many leaf holes can I safely fit around the border?

Spacing depends on pumpkin size, but as a rule leave at least 10 mm of solid rind between any two adjacent leaf holes. On a pumpkin 30 cm wide, about 12 to 14 leaf holes around the border is usually achievable. Fewer well-spaced holes look better and last longer than a crowded ring where bridges are too thin.

Does the paint affect how the LED glow reads through the holes?

The black exterior actually improves the glow effect because no ambient orange light bleeds through the uncut rind to dilute the aperture glow. Each hole appears as a clean bright shape against deep black, which is why this design rewards the extra effort of painting before carving.

My detail blade keeps snagging in the paint. What should I do?

A thin coat of petroleum jelly applied along the blade before each cut helps it slide through the cured acrylic without snagging. Replace the blade if it starts pulling; a dull blade drags paint and increases the risk of cracking the rind around fine holes.

Your take belongs here, too.

Changed a detail? Made it simpler? Share a photo of your version and tell the community what worked.

Share your pumpkin

More pumpkins like this

You've reached the end · 8 pumpkins
The Patch Report

Fresh pumpkins, in your inbox.

The best new carvings, ideas worth stealing, and how-tos for carving season. Short, seasonal, and gone by November.

A short email during carving season. Unsubscribe anytime. See our privacy policy.