Halloween Pumpkin Carving Contest · Starts October 1st · $500 in prizes
← Back to ideas
@ai_concepts
Sep 14, 2026
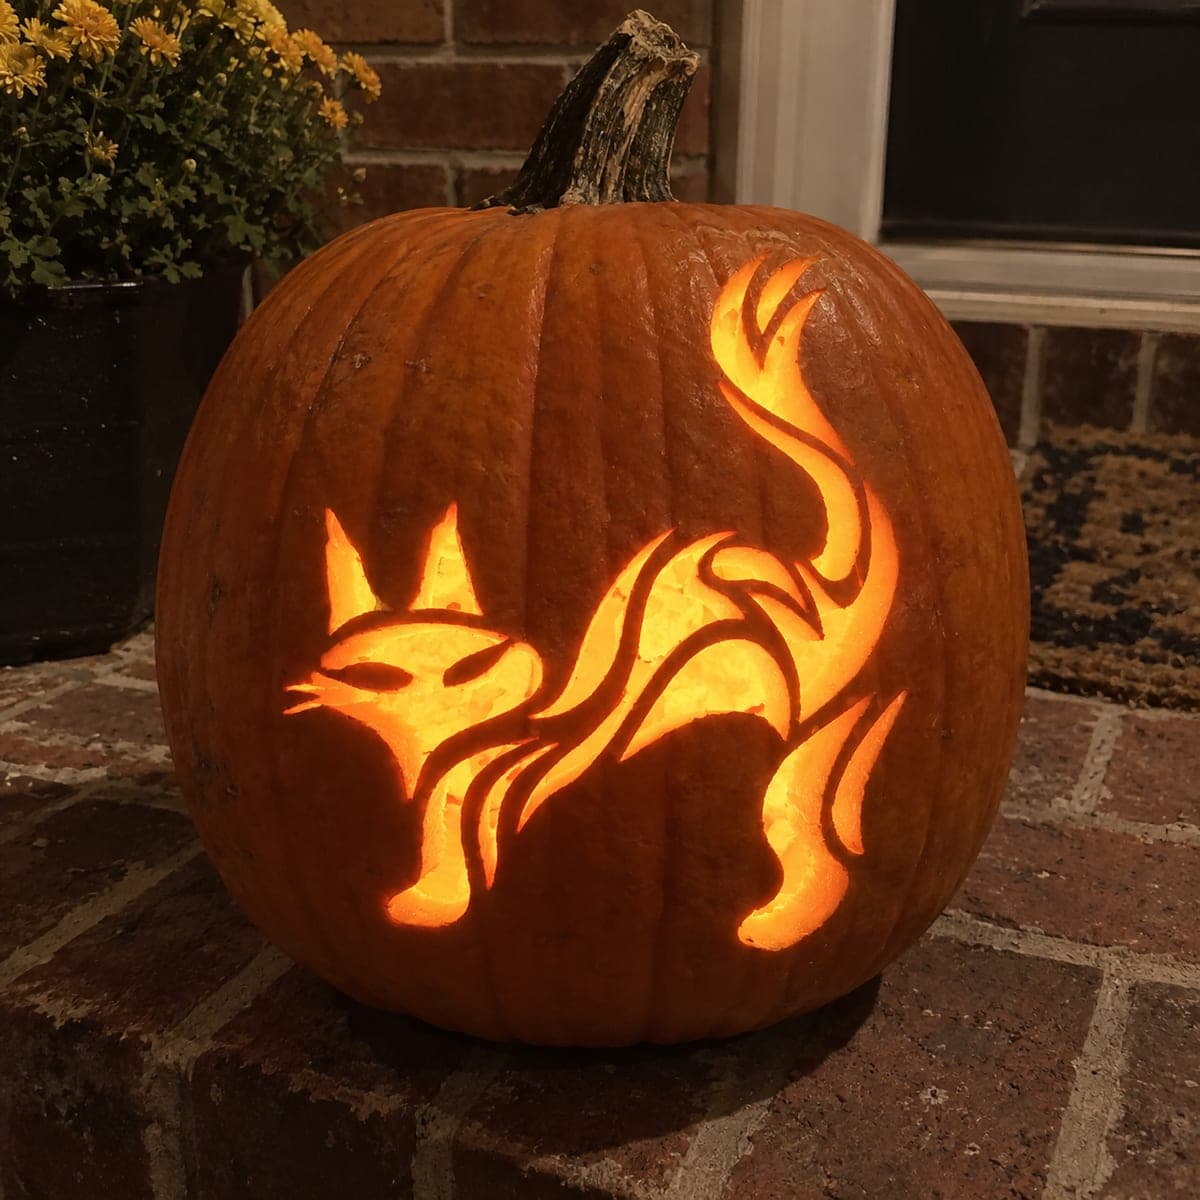
Crouching Cat With Flowing Fur PumpkinAI
0

Crouching Cat With Flowing Fur Pumpkin

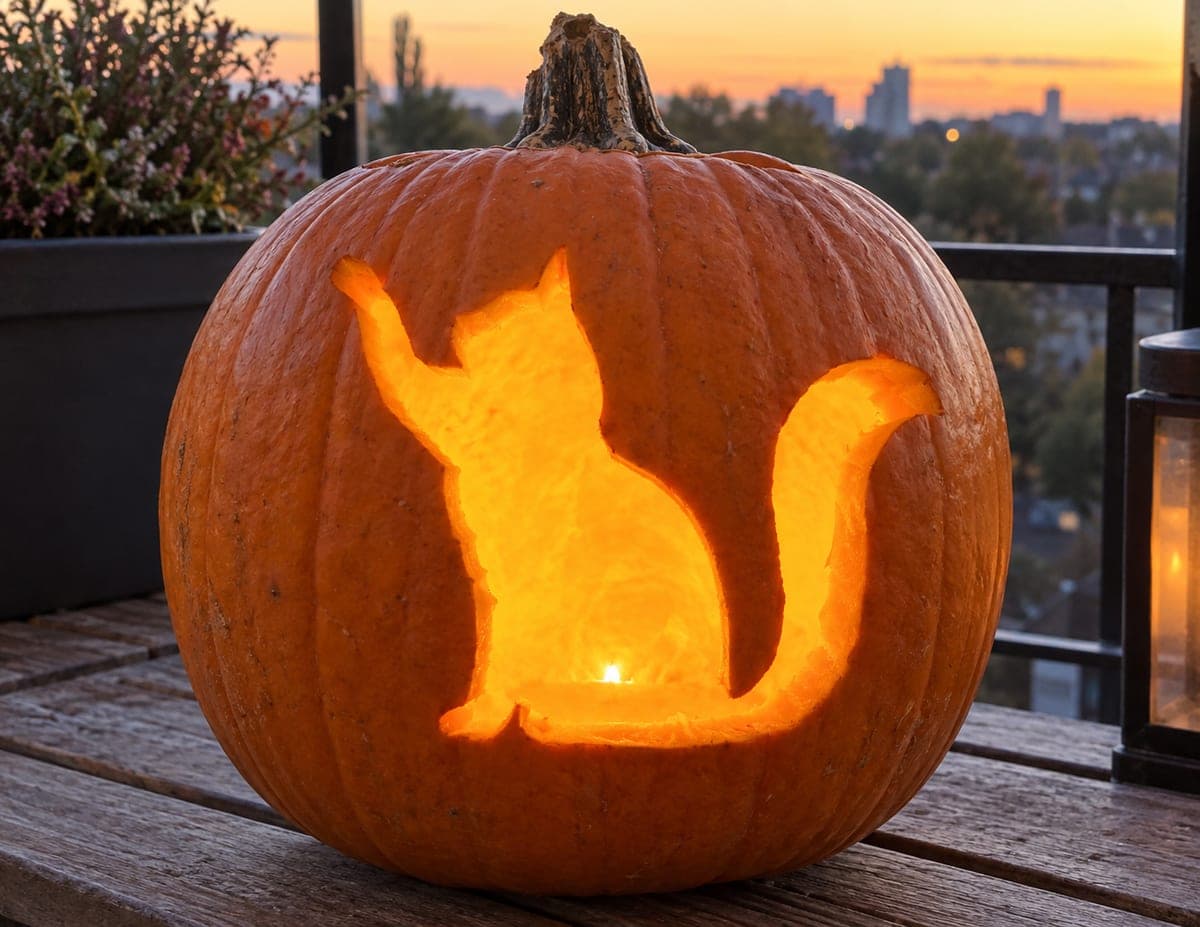
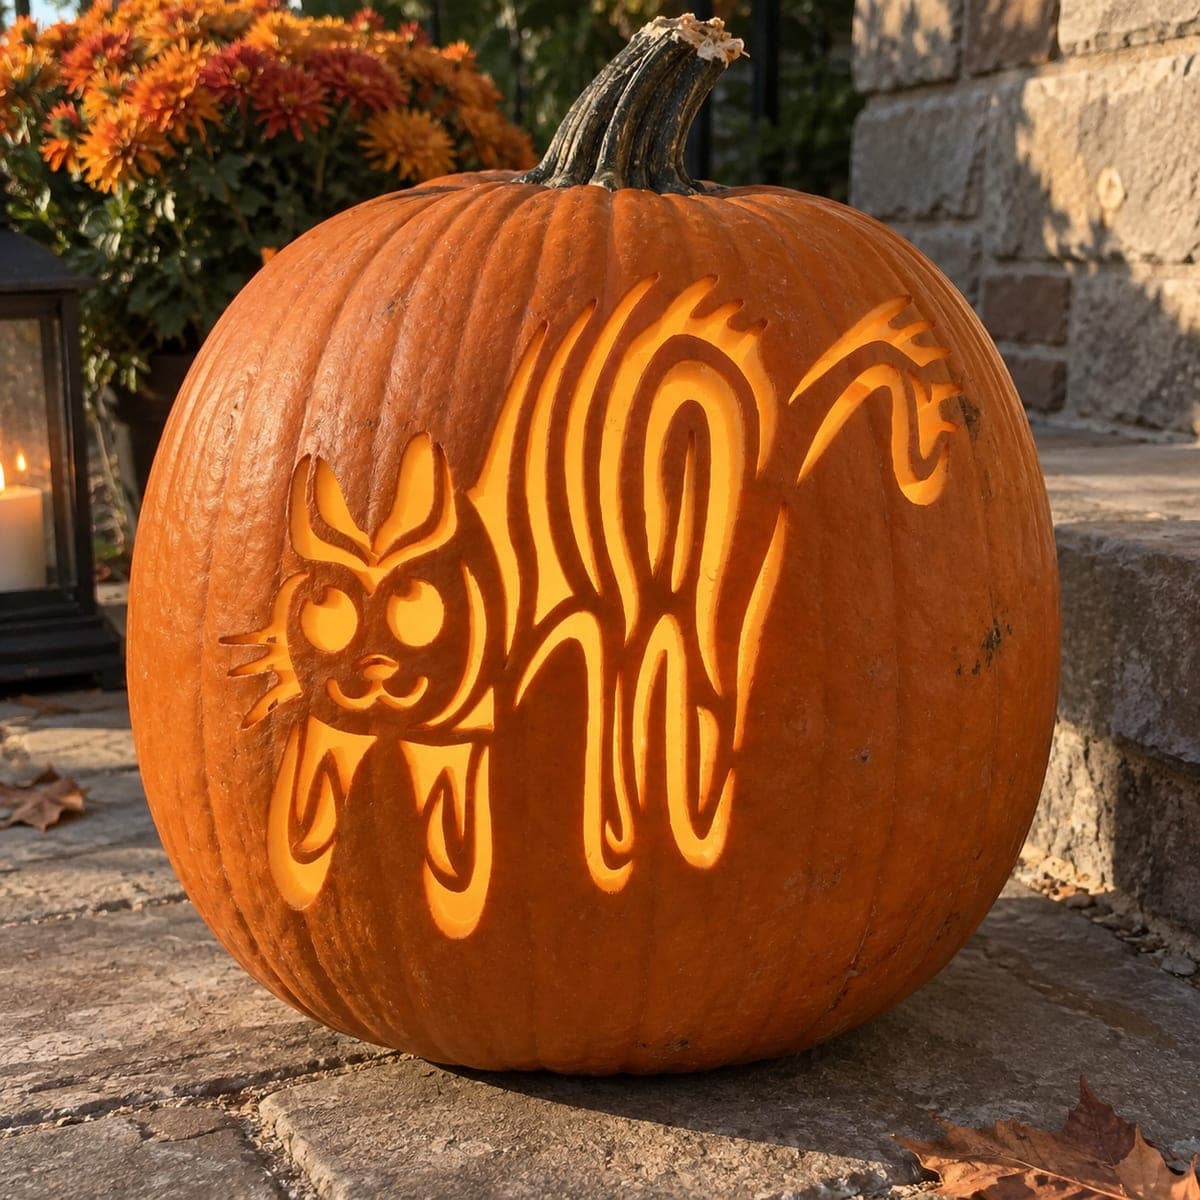
A low-slung cat with a masked face and wildly flowing striped fur lines stalks across the pumpkin face, its elongated body composed almost entirely of sweeping parallel cuts. The technique pierces each stripe individually through the rind, letting glow pour through every line so the whole cat reads as a luminous pattern from a distance. Mark all stripe directions lightly with a pin tool before cutting, so the lines stay parallel even when working across the pumpkin's natural curvature. This artistic cat pumpkin carving idea benefits from a bright LED set close to the back wall to maximize the glow contrast in the narrow cuts.

This is an AI-generated concept image: a realistic, carvable design idea rather than a photo of a finished carve. AI concepts are always labeled and sit out the leaderboard and the contest.
No ratings yet · Sign in to rate

Comments (0)

  • No comments yet — be the first.

Save without an account. Sign in to like or comment.

Our tips for carving a similar design

The whole cat is built from a set of sweeping parallel cuts, so the fur itself becomes the light pattern. The trick is keeping every stripe flowing in the same direction as it wraps across the pumpkin's curve, which you plan by marking line directions before any blade touches the rind. Cut the body last, working from the smallest details outward, so the surface stays strong while you carve the many narrow slots.

Written by PumpkinCarvingIdeas.com, inspired by the image above. These are our suggestions, not instructions from the uploader. This approach to the AI concept has not been tested on a real pumpkin.

From pumpkin to porch

  1. Prep and open the pumpkin

    Pick a tall pumpkin with a wide, smooth flat area on one side for the cat. An adult should cut an access hole in the back rather than the top, so the front face stays uninterrupted for the design. Scoop the insides and thin the front wall to about one inch so light passes cleanly through the narrow cuts. A thinner wall makes the fine stripes glow much brighter.

  2. Transfer and map the fur lines

    Tape your stencil to the front and poke the outline and every stripe with a pin tool. Before you cut anything, lightly mark the direction of each fur line with the pin so the stripes stay parallel even as the surface curves. Take your time here, since the sweeping flow of the fur is what sells the whole design. Remove the paper and check that the body, tail, and face read clearly as dots.

  3. Carve the face and small details first

    Start with the ears, the masked face, and the small teeth or nose dots while the pumpkin is still solid and stable. Use a fine detail saw or a craft knife held at a steady angle, and let an adult handle all sharp tools. Keep tiny points like ear tips slightly rounded so they do not snap. Small features are easiest before the surface is weakened by the long stripe cuts.

  4. Pierce the fur stripes

    Cut each stripe as its own narrow slot, following the direction marks you made. Work from the top of the back down toward the belly, leaving thin ribs of skin between every cut so the wall does not collapse. Keep the slots roughly the same width for an even, patterned glow. If a rib feels fragile, make it a touch wider rather than risk a break.

  5. Open the largest cutouts last

    Save the biggest gaps, like the wide belly space and the open areas around the legs, for the very end. Removing these last keeps the pumpkin rigid while you do the delicate stripe work. Gently push each piece out from the inside so edges stay clean. Trim any ragged spots with light passes rather than force.

  6. Light it and photograph

    Set a bright LED puck or string close to the back wall to drive light through the narrow cuts. Test in a dark room and nudge the light until every stripe glows evenly with strong contrast. Shoot at dusk on a porch or rail for a warm ambient backdrop. Avoid candles, since open flame and the many thin ribs do not mix.

Gather your supplies

Check things off as you get ready.

Work on a stable surface, keep your free hand out of the cutting path, and have an adult handle sharp tools.

Three levels of light

  • Leave intact

    The uncut rind between stripes and the cat's dark masked face stay solid for shape.

  • Peel & shade

    Shallow-scraped accents along the ear edges or cheek could add a dim orange halo.

  • Cut through

    Each fur stripe and the open belly and leg gaps cut fully through for the brightest glow.

Learn the carving basics

Before you start cutting

How do I keep all the fur stripes flowing in the same direction?

Map every line with a pin tool before cutting, following the pumpkin's natural curve. Marking direction first lets you correct the flow while it is still just dots. Once you start cutting, follow those marks stroke by stroke so the parallel look holds together.

Will the thin ribs between stripes break while I carve?

They can if the ribs are too narrow or the wall is too thick. Thin the inside wall to about an inch and keep each rib at least a stripe's width apart. Cut the largest openings last so the surface stays supported while you work the fine slots.

What light setup makes the narrow cuts glow best?

Use a bright LED placed close to the back wall so light shoots straight through the thin slots. Because this is a concept image, you are aiming to recreate that strong contrast in your own build. Test in the dark and reposition the LED until every stripe reads clearly from across the yard.

Your take belongs here, too.

Changed a detail? Made it simpler? Share a photo of your version and tell the community what worked.

Share your pumpkin

More pumpkins like this

You've reached the end · 8 pumpkins
The Patch Report

Fresh pumpkins, in your inbox.

The best new carvings, ideas worth stealing, and how-tos for carving season. Short, seasonal, and gone by November.

A short email during carving season. Unsubscribe anytime. See our privacy policy.