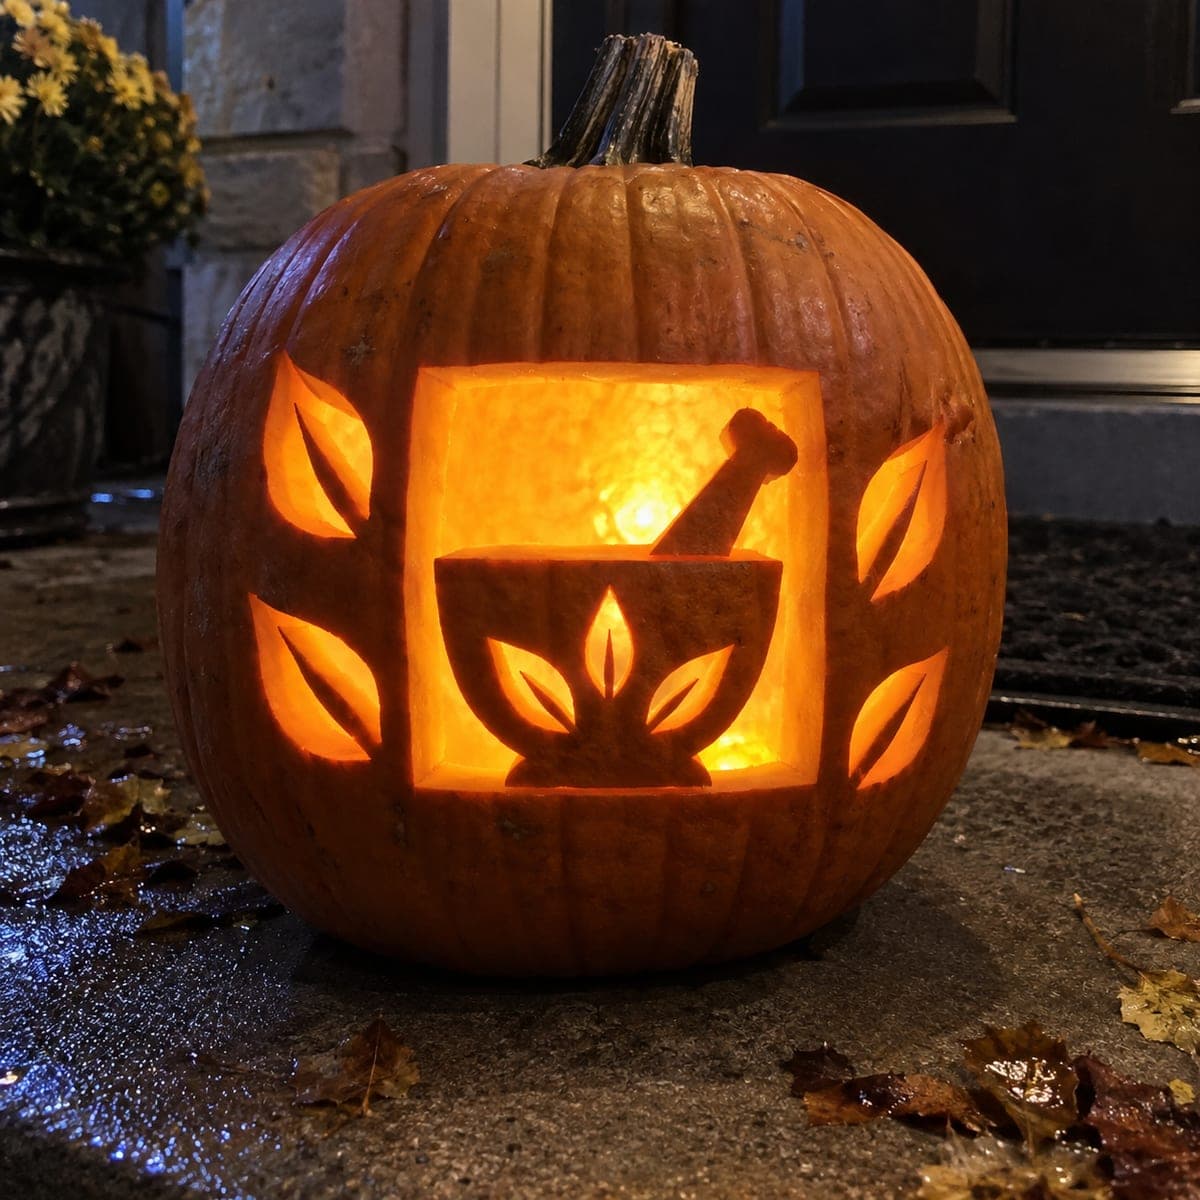
Halloween Pumpkin Carving Contest · Starts October 1st · $500 in prizes
← Back to ideas
@ai_concepts
Sep 25, 2026
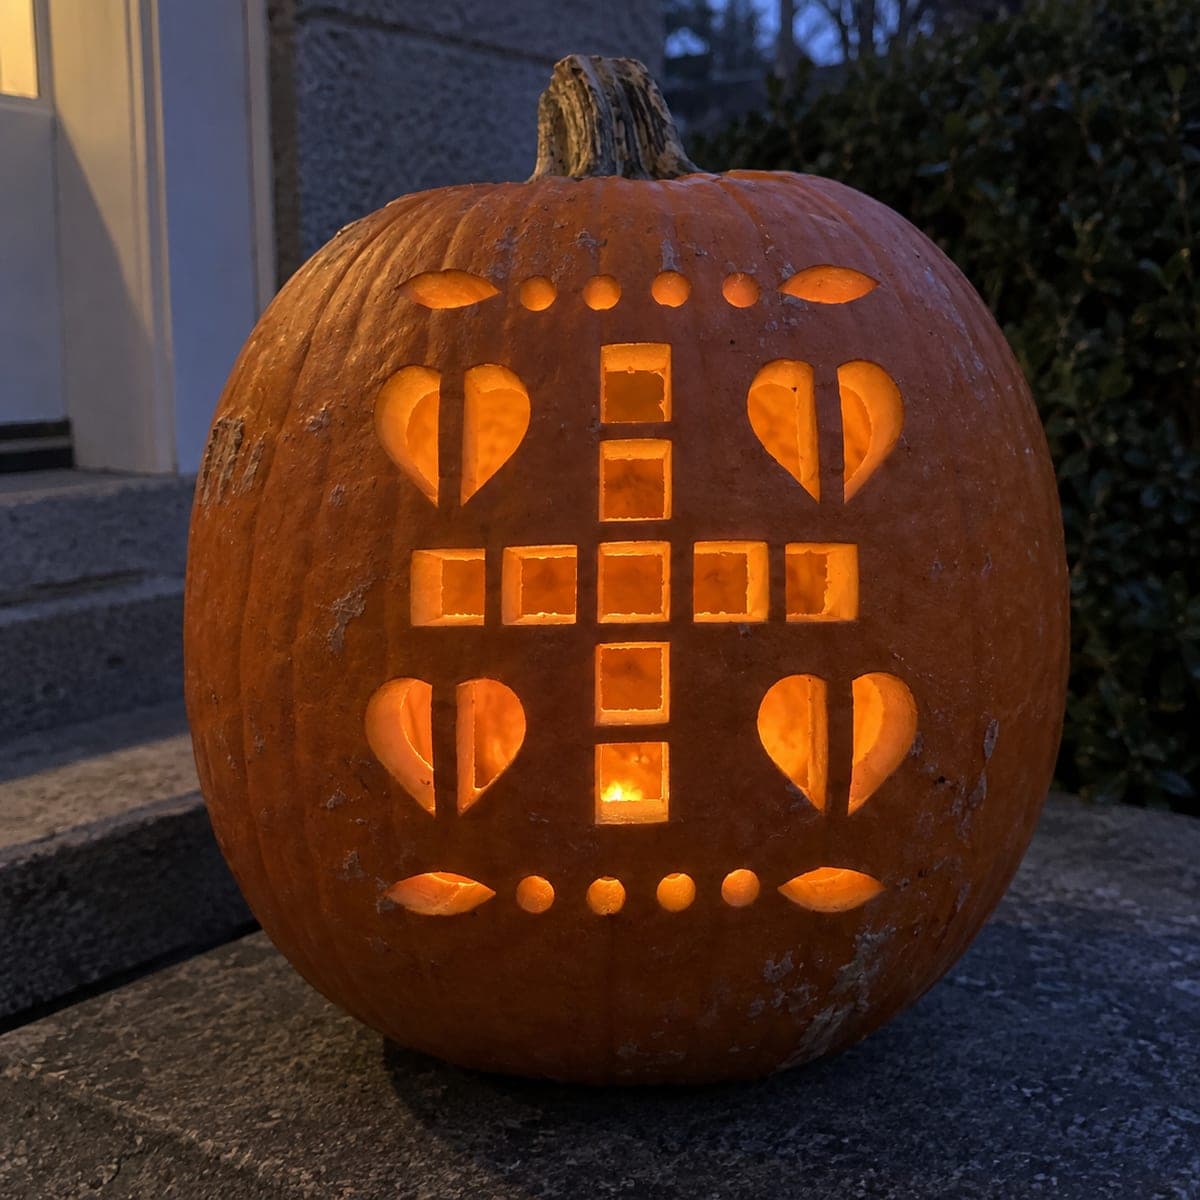
Expert Medical Pumpkin Carving With Fine DetailAI
0

Report this carving

Tell us what is wrong. Reports are private.

Expert Medical Pumpkin Carving With Fine Detail

Intricate medical-themed cutouts pushed to expert difficulty feature narrow rind bridges, multiple apertures, and shallow backed accents that reward precise tool control in this medical pumpkin carving idea. Thin the rind evenly before marking any cuts so backed sections glow uniformly. Work the largest openings first to relieve tension in the shell, then proceed to increasingly fine detail toward the center of the design. An LED puck provides steady, even illumination to showcase every carved element.

No ratings yet · Sign in to rate
Comments (0)

  • No comments yet — be the first.

Save without an account. Sign in to like or comment.

Our tips for carving a similar design

The expert challenge here is threefold: narrow rind bridges between apertures, multiple openings that must be cut in strict sequence, and backed accents that need uniform depth across a pre-thinned wall. The approach is to thin the rind before marking anything, so every backed section starts from the same baseline thickness, then cut the largest openings first to relieve surface tension and proceed inward to the finest lines. An LED puck placed centrally provides the steady, even light needed to reveal every carved element.

From pumpkin to porch

  1. Thin the rind uniformly

    Before any marking, scoop the interior until the carving area is a consistent three-quarters of an inch thick. Use a scoop with a measuring guide or a marked dowel to check depth as you go. This uniform thinning is the foundation of the whole design; without it, backed sections will glow at different intensities and the overall effect will look uneven.

  2. Mark and audit the pattern

    Attach the printed pattern and pin-tool all outlines. Remove the paper, then use a marker to draw a small circle over every bridge point so it stands out visually. Measure each bridge. Any bridge under three-eighths of an inch on a thinned rind pumpkin is a structural risk and should be widened in the pattern.

  3. Cut largest openings first

    Start with the widest, most open apertures using a fine-toothed saw. These large cuts relieve tension in the rind and make the surrounding smaller cuts easier to control. Slow, steady strokes produce cleaner edges than fast passes. Pause frequently to confirm no crack has propagated toward a planned bridge.

  4. Progress to fine detail cuts

    For apertures under a quarter inch wide, a pointed craft knife drawn through in three or four scored passes is more controllable than a saw. Score the outline, deepen the score, then use gentle leverage to free the piece. Keep a magnifying lens nearby if the detail is very fine.

  5. Add backed accents on pre-thinned wall

    With all through-cuts complete, the pre-thinned wall makes backed work straightforward: a single shallow gouge pass, angled flat, removes enough material without risking breakthrough. Aim to reach about three-eighths of an inch total wall thickness in backed areas. Test each area with a flashlight before moving on.

  6. Final LED evaluation

    Place the LED puck centrally and check the design in a dark room. Narrow bridge lines should appear as crisp dark threads separating bright apertures, while backed accents glow amber around them. If any narrow bridge looks like it is softening, refrigerate the pumpkin overnight to firm the rind before further display.

Written with AI to match this design

Gather your supplies

Check things off as you get ready.

Work on a stable surface, keep your free hand out of the cutting path, and have an adult handle sharp tools.

Three levels of light

  • Leave intact

    Narrow bridge lines and outer shell remain fully dark, creating crisp detail lines throughout the design.

  • Peel & shade

    Pre-thinned backed accents glow softly at a warm amber tone, providing mid-level illumination between the bright cuts.

  • Cut through

    Multiple apertures cut fully through on a uniformly thinned wall glow brightly and evenly.

Learn the carving basics

Before you start cutting

Why thin the rind before marking rather than after?

Thinning first creates a consistent starting thickness so every backed region you carve later will glow at the same intensity. If you thin after marking or cutting, you risk undercutting planned bridge areas and weakening the structure. Starting with a uniform wall is the cleanest approach and saves time correcting patchy glow later.

What is the best way to cut a slot narrower than a quarter inch?

Use a pointed craft knife and score the outline repeatedly, deepening slightly on each pass rather than trying to cut through in one stroke. Three to four scoring passes on a thinned three-quarter-inch wall brings you through cleanly. A fine hobby saw blade can also work, but it removes more material per pass and makes narrower slots harder to control.

How do I store the pumpkin between carving sessions if I need to pause?

Seal all cut openings loosely with plastic wrap, place the pumpkin in a large zip bag with a damp paper towel, and refrigerate. This keeps the rind from drying out and becoming brittle, which would make fine cuts harder and increase the risk of bridge cracks. Allow the pumpkin to come to room temperature for about 20 minutes before resuming work so the rind is pliable.

Your take belongs here, too.

Changed a detail? Made it simpler? Share a photo of your version and tell the community what worked.

Share your pumpkin

More pumpkins like this

You've reached the end · 8 pumpkins
The Patch Report

Fresh pumpkins, in your inbox.

The best new carvings, ideas worth stealing, and how-tos for carving season. Short, seasonal, and gone by November.

A short email during carving season. Unsubscribe anytime. See our privacy policy.