@toothpick_tessa
Sep 7, 2026

The core trick here is a clean, all-cutout face where triangle eyes, a triangle nose, and a wide toothy grin do all the work. Keep the shapes bold and simple, and leave small bridges between teeth so the smile does not collapse. A warm LED inside makes the whole face glow at night.
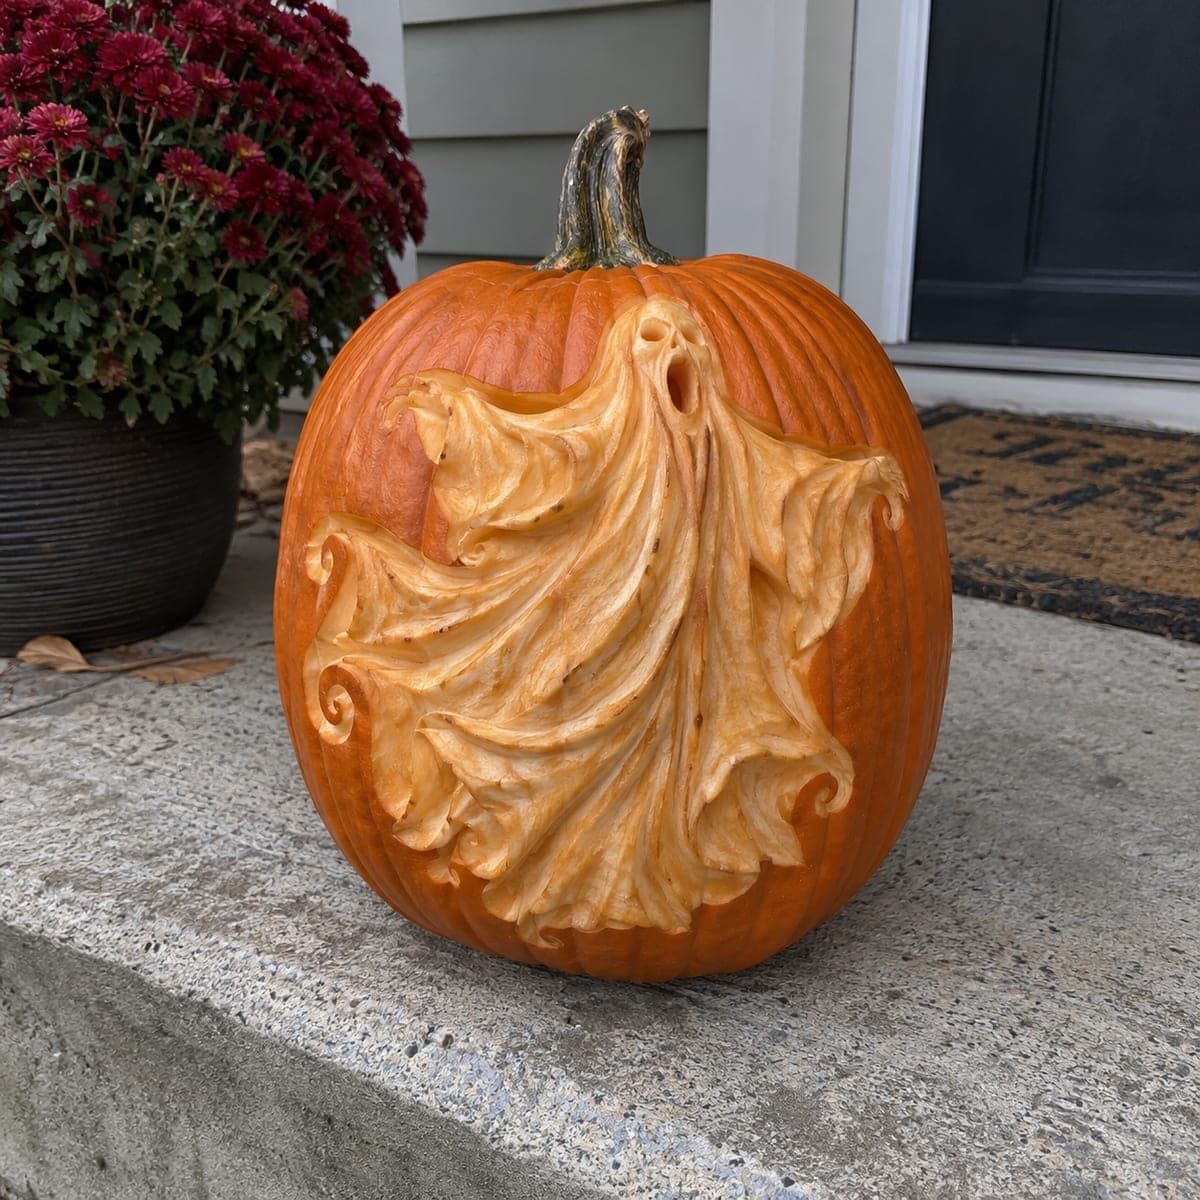
Written by PumpkinCarvingIdeas.com, inspired by @toothpick_tessa's photo above. These are our suggestions, not instructions from the uploader, and this approach hasn't been tested on their exact carve.
Choose a medium pumpkin with a flat side facing out and a stable base so it sits still on the step. Wipe it clean and dry the surface. Cut a lid at an angle around the stem so it drops back in without falling through, or open a hole in the back for easier lighting. Scoop the inside and scrape the front wall down to about an inch thick where the face will go.
Sketch two upward triangle eyes, a small triangle nose, and a wide curved mouth in washable marker. Keep the eyes high and slightly angled for that friendly-but-spooky look. Draw a few square teeth along the top and bottom of the mouth, leaving small gaps you can cut around. Step back and check the spacing before you cut anything.
With a small serrated carving saw, cut the triangle eyes and nose while the pumpkin wall is still mostly solid. Push the saw gently and let the teeth do the work rather than forcing it. Poke the pieces out from the inside so the edges stay crisp. Adults should handle all the sharp tools.
Cut the outer curve of the mouth, then carefully carve around each tooth so they stay attached at top or bottom. Leave a little extra pumpkin between teeth to act as bridges and keep the grin strong. Save this big opening for last so the face does not weaken while you work. Clean up any ragged edges with the tip of the saw.
Drop a battery LED tea light or a small LED puck inside and settle the lid or back plug into place. Set the pumpkin on the porch step next to fall leaves, a lantern, and a bit of cotton spider web for a warm autumn display. Take your photo at dusk when the glow shows best against the dark doorway.
Check things off as you get ready.
Work on a stable surface, keep your free hand out of the cutting path, and have an adult handle sharp tools.
The outer pumpkin skin stays dark and orange, framing the face.
Lightly shave a thin outline around the eyes or mouth for a soft halo if you want extra glow.
The triangle eyes, nose, and open grin are cut all the way through for the brightest light.
Leave each tooth attached at its top or bottom edge and keep small pumpkin bridges between them. Do not carve the teeth too thin. Cutting the full mouth opening last also keeps the wall strong while you work.
Both work fine for a simple face like this. A back hole keeps the top looking clean and makes swapping the LED battery easy. A top lid is more traditional and lets heat escape, though with an LED heat is not a concern.
A cut face usually looks good for about three to five days before edges soften. Keep it out of direct sun and bring it somewhere cool overnight if you can. A light rub of petroleum jelly on the cut edges slows drying.
Changed a detail? Made it simpler? Share a photo of your version and tell the community what worked.
The best new carvings, ideas worth stealing, and how-tos for carving season. Short, seasonal, and gone by November.







Comments (0)