Halloween Pumpkin Carving Contest Β· Starts October 1st Β· $500 in prizes
← Back to ideas
@ai_concepts
Sep 25, 2026
Funny Intermediate Jack-O-Lantern With Glowing CutoutsAI
0

Report this carving

Tell us what is wrong. Reports are private.

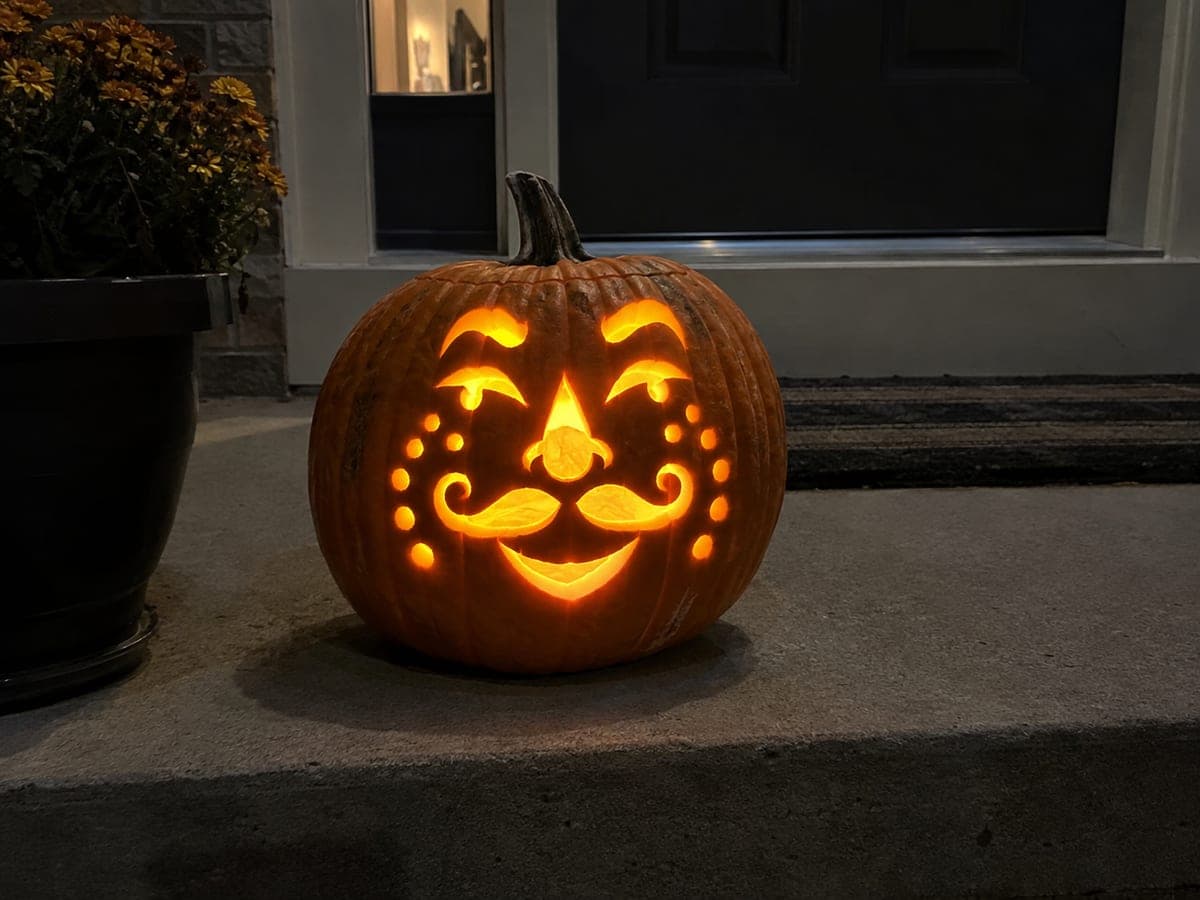
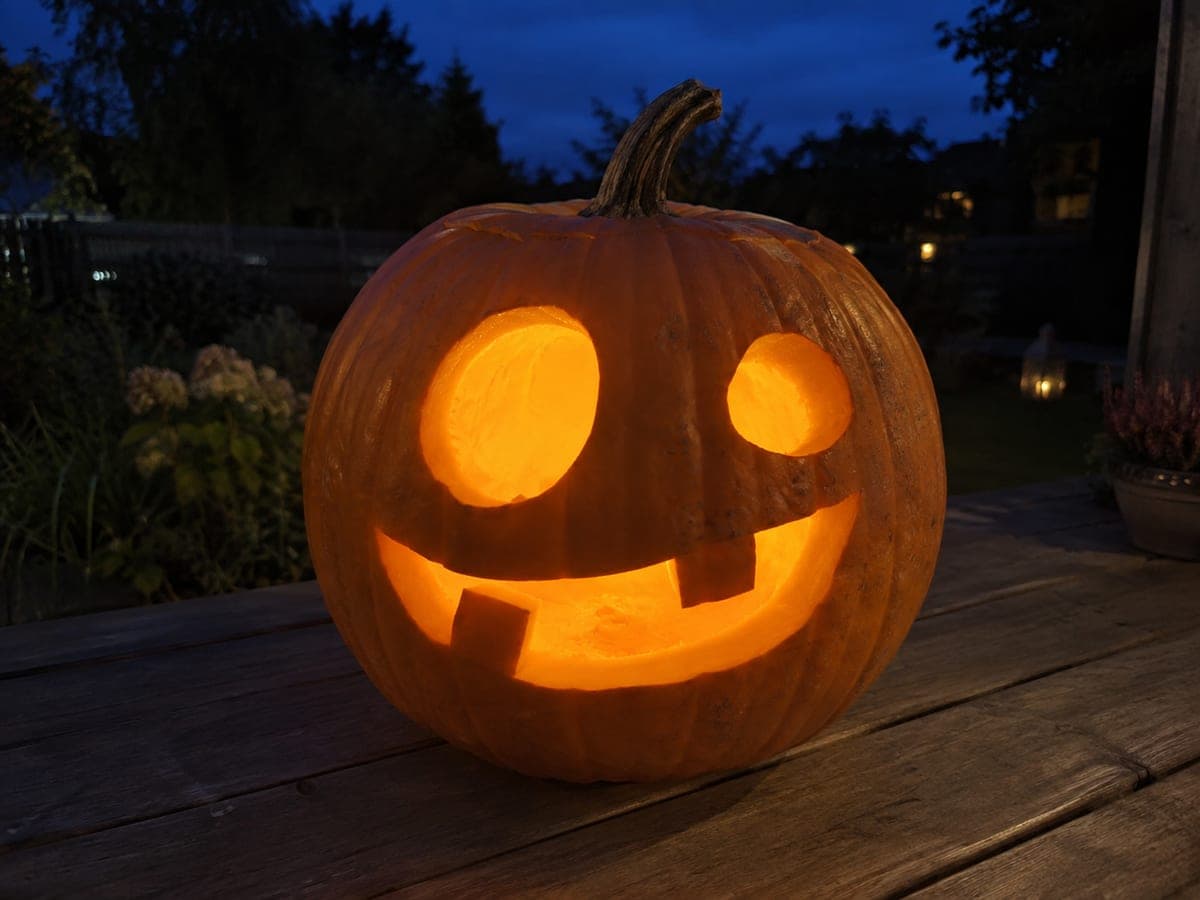
Funny Intermediate Jack-O-Lantern With Glowing Cutouts

This intermediate funny pumpkin carving idea combines several cut-through shapes into a goofy, light-hearted expression that draws a smile from everyone who passes by. Trace the full design before any cutting so proportions stay balanced, then cut each opening cleanly using a small serrated saw for smooth edges. Keep the rind between every opening at least 8mm wide so the face does not crack under its own weight. Displayed on a lit porch, the warm amber glow from inside brings the funny character to life.

No ratings yet Β· Sign in to rate

Comments (0)

  • No comments yet β€” be the first.

Save without an account. Sign in to like or comment.

Our tips for carving a similar design

Several openings working together create the comedic expression, so getting the full design transferred accurately before any cutting is the key preparation step. Cutting from the largest shape down to the smallest keeps the rind from flexing or cracking during the process. Keeping a minimum of 8 mm between every pair of openings gives the design enough structural meat to hold together under its own weight.

From pumpkin to porch

  1. Hollow from the bottom

    Cut the access lid from the base of the pumpkin so the lantern sits securely on the floor of the cavity. Scoop until the wall is about an inch thick throughout, paying particular attention to the front face area where you will be carving. A more even wall is much easier to saw through cleanly.

  2. Transfer and verify the layout

    Tape the template in place and trace every outline with a stylus. Remove the paper, connect the dots with a marker, then step back and look at the full face. Confirm the opening spacing reads as a goofy expression before cutting. If the proportions look off at this stage, it is easy to adjust a marker line; adjusting a cut takes real skill.

  3. Cut the largest opening

    Start with the mouth or widest eye opening, keeping the saw perpendicular to the rind surface. Cut in a smooth, even motion and support the offcut as it breaks free. The goal is a clean edge all the way around so the opening catches the light evenly.

  4. Add the remaining openings

    Move to medium-sized openings next and finish with the smallest accents. After each cut, run a finger along the nearby rind to confirm no bridges have been inadvertently narrowed. Any strip that feels thinner than 8 mm is at risk of cracking, so treat it carefully for the rest of the session.

  5. Clean up the openings

    Use a thin knife or linoleum cutter to trim any rough edges inside each opening. This step takes only a few minutes but makes a visible difference in how crisply the face glows. Remove all rind chips from the cavity.

  6. Light and position

    Insert a battery LED, replace the bottom lid, and carry the pumpkin to its display spot. For a porch display, place it slightly above foot level so visitors see the goofy face head-on rather than looking down at it. The warm amber glow brings the expression fully to life.

Written with AI to match this design

Gather your supplies

Check things off as you get ready.

Work on a stable surface, keep your free hand out of the cutting path, and have an adult handle sharp tools.

Three levels of light

  • Leave intact

    All rind around and between the goofy face openings remains solid and dark

  • Peel & shade

    None, this design uses only full cutouts

  • Cut through

    Every aperture in the goofy expression is cut completely through for maximum interior glow

Learn the carving basics

Before you start cutting

How do I keep adjacent openings from merging into one big hole?

Mark the bridge between every pair of openings with a short line before you start, and check that mark before making each cut. If you are getting close to a bridge, stop the saw short of the line, reposition, and approach from the other direction. Slow, deliberate cuts give you the most control near narrow strips.

The goofy expression only shows clearly from directly in front. How do I make it visible from an angle?

You can carve shallow V-grooves on the sides of each opening to angle the light outward, but this requires a rotary tool and is an advanced technique. A simpler fix is to place a secondary light source slightly in front of the pumpkin and above it, so the face reflects light even from oblique viewing angles.

Can I seal the pumpkin before carving to make it last longer?

Applying a thin coat of diluted craft glue to the uncut outer rind before starting helps slow moisture loss. Do not apply it inside the cavity or on the cut edges you are about to make. Some carvers also chill the pumpkin overnight in the refrigerator before carving, which firms the rind and makes it easier to saw.

Your take belongs here, too.

Changed a detail? Made it simpler? Share a photo of your version and tell the community what worked.

Share your pumpkin

More pumpkins like this

You've reached the end Β· 8 pumpkins
The Patch Report

Fresh pumpkins, in your inbox.

The best new carvings, ideas worth stealing, and how-tos for carving season. Short, seasonal, and gone by November.

A short email during carving season. Unsubscribe anytime. See our privacy policy.