Halloween Pumpkin Carving Contest · Starts October 1st · $500 in prizes
← Back to ideas
@ai_concepts
Sep 25, 2026
Funny No-Carve Painted Pumpkin With Bold Flat ShapesAI
0

Report this carving

Tell us what is wrong. Reports are private.

Funny No-Carve Painted Pumpkin With Bold Flat Shapes

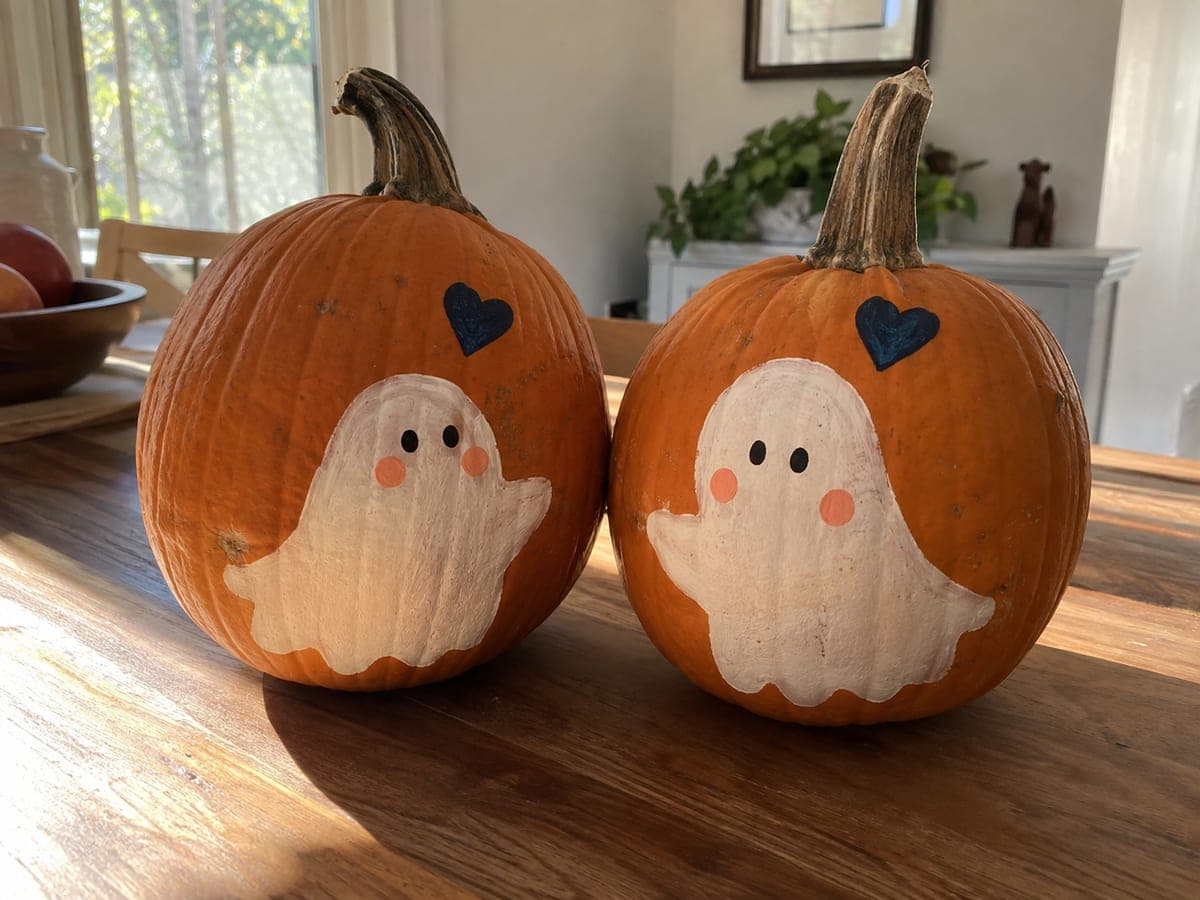
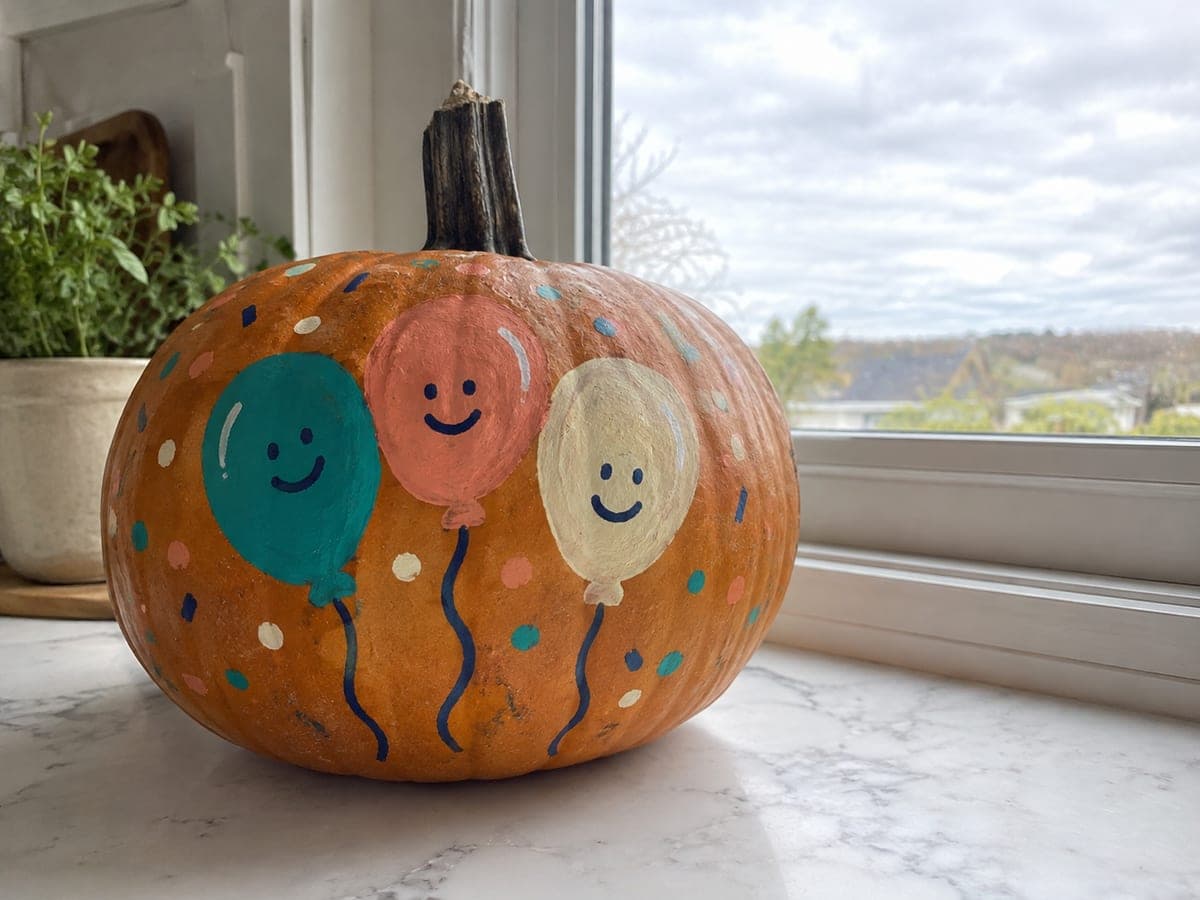
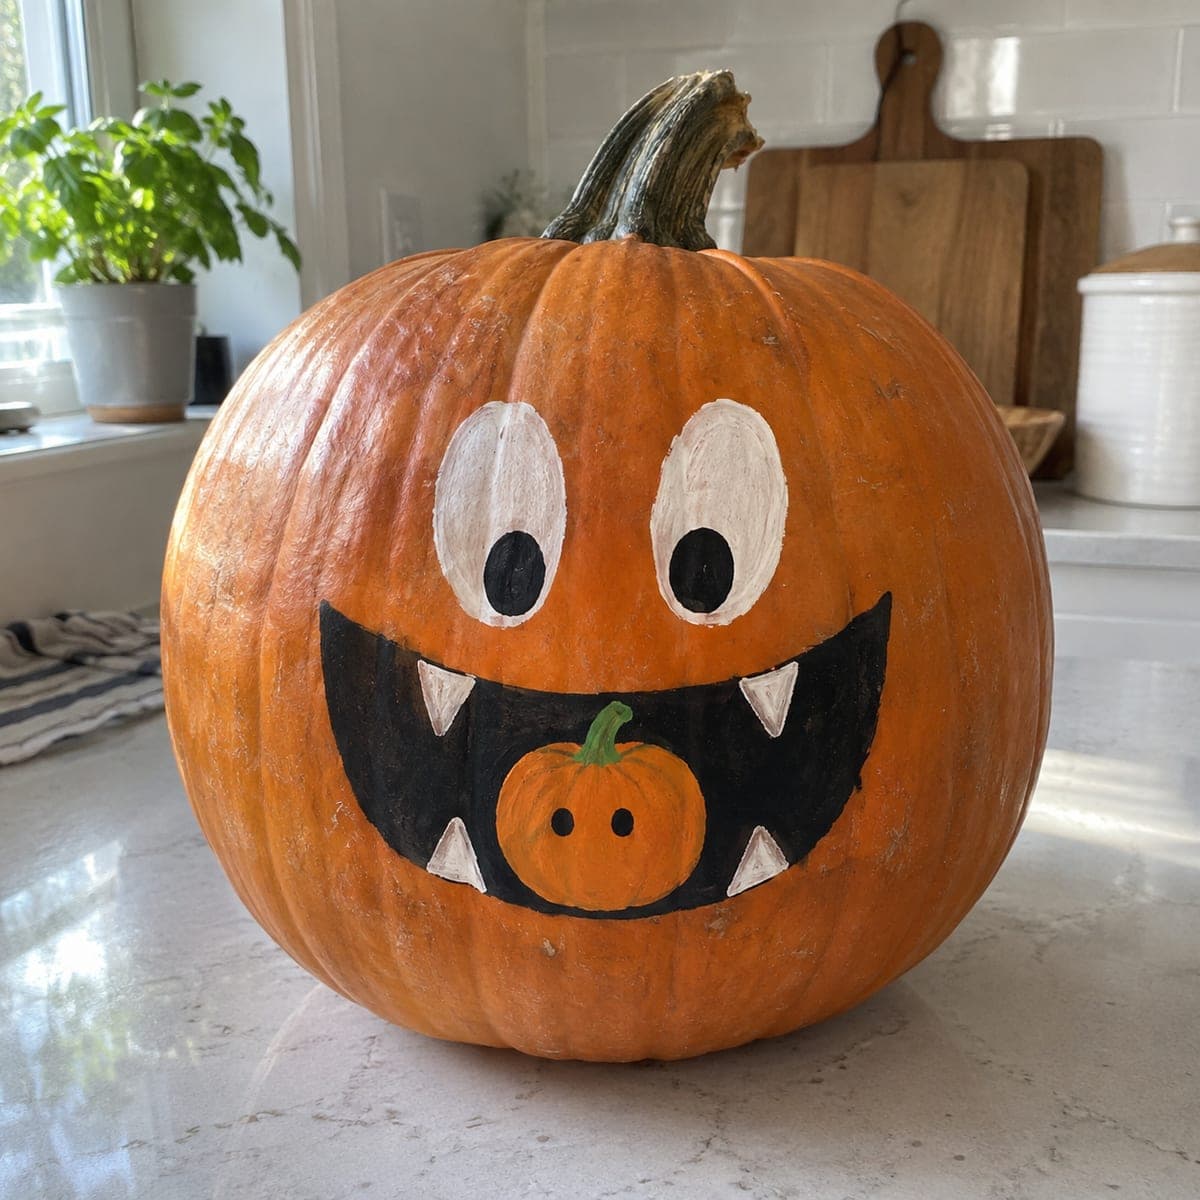
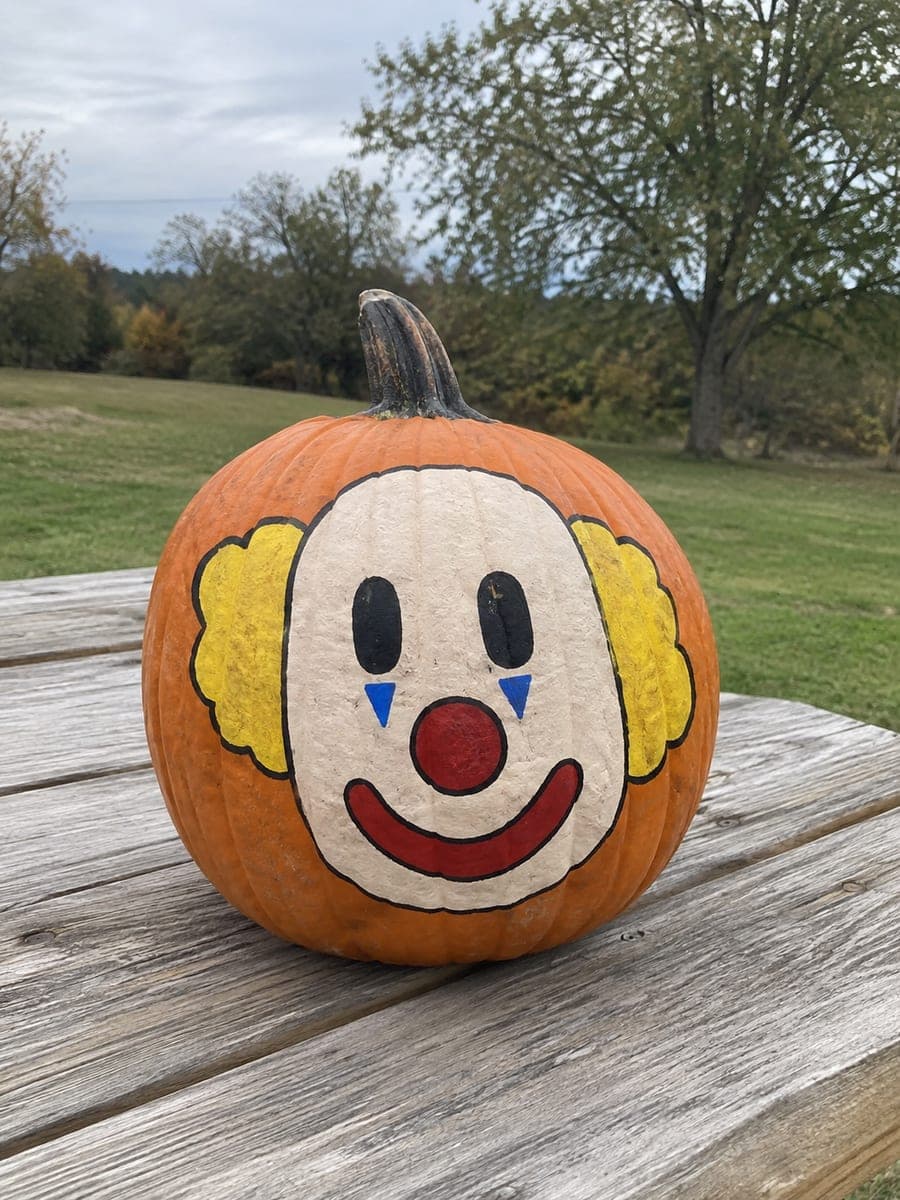
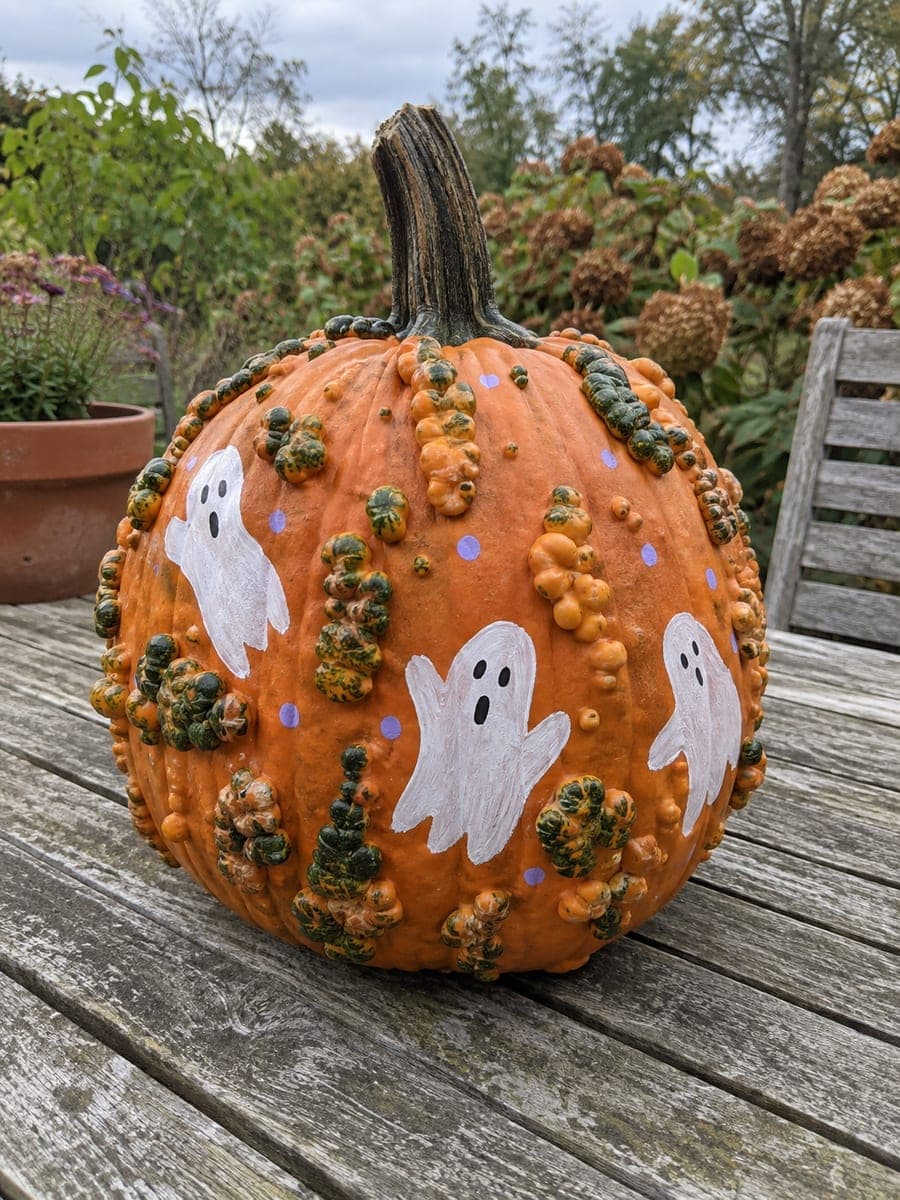
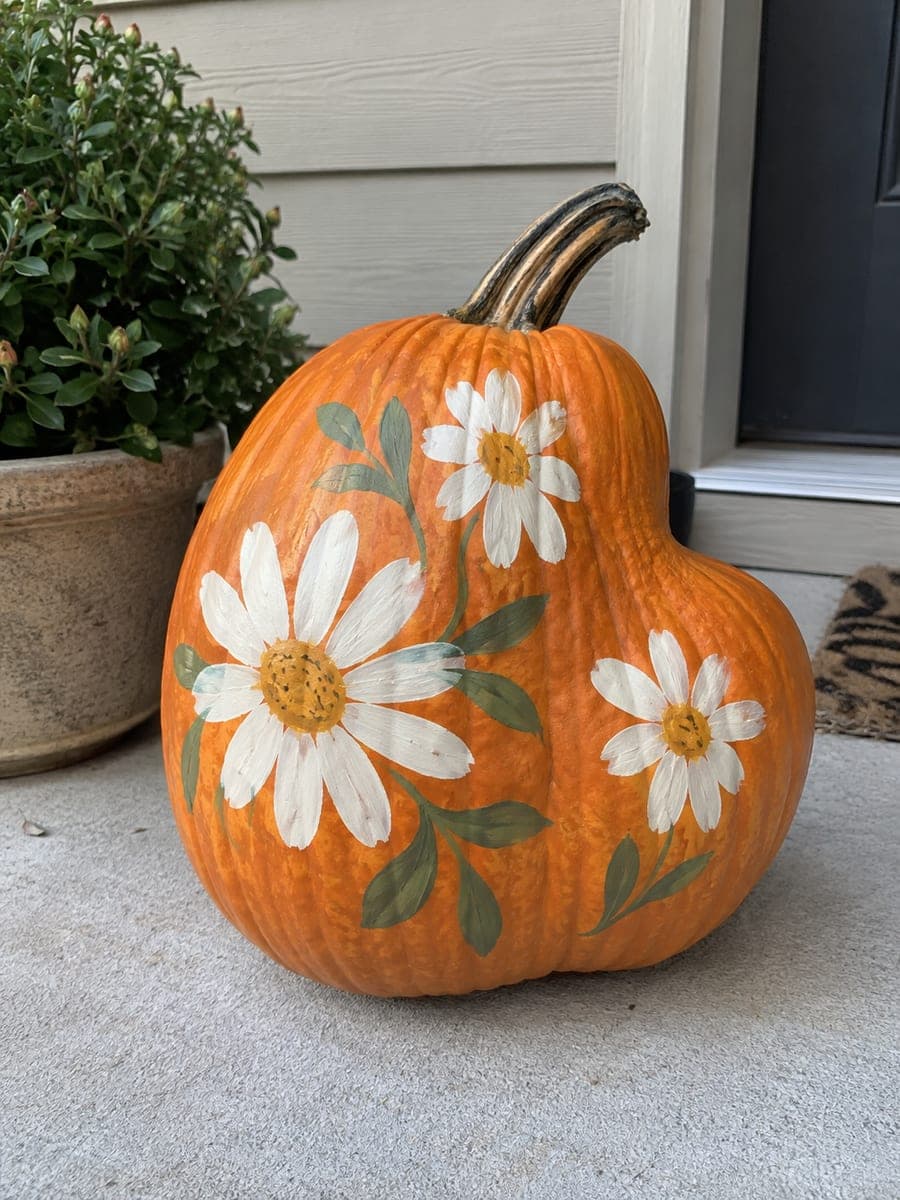
Broad flat painted shapes in a bright, limited palette make this no-carve funny pumpkin carving idea the simplest way to achieve a character-filled design without a single cut. Lay down the largest shapes first with a wide flat brush and let them dry completely before adding smaller details on top so colors stay crisp and separate. Keep the expression exaggerated by making the painted eyes and mouth large relative to the pumpkin face. A matte outdoor spray sealer keeps the paint intact through the whole month of October.

No ratings yet · Sign in to rate

Comments (0)

  • No comments yet — be the first.

Save without an account. Sign in to like or comment.

Our tips for carving a similar design

This design works because the painted shapes are large and exaggerated enough to read as a funny character from across the yard. Laying the largest shapes down first and letting each layer dry before adding the next keeps every color clean and sharp. A matte sealer at the end ties everything together and protects the design from October weather.

From pumpkin to porch

  1. Clean and dry the pumpkin

    Wipe the entire surface with a damp cloth to remove wax and dirt, then dry it completely. Paint will not bond well to a slick or dusty surface, and any moisture trapped under the first coat can cause the paint to lift or bubble within a few days. Let the pumpkin air dry for at least twenty minutes after wiping.

  2. Sketch the expression

    Use a pencil or chalk marker to sketch the main shapes: two big eyes and a wide exaggerated mouth are the backbone of any funny face. Make the features large relative to the pumpkin face so they do not get lost. An asymmetric arrangement, such as one eye slightly higher than the other, increases the comic effect.

  3. Apply the largest shapes first

    Load a wide flat brush generously and fill in each large shape with bold, even strokes. Work confidently rather than tiptoeing around the edges. Two thin coats applied with a few minutes of drying between them produce a more even result than one thick coat, which can crack as it dries on the curved surface.

  4. Build up the details

    Once the large shapes are dry, switch to a smaller round brush for details like pupils, teeth, or eyebrows. Keep each new color away from any wet paint already on the surface. A bright, contrasting accent color on small details like catchlights in the eyes adds a lot of energy for very little effort.

  5. Add black outlines

    A thin black outline around each painted shape gives the design definition and helps it read from a distance. Apply it with a fine liner brush once all other layers are completely dry. Even a slightly wobbly line contributes to the handmade, funny character of the design.

  6. Seal and display

    Apply two light coats of matte outdoor spray sealer with a few minutes of drying between coats. The sealer locks in all the paint layers and protects against rain and UV. Display the pumpkin anywhere on the porch or step, confident that the design will stay bold and bright through October 31.

Written with AI to match this design

Gather your supplies

Check things off as you get ready.

Work on a stable surface, keep your free hand out of the cutting path, and have an adult handle sharp tools.

Three levels of light

  • Leave intact

    The natural orange rind shows through all unpainted areas and forms the background

  • Peel & shade

    None, the shell stays fully intact

  • Cut through

    None. Use a porch light or outdoor spotlight to illuminate the painted face at night

Learn the carving basics

Before you start cutting

How do I get the shapes to look even when working on a curved surface?

Work in short strokes that follow the curve of the pumpkin rather than long straight strokes that fight it. For round shapes, paint the perimeter first as a guideline, then fill in the center. You can also use a round sponge instead of a brush to dab on circular shapes with a consistent edge.

Can I use poster paint instead of acrylic?

Poster paint is water-soluble and not weather-resistant, so it will run or wash away in rain even if you add a sealer on top. Stick to acrylic craft paint for any display pumpkin that will be outdoors. Acrylic is widely available, inexpensive, and comes in bright colors ideal for funny character designs.

What if I make a mistake and want to start over?

While acrylic paint is still wet it wipes away easily with a damp cloth. Once dry, you can sand lightly with fine-grit sandpaper to rough the surface, then repaint over the top. On a pumpkin, two or three rounds of correction rarely cause any problems and the final result usually looks fine.

Your take belongs here, too.

Changed a detail? Made it simpler? Share a photo of your version and tell the community what worked.

Share your pumpkin

More pumpkins like this

You've reached the end · 8 pumpkins
The Patch Report

Fresh pumpkins, in your inbox.

The best new carvings, ideas worth stealing, and how-tos for carving season. Short, seasonal, and gone by November.

A short email during carving season. Unsubscribe anytime. See our privacy policy.