Halloween Pumpkin Carving Contest · Starts October 1st · $500 in prizes
← Back to ideas
@ai_concepts
Aug 31, 2026
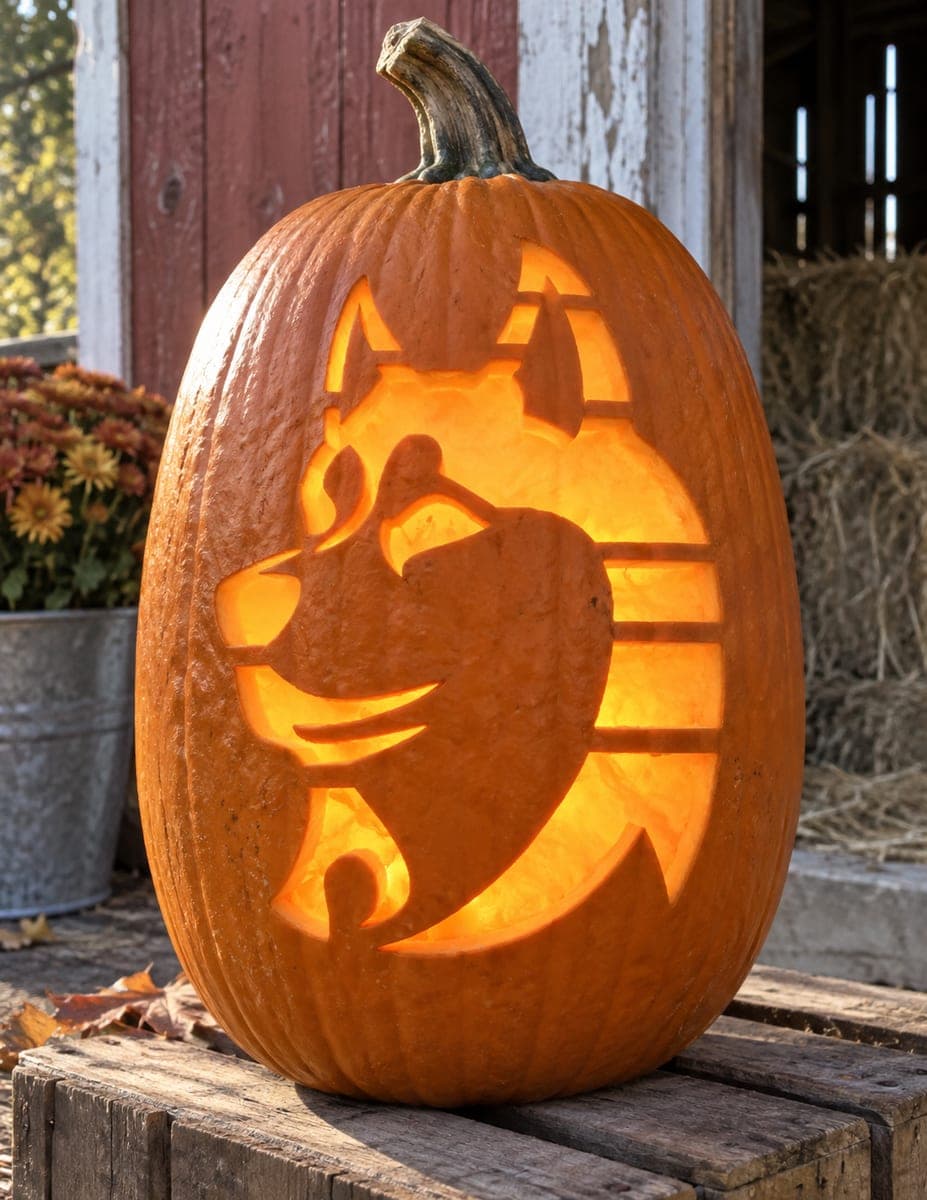
Funny Pooping Dog Pumpkin Carving SilhouetteAI
0

Funny Pooping Dog Pumpkin Carving Silhouette

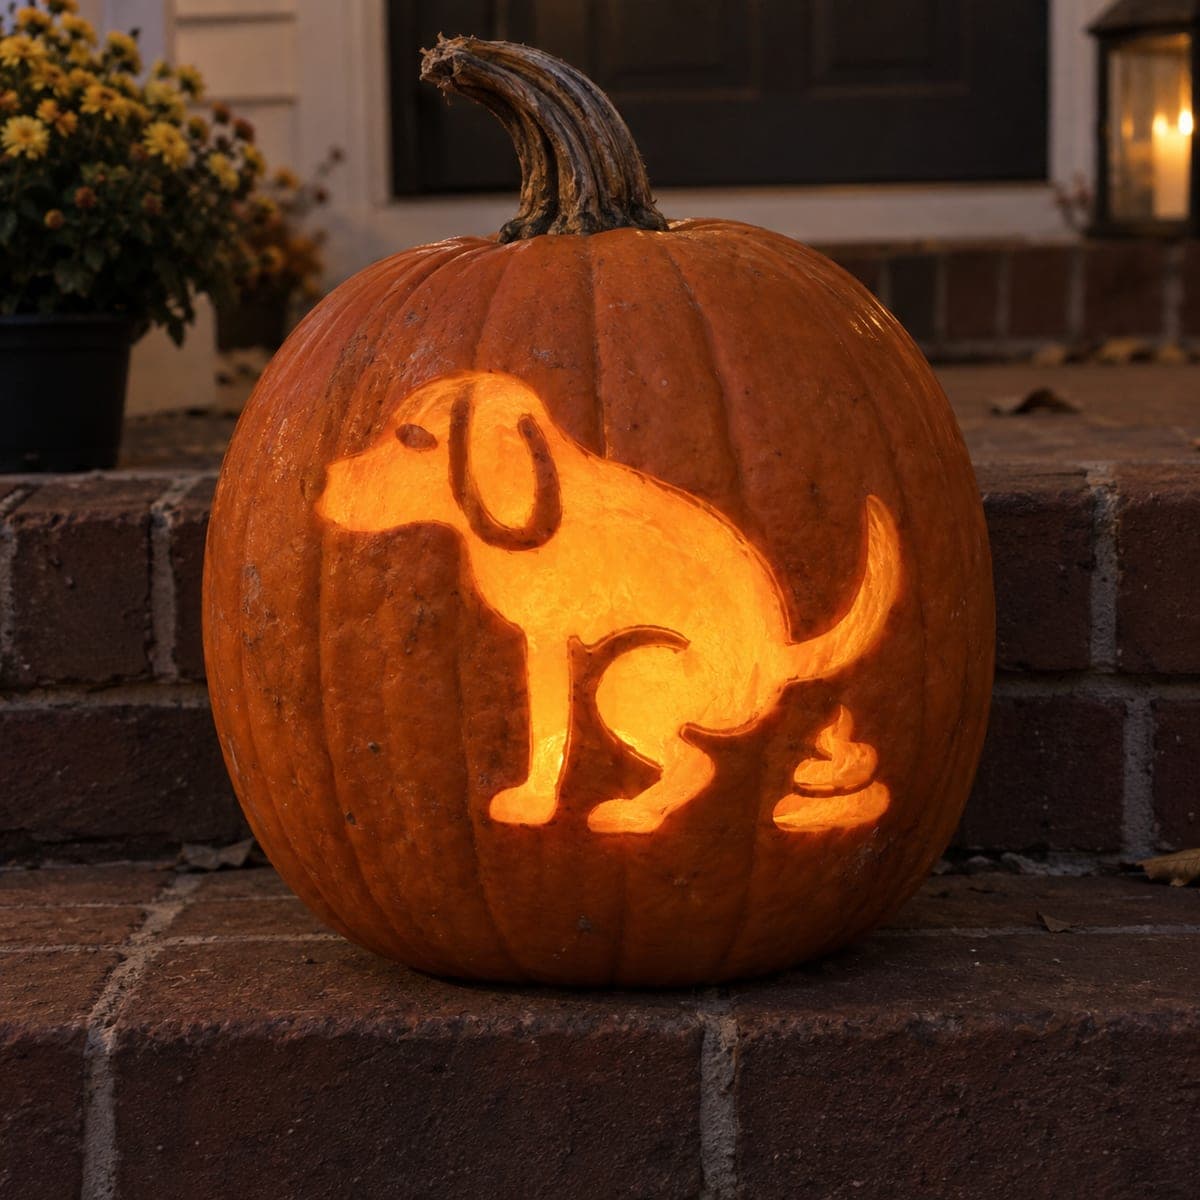
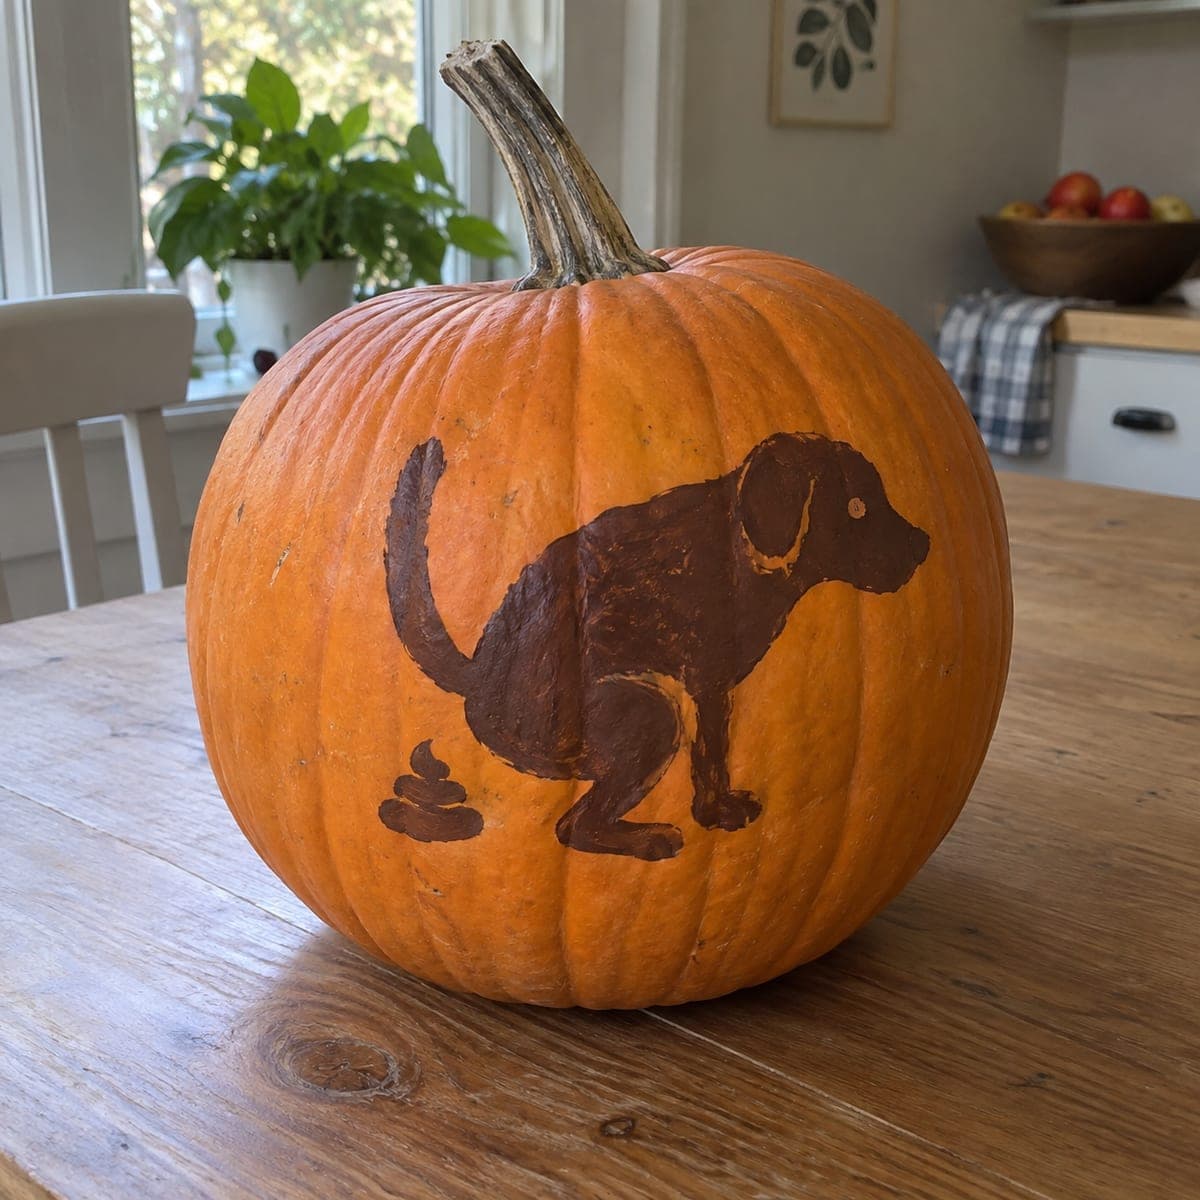
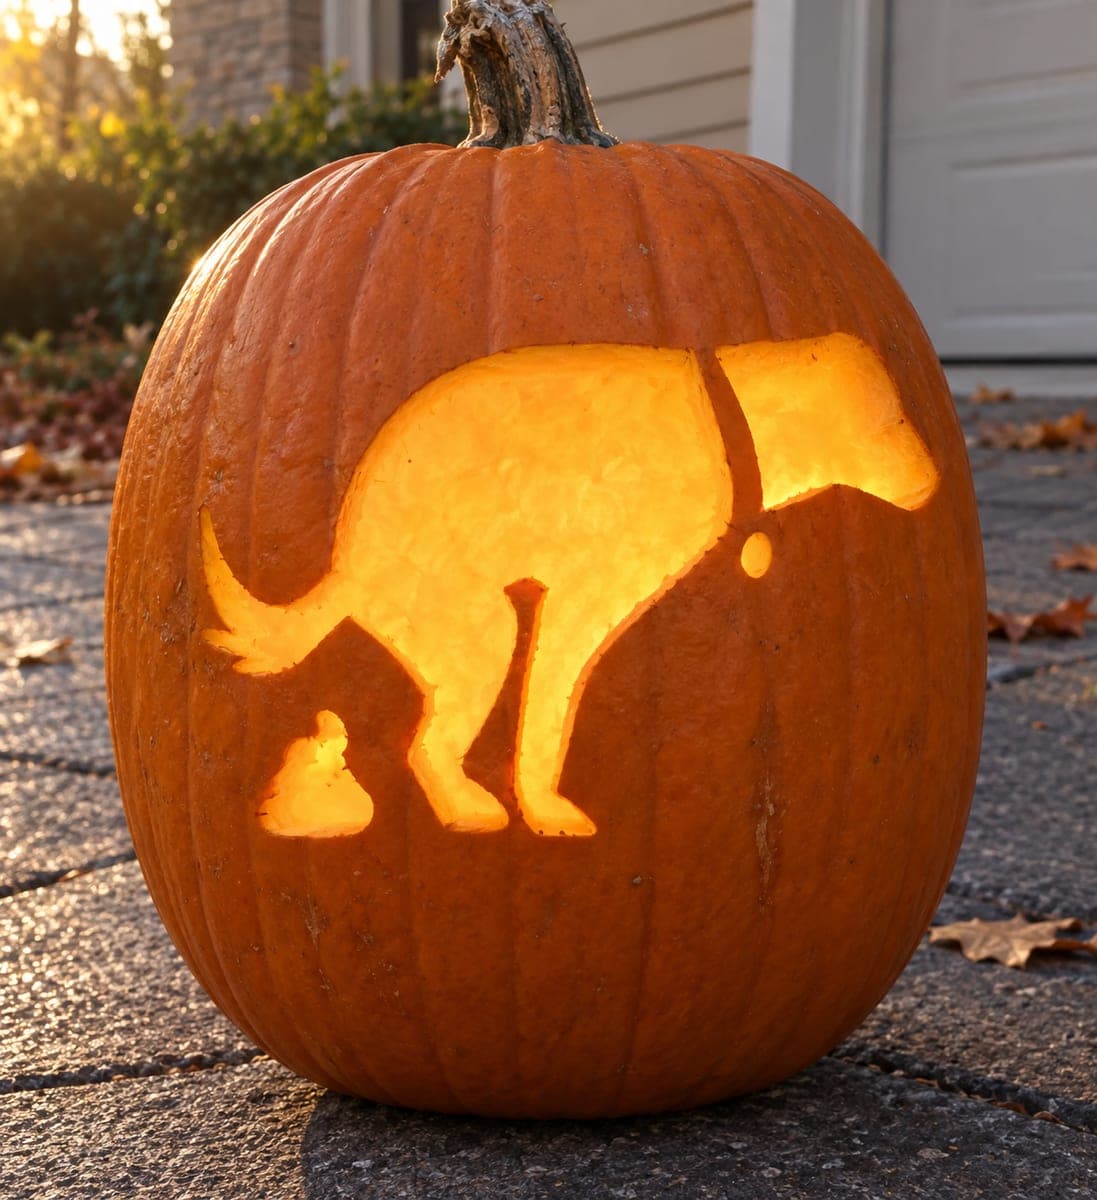
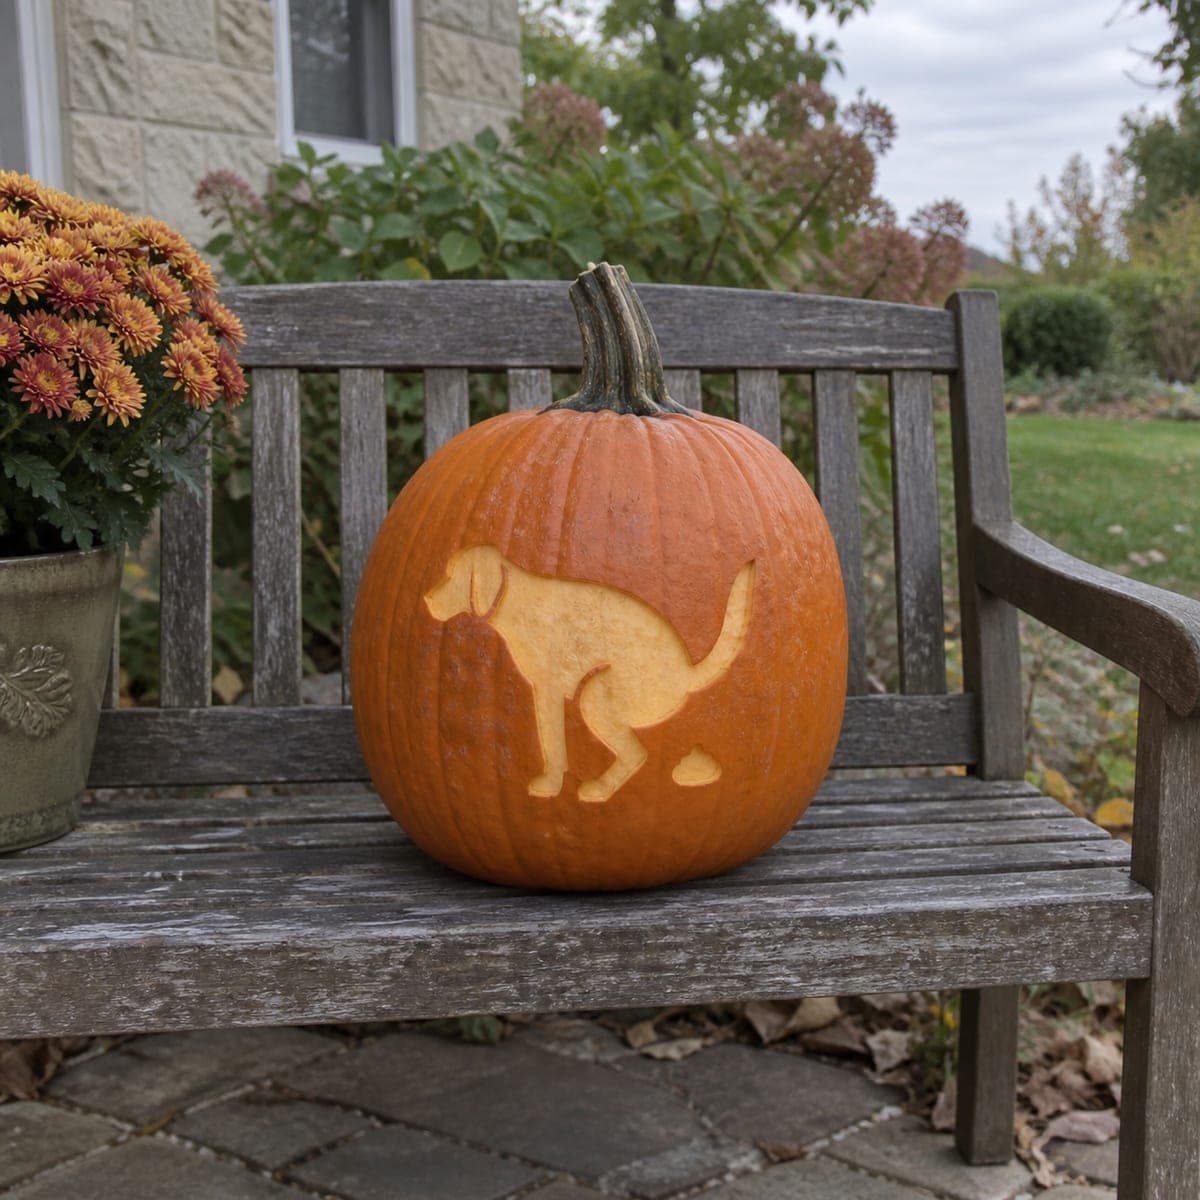
This cheeky pumpkin features a squatting dog silhouette caught mid-business, complete with a small deposit behind it. The whole shape is a single shallow peel, so it is genuinely beginner friendly: trace the outline, remove the skin inside it with a peeler or clay ribbon tool, and you are done in under an hour. Aim it at the sidewalk where neighbors will catch it on their evening walk. Guaranteed double takes from anyone who has a dog.

This is an AI-generated concept image: a realistic, carvable design idea rather than a photo of a finished carve. AI concepts are always labeled and sit out the leaderboard and the contest.

No ratings yet · Sign in to rate
Comments (0)

  • No comments yet — be the first.

Save without an account. Sign in to like or comment.

Our tips for carving a similar design

The whole joke lives in one silhouette: a squatting dog mid-business with a tiny deposit behind it, rendered as a single shallow skin peel rather than a cut-through. Because you are only removing the outer skin inside the outline, the shape glows a soft orange when lit and the pumpkin wall stays fully intact. Trace the outline, peel the inside, and you are finished.

Written by PumpkinCarvingIdeas.com, inspired by the image above. These are our suggestions, not instructions from the uploader. This approach to the AI concept has not been tested on a real pumpkin.

From pumpkin to porch

  1. Pick a smooth, flat face

    Choose a pumpkin with a broad, even area on the front, since the dog silhouette needs room to read from the sidewalk. Wipe the surface clean and dry it. Avoid deep ribs or scars running through where the body will sit, as they break up the shape. A rounder pumpkin like the one pictured shows the profile clearly.

  2. Transfer the outline

    Tape your dog stencil firmly onto the flat face so it does not shift. Poke closely spaced holes along every line with a pushpin or transfer tool, including the small deposit shape behind the dog. Remove the paper and connect the dots lightly with a washable marker so you can see the full outline. Keep the legs and tail as solid connected shapes, since this is a peel and nothing needs bridging.

  3. Score the border

    With a fine detail saw or a sharp craft knife, trace just inside your marker line to score the edge of the silhouette about a quarter inch deep. This gives you a clean wall to peel up to and keeps the edges crisp. Do not cut all the way through the pumpkin wall. An adult should handle all sharp tools while kids help hold the pumpkin steady.

  4. Peel the skin inside

    Using a vegetable peeler, a clay ribbon tool, or a lino gouge, remove only the orange skin inside the scored outline down to the pale flesh. Work in shallow, even passes so the whole dog sits at one consistent depth for an even glow. Peel the little deposit shape the same way. This is the step that carries the design, so take your time keeping the depth uniform.

  5. Clean and light it

    Brush out the peeled area and dab it dry. Rub the exposed flesh with a little petroleum jelly to slow browning if the pumpkin will sit out for days. Drop a battery LED puck or string light inside through a small lid or a bottom hole, never a candle. The dog will shine dim orange while the surrounding skin stays dark.

  6. Aim it and photograph

    Point the silhouette toward the sidewalk or driveway so evening walkers catch it at eye level. Set it on a bench or step where the profile is not hidden behind plants. Shoot your photo at dusk with the light on to capture the glow against the dark skin. Retouch any spots that browned by peeling a hair deeper before the shot.

Gather your supplies

Check things off as you get ready.

Work on a stable surface, keep your free hand out of the cutting path, and have an adult handle sharp tools.

Three levels of light

  • Leave intact

    The entire background skin around the dog stays untouched and dark, framing the shape.

  • Peel & shade

    The full dog body, legs, tail, and the little deposit are skin-peeled to glow soft orange.

  • Cut through

    Nothing needs to be cut all the way through; keep it a peel so the wall stays strong.

Learn the carving basics

Before you start cutting

Do I really not cut through the pumpkin at all?

Correct, this design works entirely as a shallow peel. You only remove the outer orange skin inside the outline down to the pale flesh, which glows dim when lit from inside. Leaving the wall intact keeps the pumpkin sturdy and makes it beginner friendly.

How do I keep the glow even across the dog?

Peel to one consistent depth everywhere, roughly an eighth to a quarter inch. Uneven spots will look blotchy when the light shines through, with thin areas brighter than thick ones. Work in light passes and check the depth as you go rather than digging one deep gouge.

This is an AI concept image, so can a real pumpkin look like this?

Yes, easily. Since the whole shape is a solid peel with no thin bridges or fragile fangs, there is nothing structurally tricky to reproduce. Any smooth-faced pumpkin and a peeler will get you the same silhouette.

Your take belongs here, too.

Changed a detail? Made it simpler? Share a photo of your version and tell the community what worked.

Share your pumpkin

More pumpkins like this

You've reached the end · 8 pumpkins
The Patch Report

Fresh pumpkins, in your inbox.

The best new carvings, ideas worth stealing, and how-tos for carving season. Short, seasonal, and gone by November.

A short email during carving season. Unsubscribe anytime. See our privacy policy.