Halloween Pumpkin Carving Contest · Starts October 1st · $500 in prizes
← Back to ideas
@ai_concepts
Jul 9, 2026
Goldfish With Bubbles Painted No-Carve PumpkinAI
0

Goldfish With Bubbles Painted No-Carve Pumpkin

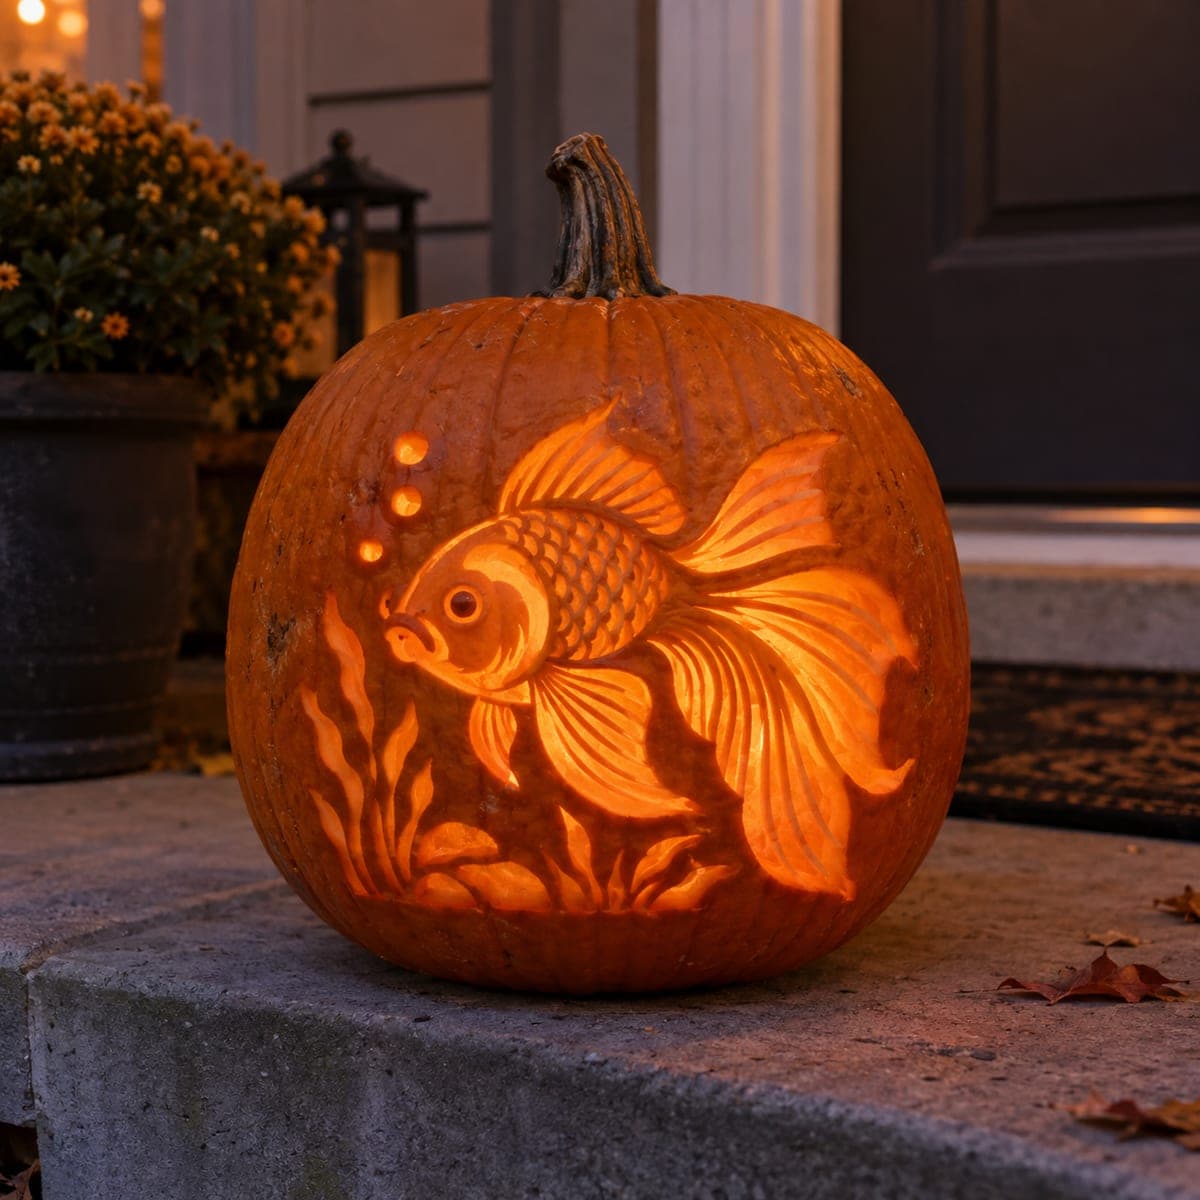
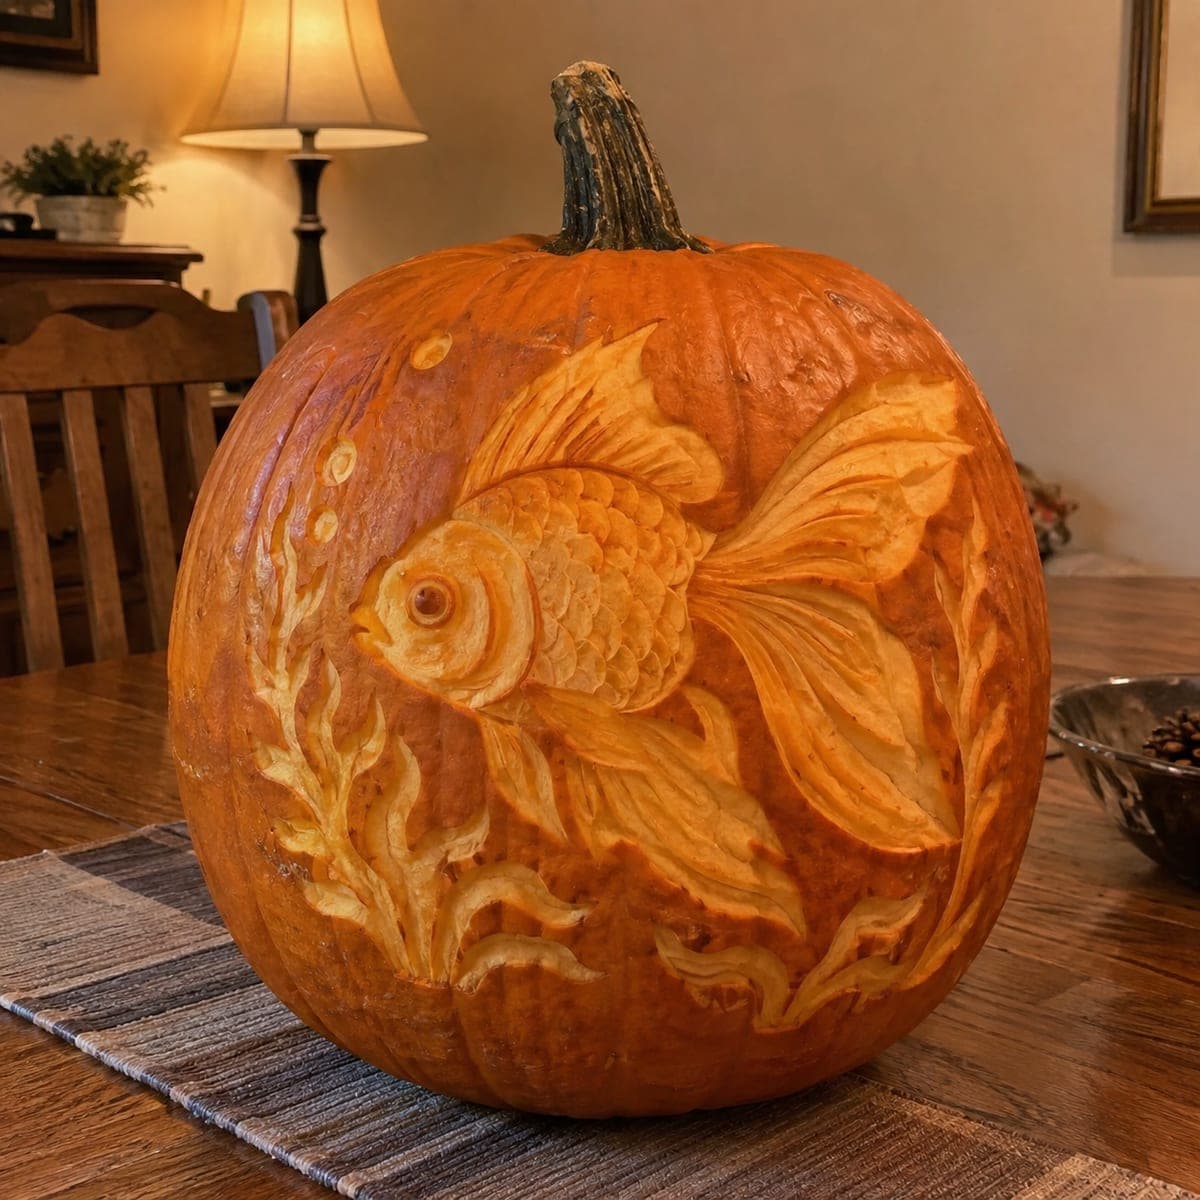
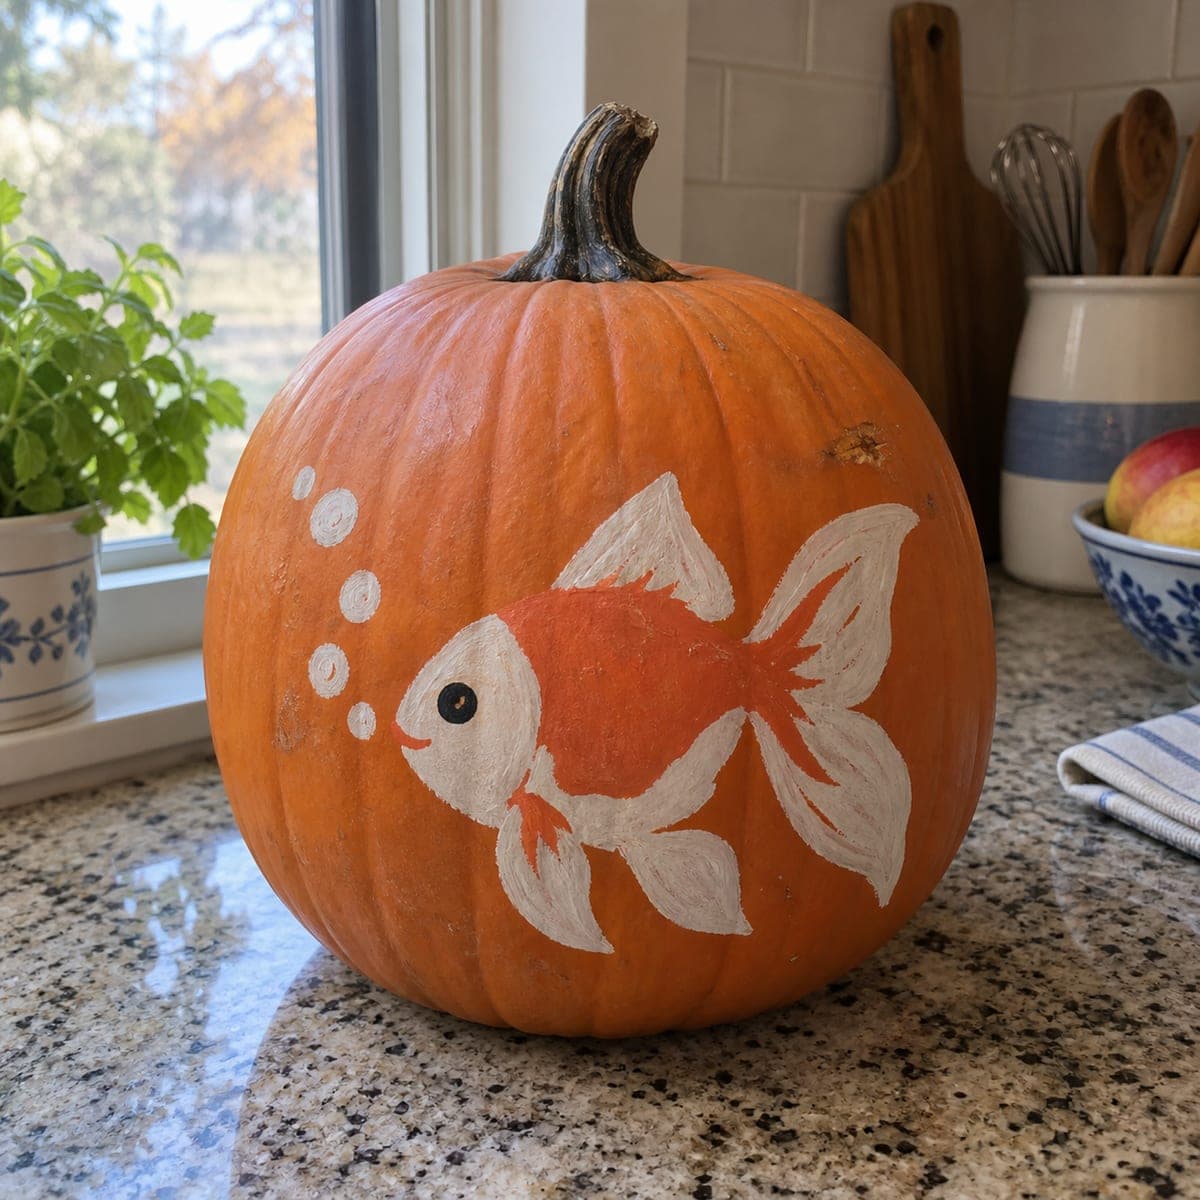
A fancy-tailed goldfish swims across this no-carve pumpkin, trailing flowing white fins with a string of little bubbles rising toward the stem. The orange body cleverly borrows the pumpkin's own color, so you mostly paint the white fins, face, and outlines. Sketch the fish in chalk, paint the white areas in two thin coats, then add the orange saddle and black eye. A calm, cheerful design kids can finish in under an hour.

This is an AI-generated concept image: a realistic, carvable design idea rather than a photo of a finished carve. AI concepts are always labeled and sit out the leaderboard and the contest.

No ratings yet · Sign in to rate
Comments (0)

  • No comments yet — be the first.

Save without an account. Sign in to like or comment.

Our tips for carving a similar design

This is a no-carve painted design, so the clever trick is letting the pumpkin's natural orange skin become the fish's body while you only paint the white fins, face, and outlines. You sketch the whole fish in chalk first, then build the white areas in two thin coats before adding the orange saddle and the black eye. Because nothing is cut, it stays sturdy and safe enough for kids to help.

Written by PumpkinCarvingIdeas.com, inspired by the image above. These are our suggestions, not instructions from the uploader. This approach to the AI concept has not been tested on a real pumpkin.

From pumpkin to porch

  1. Clean and dry the surface

    Wipe the pumpkin with a damp cloth to remove any grit or waxy film, then dry it fully. A clean, dry skin helps acrylic paint grip and keeps your white coats from beading up. Pick the smoothest, roundest face of the pumpkin for the fish so the body reads clearly. Set it on a towel so it does not roll while you work.

  2. Sketch the goldfish in chalk

    Draw the fish in the lower center of the pumpkin, facing left with the flowing tail sweeping to the right. Add the round head, the arched back for the orange saddle, and the long fancy fins, then dot a rising line of three or four bubbles toward the stem. Chalk wipes off easily, so redraw until the proportions feel right. Keep the fins broad and simple rather than wispy so they are easy to fill.

  3. Paint the white areas first

    Using white acrylic, fill the face, belly, and all the fins in one thin coat and let it dry completely. Thin coats prevent drips and dry faster than one heavy layer. Add a second coat once the first is dry to make the white bright and even. Let this dry before moving on so the next colors do not smear.

  4. Add the orange saddle and fin accents

    Mix a slightly deeper orange than the pumpkin, or use it straight, to paint the saddle across the back and small accents where the fins meet the body. This extra orange gives the fish shape even though the body borrows the pumpkin's color. Keep the strokes loose and let a little pumpkin skin show through for a natural look. Add faint lines along the fins with a thin brush to suggest movement.

  5. Paint the eye and outline the fish

    Paint a round black eye near the front of the face and leave a tiny white dot for a highlight, or add it once the black dries. Then trace a soft outline around the body and fins with a thin brush so the shape pops against the orange. Redraw the bubble circles in clean white with an open center for a bright ring look. Small details go last so you do not smudge them.

  6. Seal and photograph

    Once everything is fully dry, brush on a thin coat of clear acrylic sealer to protect the paint from smudges and light moisture. Set the pumpkin on a windowsill or counter in soft daylight for the best photo, as this design shows off color rather than glow. If you want a little evening sparkle, tuck a battery LED string nearby rather than cutting the pumpkin. Wipe your brushes and enjoy your calm little swimmer.

Gather your supplies

Check things off as you get ready.

Work on a stable surface, keep your free hand out of the cutting path, and have an adult handle sharp tools.

Three levels of light

  • Leave intact

    The pumpkin's bare orange skin stays as the goldfish body and the background around it.

  • Peel & shade

    No skin is peeled here, but a light scuff with fine sandpaper where the white fins go can help paint grip.

  • Cut through

    Nothing is cut on this no-carve design, though you could later cut the bubble rings if you want real backlight.

Learn the carving basics

Before you start cutting

Do I need to carve anything at all?

No, this is a fully painted design, so there is no cutting or scooping required. That makes it a safe project for kids as long as an adult handles any optional sealer fumes in a ventilated spot. The pumpkin also lasts longer since the skin stays sealed.

How do I keep the white fins from looking streaky?

Use two thin coats instead of one thick one, letting each dry fully before the next. Streaks usually come from dragging a dry brush over half-wet paint. If the pumpkin skin still shows through, a third light coat on just the fins will even it out.

Can I light it like a carved pumpkin?

Since nothing is cut, it will not glow from the inside. Instead, display it in daylight where the colors show best, or set a battery LED string beside it for a soft evening accent. Avoid real candles, which are both a fire risk and unnecessary for a painted pumpkin.

Your take belongs here, too.

Changed a detail? Made it simpler? Share a photo of your version and tell the community what worked.

Share your pumpkin

More pumpkins like this

You've reached the end · 8 pumpkins
The Patch Report

Fresh pumpkins, in your inbox.

The best new carvings, ideas worth stealing, and how-tos for carving season. Short, seasonal, and gone by November.

A short email during carving season. Unsubscribe anytime. See our privacy policy.