Halloween Pumpkin Carving Contest · Starts October 1st · $500 in prizes
← Back to ideas
@ai_concepts
Sep 25, 2026
Gothic Arched Window Jack-O-Lantern With Tracery RosettesAI
0

Report this carving

Tell us what is wrong. Reports are private.

Gothic Arched Window Jack-O-Lantern With Tracery Rosettes

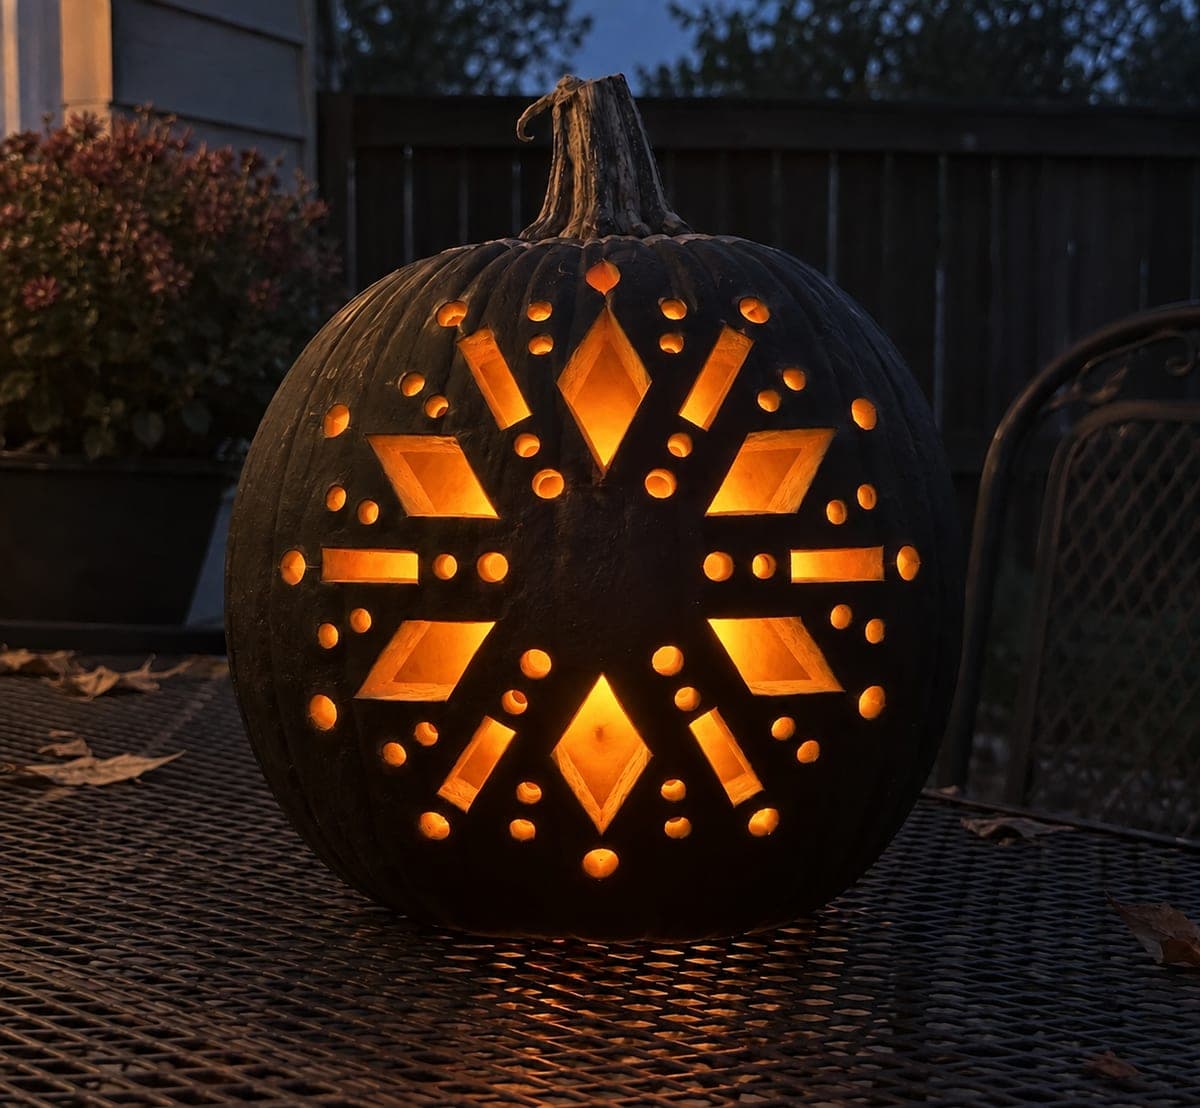
Six lancet columns and branching tracery rosettes made from continuous thick rind fill this expert hard pumpkin carving idea with the look of a cathedral window, each rosette center held by four stout spokes. Trace the full tracery layout before cutting and mark every spoke and column anchor point so none are severed during the process. Cut the largest glowing apertures between the lancets first, then work inward to the smaller tracery cells, finishing with the rosette spaces last. Lit from within, the completed pumpkin glows like illuminated stained glass.

No ratings yet · Sign in to rate
Comments (0)

  • No comments yet — be the first.

Save without an account. Sign in to like or comment.

Our tips for carving a similar design

This Gothic window design is a continuous lattice of dark thick rind standing in for stone tracery, with all the open apertures cut between them. Six lancet columns rise from a broad base to the upper perimeter and are never severed from either end. Each rosette has four stout spokes connecting its center disc to the surrounding lancet walls so there are no floating rings. Mapping the complete tracery and marking every spoke before the first cut is the single most important preparation step.

From pumpkin to porch

  1. Select and prepare a tall pumpkin

    A tall pumpkin with smooth flat sides gives the Gothic arch its correct proportions. Scoop the walls to about three-quarters of an inch throughout. Thinner walls help the many small tracery apertures glow brightly and make detailed cutting easier. Chill the pumpkin before carving to firm the flesh.

  2. Transfer the full tracery layout

    Print the tracery pattern at full size, tape it to the pumpkin, and poke every line with a marking tool. Connect all poke marks with a fine marker before removing the paper. Highlight every spoke and every lancet column in a different color so you can identify them instantly during cutting.

  3. Mark all structural elements before cutting

    Walk through the entire marked design and verify that each spoke is at least 8 mm wide, each lancet column connects continuously from base to top, and every rosette center has four spokes. Any element that does not meet these thresholds should be widened on the pumpkin surface before you begin cutting.

  4. Cut the large apertures between lancets first

    Begin with the largest glowing openings in the lower portion of the design, working upward. Use a thin pumpkin saw and keep the blade perpendicular to prevent undercutting the lattice. Press each cut piece inward to release it without stressing adjacent spokes.

  5. Cut the tracery rosette apertures last

    Work through the smaller rosette spaces methodically, cutting the spaces between spokes without touching the spokes themselves. A fine detail blade or small gouge is more controllable than a saw for the tightest apertures. Complete one full rosette before moving to the next.

  6. Light and display

    A bright LED lantern centered inside the pumpkin provides the most even illumination through all aperture sizes. Display the pumpkin in a window or on a table where viewers can approach closely and appreciate the tracery detail. The pumpkin glows best against a completely dark background.

Written with AI to match this design

Gather your supplies

Check things off as you get ready.

Work on a stable surface, keep your free hand out of the cutting path, and have an adult handle sharp tools.

Three levels of light

  • Leave intact

    All six lancet columns, every spoke of each rosette, and the connecting thick rind lattice stay solid and dark.

  • Peel & shade

    None for this design.

  • Cut through

    All glowing apertures between the lancets and all spaces within the rosettes between the spokes are cut through for full light.

Learn the carving basics

Before you start cutting

How do I avoid accidentally cutting through a rosette spoke?

Before cutting any aperture adjacent to a spoke, place a strip of painter's tape over the spoke itself as a physical reminder. Make each cut slightly inside the marked aperture edge and then widen it gradually. Never allow the blade to travel more than 2 mm beyond the aperture boundary toward a spoke.

What if the pumpkin wall is too thick for small apertures to glow?

Use a flat gouge or a flexible palette knife to thin the interior wall from inside in the areas where the smallest apertures will be cut. Removing material from the inside without cutting through preserves the outer surface detail while increasing the glow intensity of those areas.

How many hours should I set aside for a design this complex?

Most experienced carvers allow 4-6 hours for a full gothic window lantern. Rushing the small apertures causes the most mistakes. If you need to stop partway through, wrap the cut pumpkin tightly in plastic wrap and refrigerate it; it will hold well for up to 24 hours before you resume.

Your take belongs here, too.

Changed a detail? Made it simpler? Share a photo of your version and tell the community what worked.

Share your pumpkin

More pumpkins like this

You've reached the end · 8 pumpkins
The Patch Report

Fresh pumpkins, in your inbox.

The best new carvings, ideas worth stealing, and how-tos for carving season. Short, seasonal, and gone by November.

A short email during carving season. Unsubscribe anytime. See our privacy policy.