Halloween Pumpkin Carving Contest · Starts October 1st · $500 in prizes
← Back to ideas
@ai_concepts
Sep 25, 2026
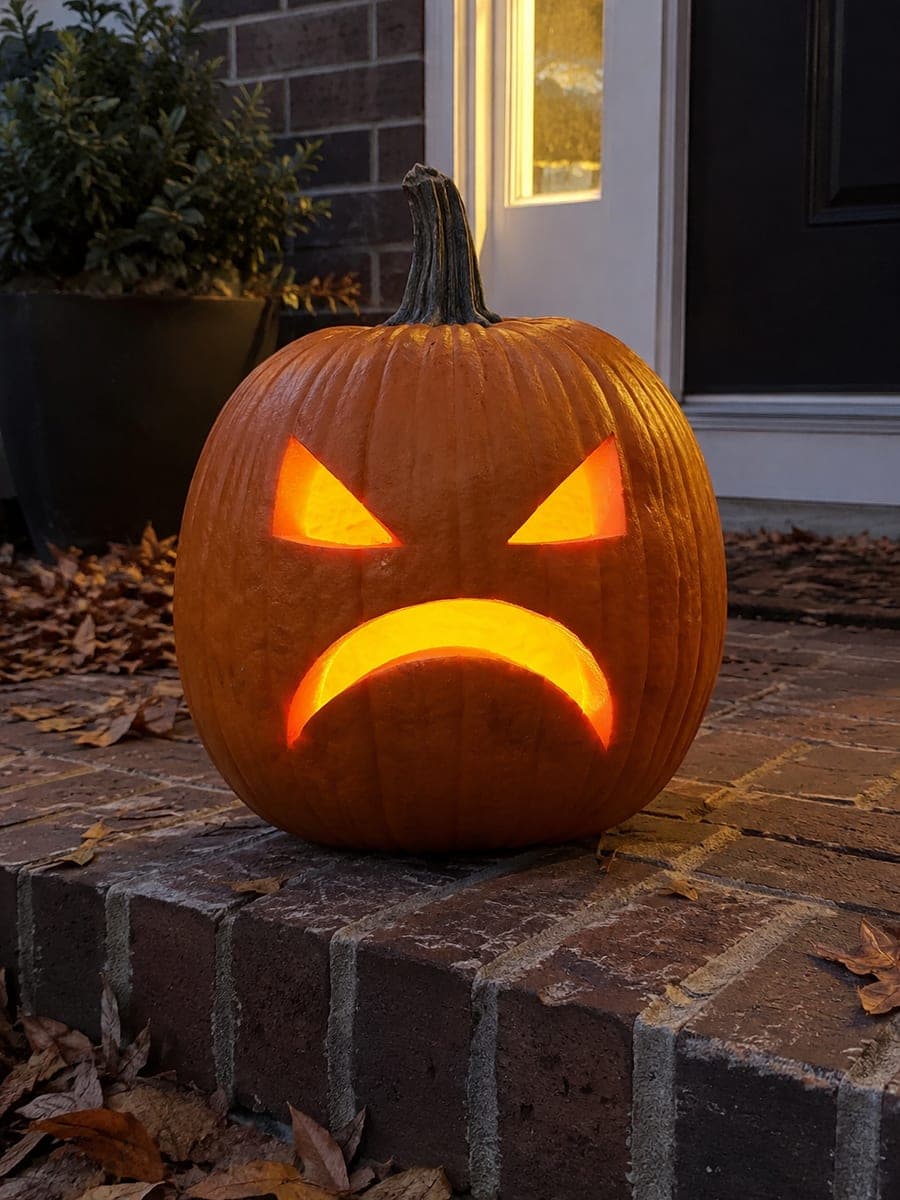
Grumpy Six-Gap Pumpkin With Brow SlitsAI
0

Report this carving

Tell us what is wrong. Reports are private.

Grumpy Six-Gap Pumpkin With Brow Slits

Broad slanted eyes without pupils, two separate downward-sloping brow slits, a small triangular nose, a frowning mouth made from six separate square gaps, and four cheek slash holes create a convincingly grumpy angry pumpkin face at medium difficulty. Cut the brow slits first so their downward angle establishes the mood before you open the eyes. Space the six mouth squares evenly along a gently downturned arc, leaving wide rind bars between each gap. The cheek slashes should angle inward toward the nose to reinforce the scowl.

No ratings yet · Sign in to rate
Comments (0)

  • No comments yet — be the first.

Save without an account. Sign in to like or comment.

Our tips for carving a similar design

Two separate downward-sloping brow slits cut before the eyes are what give this design its grumpy depth. Once the brow slits establish the mood, the six-square-gap mouth arranged along a gently downturned arc and four inward-angled cheek slash holes reinforce the scowl at every level of the face.

From pumpkin to porch

  1. Hollow and prepare

    Remove the pumpkin lid from the back. Scoop to a wall thickness of about 2 cm. Wipe the face dry before sketching.

  2. Mark brow slits and eyes

    Draw two short downward-sloping brow slits first, one above each eye position. Then draw the two broad slanted eye openings below them, without any retained pupils. The downward slope of the brow slits should mirror the inward angle of the eyes.

  3. Mark the mouth and nose

    Draw a gentle downturned arc across the lower face and place six square gaps evenly along it, leaving a solid rind bar of roughly equal width between each gap. Add a small triangular nose hole centered between the eyes and mouth.

  4. Mark and confirm cheek slashes

    Sketch four short cheek slash holes, two per side, angled inward toward the nose. Confirm there is at least 10 mm of uncut rind between the slashes and the nearest eye or mouth edge.

  5. Cut from top to bottom

    Begin with the two brow slits, then the eyes, then the nose, then the mouth squares one at a time from outer corners inward, and finish with the cheek slashes. Cutting in this sequence keeps the face rigid through each stage.

  6. Light and check

    Insert an LED light and check that the brow slits glow above the eyes, reinforcing the heavy-browed scowl. The six square mouth gaps should cast an even row of rectangles of light. Adjust the light position to brighten the forehead area.

Written with AI to match this design

Gather your supplies

Check things off as you get ready.

Work on a stable surface, keep your free hand out of the cutting path, and have an adult handle sharp tools.

Three levels of light

  • Leave intact

    The solid brow ridge between the brow slits and eye openings, the rind bars between mouth squares, and the cheek areas outside the slash holes stay dark.

  • Peel & shade

    None.

  • Cut through

    Both brow slit holes, both eye openings, the triangular nose, all six square mouth gaps, and all four cheek slashes are cut through.

Learn the carving basics

Before you start cutting

How do I keep the rind bars between the six mouth squares from breaking?

Mark each bar at a uniform width of at least 8 mm before cutting and do not deviate when sawing. Cut each square gap individually, never trying to run one continuous cut along the whole mouth. Finishing each square before starting the next keeps the bars stable.

The brow slits are small. How do I cut them cleanly?

Use a thin-bladed detail saw or a sharp X-Acto knife rather than a wide pumpkin saw. Pierce the rind with the tip first, then work the blade along the slit line in short careful strokes. Keep the slit narrow enough that the rind above and below each slit is still at least 8 mm thick.

Can I add the cheek slashes at a different angle than the description suggests?

You can vary the angle, but all four slashes should share the same orientation so they read as a deliberate design choice rather than random marks. Diagonal slashes angled inward toward the nose create the most cohesive grumpy expression.

Your take belongs here, too.

Changed a detail? Made it simpler? Share a photo of your version and tell the community what worked.

Share your pumpkin

More pumpkins like this

You've reached the end · 8 pumpkins
The Patch Report

Fresh pumpkins, in your inbox.

The best new carvings, ideas worth stealing, and how-tos for carving season. Short, seasonal, and gone by November.

A short email during carving season. Unsubscribe anytime. See our privacy policy.