Halloween Pumpkin Carving Contest · Starts October 1st · $500 in prizes
← Back to ideas
@ai_concepts
Sep 10, 2026
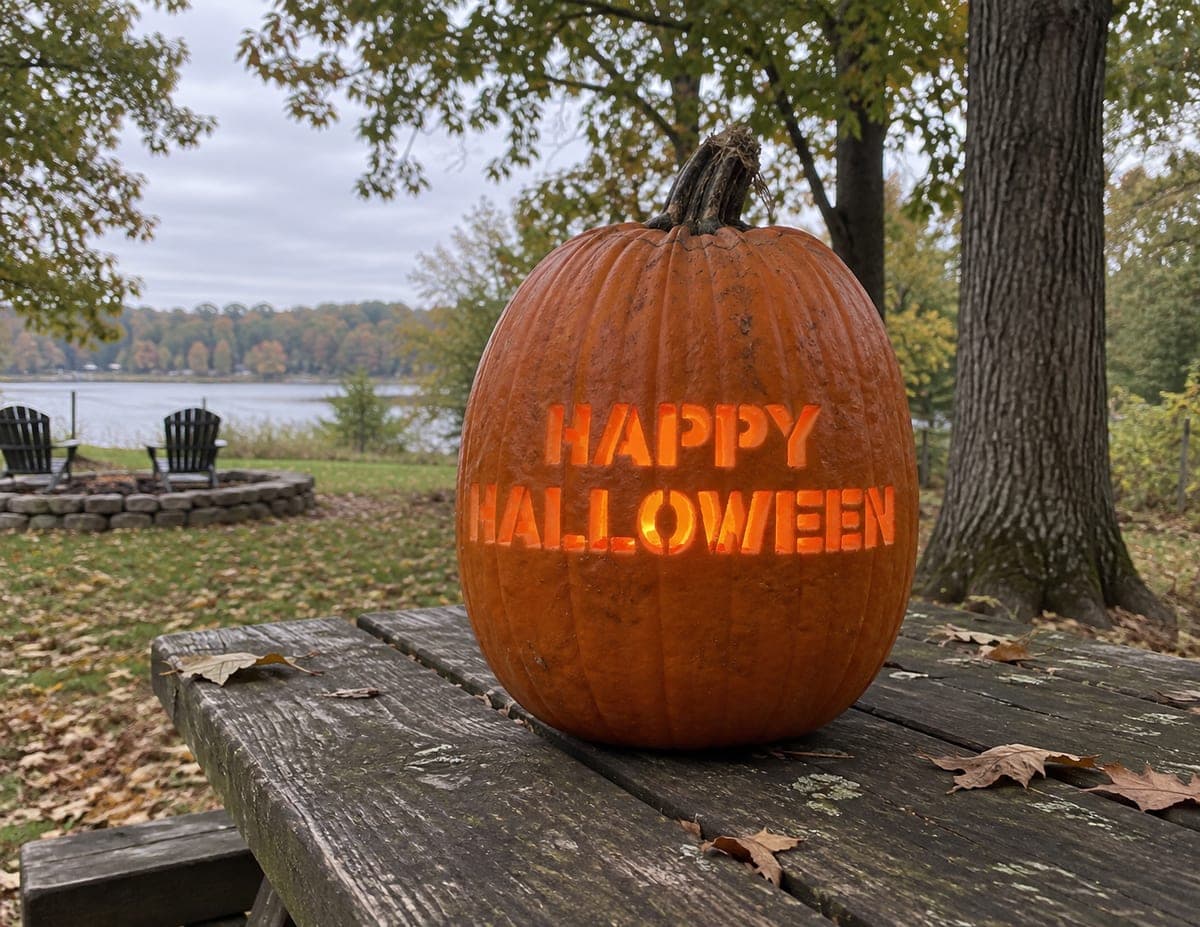
Happy Halloween Bat Etched Porch PumpkinAI
0

Happy Halloween Bat Etched Porch Pumpkin

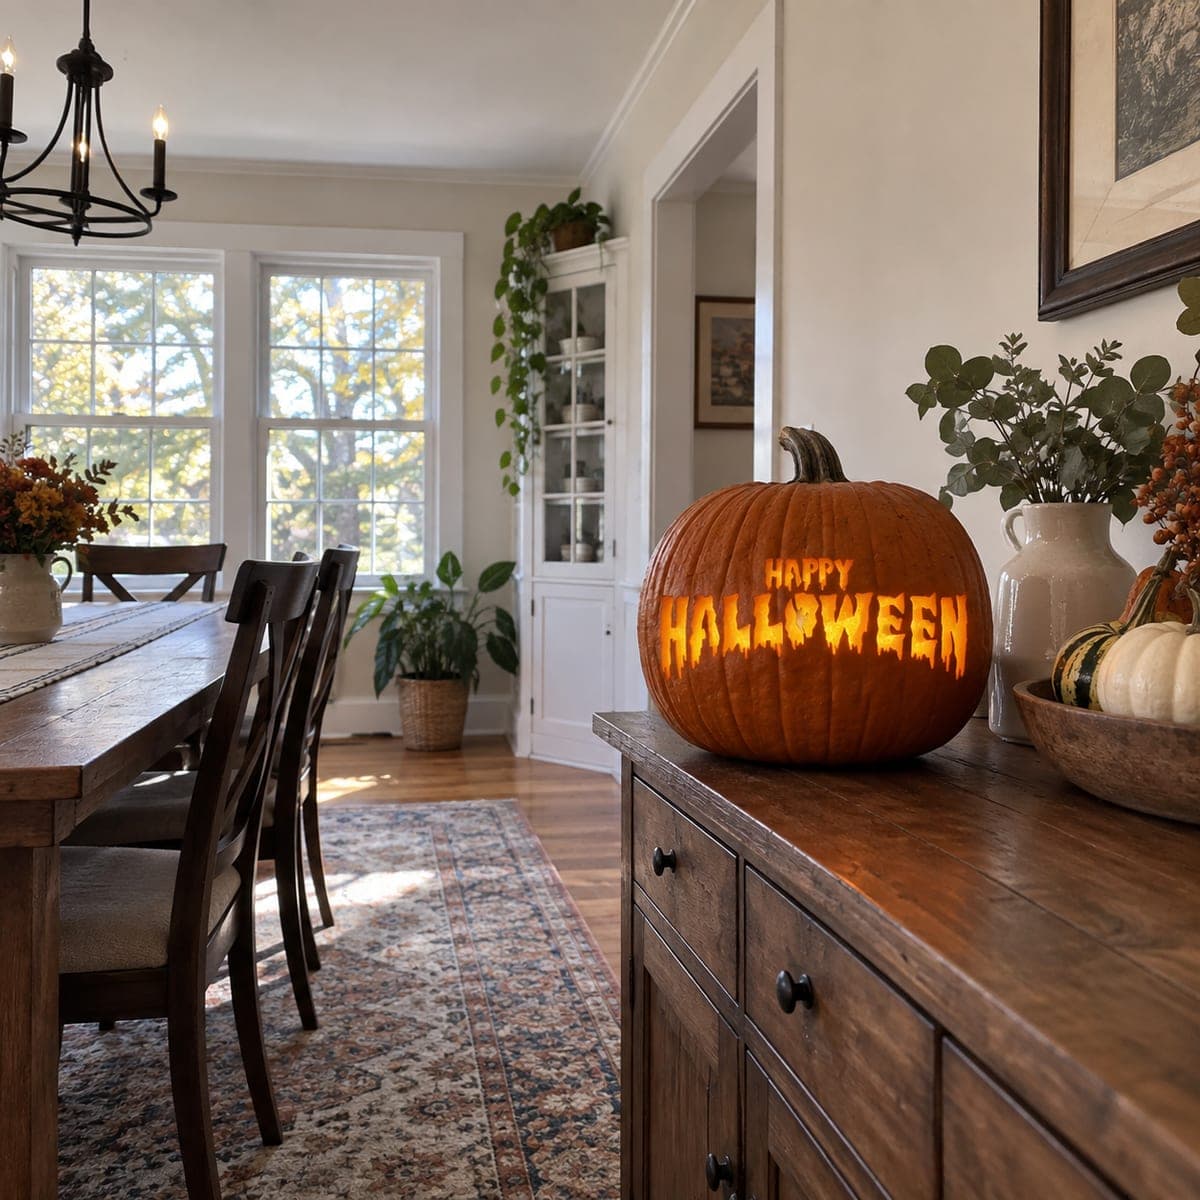
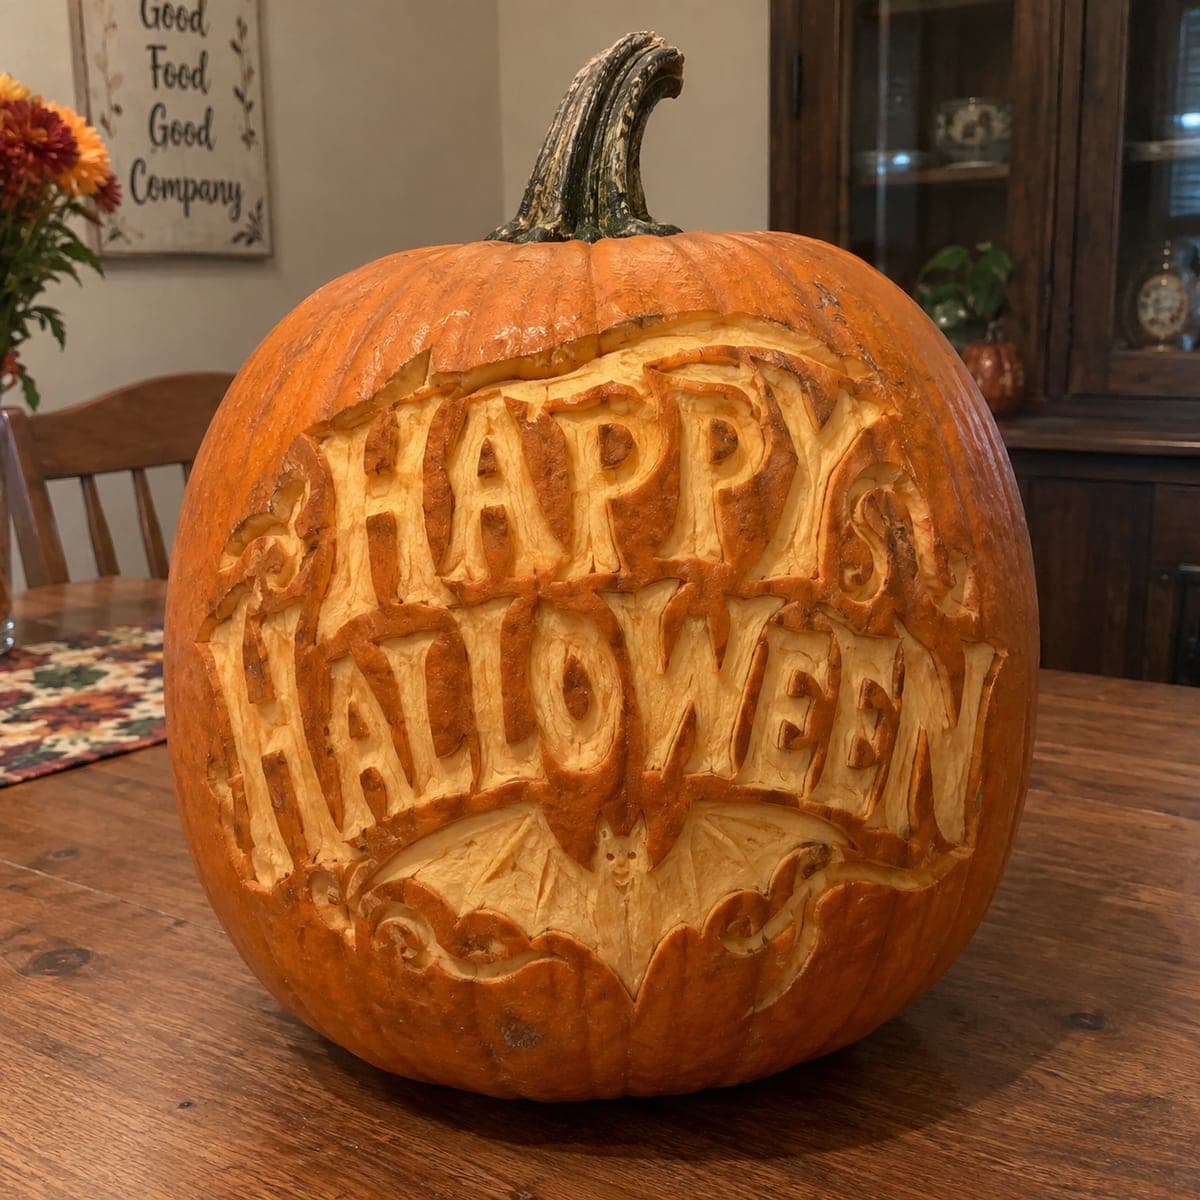
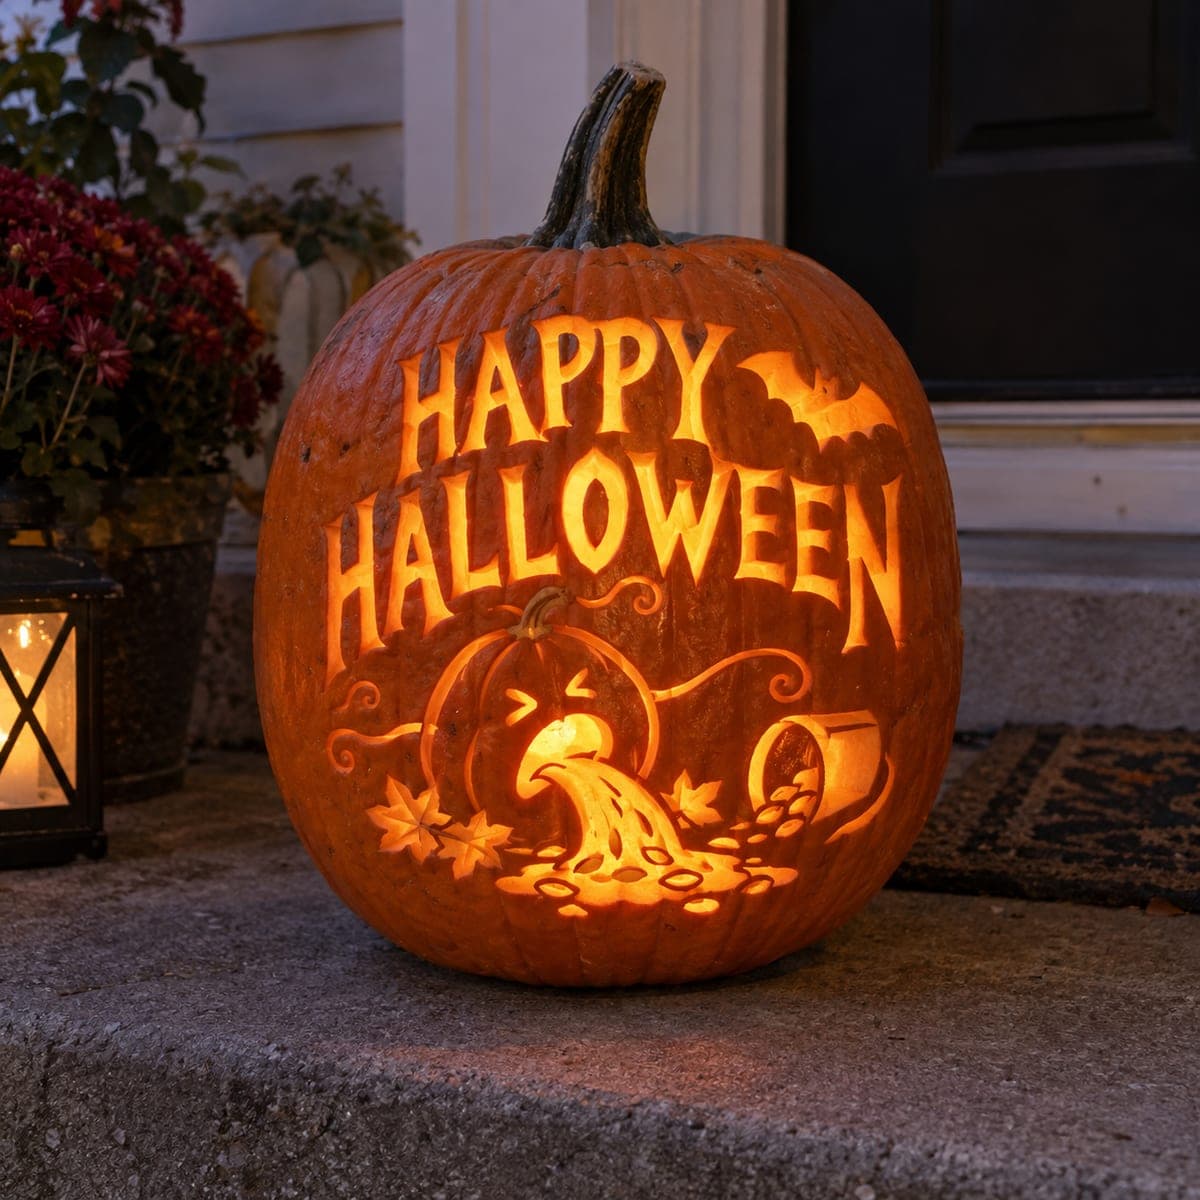
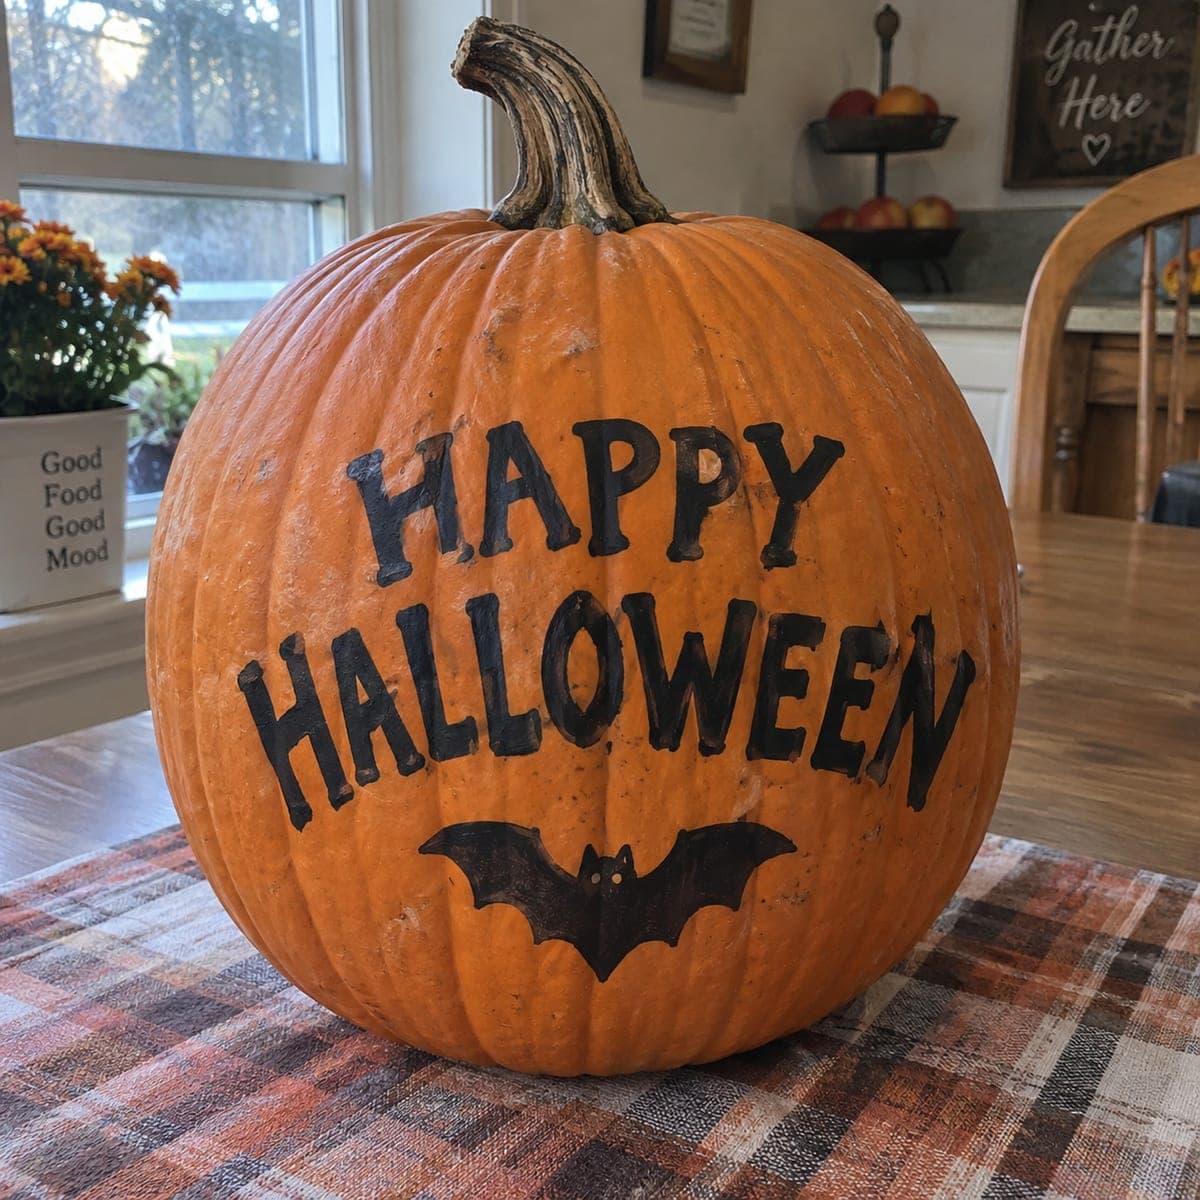
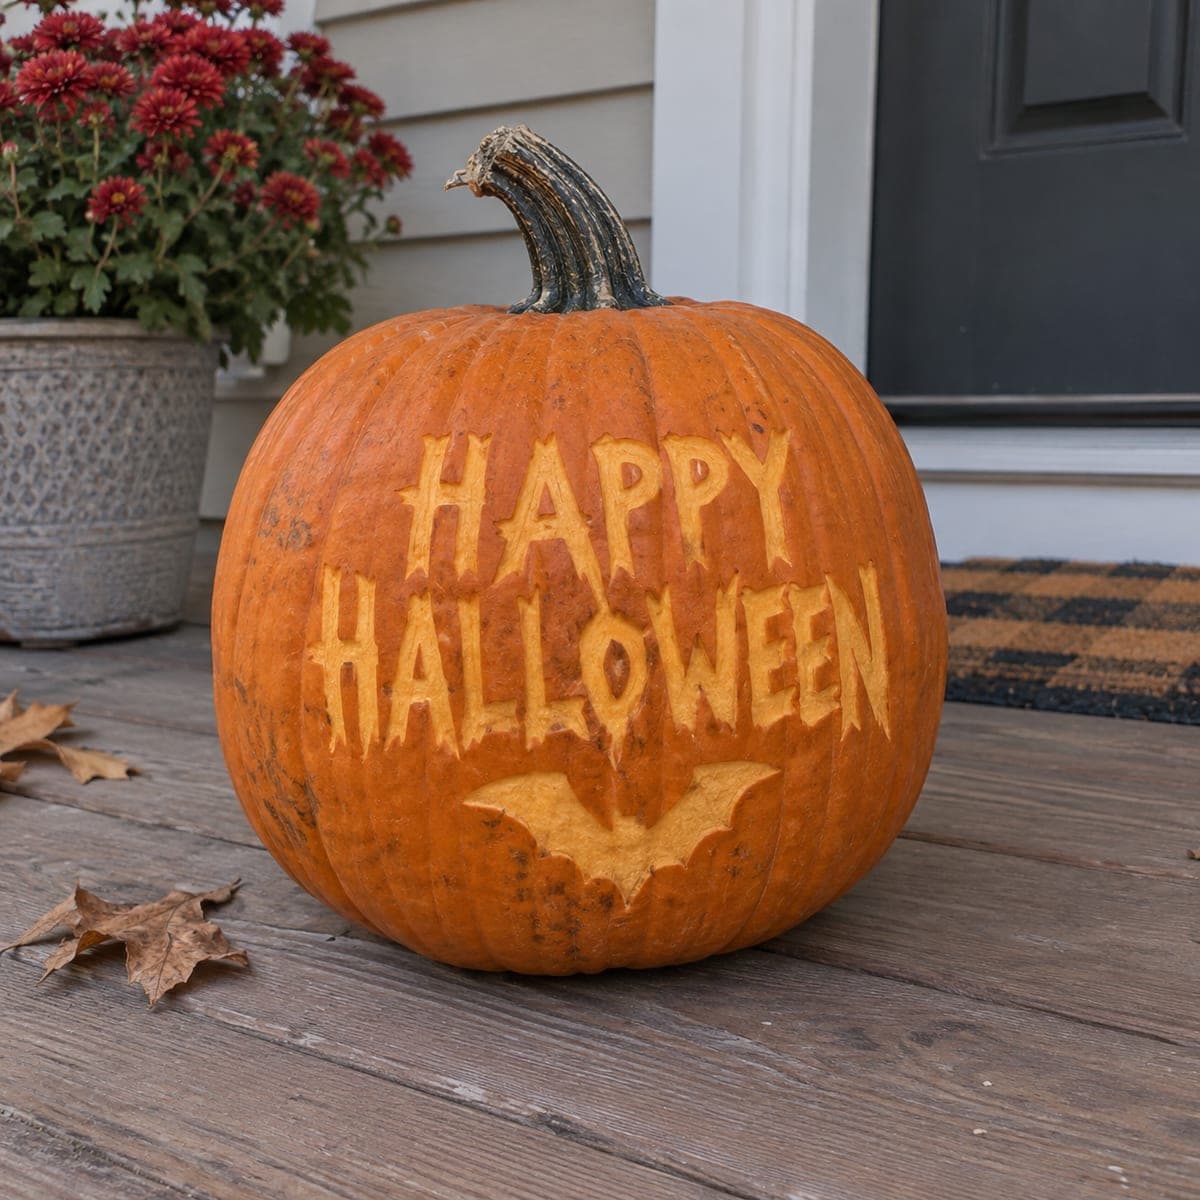
"HAPPY HALLOWEEN" is carved in block letters across the front of this pumpkin in a fun, slightly spooky font, with a small bat silhouette flying below the text. The skin is shaved away in the letter areas to a creamy pale tone, while the bat is a simple raised shape on the peeled background. This pumpkin carving idea is straightforward enough for intermediate carvers and looks great without any internal light. Use a stencil printed at letter height, tape it on, and poke the outline before peeling.

This is an AI-generated concept image: a realistic, carvable design idea rather than a photo of a finished carve. AI concepts are always labeled and sit out the leaderboard and the contest.

No ratings yet · Sign in to rate
Comments (0)

  • No comments yet — be the first.

Save without an account. Sign in to like or comment.

Our tips for carving a similar design

The trick here is shading rather than cutting all the way through, so the letters and bat read as creamy pale shapes against the darker orange skin. You shave the skin off the letter areas to expose the lighter flesh underneath, then leave the little bat as a raised silhouette by peeling only the background around it. Because this is a concept image with no real pumpkin behind it, treat every step below as a plan for how you could recreate the look, and know that it shows off beautifully in daylight without any inner light at all.

Written by PumpkinCarvingIdeas.com, inspired by the image above. These are our suggestions, not instructions from the uploader. This approach to the AI concept has not been tested on a real pumpkin.

From pumpkin to porch

  1. Pick and size your stencil

    Choose a block-letter 'Happy Halloween' layout with a small bat below the words, and print it so the letter height fills the flattest, most forward-facing part of the pumpkin. A rounder, taller pumpkin gives you a clean canvas for two stacked lines of text. Trim the paper close to the design so it hugs the curve. Because the letters span a wide area, splitting the print into a top line and bottom line makes it easier to wrap without wrinkling.

  2. Tape it on and transfer the outline

    Snug the stencil against the skin and tape it down flat, adding small relief cuts in the paper margins so it conforms to the curve. Use a poking tool or pin to dot along every letter edge and around the bat outline. Keep your dots close together on the pointy serif tips so the drippy font stays crisp. Peel the paper away and connect the dots lightly with a marker if it helps you see the shapes.

  3. Score the outlines before you shave

    With a fine detail blade, trace shallow cuts along all the letter borders and around the bat, going only a few millimeters deep. This gives your shaving a clean wall to stop against so edges do not tear. Take your time on the interior of letters like A, P, and O, where you have small enclosed shapes to protect. An adult should handle all blade work, and always cut away from your holding hand.

  4. Shave the letters to the pale layer

    Switch to a loop or ribbon tool and gently scrape the skin off inside each letter until you reach the creamy flesh, keeping the depth even so every letter glows the same tone. Work in small strokes and stop as soon as the pale layer shows, since going too deep turns it wet and dull. This is the shading technique, so think of it as sanding rather than digging. Wipe away pulp as you go to check your color.

  5. Peel around the bat to lift it up

    For the bat, shave away the background skin around the silhouette instead of the bat itself, so the little creature stays as a raised orange shape on a pale field. Keep the wing tips and body edges neat by shaving up to your scored line. This reverse approach is what makes the bat pop without any cutting through. Round the edges of the peeled area slightly so it blends into the surrounding skin.

  6. Clean up and stage it on the porch

    Go back over every edge with your detail blade to sharpen the drippy serifs and the bat's wings, then brush out loose bits. Since this design relies on daylight and shading, set it on a step or table where the sun rakes across the surface and the pale letters catch the light. A coat of vegetable oil on the shaved areas slows browning and deepens the contrast. Snap your photo in the morning or late afternoon when the angled light shows off the etching best.

Gather your supplies

Check things off as you get ready.

Work on a stable surface, keep your free hand out of the cutting path, and have an adult handle sharp tools.

Three levels of light

  • Leave intact

    The main background skin and the raised bat silhouette stay untouched orange.

  • Peel & shade

    The letters and the field immediately around the bat get shaved to the creamy pale layer for a soft glow.

  • Cut through

    This design uses no full cutouts, but you could cut a few letters all the way through if you want to add an LED light inside later.

Learn the carving basics

Before you start cutting

Do I really not need a light inside?

Correct, this is a shading design that reads in daylight, so the contrast between dark skin and pale shaved letters does the work. It looks great on a sunny porch step with no LED at all. If you want a nighttime version, you could cut a few letters fully through and drop in a battery LED, never a candle.

How deep should I shave the letters?

Just deep enough to reach the creamy inner flesh, usually a few millimeters. Stop as soon as the color turns pale and even, because digging further makes the surface wet, dark, and mushy. Keep the depth consistent across all letters so they glow uniformly.

Why leave the bat instead of carving it out?

Peeling the background around the bat keeps it as a raised orange shape, which gives you a fun contrast against the pale etched letters. It also avoids a fragile cutout with thin wings that could crack. If you prefer, you can shade the bat pale and leave the background dark instead, whichever contrast you like.

Your take belongs here, too.

Changed a detail? Made it simpler? Share a photo of your version and tell the community what worked.

Share your pumpkin

More pumpkins like this

You've reached the end · 8 pumpkins
The Patch Report

Fresh pumpkins, in your inbox.

The best new carvings, ideas worth stealing, and how-tos for carving season. Short, seasonal, and gone by November.

A short email during carving season. Unsubscribe anytime. See our privacy policy.