Halloween Pumpkin Carving Contest · Starts October 1st · $500 in prizes
← Back to ideas
@ai_concepts
Sep 25, 2026
Bat Silhouette Pumpkin Glowing at Dusk With StarsAI
0

Report this carving

Tell us what is wrong. Reports are private.

Bat Silhouette Pumpkin Glowing at Dusk With Stars

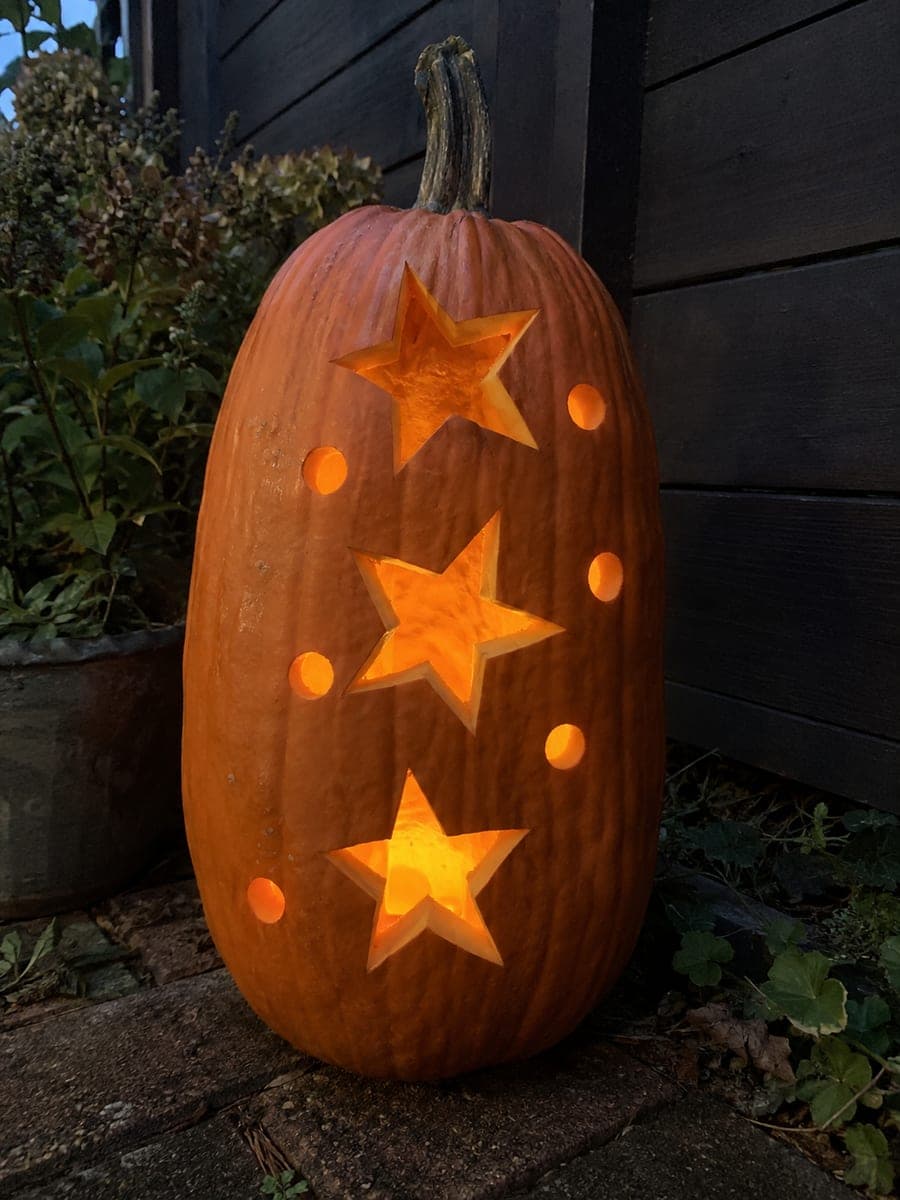
A bold bat-shaped opening dominates this pumpkin carving idea, flanked by five individual star cutouts that flicker with warm candlelight at dusk. Transfer the bat outline with a tracing stylus, then cut the entire bat as one continuous opening before moving on to the stars. Leave a generous margin of intact rind between each star and the main opening so the wall stays strong, and place a battery-operated LED inside to keep the glow steady all evening.

No ratings yet · Sign in to rate

Comments (0)

  • No comments yet — be the first.

Save without an account. Sign in to like or comment.

Our tips for carving a similar design

The entire design is two types of openings: one large continuous bat shape and five separate star cutouts. Because the bat is cut as a single uninterrupted piece, the wall stays more stable than if you tried to cut around it from the outside. Keeping generous rind margins between the stars and the bat opening is the structural priority.

From pumpkin to porch

  1. Prepare and hollow

    Cut an angled lid, remove seeds, and scrape the inside wall to a consistent inch of thickness. An even wall thickness means the bat silhouette will glow uniformly without bright thin spots or dark thick patches.

  2. Transfer the bat

    Print or draw a bat outline that fits within the center two-thirds of the pumpkin face. Trace it onto the surface using a stylus or poker tool. Make sure both wingtips stay well inside the border rind and that the bat is at least an inch from the outer edge on all sides.

  3. Place the stars

    Mark five stars around the bat, spacing them so each one has at least an inch of solid rind separating it from the bat outline and from each other. Keeping that margin prevents the wall from cracking between nearby openings.

  4. Cut the bat first

    Use a fine-toothed pumpkin saw to cut the entire bat as one continuous opening. Work slowly around the wing curves and pointed ear tips, keeping the blade perpendicular to the surface. Push the bat piece inward once the cut is complete.

  5. Cut the stars

    Cut each star individually, moving from the star farthest from the bat opening to the closest. Take short careful strokes at the points to avoid tearing. If a point chips, smooth the edge with a small linoleum gouge rather than re-cutting.

  6. Light and position

    Place a battery-operated LED candle inside for a steady glow that does not flicker out in a breeze. Position the pumpkin so the bat faces the street and the dusk sky frames it naturally. The five stars spread the glow across a wider area for added visual impact.

Written with AI to match this design

Gather your supplies

Check things off as you get ready.

Work on a stable surface, keep your free hand out of the cutting path, and have an adult handle sharp tools.

Three levels of light

  • Leave intact

    All surrounding orange rind between and around the bat and stars stays solid and unlit

  • Peel & shade

    None, this is a full cutout design

  • Cut through

    The single continuous bat-shaped opening and all five star openings

Learn the carving basics

Before you start cutting

How do I cut clean points on the stars?

Use a fine-toothed saw and make two straight cuts that meet at each point rather than trying to curve around it. Approach each point from both sides and let the cuts meet in the middle. A sharp blade matters more here than technique, so swap in a fresh saw blade if the old one drags.

Will the bat opening weaken the pumpkin wall enough to cause cracking?

A single large opening is actually less risky than many small ones close together because there are no thin bridges to snap. Keep the bat at least an inch from the outer border on all sides and the wall will hold well. Avoid pressing hard on the pumpkin face after cutting.

What if my pumpkin is not round enough to show the full bat shape?

Scale the bat template down until both wingtips sit comfortably within the flattest face of the pumpkin. Elongated pumpkins work better with a bat whose wings arc upward rather than spread flat. A slight upward wing angle also reads more dynamically in photos.

Your take belongs here, too.

Changed a detail? Made it simpler? Share a photo of your version and tell the community what worked.

Share your pumpkin

More pumpkins like this

You've reached the end · 8 pumpkins
The Patch Report

Fresh pumpkins, in your inbox.

The best new carvings, ideas worth stealing, and how-tos for carving season. Short, seasonal, and gone by November.

A short email during carving season. Unsubscribe anytime. See our privacy policy.