Halloween Pumpkin Carving Contest · Starts October 1st · $500 in prizes
← Back to ideas
@ai_concepts
Aug 8, 2026
Happy Halloween Greeting Pumpkin with Sick Little PumpkinAI
0

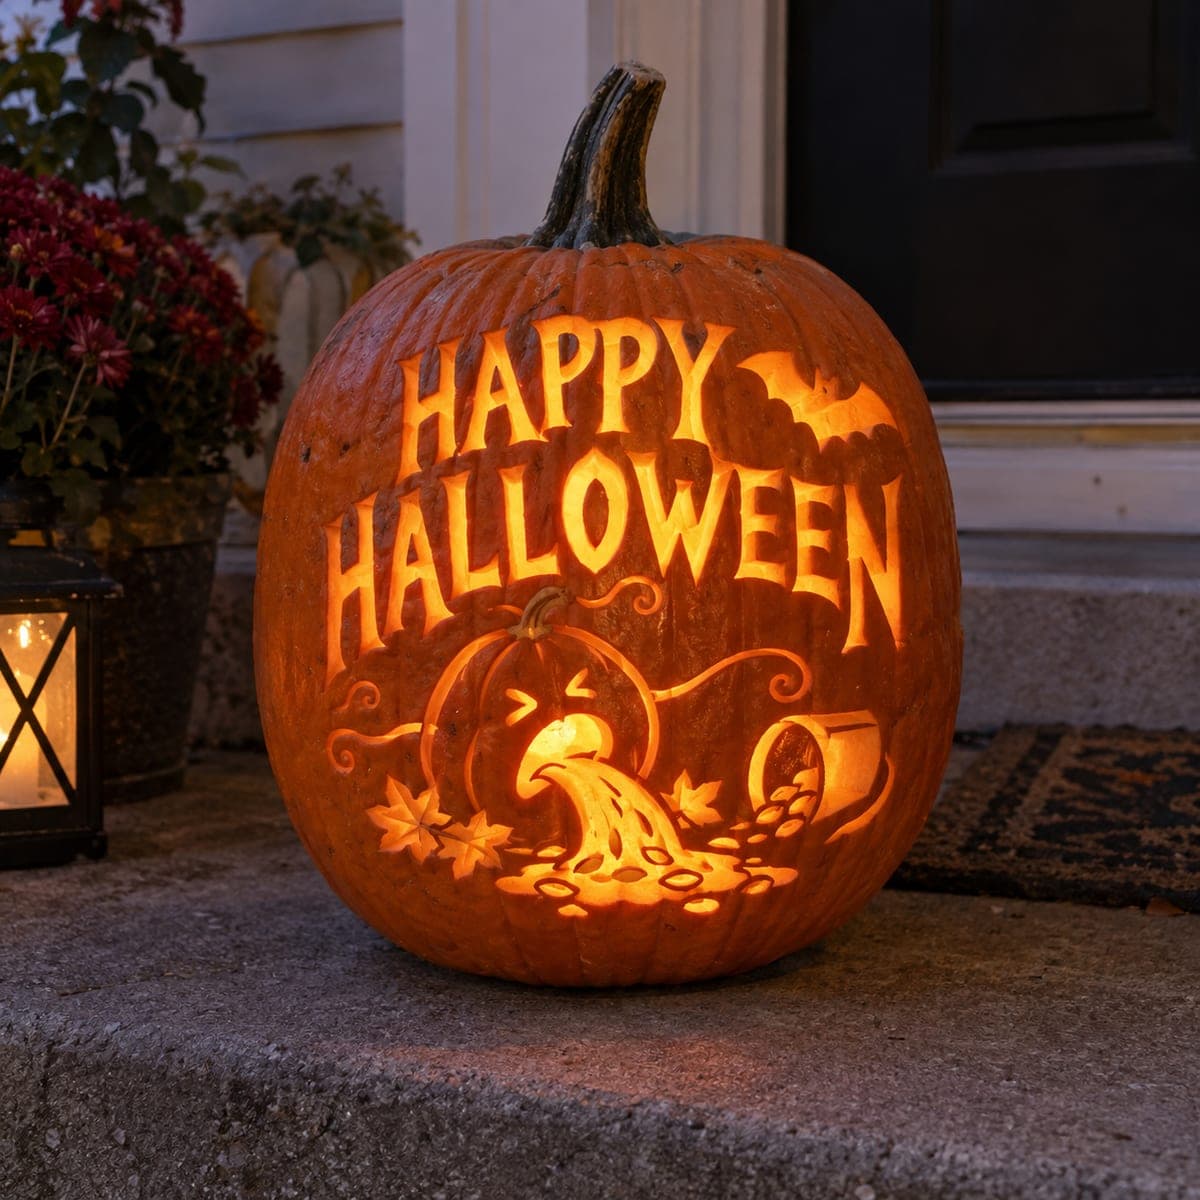
Happy Halloween Greeting Pumpkin with Sick Little Pumpkin

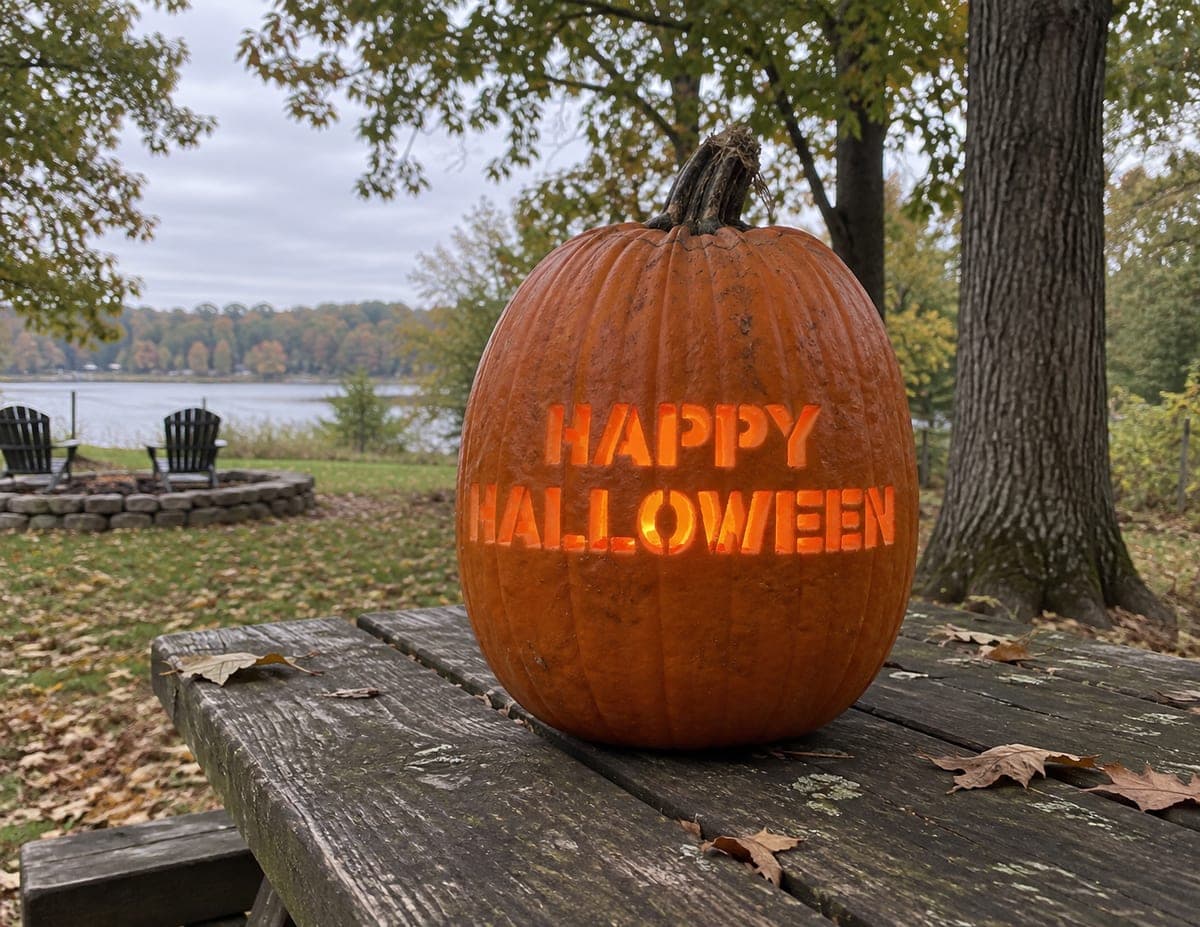
Glowing block letters spell out HAPPY HALLOWEEN above a mischievous scene of a little carved pumpkin losing its candy, with a bat and tipped bucket worked into the design. The lettering and scene are cut through while details like vines are etched, so the whole front lights up like a marquee. Carve the letters from the inside of each shape outward, and leave the connecting bridges thicker than you think you need.

This is an AI-generated concept image: a realistic, carvable design idea rather than a photo of a finished carve. AI concepts are always labeled and sit out the leaderboard and the contest.

No ratings yet · Sign in to rate
Comments (0)

  • No comments yet — be the first.

Save without an account. Sign in to like or comment.

Our tips for carving a similar design

The core trick here is treating the whole front like a lit sign, with bold block letters and a cartoon scene cut all the way through so light pours out. The letters carry the message while a little sick pumpkin, a bat, and a tipped candy bucket add the joke below. Plan the layout first so the two words stay level and the scene has room, then keep the bridges between letters and shapes thicker than feels necessary.

Written by PumpkinCarvingIdeas.com, inspired by the image above. These are our suggestions, not instructions from the uploader. This approach to the AI concept has not been tested on a real pumpkin.

From pumpkin to porch

  1. Plan and transfer the layout

    Since this is a concept image, start by picking a wide, tall pumpkin with a smooth front to hold two lines of text plus a scene. Print or draw a stencil that stacks HAPPY over HALLOWEEN with the pumpkin, bat, and bucket below. Tape it snug, then poke the outlines with a transfer tool or pin so you have a dotted map. Double check that the two words sit level before you cut anything.

  2. Open the lid and clean the wall

    Cut a lid from the top around the stem, angling the knife inward so the lid rests without falling in. Scoop out the seeds and pulp, then scrape the inside of the carving wall down to about one inch thick. A thinner, even wall makes the letters much easier to cut and lets more light through. Save some scooped flesh in case you want to patch a slip later.

  3. Score the letters and etch the vines

    Go over your dotted outlines with a light scoring cut so every letter and the scene edges are clearly marked. For the swirling vines and any fine curls, use a shallow etch or skin peel instead of cutting through, so they glow dim without weakening the shell. Work slowly around tight curves like the O and the loops in the vines. Keep the connecting bridges inside letters such as A, P, and O intact.

  4. Cut the letters from the inside out

    Use a fine detail saw and start each letter from its interior, cutting outward toward the edges. Do the small enclosed shapes first, like letter centers, before the long strokes so the surrounding pumpkin stays firm as you work. Support each piece with a finger from behind as it comes free to avoid cracking a neighbor. Leave the bridges between letters and around counters thicker than you think you need, since block letters put a lot of weight on those spans.

  5. Carve the scene and the candy trail

    Cut through the little pumpkin's scrunched face, the bat, and the tipped bucket, saving the widest openings for last. Cut the falling candy and the spill as a row of small round holes so light reads as a stream of pieces. Etch or peel the leaves and any soft shading so they glow softer than the full cutouts. Take breaks to hold the pumpkin up to a lamp and check that everything reads.

  6. Light it and set it on the porch

    Drop in one or two battery LED lights rather than a candle, since all these cutouts channel a lot of glow and open flame near a paper stencil scrap is a bad idea. Position the lights low and slightly forward so the bottom scene stays as bright as the letters up top. Wipe the cut edges dry and rub a little petroleum jelly on them to slow browning. Set it on a flat step, snap your photo at dusk, and enjoy the marquee.

Gather your supplies

Check things off as you get ready.

Work on a stable surface, keep your free hand out of the cutting path, and have an adult handle sharp tools.

Three levels of light

  • Leave intact

    The untouched orange skin of the background and the outer pumpkin body stays dark

  • Peel & shade

    The swirling vines, leaves, and soft shading get skin-peeled for a dim orange glow

  • Cut through

    The block letters, the little pumpkin's face, the bat, the bucket, and the candy trail are cut through for full brightness

Learn the carving basics

Before you start cutting

How do I keep the letters from collapsing?

The danger points are the bridges inside letters like A, P, and O and the thin spans between words. Keep those bridges wider than they look on the stencil and thin your pumpkin wall evenly so you are not fighting thick, tough flesh. Cut interior shapes before long strokes so the surrounding area supports each letter as you go.

Should the candy and vines be cut through or etched?

Cut the falling candy as small round holes so it reads as bright spilling pieces, and cut the main scene shapes through. Etch or skin-peel the vines and leaves instead, which gives them a softer dim glow and keeps the shell strong. Mixing the two depths is what makes the scene look layered.

What order should I cut everything in?

Work top to bottom and small to large. Score all outlines first, etch the vines, then cut the small letter centers and scene details, and save the biggest openings like the wide letters and the bucket mouth for last. Cutting big holes early removes support and makes the rest more likely to crack.

Your take belongs here, too.

Changed a detail? Made it simpler? Share a photo of your version and tell the community what worked.

Share your pumpkin

More pumpkins like this

You've reached the end · 8 pumpkins
The Patch Report

Fresh pumpkins, in your inbox.

The best new carvings, ideas worth stealing, and how-tos for carving season. Short, seasonal, and gone by November.

A short email during carving season. Unsubscribe anytime. See our privacy policy.