Halloween Pumpkin Carving Contest Β· Starts October 1st Β· $500 in prizes
← Back to ideas
@ai_concepts
Sep 25, 2026
Hard Rat Jack-O-Lantern with Fine Whisker AperturesAI
0

Report this carving

Tell us what is wrong. Reports are private.

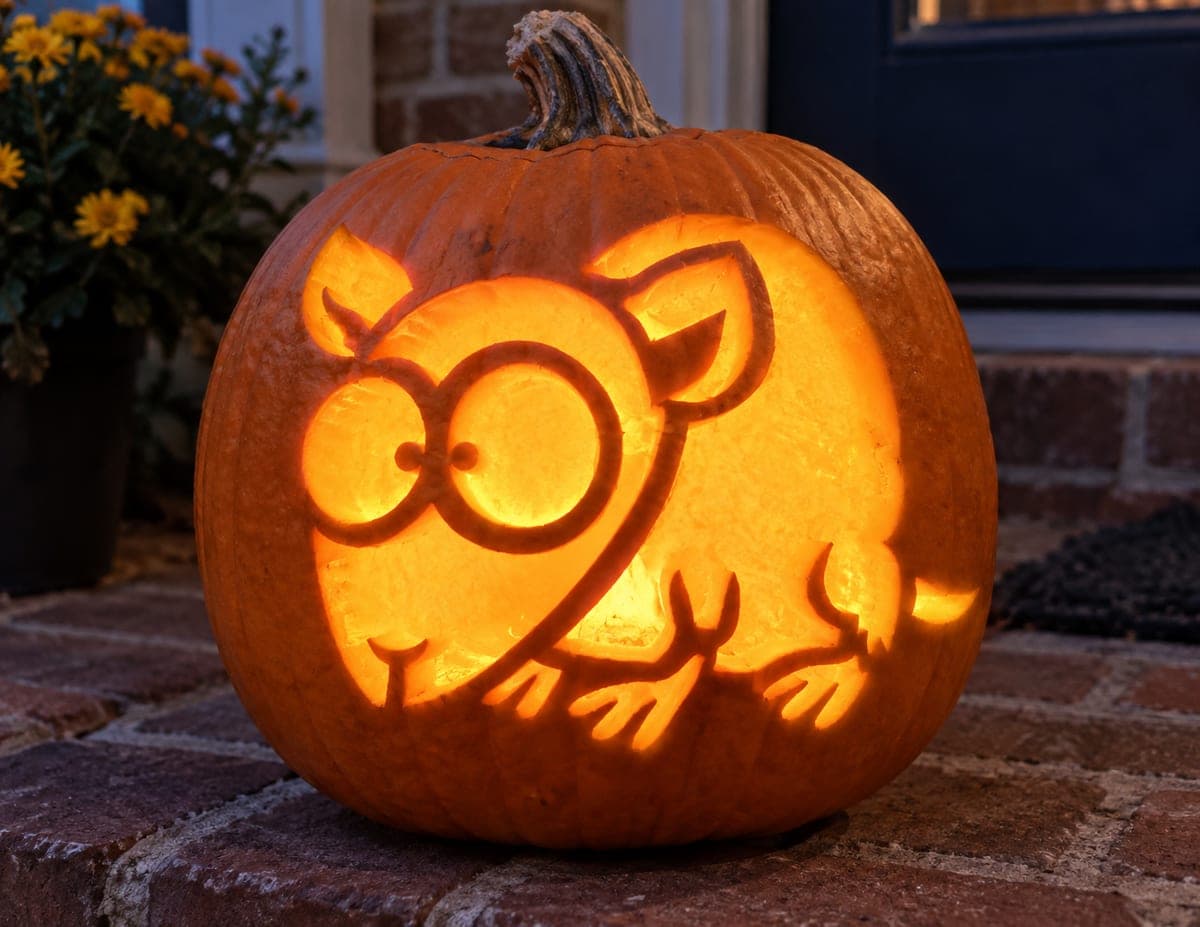
Hard Rat Jack-O-Lantern with Fine Whisker Apertures

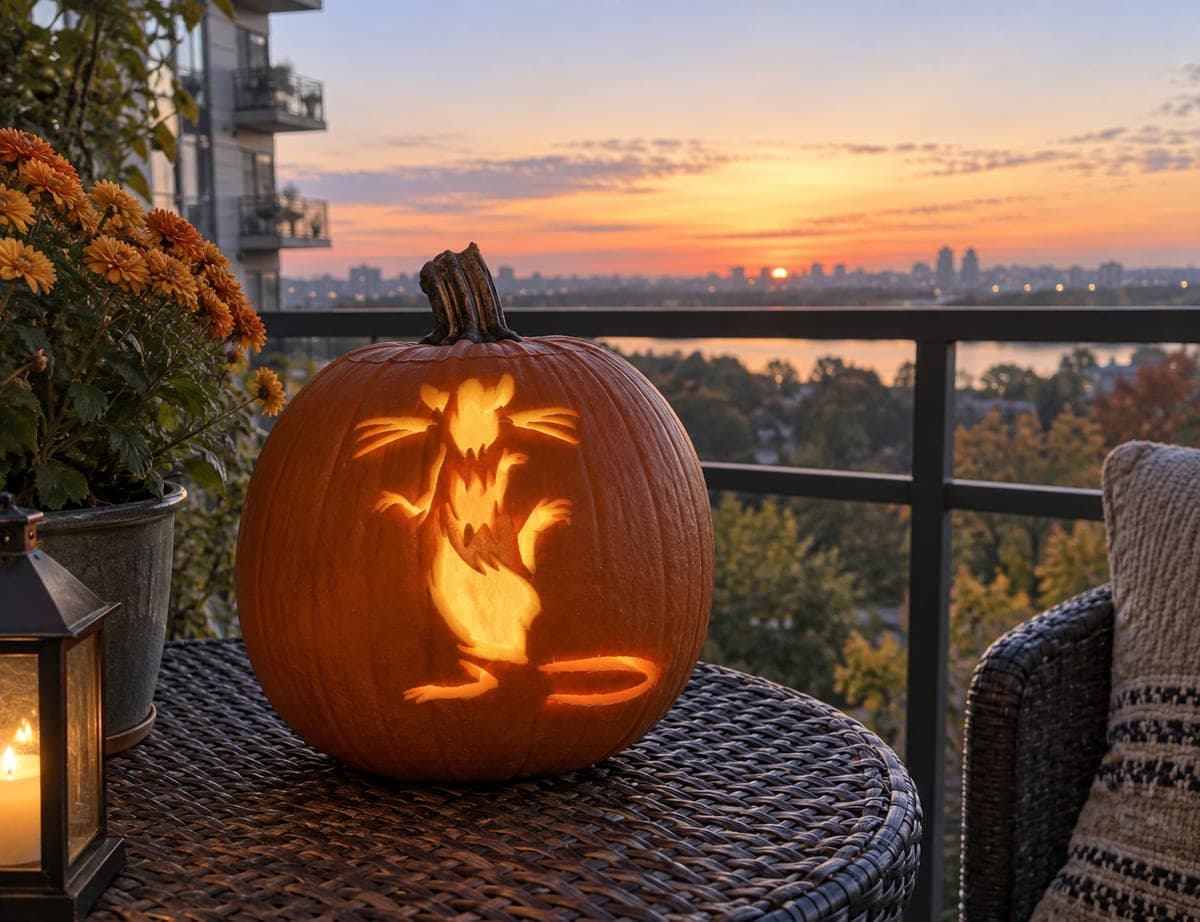
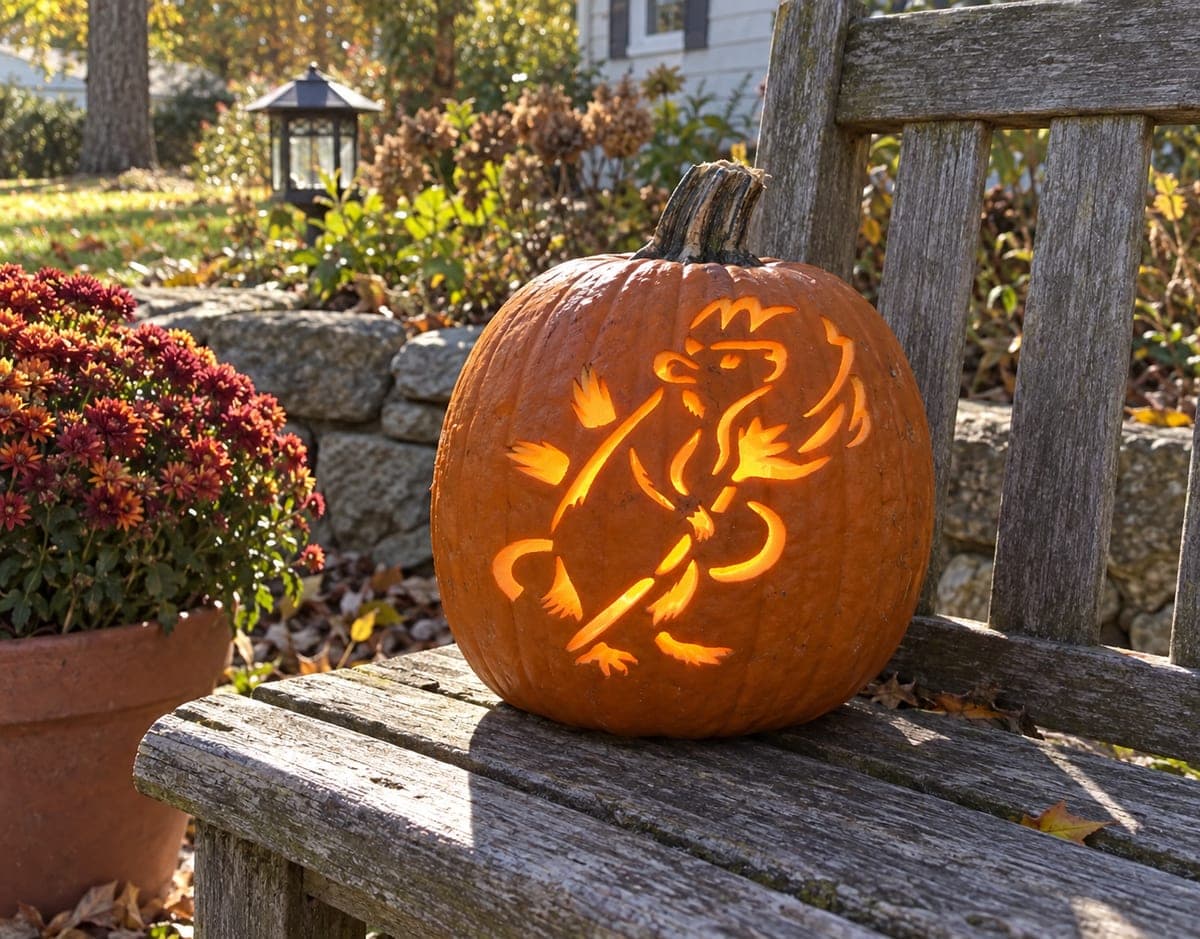
This hard rat jack-o-lantern introduces fine whisker apertures and closely spaced retained features alongside the main facial openings, all broadly rooted to keep the complex design intact. Shallow backed contours across the snout and brow add fur texture over fully supported sections of rind. Sequence the cuts from the largest apertures inward to the finest whisker slits, and use a narrow-tipped blade for the last details. A bright LED makes even the hairline whisker cuts catch the light.

No ratings yet Β· Sign in to rate

Comments (0)

  • No comments yet β€” be the first.

Save without an account. Sign in to like or comment.

Our tips for carving a similar design

At hard difficulty, the whiskers become actual through-cut apertures rather than backed marks, and backed fur texture appears across the snout and brow over fully supported rind. The finest whisker slit cuts are the last element added, after all larger apertures are complete. A narrow-tipped blade is essential for the hairline whisker cuts that are the defining feature of this level.

From pumpkin to porch

  1. Choose the pumpkin and hollow it

    Select a pumpkin with a smooth front face and hollow to a consistent 1 inch wall. Any uneven interior bumps will create bright patches behind the backed fur texture, disrupting the even tonal gradient the design depends on.

  2. Transfer the full stencil

    Pin-transfer all outlines including the individual whisker aperture positions. The whisker slits are very fine, so use the sharpest pin available and prick their start and end points plus one midpoint each.

  3. Cut main eye, nose, and ear apertures

    Start with the largest openings: the ear circles, eye shapes, and nose slot. At hard level the face has more and finer secondary apertures around these main openings. Complete all of these before moving to the whisker cuts.

  4. Add backed snout and brow fur texture

    With all main through-cuts done, gouge backed fur marks across the snout and brow. At hard level these cover more of the face than at medium level. Keep strokes short and directional, following the way fur would grow across each part of the face.

  5. Cut the fine whisker apertures

    Using a pointed craft knife or narrow detail blade, cut the whisker slit apertures last. Each whisker is a very thin elongated slot. Make a light pilot score along the length first, then deepen on a second pass. Use a magnifier if helpful.

  6. Illuminate and display

    Insert a bright LED and view in full darkness. Even the hairline whisker cuts catch the light from inside and read as bright fine lines against the darker backed fur texture, creating the full rodent whisker effect.

Written with AI to match this design

Gather your supplies

Check things off as you get ready.

Work on a stable surface, keep your free hand out of the cutting path, and have an adult handle sharp tools.

Three levels of light

  • Leave intact

    The rind between whisker apertures, ear bridges, and the jaw area stays fully dark.

  • Peel & shade

    Backed snout and brow fur texture marks glow at mid-level, adding coat depth across the face.

  • Cut through

    The fine whisker slit apertures, ear openings, eye shapes, and nose slot glow at full brightness.

Learn the carving basics

Before you start cutting

How fine can a whisker aperture slit be before it is too fragile to hold?

A slit as narrow as one-sixteenth of an inch wide will hold immediately after carving, but may dry and shrink shut or crack within two days. A slit about one-eighth of an inch wide is more durable and still reads as a convincing fine whisker when lit.

My whisker apertures are at angles and some of them are crossing too close to the backed fur marks. What is the risk?

If a whisker slit runs within one-eighth inch of a backed area, the backed zone may break through to the slit during the next gouge pass. Complete all whisker cuts before adding backed fur nearby, and keep the gouge away from the slit edges.

The whisker slits are only visible from directly in front. How do I make them show from a wider angle?

Move the LED slightly off-center inside the pumpkin toward the face wall. Light from an angle inside catches the slit edges and makes them visible across a wider viewing cone than a centrally placed LED.

Your take belongs here, too.

Changed a detail? Made it simpler? Share a photo of your version and tell the community what worked.

Share your pumpkin

More pumpkins like this

You've reached the end Β· 8 pumpkins
The Patch Report

Fresh pumpkins, in your inbox.

The best new carvings, ideas worth stealing, and how-tos for carving season. Short, seasonal, and gone by November.

A short email during carving season. Unsubscribe anytime. See our privacy policy.