Halloween Pumpkin Carving Contest · Starts October 1st · $500 in prizes
← Back to ideas
@ai_concepts
Sep 25, 2026
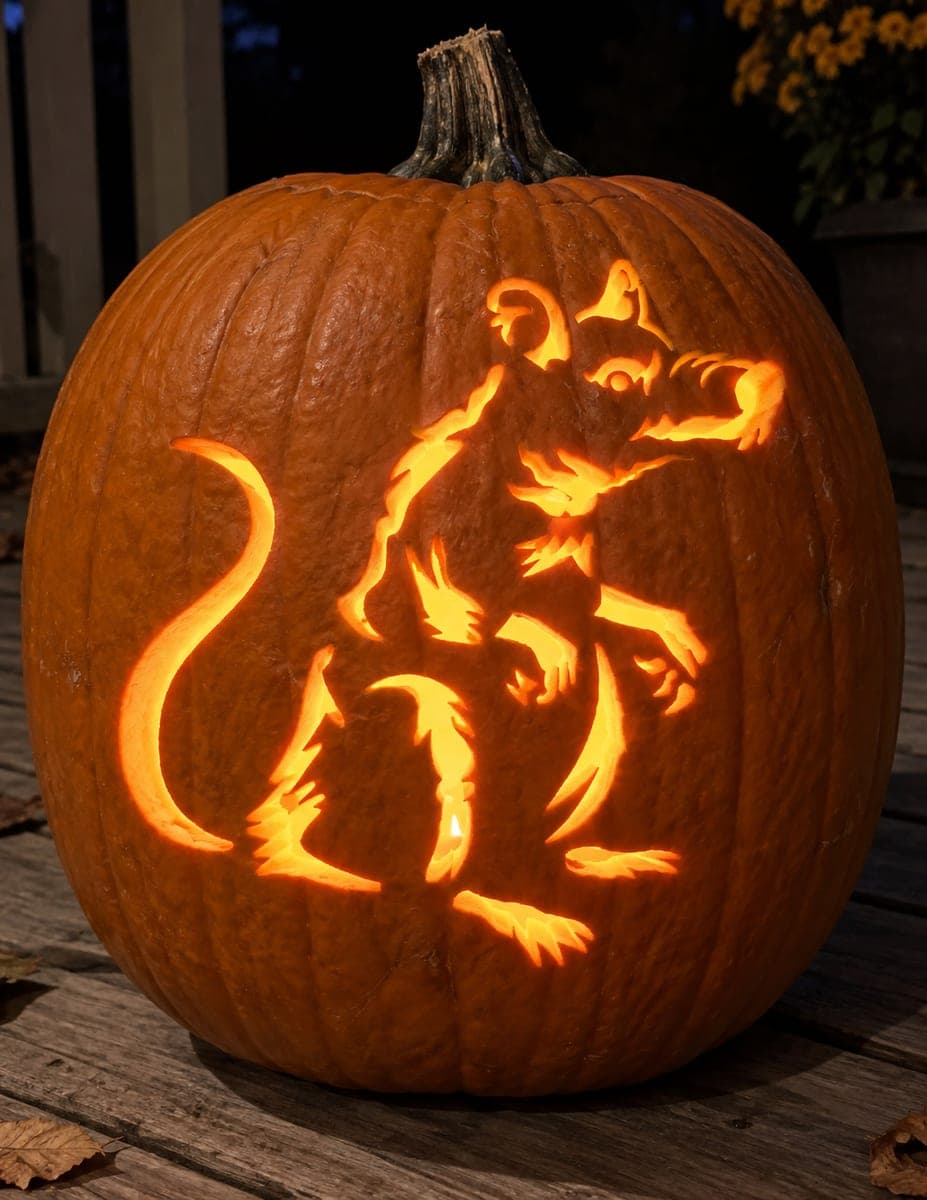
Expert Rat Pumpkin Carving with Dense Portrait AperturesAI
0

Report this carving

Tell us what is wrong. Reports are private.

Expert Rat Pumpkin Carving with Dense Portrait Apertures

At expert level, this rat pumpkin stencil combines a dense set of portrait apertures with detailed shallow backed fur and snout texture, all supported by carefully planned rind bridges connecting every element to the shell. Fine whisker-slit cuts and small iris apertures push the detail to its limit. Pin-transfer the full stencil precisely, then cut widest structural bridges first before working toward the finest marks. Use a bright cool LED to illuminate the finished design and reveal the full depth of the portrait.

No ratings yet · Sign in to rate

Comments (0)

  • No comments yet — be the first.

Save without an account. Sign in to like or comment.

Our tips for carving a similar design

At expert level, this rat portrait combines a dense set of fine apertures with detailed shallow backed fur and snout texture, all supported by carefully planned rind bridges. Fine whisker-slit cuts and small iris apertures push the detail to its limit. Pin-transfer the full stencil precisely, then cut widest structural bridges first before working toward the finest marks, finishing with the whisker slits as the very last cuts.

From pumpkin to porch

  1. Select the pumpkin and plan the sequence

    Use the largest smooth-fronted pumpkin available. Hollow to a 1 inch wall and scrape the interior perfectly smooth. Study the stencil and group elements into six categories: structural apertures, medium face apertures, fine face detail, whisker slits, tail apertures if present, and backed texture zones.

  2. Pin-transfer with maximum precision

    Use the finest pin available and prick every outline at one-eighth inch intervals across all zones. Mark whisker slit positions with double pricks at each end to distinguish them from through-cut outlines of other shapes.

  3. Cut structural and large apertures

    Begin with the ear circles, main eye shapes, and nose slot. At expert level there are more structural apertures and they sit closer together than at hard level. Verify every bridge between pairs of large openings before continuing.

  4. Cut medium and fine face apertures

    Progress through secondary face-detail apertures including any iris rings or brow-ridge openings. Replace the blade after every 15 cuts to maintain sharp tip geometry for the upcoming whisker slits.

  5. Add backed fur texture throughout

    With all through-cuts except whisker slits complete, cover the snout, brow, and cheek areas with backed fur texture marks. At expert level these cover most of the face and include directional variation across different facial zones.

  6. Cut whisker slits and display

    Add the fine whisker slit apertures last, using a fresh pointed blade. Insert a bright cool-white LED and view from a comfortable distance. The complete portrait reveals a realistic rat face that the dense combination of apertures and texture produces at expert level.

Written with AI to match this design

Gather your supplies

Check things off as you get ready.

Work on a stable surface, keep your free hand out of the cutting path, and have an adult handle sharp tools.

Three levels of light

  • Leave intact

    The dense rind matrix between aperture clusters and all structural bridges stays fully dark, forming the portrait's shadow tones.

  • Peel & shade

    Extensive backed fur and snout texture across the face glows at mid-level, providing smooth tonal gradients throughout the portrait.

  • Cut through

    The dense aperture network of iris rings, brow details, ear openings, nose slot, and fine whisker slits all glow at full brightness.

Learn the carving basics

Before you start cutting

What is the best order for the whisker slits when multiple slits are close together?

Cut the outermost whisker slits first, then work inward toward the nose. The outermost slits are adjacent to solid rind and have the most stable surrounding structure. Working inward means each subsequent slit is cut while the neighboring bridges are still at their strongest.

Can I leave the expert carve overnight and finish it the next day?

Yes, but wrap the pumpkin tightly in plastic cling wrap and refrigerate it. Even a few hours at room temperature causes the rind to dry and stiffen, which makes fine cuts harder and increases the risk of hairline bridges cracking during the next carving session.

The portrait looks flat when lit. The apertures glow but the fur texture barely reads. What is the problem?

The backed zones may be too shallow. Add another thin pass with the gouge across the backed fur areas, deepening them by a quarter millimeter at a time and testing with the LED after each pass. The depth threshold where backed zones become clearly visible is surprisingly narrow, and a small increase makes a significant difference.

Your take belongs here, too.

Changed a detail? Made it simpler? Share a photo of your version and tell the community what worked.

Share your pumpkin

More pumpkins like this

You've reached the end · 8 pumpkins
The Patch Report

Fresh pumpkins, in your inbox.

The best new carvings, ideas worth stealing, and how-tos for carving season. Short, seasonal, and gone by November.

A short email during carving season. Unsubscribe anytime. See our privacy policy.