Similar to This
View all stencils →About this stencil
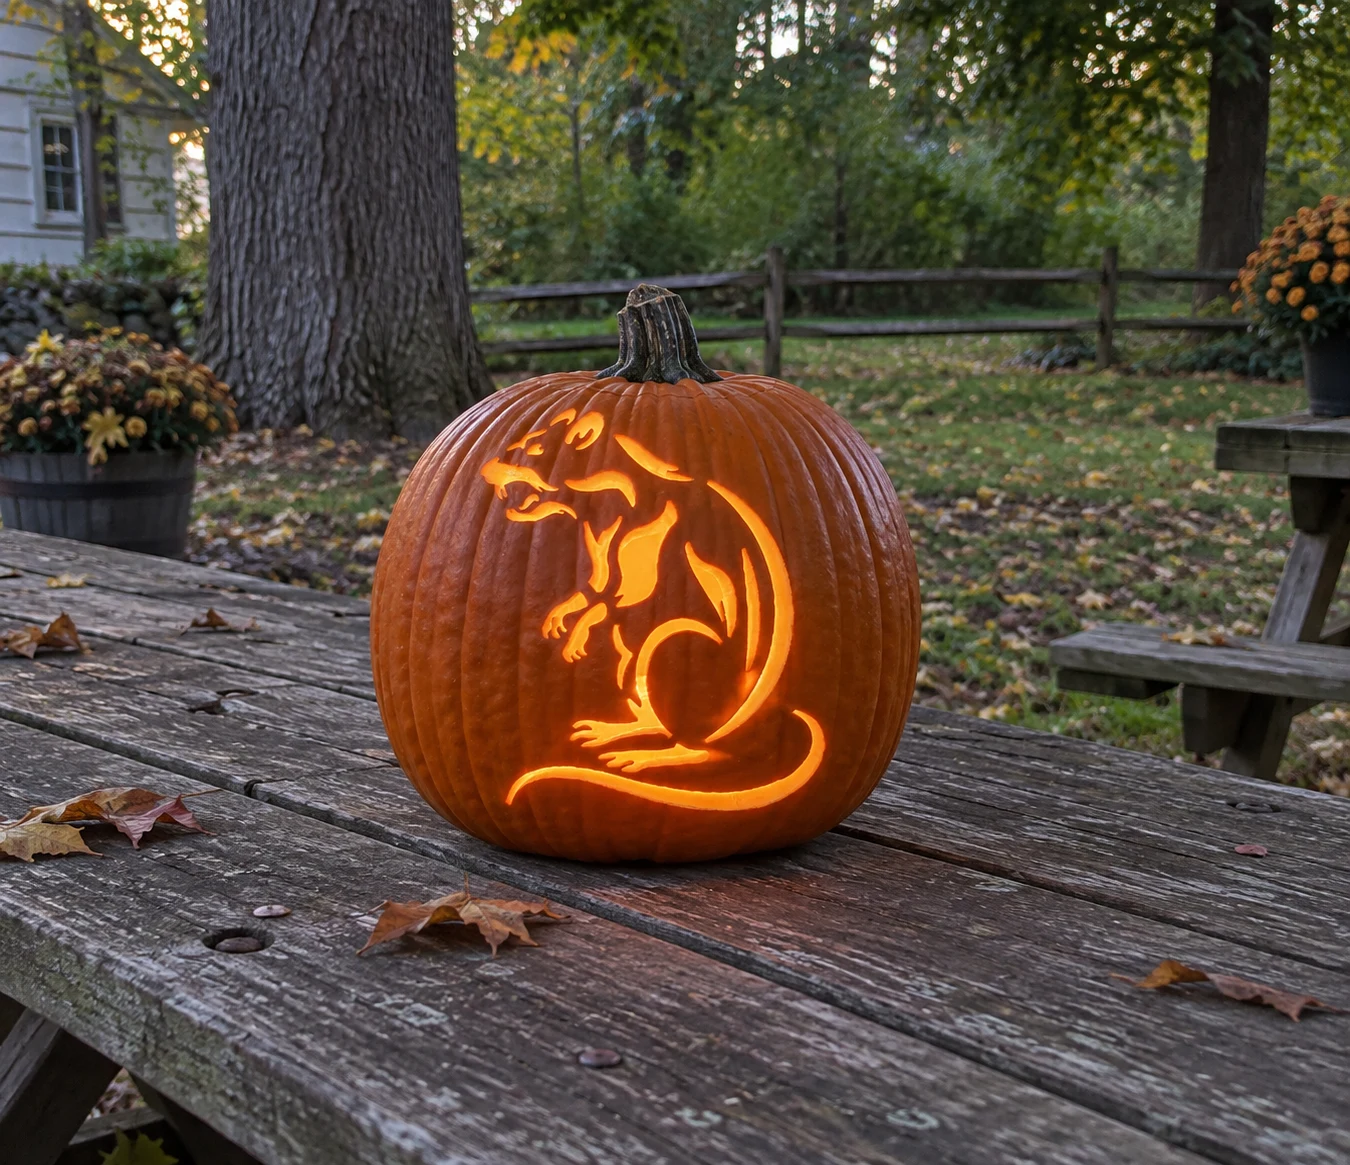
A detailed rat rearing up on its hind legs fills this hard pumpkin stencil, posed with clawed front paws raised, mouth open in a snarl, and a long curling tail sweeping around the lower body. Unlike the simpler silhouette rat in this collection, this design uses internal cut lines to carve fur texture, claw separations, and an open mouth, leaving thin pumpkin ridges that define the anatomy when lit. Cut the individual claw slots in the front paws first so those delicate tips are still surrounded by solid pumpkin. This design is rated Advanced and takes most carvers around 150 minutes from trace to glow. Multi-layer cuts with skin-peel shading. Plan your cuts first.
Pumpkin size guide
- 🎃 Small (5–7") — print at 80%
- 🎃 Medium (7–10") — print at 100% (recommended)
- 🎃 Large (11–13") — print at 130%
- 🎃 Giant (14"+) — print at 150% on tabloid paper
Frequently asked questions
Can I resize this stencil?▾
Yes. The PDF is vector so it scales cleanly. Print at 100% for a 7–10 inch pumpkin, 130% for 11–13 inch, or 150% for a giant. Use your printer's "Fit to page" or "Custom scale" setting.
What kind of paper works best?▾
Standard 20 lb letter or A4 printer paper is fine. Heavier paper is harder to bend around the pumpkin curve. If your printer supports it, set the quality to 'best' so the lines are crisp.
How long will the carved pumpkin last?▾
Usually 5–10 days. Coat all cut surfaces with petroleum jelly and store the pumpkin somewhere cool overnight. Avoid direct sun. Battery LED pumpkin lights produce no heat and double the lifespan.
Can I sell pumpkins carved with this stencil?▾
Yes, the carved pumpkin you make is yours. The license covers personal and small-scale commercial carving (selling carved pumpkins, photographing them, posting on social). You may not resell the PDF file itself.
What if my printer doesn't print the whole stencil?▾
Set 'Page scaling' to 'Fit' in the print dialog and uncheck 'Auto-rotate'. If it still cuts off, the design includes 0.25" of safe-area margin so a small crop won't ruin it.
How to carve this stencil
- Thin the pumpkin wall to 3/4 inch across the body and claw areas.
- Transfer all internal fur-line cuts and claw separations with a poking tool.
- Cut the three or four individual claw slots on each front paw first using a narrow blade.
- Carve the open mouth and teeth next while the head is fully supported.
- Work through the internal fur-texture cuts on the body from head to tail.
- Open the large negative-space areas between the legs and around the tail last to preserve structural integrity throughout.
Tools you'll need
For a advanced carve like this you'll want a linoleum cutter set, x-acto knife, peel tool, and pin transfer wheel. Here's the kit we reach for — start with whatever you already own.

Elmchee Pumpkin Carving Kit
13-piece kit with carrying case
Saws for the larger cutouts, plus a scoop for hollowing. Covers both jobs in one kit.
View on Amazon ↗
HOME MOST LED Pumpkin Lights
4-pack, battery operated, with remote + timer
Orange glow made for jack-o'-lanterns. The remote and timer light the pumpkin every evening without reaching inside.
View on Amazon ↗
Speedball 4131 Lino Cutter Set
Handle + 5 interchangeable cutters
Interchangeable cutters for peeling and shading the face. Useful for the finer details.
View on Amazon ↗
Community Pumpkin Carving Ideas
Carving ideas that use stencils like this one.

Related stencils
Carvers who liked this one also downloaded these.
 Advanced
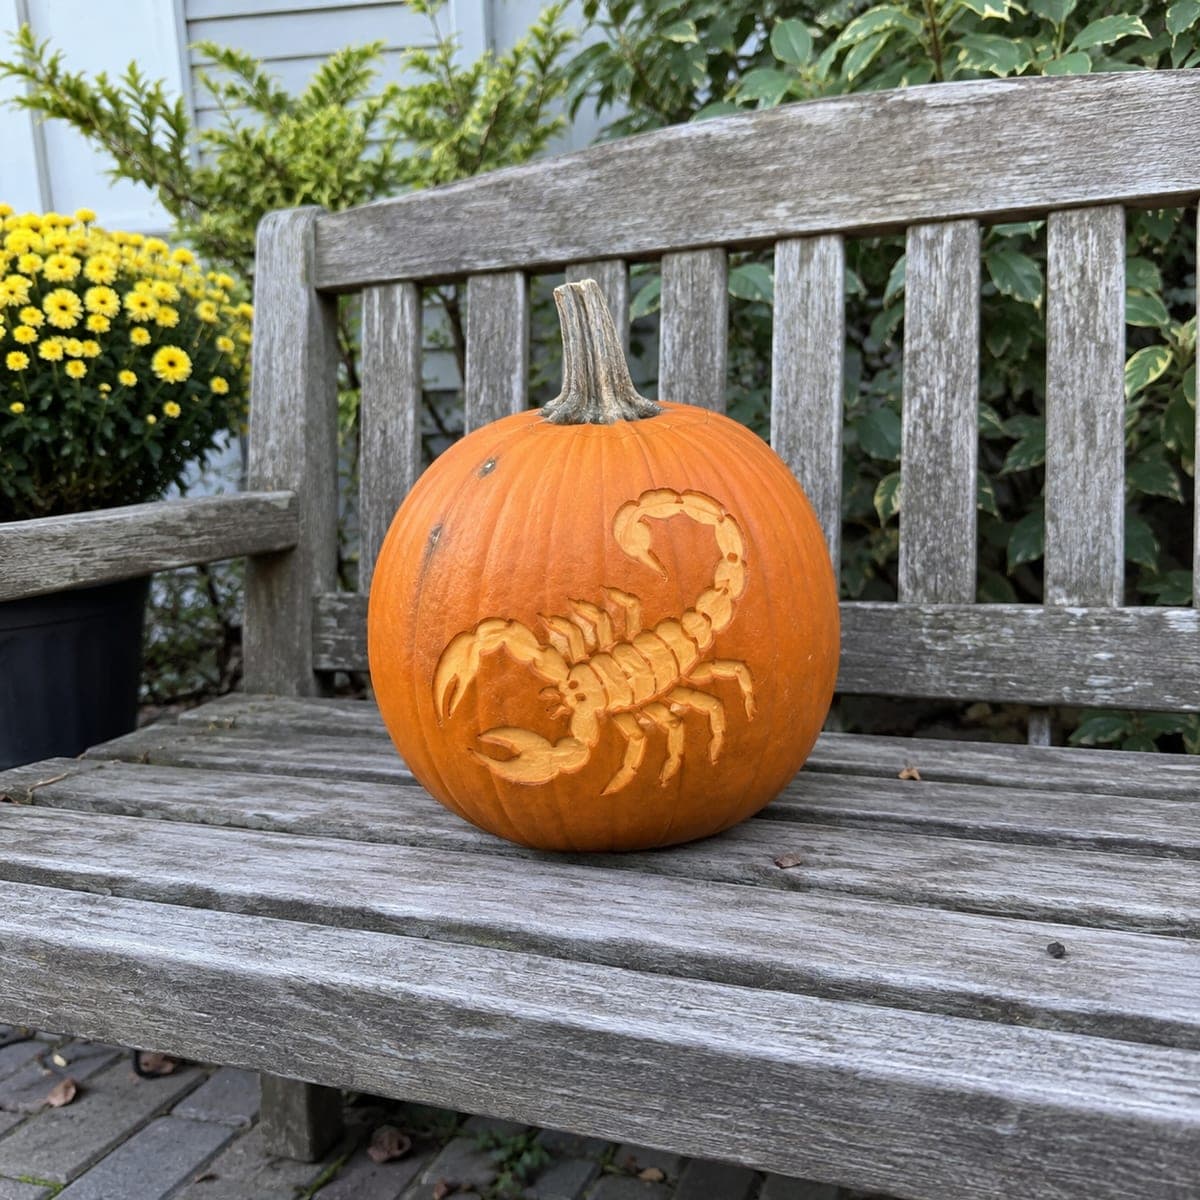
Scorpion with Curled Tail
A menacing scorpion with pincers spread wide, eight angled legs, a segmented body, and a tail curling up to a poised stinger. The entire creature is shaded work: each segment and claw is shaved to glowing flesh while the skin between stays dark, giving the body its armored look. Carve the segment gaps as narrow untouched skin lines, working from the body outward so the skinny legs keep clean edges.
 Advanced
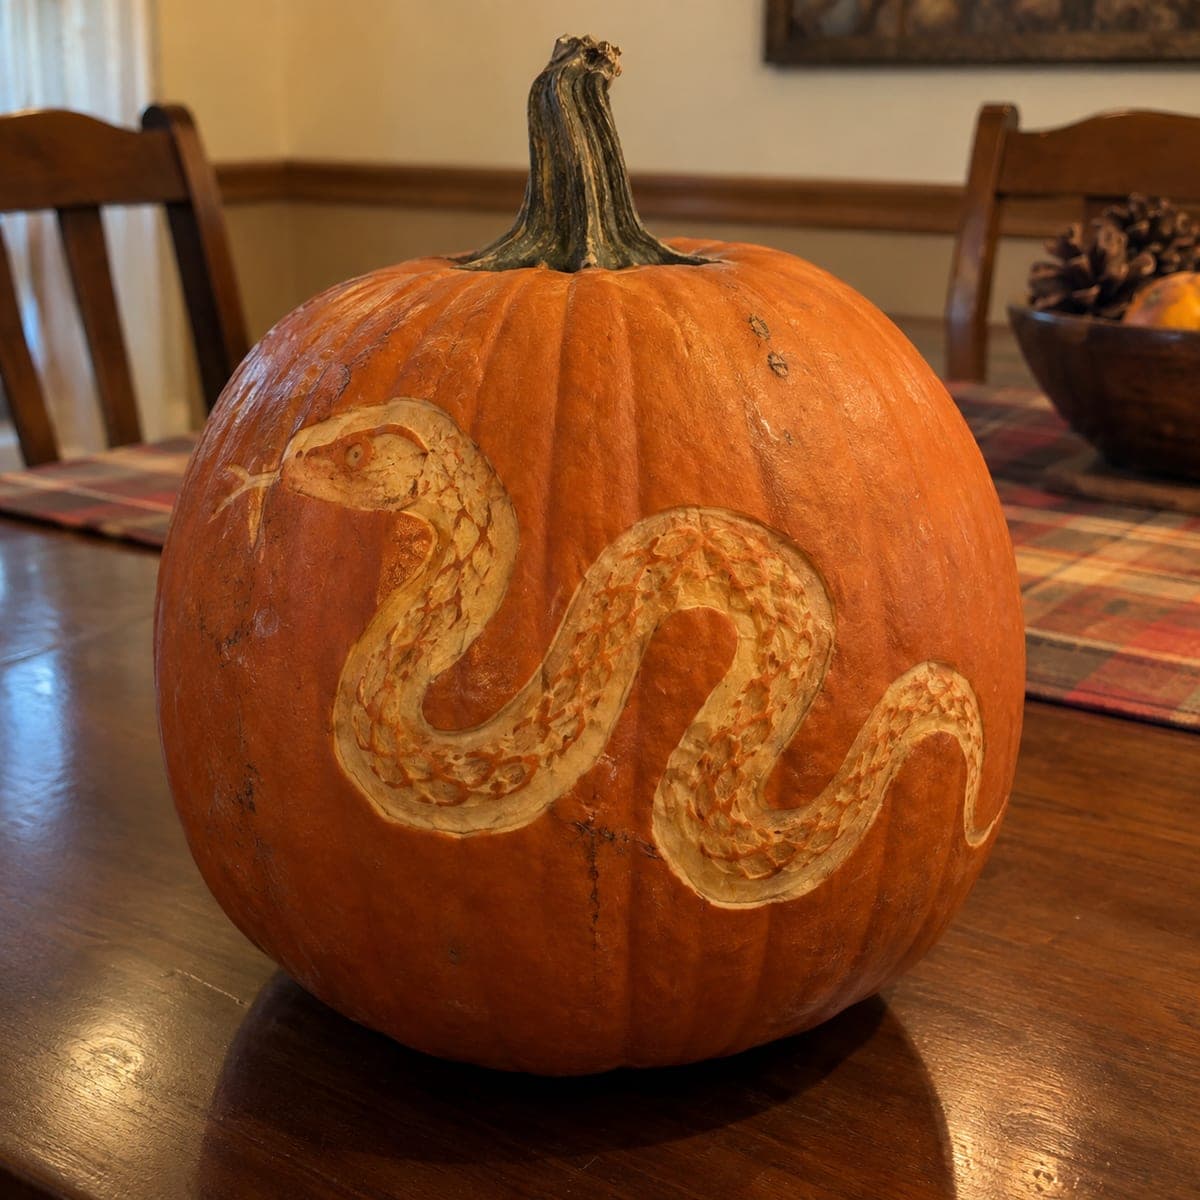
Snake with Forked Tongue
A serpent winds across the pumpkin in three graceful S-curves, its head raised with a forked tongue flicking out and its whole body filled with a diamond scale pattern. The design is continuous-wall shading, so the snake is shaved into the skin at varied depths with no pierced holes. Rated hard because of the scales: peel the full body smooth first, then press in the scale texture row by row with a small gouge.
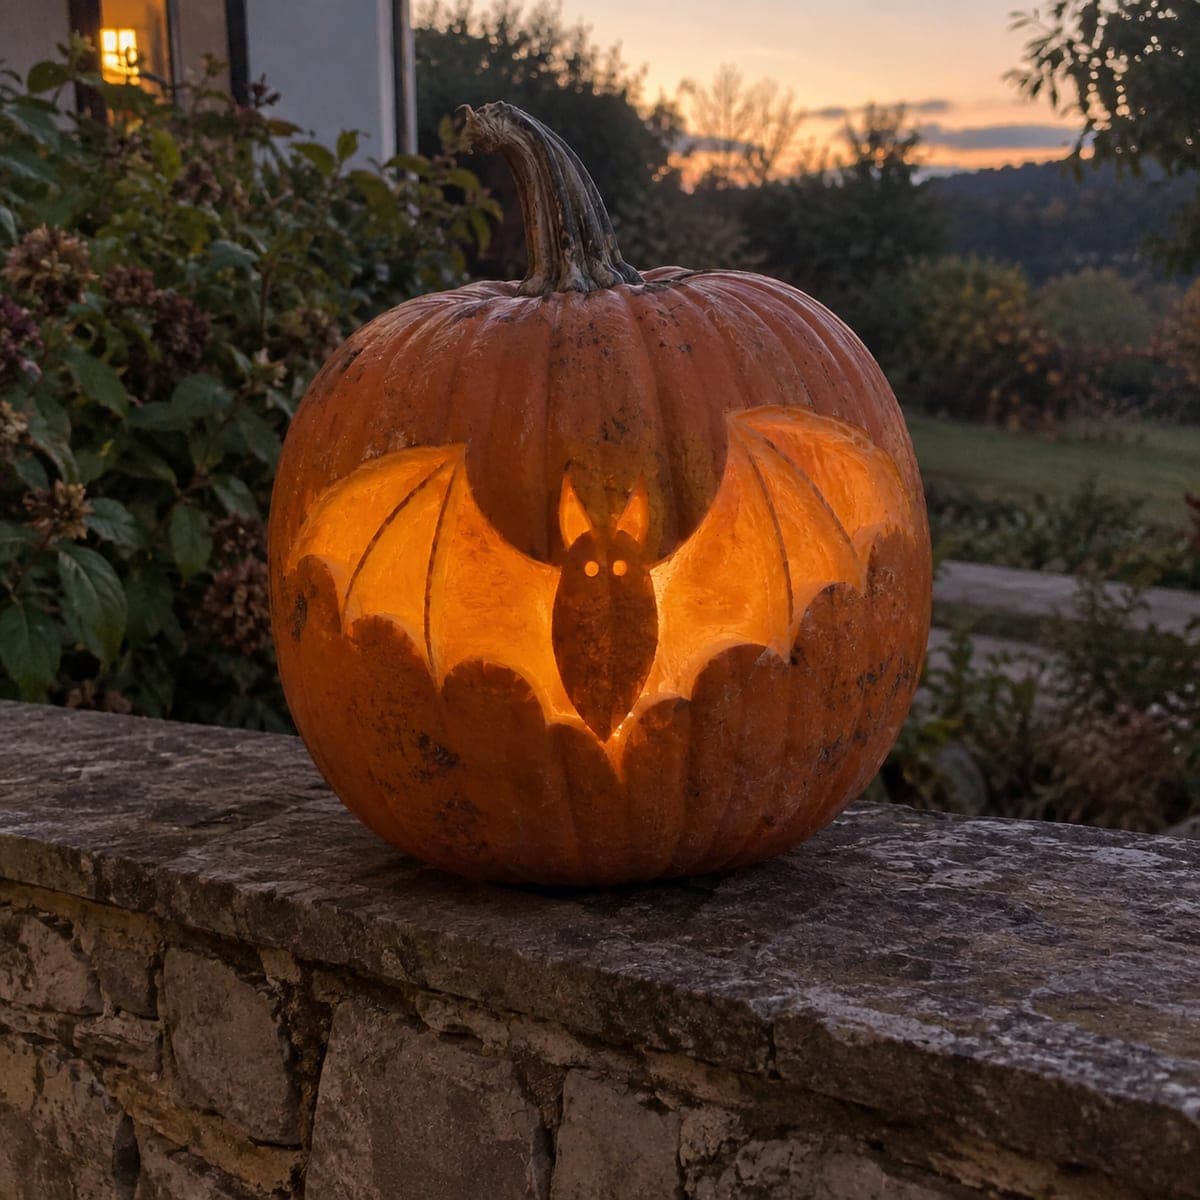 Intermediate
Scalloped-Wing Bat
A wide-winged bat hangs in the center of a glowing scalloped panel, its scalloped wing edges and small round eyes standing out in dark relief. You shave the skin away around the bat so the shape stays raw pumpkin while the shaved field lights up behind it. Keep your shading depth even across the whole panel so the backlight glows uniformly around those wing scallops.
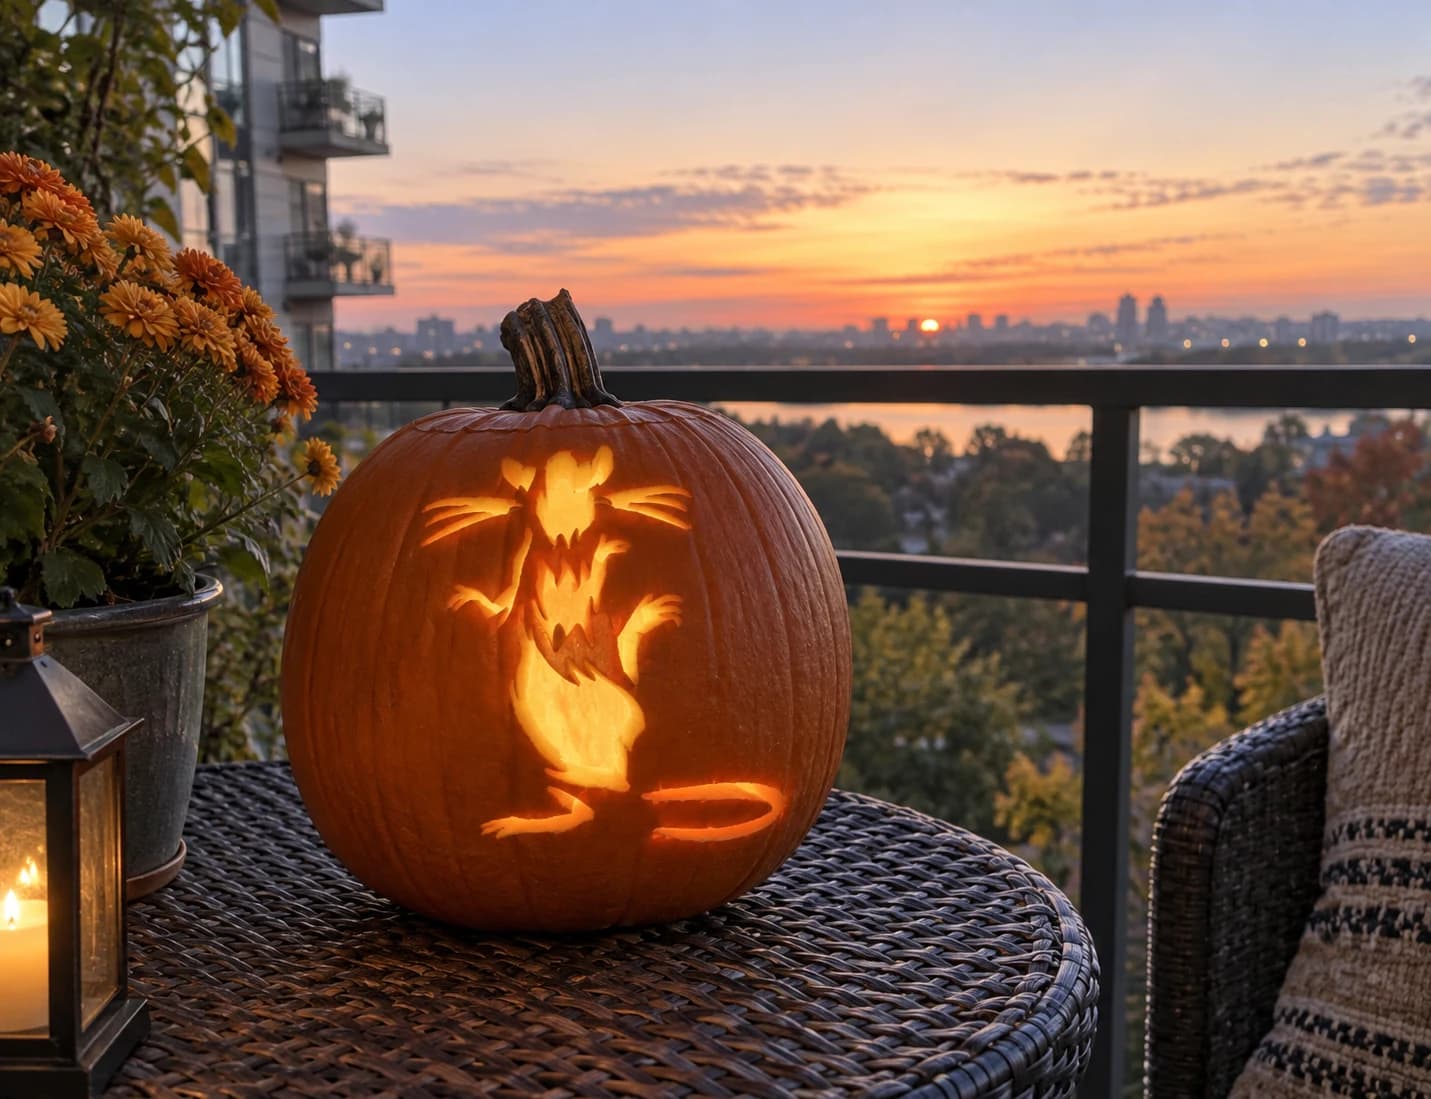 Advanced
Rearing Rat Pumpkin Stencil
A rat rearing up on its hind legs fills this Halloween pumpkin stencil, its long curved tail sweeping to one side and multiple whiskers fanning from both sides of the snout. The body is largely solid orange pumpkin skin framed by a pierced silhouette, so candlelight outlines the creature's claws and ragged chest fur in warm amber. Cut the whisker lines early while the stencil is anchored: there are three to four per side, so work from the snout outward on each side before opening the larger body area.
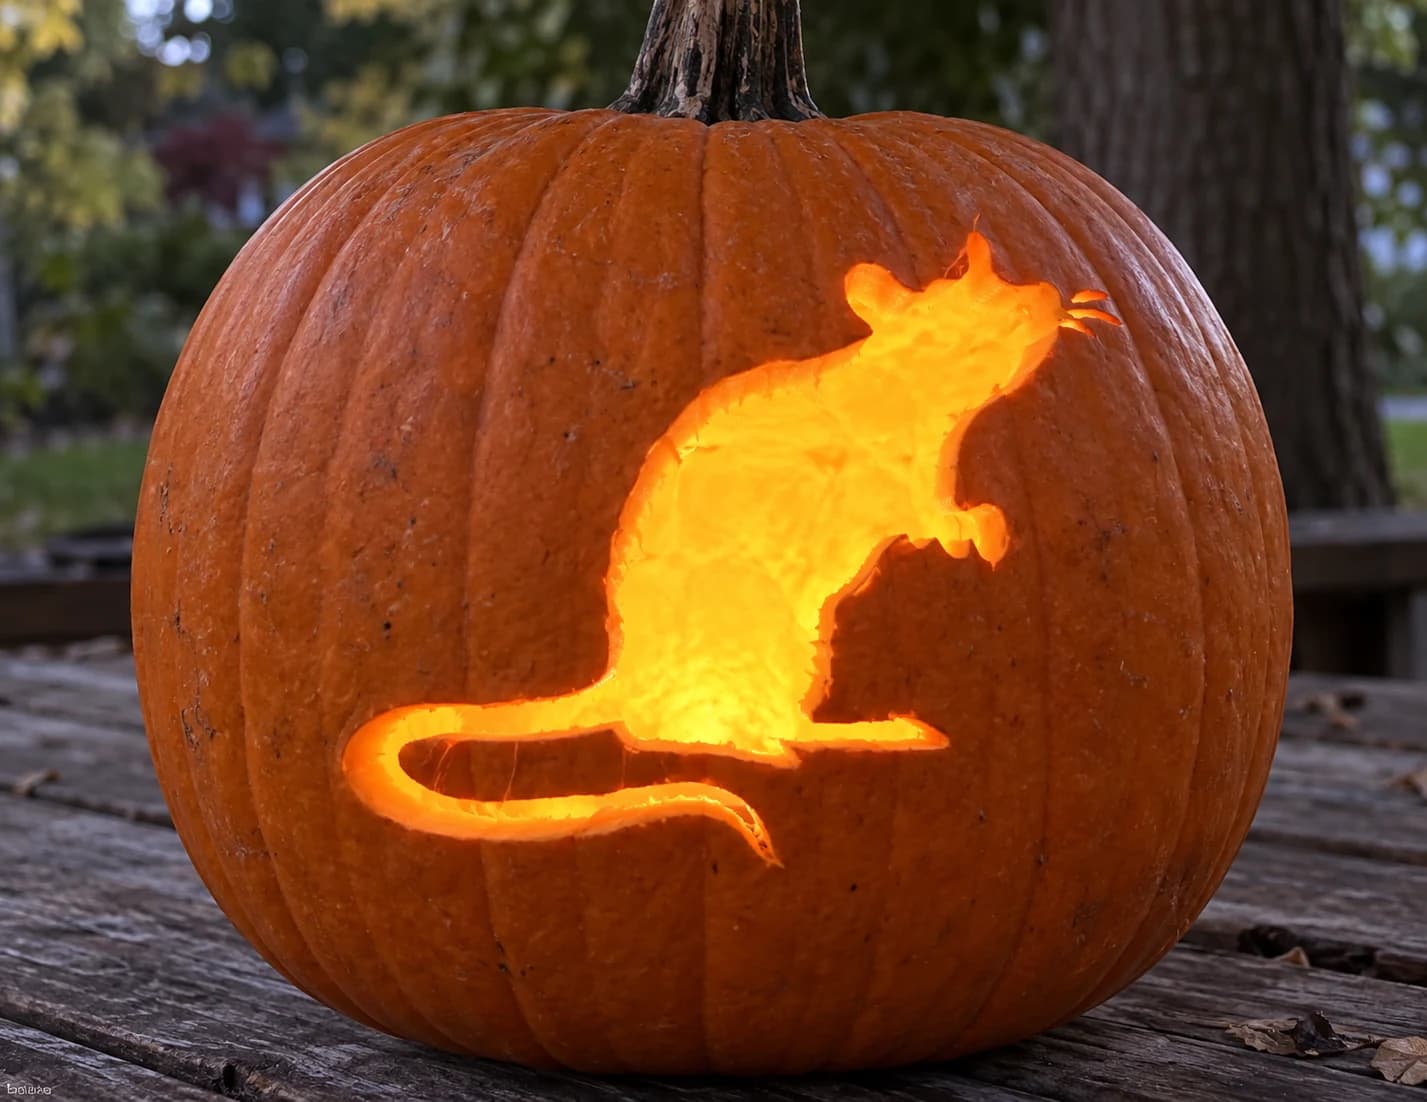 Beginner-friendly
Rat Pumpkin Stencil
A rat stands upright on its hind legs in profile, nose tilted upward and thin whiskers radiating from its snout, with a long curved tail sweeping forward along the base. The entire silhouette is cut away as a single open shape, so candlelight throws a clean, solid rat shadow on surrounding surfaces. Because the tail curls close to the body at one point, make sure to cut that gap all the way through without nicking the connecting pumpkin flesh above it.
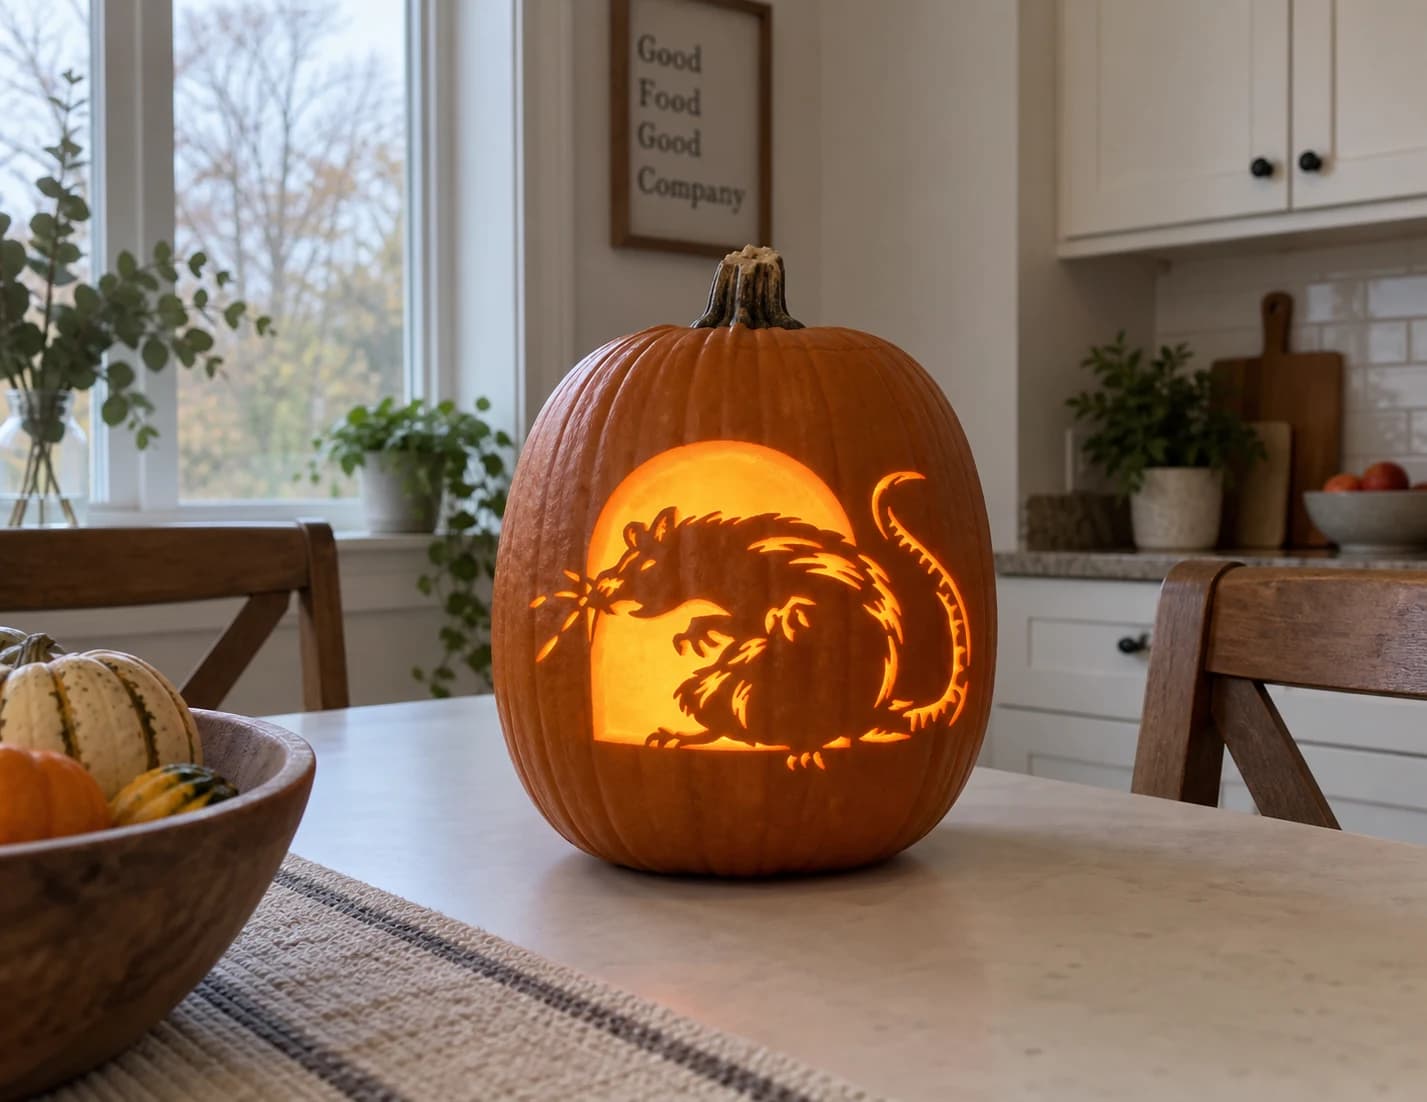 Advanced
Rat and Moon Pumpkin Stencil
A large aggressive rat crouches in front of a semicircular moon arch in this pumpkin stencil, its shaggy fur rendered in dozens of fine radiating cut lines while the long serrated tail curves up behind it. Small star-burst marks scatter near the snout. The moon background is the main large negative-space cut-out, while the rat body itself is an intricate network of fur-line slots with solid orange between them. Cut the moon arch first as a single clean sweep, then work the fur lines from the rat's back inward toward the belly.