Halloween Pumpkin Carving Contest Β· Starts October 1st Β· $500 in prizes
← Back to ideas
@ai_concepts
Jul 6, 2026
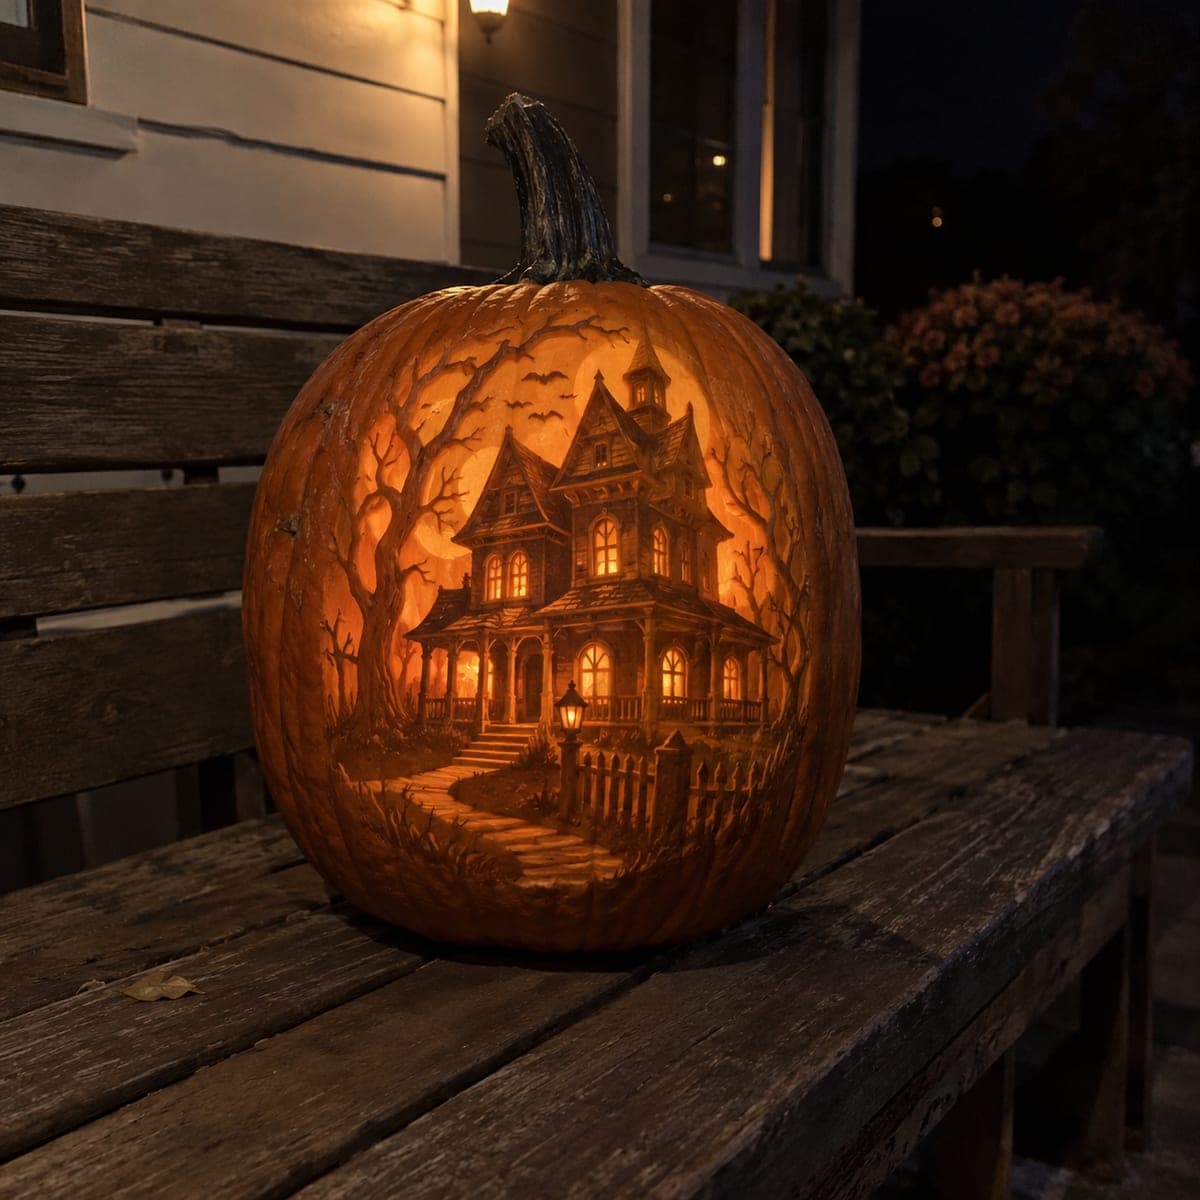
Haunted Victorian Mansion Pumpkin Carving SceneAI
0

Haunted Victorian Mansion Pumpkin Carving Scene

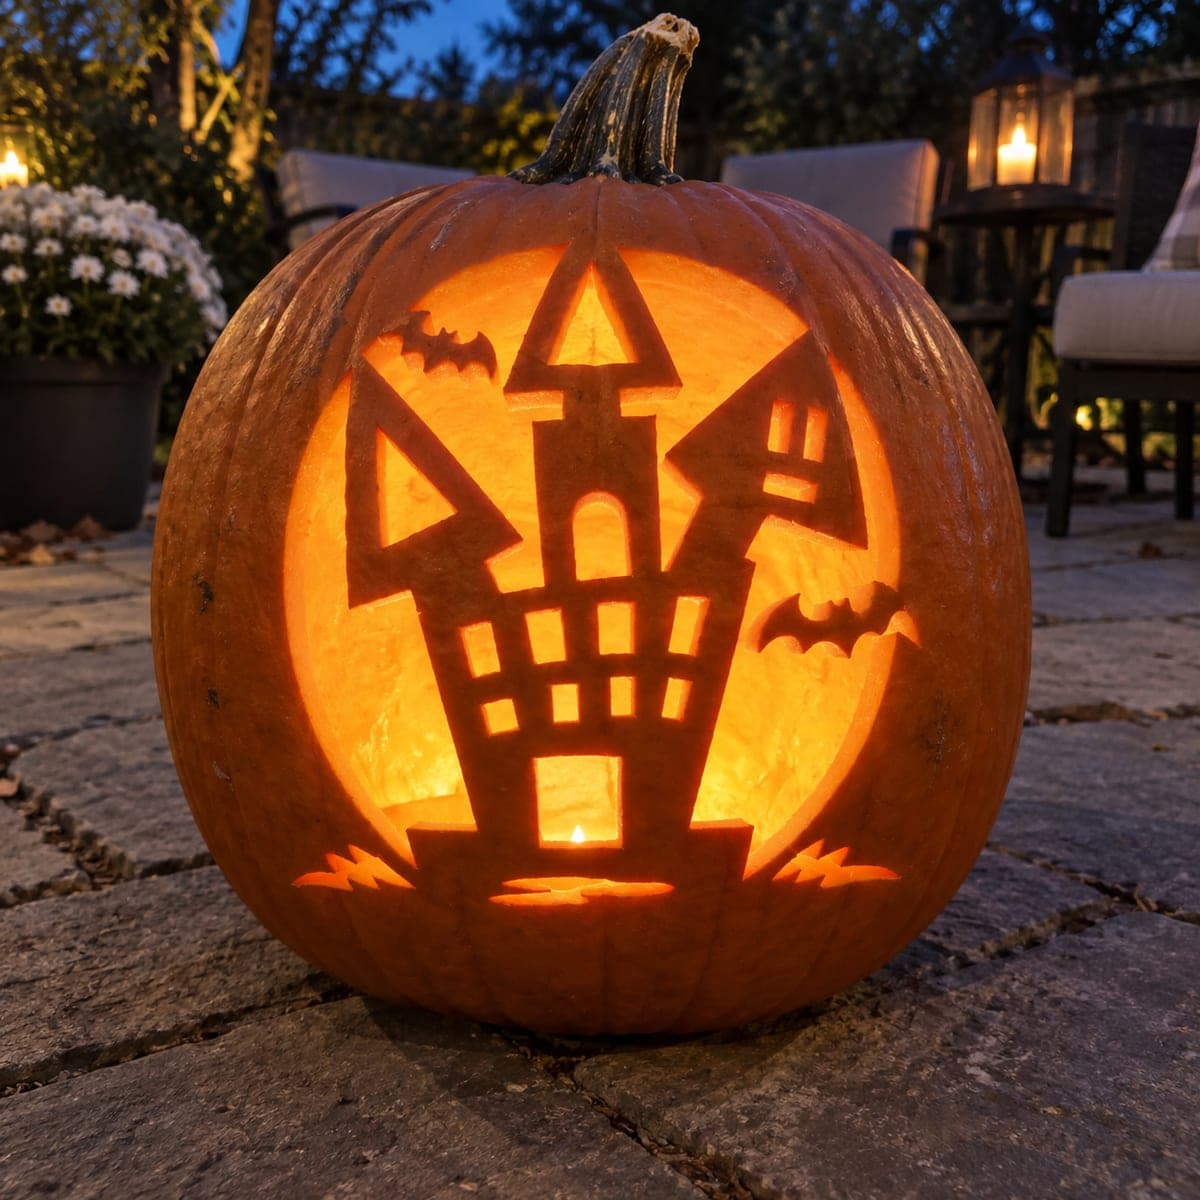
An entire haunted Victorian mansion glows from this pumpkin, complete with a winding path, picket fence, bare trees, and bats circling the turret. The scene is etched at multiple depths, with windows carved thinnest so they burn brightest, a trick worth copying in any spooky-scenes design. Work from the background trees forward to the porch railings, and light it with two candles or a bright LED puck so the deep areas do not go dark.

This is an AI-generated concept image: a realistic, carvable design idea rather than a photo of a finished carve. AI concepts are always labeled and sit out the leaderboard and the contest.

No ratings yet Β· Sign in to rate

Comments (0)

  • No comments yet β€” be the first.

Save without an account. Sign in to like or comment.

Our tips for carving a similar design

The core trick here is relief carving at three depths so a whole scene reads at once, with the mansion's many windows shaved thinnest to burn brightest. You build the picture back to front, from ghostly bare trees and circling bats to the mansion, then the fence and winding path in the foreground. Nothing is cut all the way through except the tiny windows, so the light glows through varied skin thicknesses rather than open holes.

Written by PumpkinCarvingIdeas.com, inspired by the image above. These are our suggestions, not instructions from the uploader. This approach to the AI concept has not been tested on a real pumpkin.

From pumpkin to porch

  1. Prep the pumpkin and transfer the scene

    Pick a tall, smooth pumpkin with a wide flat front panel for the mansion. Cut a wide access hole in the bottom, not the top, so it sits flat and you can seat an LED cleanly. Scrape the inside wall behind the design down to about one inch so light passes evenly. Tape your stencil over the front and poke the main outlines through, then connect the dots with a washable marker.

  2. Rough in the background trees and bats

    Start with the farthest elements so mistakes stay shallow. Use a small gouge or ribbon tool to lightly skin the sky area and the bare tree branches, taking off only the top layer for a soft dim glow. Keep the bats as thin skinned silhouettes with plenty of pumpkin left around them. Working shallow here sets your darkest midground before you commit to depth.

  3. Build the mansion in layered depth

    Carve the mansion body at a medium depth so it stands forward of the trees. Peel the walls, turret, and rooflines to different thicknesses so gables and trim cast their own soft shadows. Leave narrow ridges of skin between sections to act as bridges and keep the structure crisp. Save the actual window openings for later so the pumpkin stays strong while you work.

  4. Carve the foreground fence and path

    Bring the picket fence, porch railings, and winding path forward with the deepest shaving so they read as closest to the viewer. Keep each picket connected top and bottom with a thin bar of skin so the fence does not crumble. Shave the path progressively thinner as it nears the door to suggest it catches more light. Cut the little lamppost as a thin raised detail rather than a full cutout.

  5. Cut the windows last for the brightest glow

    Now cut fully through only the small windows and the open doorway, working from the center outward. Make these openings tiny and clean so the removed skin does not weaken the surrounding wall. These full cutouts will be the brightest points, so keep them where you want the eye to land. Go slow with a fine detail blade and let an adult handle every cut.

  6. Light it and take the night photo

    Set a bright LED puck or two battery lights inside, never a candle, since the thin walls scorch easily. Check that deep background areas still catch light and add a second light if they go dark. Photograph on a porch or bench at dusk with the surroundings dim so the glow carries. Mist the cut edges and refrigerate between showings to slow shrinking.

Gather your supplies

Check things off as you get ready.

Work on a stable surface, keep your free hand out of the cutting path, and have an adult handle sharp tools.

Three levels of light

  • Leave intact

    The night sky, distant tree trunks, and bat shapes stay as untouched skin for the darkest tones.

  • Peel & shade

    The mansion walls, roof, turret, fence, and path are skin peeled at varied depths for a warm mid glow.

  • Cut through

    Only the small mansion windows and the open front door are cut through for the brightest burning light.

Learn the carving basics

Before you start cutting

How do I keep the picket fence and porch railings from breaking off?

Carve them as shallow relief rather than cutouts, and leave a thin bar of skin connecting each picket at the top and bottom. Those bridges hold the delicate shapes together while still catching light. Cut the deepest foreground details last so the pumpkin stays rigid while you work the rest of the scene.

Why carve the windows thinnest instead of cutting the whole mansion out?

Varied skin thickness is what makes a scene like this read at night. Full cutouts blow out into bright blobs, while thin peeled skin glows softly and holds detail. Reserving true cutouts for the tiny windows makes them the brightest points and keeps the eye on the house.

This is an expert design. Can I simplify it for my first scene?

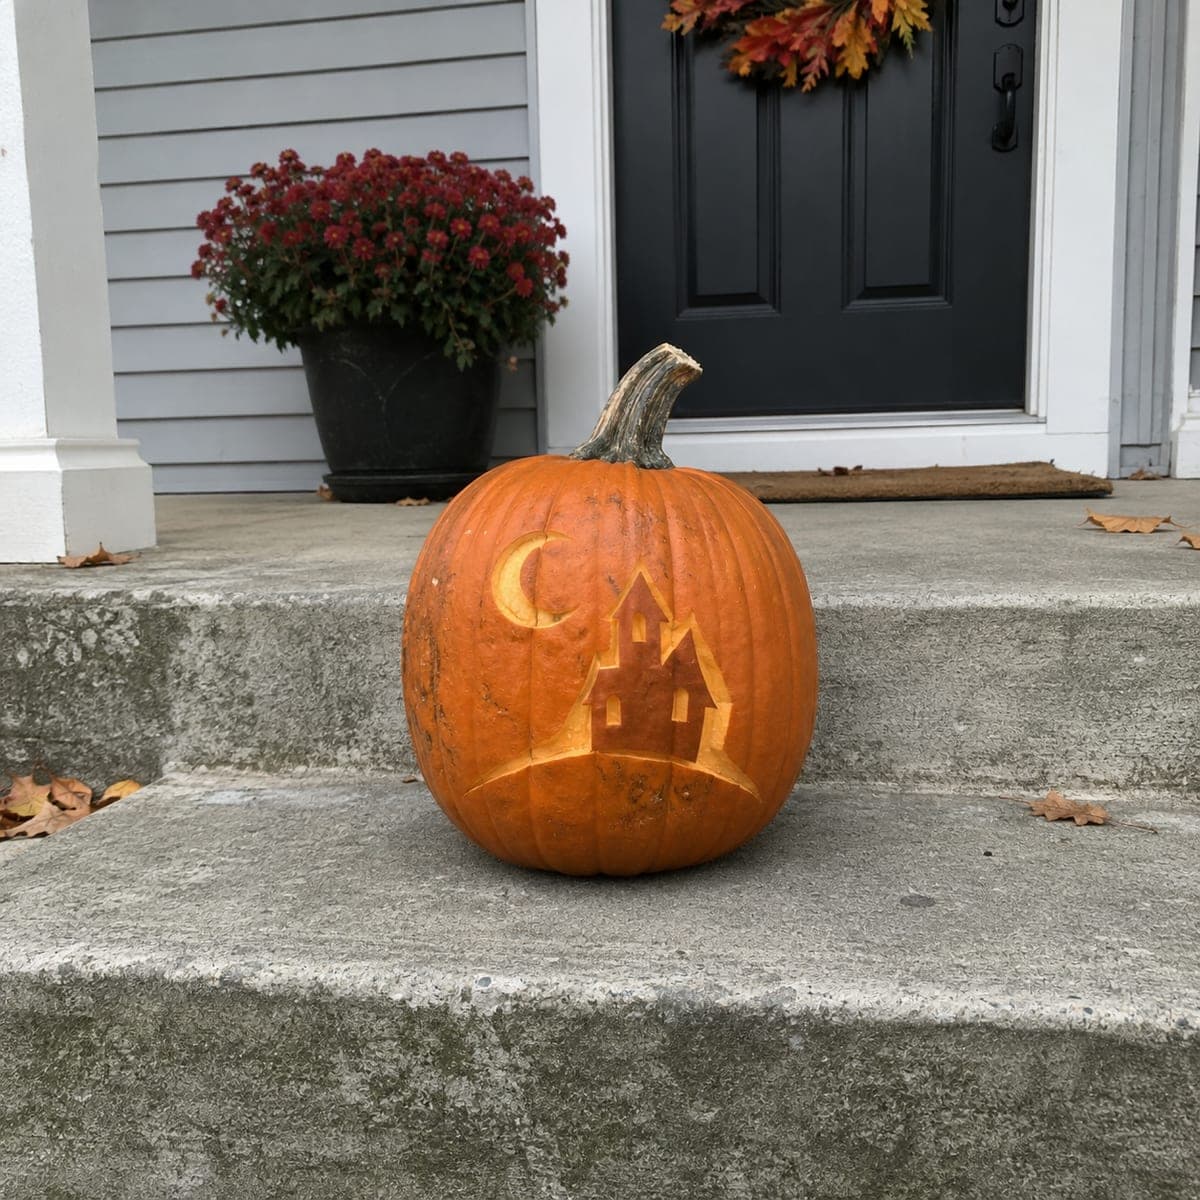
Yes. Drop the multi depth relief and pick a single bold haunted house silhouette with a few window cutouts and a moon. You still get the spooky mood without hours of shading, and you can add trees or bats as simple skinned shapes once you are comfortable.

Your take belongs here, too.

Changed a detail? Made it simpler? Share a photo of your version and tell the community what worked.

Share your pumpkin

More pumpkins like this

You've reached the end Β· 8 pumpkins
The Patch Report

Fresh pumpkins, in your inbox.

The best new carvings, ideas worth stealing, and how-tos for carving season. Short, seasonal, and gone by November.

A short email during carving season. Unsubscribe anytime. See our privacy policy.