Halloween Pumpkin Carving Contest · Starts October 1st · $500 in prizes
← Back to ideas
@ai_concepts
Sep 25, 2026
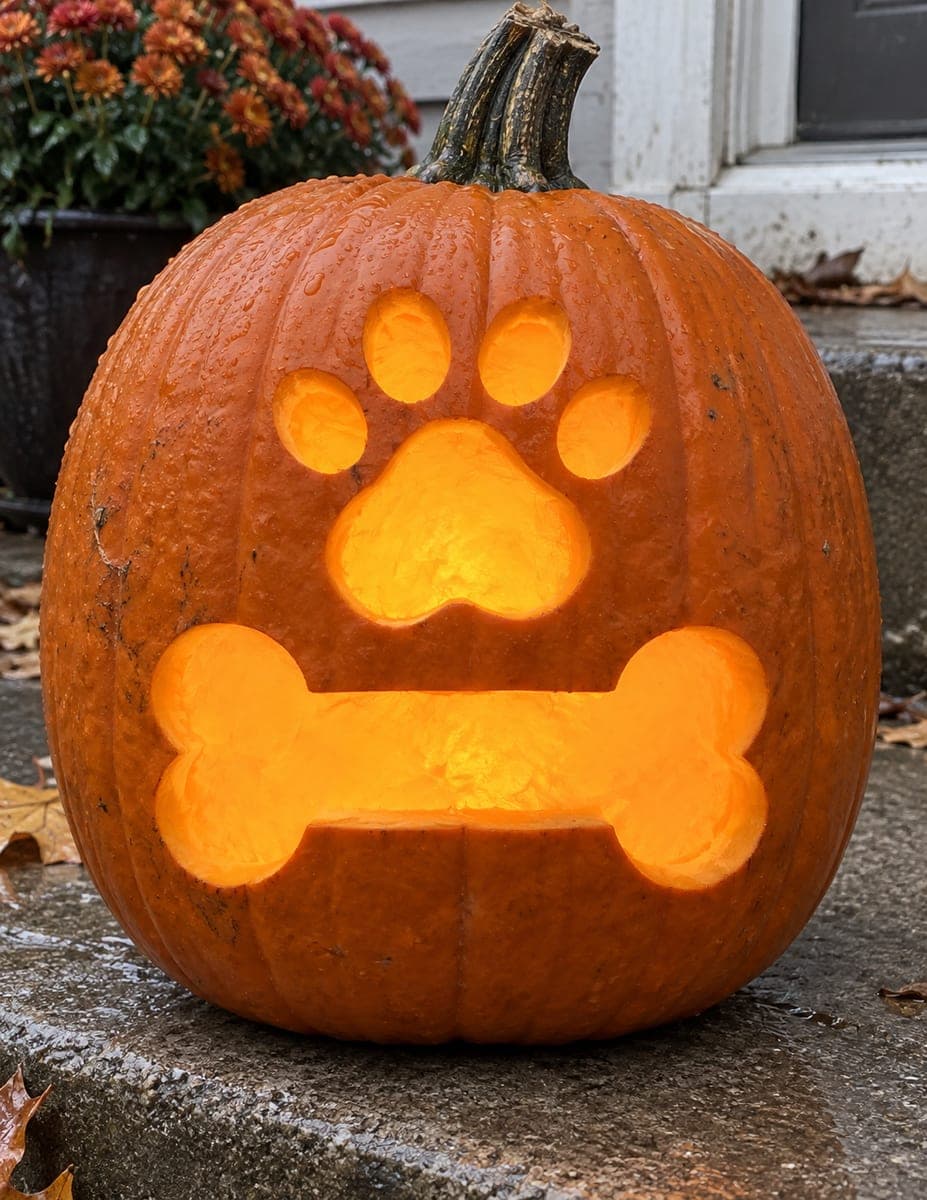
Intricate Paw-Print Rosette Pumpkin with Bone AccentsAI
0

Report this carving

Tell us what is wrong. Reports are private.

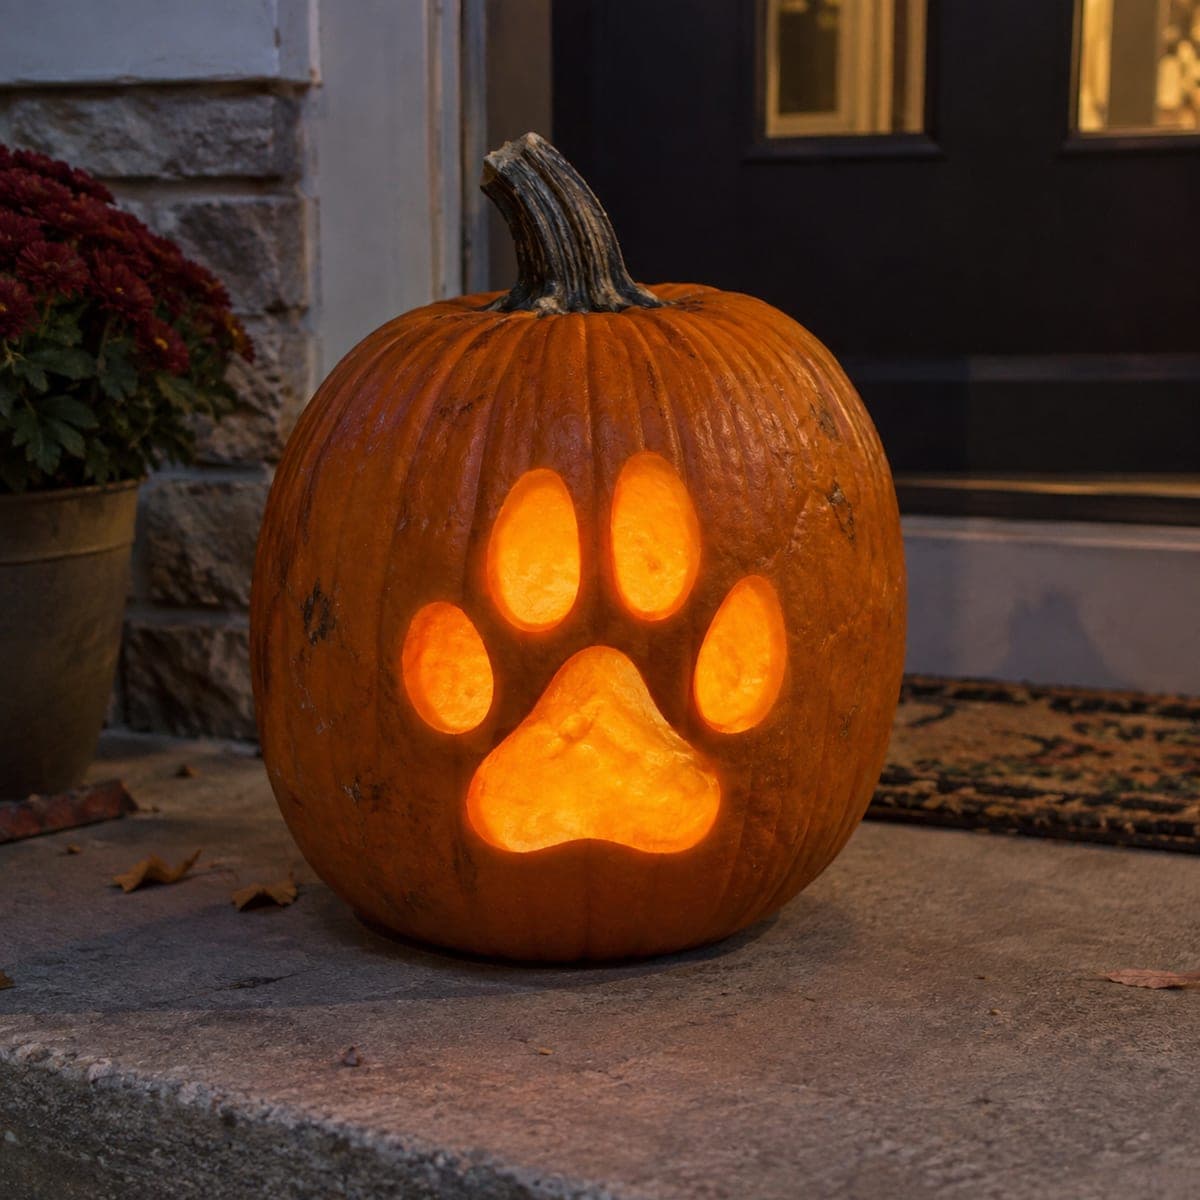
Intricate Paw-Print Rosette Pumpkin with Bone Accents

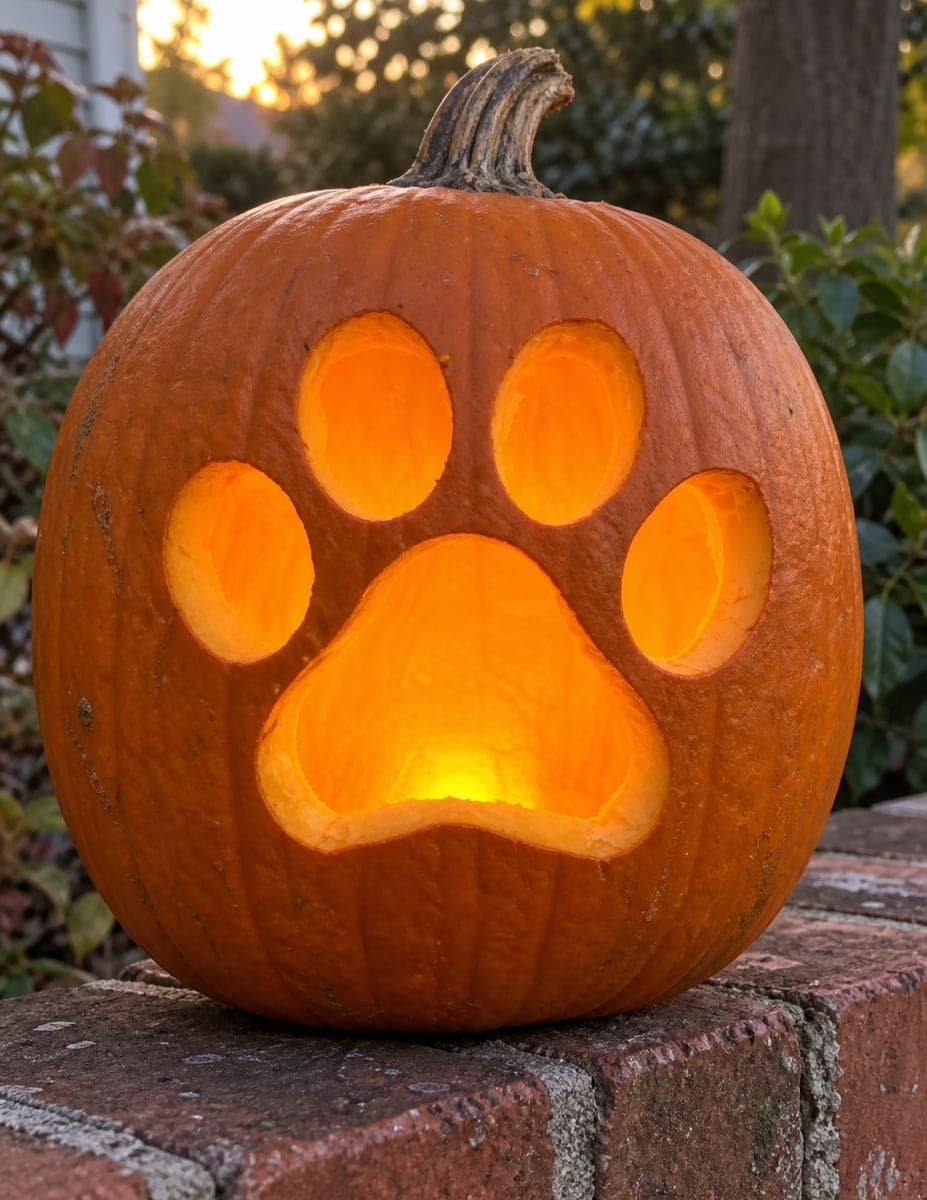
A central paw print surrounded by a rosette of separated decorative apertures and bone-shaped accents forms an elaborate expert dog paw pumpkin carving that blurs the line between geometric and figurative design. Keep the central paw and all surrounding apertures as fully independent cuts with continuous rind throughout, and use shallow back-carved scoring for the bone outlines where structural cuts would weaken the shell. Print the pattern and tape it to the dry pumpkin so you can poke-transfer every element before removing the paper. A focused LED aimed at the center makes the rosette radiate outward evenly.

No ratings yet · Sign in to rate

Comments (0)

  • No comments yet — be the first.

Save without an account. Sign in to like or comment.

Our tips for carving a similar design

The central paw print and all surrounding rosette apertures are fully independent cuts with continuous rind running between every element. The bone outlines are surface-scored rather than cut through to preserve shell strength in a composition with many nearby openings. Transferring the full pattern by poke before removing the paper prevents any element from shifting out of alignment.

From pumpkin to porch

  1. Plan and map the pattern

    Print the rosette pattern at full size and confirm that every rosette aperture is separated from its neighbors by a continuous rind path. Mark each bone outline as a scored-only element in a different color. Having a physical map is essential for a design this dense.

  2. Hollow and prep

    Access from the back and scrape the interior to a consistent inch of thickness across the full panel. Thinner spots in a dense design glow as bright patches that disrupt the geometric pattern, so spend extra time on this step.

  3. Transfer the full pattern

    Tape the pattern firmly and poke-transfer every element before removing the paper. Use separate marker colors for through-cuts and scored areas. With this many elements, poke-transfer is far more reliable than freehand redrawing.

  4. Cut the central paw print first

    Begin with the central pad and toe circles, cutting them as independent apertures. The center is the structural hub of the design and establishing it early gives you a reference point for all surrounding cuts.

  5. Cut surrounding rosette apertures

    Work outward from the center in rings, cutting each rosette aperture as a fully independent hole. Maintain rind continuity between every element. Check after each group of cuts that no section has become isolated from the surrounding rind.

  6. Score bone accents last

    Use a detail knife to score all bone outlines by removing only the top rind layer. Score the outer bone shapes first, then any inner dividing lines. Keep the knife angle shallow and check depth frequently. A focused LED aimed at the center completes the effect.

Written with AI to match this design

Gather your supplies

Check things off as you get ready.

Work on a stable surface, keep your free hand out of the cutting path, and have an adult handle sharp tools.

Three levels of light

  • Leave intact

    All rind between rosette apertures and the bone outline areas before scoring

  • Peel & shade

    Bone score lines and any decorative surface accents, which show as mid-tone contrast

  • Cut through

    Central paw circles and all surrounding rosette apertures, glowing fully

Learn the carving basics

Before you start cutting

How do I keep all the rosette apertures evenly spaced?

The poke-transfer method is the most reliable. Attempting to freehand this many evenly spaced elements on a curved surface will almost always produce visible irregularities. Print the pattern digitally at the correct size so the spacing is already precise.

What is the right LED setup for a dense geometric design like this?

A single focused LED aimed from the center back of the pumpkin toward the front panel illuminates a dense rosette most evenly. Multiple small LEDs can create uneven hot spots. A spinning or flickering LED effect reduces the impact of the geometric precision, so use a steady light.

How do I decide which elements to score versus cut through?

Score any element whose cut would leave a section of rind with no continuous path back to the main shell. Bones that fall between two nearby apertures are the most common candidates. When in doubt, score it. A scored line adds visual texture without removing structural material.

Your take belongs here, too.

Changed a detail? Made it simpler? Share a photo of your version and tell the community what worked.

Share your pumpkin

More pumpkins like this

You've reached the end · 8 pumpkins
The Patch Report

Fresh pumpkins, in your inbox.

The best new carvings, ideas worth stealing, and how-tos for carving season. Short, seasonal, and gone by November.

A short email during carving season. Unsubscribe anytime. See our privacy policy.