Halloween Pumpkin Carving Contest · Starts October 1st · $500 in prizes
← Back to ideas
@ai_concepts
Sep 25, 2026
Simple Five-Hole Dog Paw Print Pumpkin CarvingAI
0

Report this carving

Tell us what is wrong. Reports are private.

Simple Five-Hole Dog Paw Print Pumpkin Carving

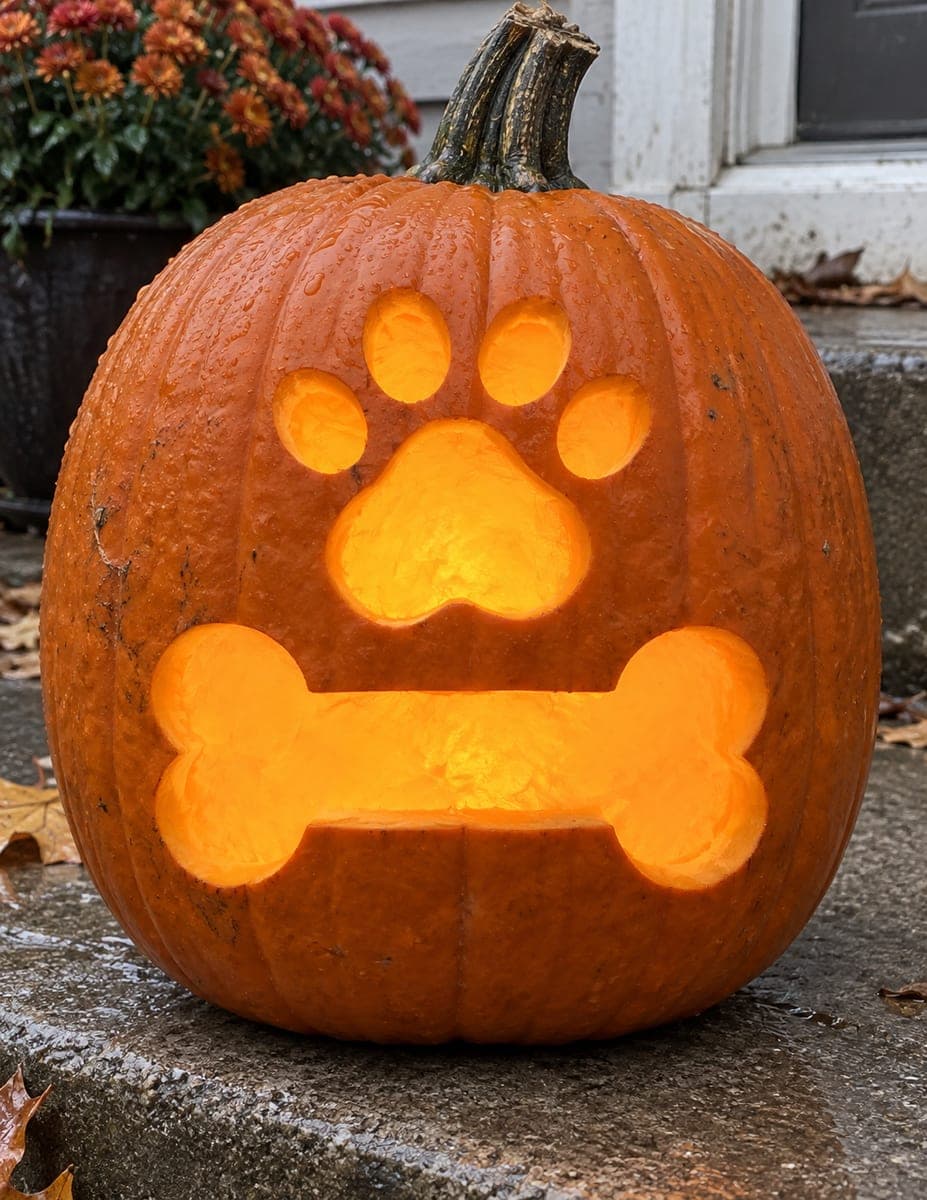
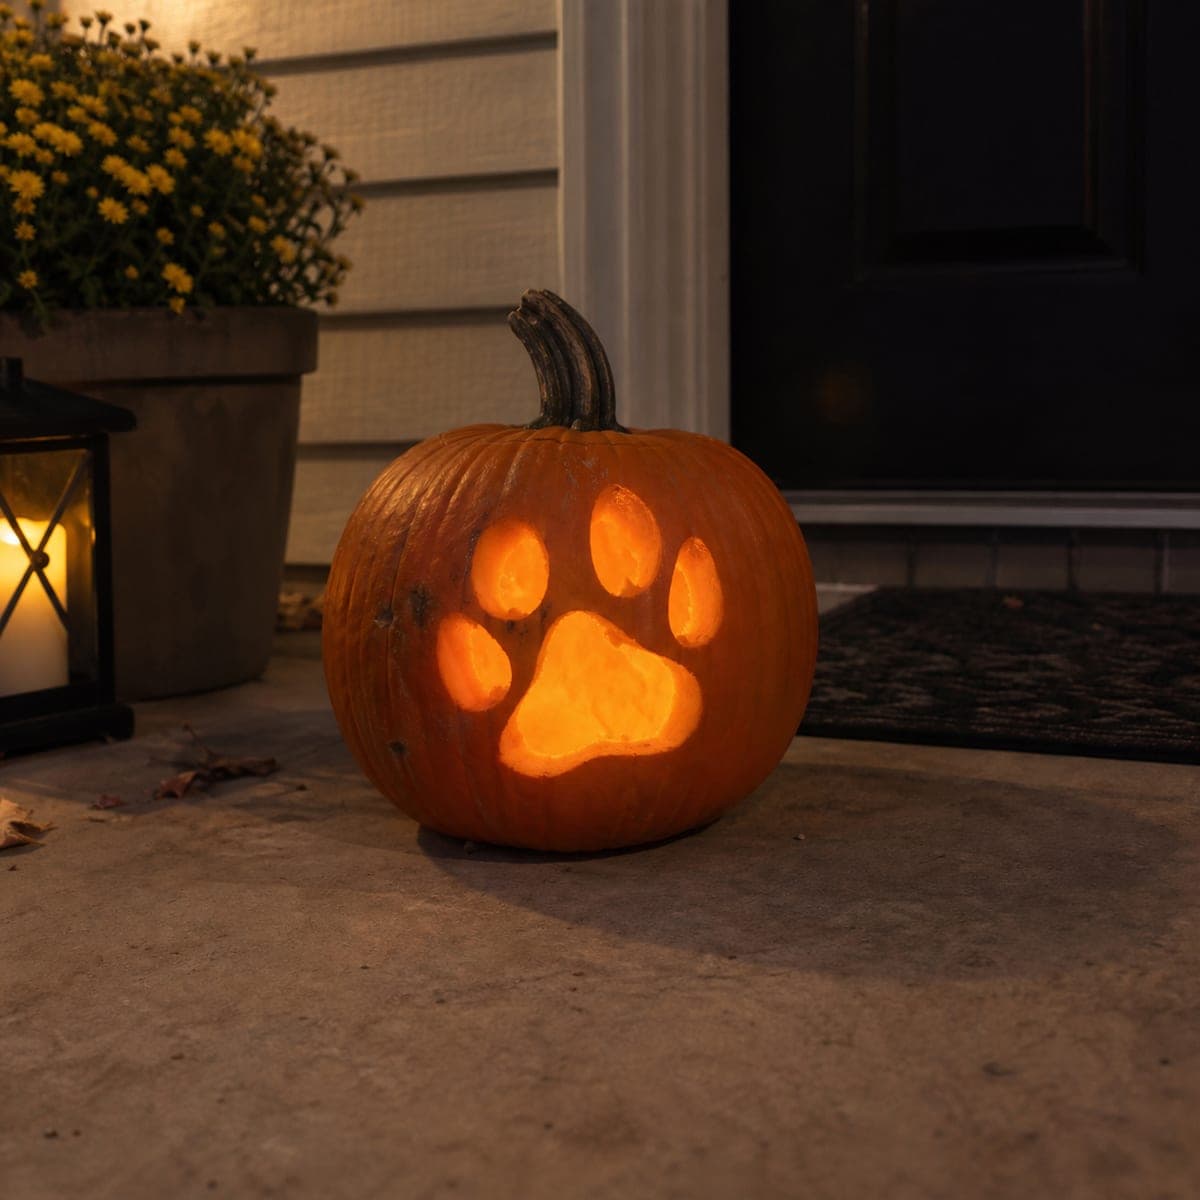
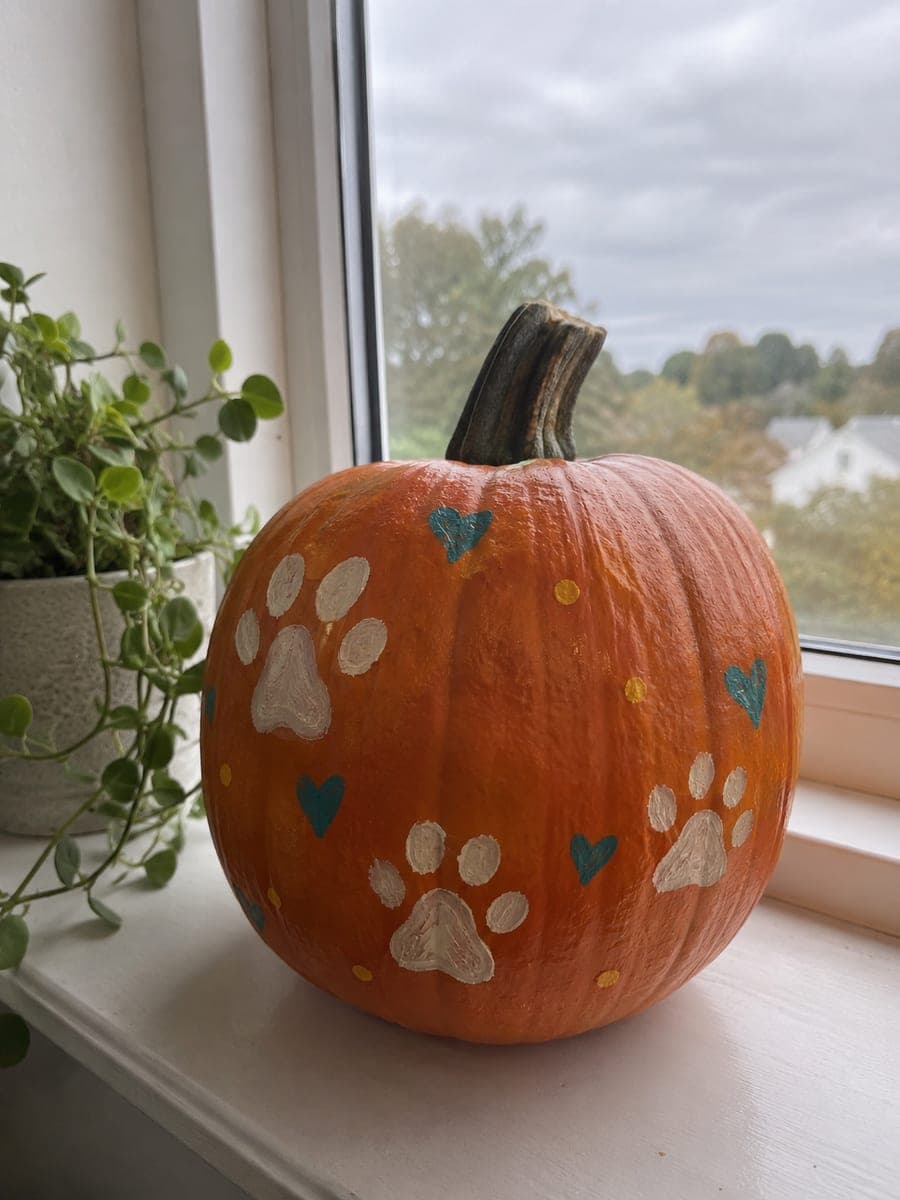
Four small toe holes arranged above one larger central pad hole, each cut as a completely independent aperture with broad rind between them, form a clean glowing paw print in this easy dog paw pumpkin carving. The broad rind gaps are what keep this design sturdy, so resist the urge to enlarge the holes or push them closer together. A circular cookie cutter pressed lightly into the rind makes perfect round guide marks before cutting. Lit from within with any candle or LED, the five circles glow with equal brightness for a balanced, graphic look.

No ratings yet · Sign in to rate
Comments (0)

  • No comments yet — be the first.

Save without an account. Sign in to like or comment.

Our tips for carving a similar design

The design is five completely independent circular holes, one large central pad and four smaller toes, each with generous rind left between them. The broad gaps are the only structural requirement and also the main design principle: resist closing them up and the pumpkin stays sturdy with no bridges to manage.

From pumpkin to porch

  1. Hollow the pumpkin

    Cut a lid from the back or base and scoop all seeds. Scrape the interior wall to about an inch thick across the front face panel. Even wall thickness gives all five circles equal glow brightness, which is what makes the paw print read as a unified icon.

  2. Mark the five circles

    Press a large round cookie cutter lightly into the center of the face to leave a circular impression for the pad. Use a coin to mark four evenly spaced smaller circles above it for the toes. Confirm that the gap between every circle is at least two centimeters before tracing the marks with a marker.

  3. Cut the large central pad first

    Use a detail saw to cut the central pad circle with a smooth rotating motion. Keep the blade vertical and let the saw guide itself around the curve. Pop the waste piece inward cleanly.

  4. Cut the four toe holes

    Work from the leftmost toe to the rightmost, cutting each small circle independently. A rotating motion works best for small circles; short back-and-forth strokes can cause the blade to wander off the curve. Pop each toe piece inward as you go.

  5. Smooth and check spacing

    File any jagged circle edges smooth. Step back and confirm all five holes are evenly spaced and that the gaps between them are consistent. If any gap looks narrow, smooth the adjacent edges inward very slightly with the file.

  6. Light and display

    Insert an LED candle and check that all five circles glow with equal brightness. A single candle centered inside distributes light evenly to each hole. Display at eye level on a shelf or low table where the paw print reads as a flat graphic against the orange rind.

Written with AI to match this design

Gather your supplies

Check things off as you get ready.

Work on a stable surface, keep your free hand out of the cutting path, and have an adult handle sharp tools.

Three levels of light

  • Leave intact

    All surrounding rind and the rind between each circle

  • Peel & shade

    None, this design uses only fully cut-through holes

  • Cut through

    The central pad circle and all four toe circles, each glowing independently

Learn the carving basics

Before you start cutting

How do I keep the small toe circles from becoming oval during cutting?

Cut with a slow rotating motion and keep the blade vertical rather than angled. Rushing or pushing sideways causes the cut to drift off the circular outline. If your blade is wider than the toe hole, use the narrowest detail blade you have.

Does it matter whether I cut the pad or the toes first?

Either order works, but starting with the larger central pad gives you the most stable pumpkin when you begin. Cutting the pad last means the most structural cut happens with a shell already weakened by four smaller holes above it.

Can I make a cat paw print instead of a dog paw print with this same approach?

Yes. Cat toe pads tend to be rounder and slightly closer together than dog pads. The five-circle structure is the same. Use a slightly smaller coin for the toes and position them in a tighter arc above the central pad.

Your take belongs here, too.

Changed a detail? Made it simpler? Share a photo of your version and tell the community what worked.

Share your pumpkin

More pumpkins like this

You've reached the end · 8 pumpkins
The Patch Report

Fresh pumpkins, in your inbox.

The best new carvings, ideas worth stealing, and how-tos for carving season. Short, seasonal, and gone by November.

A short email during carving season. Unsubscribe anytime. See our privacy policy.