Halloween Pumpkin Carving Contest · Starts October 1st · $500 in prizes
← Back to ideas
@ai_concepts
Sep 25, 2026
Three Diagonal Glowing Paw Prints Across a PumpkinAI
0

Report this carving

Tell us what is wrong. Reports are private.

Three Diagonal Glowing Paw Prints Across a Pumpkin

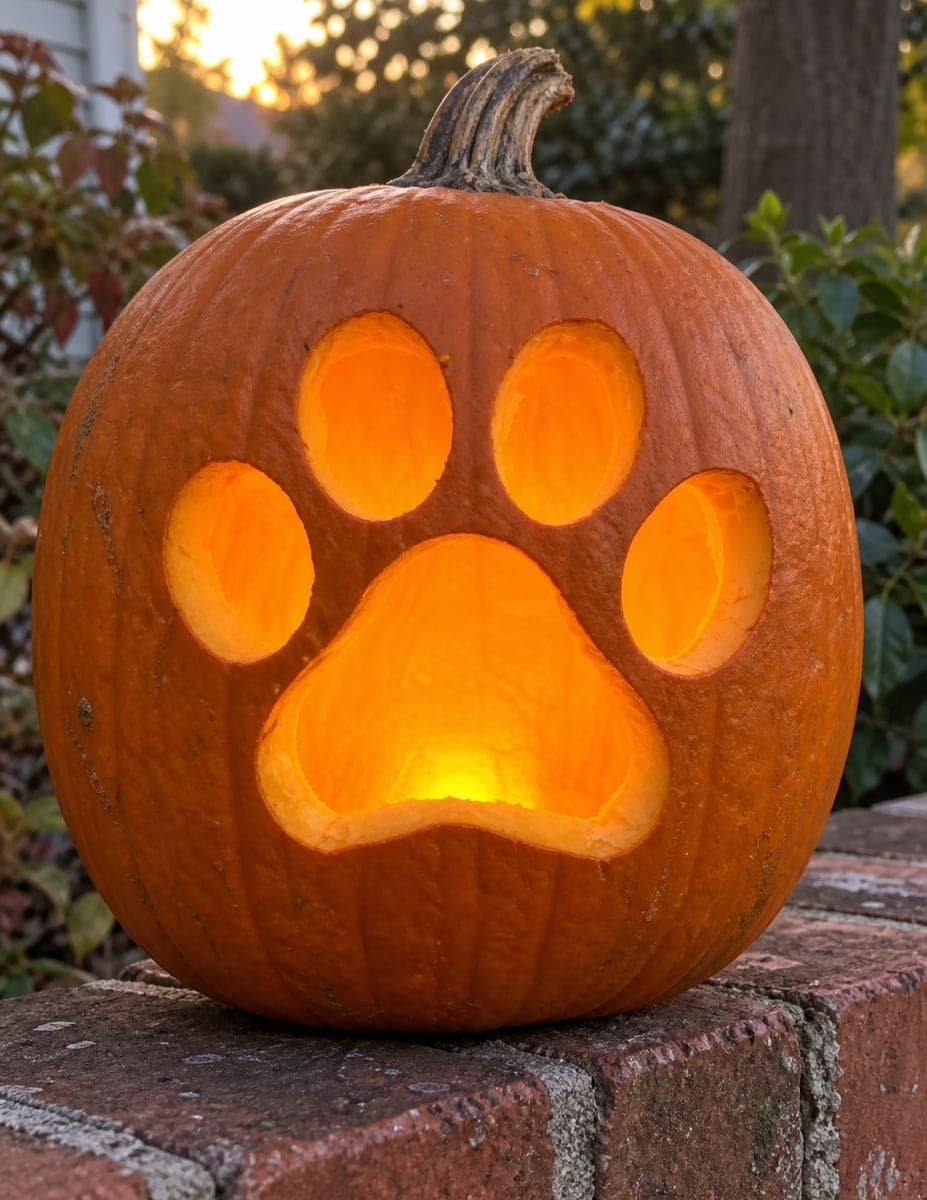
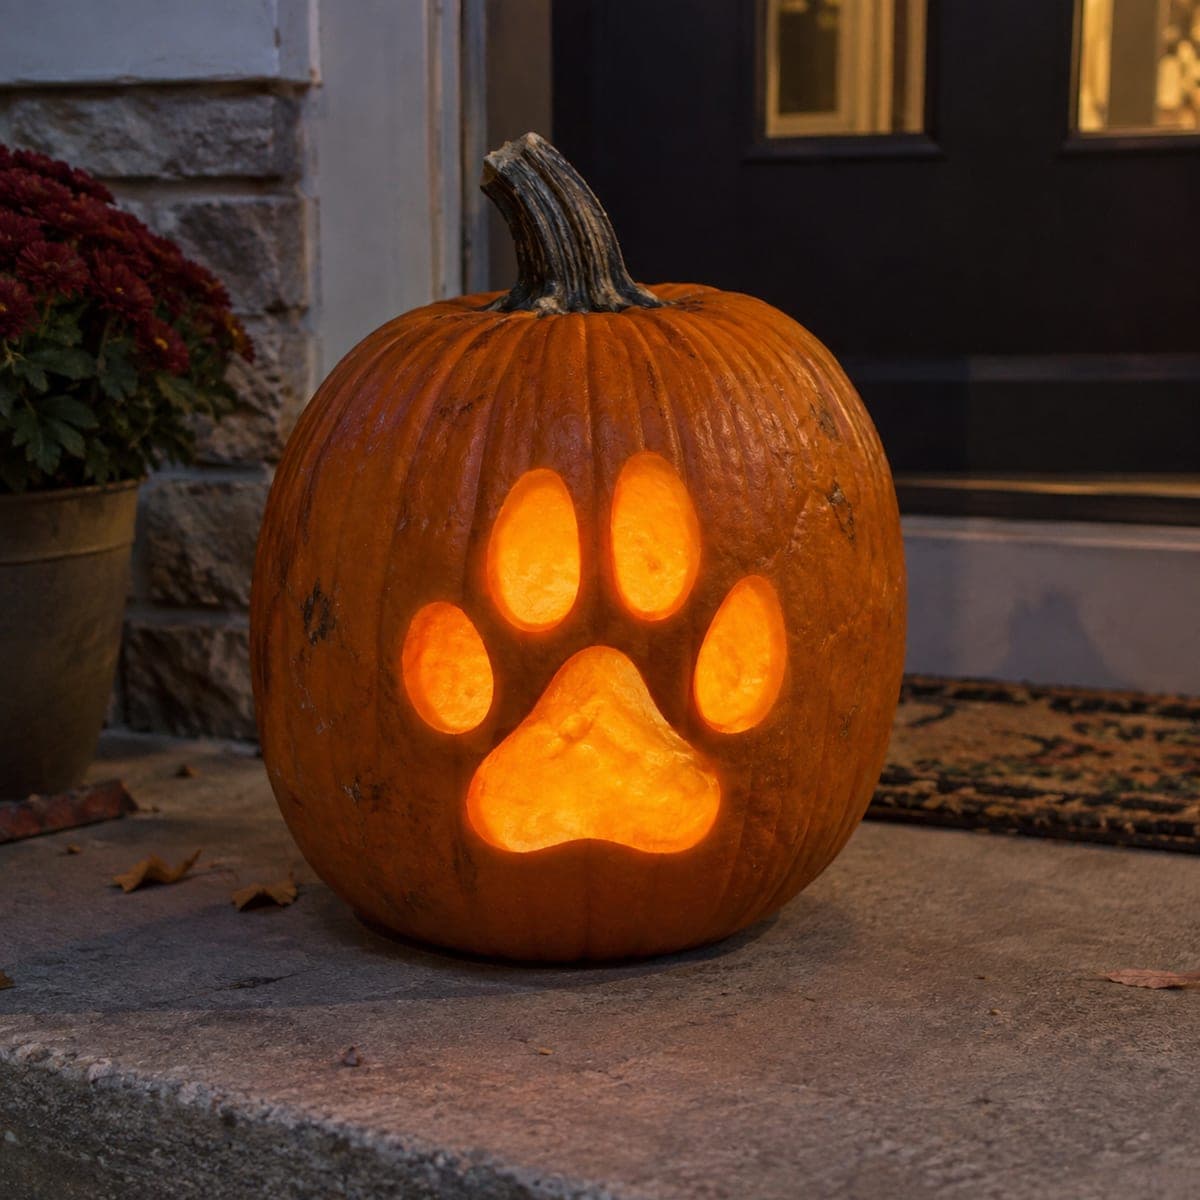
Three paw prints, each made of separate empty toe and pad apertures, step diagonally across the pumpkin face in this medium dog paw carving idea that suggests a dog walking across the jack-o-lantern. Keep generous rind between each individual element and between the three full prints so the pumpkin shell stays rigid. Lay out all three prints with a marker before cutting any of them, adjusting the diagonal so the pattern is evenly spaced. From a few feet away on a porch, the diagonal path reads immediately as a confident march.

No ratings yet · Sign in to rate

Comments (0)

  • No comments yet — be the first.

Save without an account. Sign in to like or comment.

Our tips for carving a similar design

Each paw print is the same five-circle structure from the single-paw design, multiplied three times and arranged on a diagonal. Laying out all three prints with a marker before cutting any of them is essential, because the diagonal spacing determines whether the trail reads as movement or as an awkward cluster.

From pumpkin to porch

  1. Hollow and prep

    Access through the back and scrape the interior to a consistent inch of wall thickness across the full face panel. With fifteen total holes to cut, even wall thickness keeps every circle bright and avoids thin patches that could crack under repeated nearby cuts.

  2. Map all three prints before cutting

    Use a marker to place all three paw prints along a gentle diagonal running from lower-left to upper-right or lower-right to upper-left. Confirm generous rind between individual circles within each print and between the three full prints. A roughly equal diagonal step between each print reads most naturally as a walking stride.

  3. Check spacing and adjust

    With all circles marked, check that the narrowest gap anywhere on the pumpkin is at least a centimeter and a half. Adjust the positions of any prints that crowd together. Do not begin cutting until the layout looks balanced.

  4. Cut the center print first

    Start with the middle paw print so you can adjust the upper and lower prints if needed after seeing it in place. Cut all five circles of the center print using a rotating detail saw motion, then pop each waste piece inward.

  5. Cut the upper and lower prints

    Work outward from the center print, cutting each of the remaining two prints in full before moving on. Cutting one print completely before starting the next helps maintain your rhythm and avoids leaving partial prints that could confuse the layout.

  6. Light and display

    Insert an LED candle and check that the diagonal trail reads clearly as three distinct paw prints. Display on a porch railing or elevated shelf where viewers see the face straight-on. The diagonal catches the eye and suggests movement even in a still display.

Written with AI to match this design

Gather your supplies

Check things off as you get ready.

Work on a stable surface, keep your free hand out of the cutting path, and have an adult handle sharp tools.

Three levels of light

  • Leave intact

    All surrounding rind and the gaps between individual paw elements

  • Peel & shade

    None, this design uses only full cut-through holes

  • Cut through

    All fifteen paw circles across the three prints, each glowing equally

Learn the carving basics

Before you start cutting

How far apart should the three paw prints be?

A gap roughly equal to one full paw-print width between each print gives a natural walking-stride feel. Prints too close together look like a cluster rather than a trail. Prints too far apart may push one off the edge of the pumpkin's visible face.

Should all three paw prints be the same size?

Yes. Identical print sizes read as one animal walking steadily. Varying the sizes would suggest different animals or perspective shrinkage, which adds unintended complexity. Use the same circle guide for every print.

What if the pumpkin is not wide enough for three evenly spaced prints?

Reduce the size of each individual print slightly so all three fit comfortably. Alternatively, use only two prints on a smaller pumpkin. Two prints still read as a trail when placed on a gentle diagonal.

Your take belongs here, too.

Changed a detail? Made it simpler? Share a photo of your version and tell the community what worked.

Share your pumpkin

More pumpkins like this

You've reached the end · 8 pumpkins
The Patch Report

Fresh pumpkins, in your inbox.

The best new carvings, ideas worth stealing, and how-tos for carving season. Short, seasonal, and gone by November.

A short email during carving season. Unsubscribe anytime. See our privacy policy.