@porchglow
Sep 5, 2026
Jack in the dark
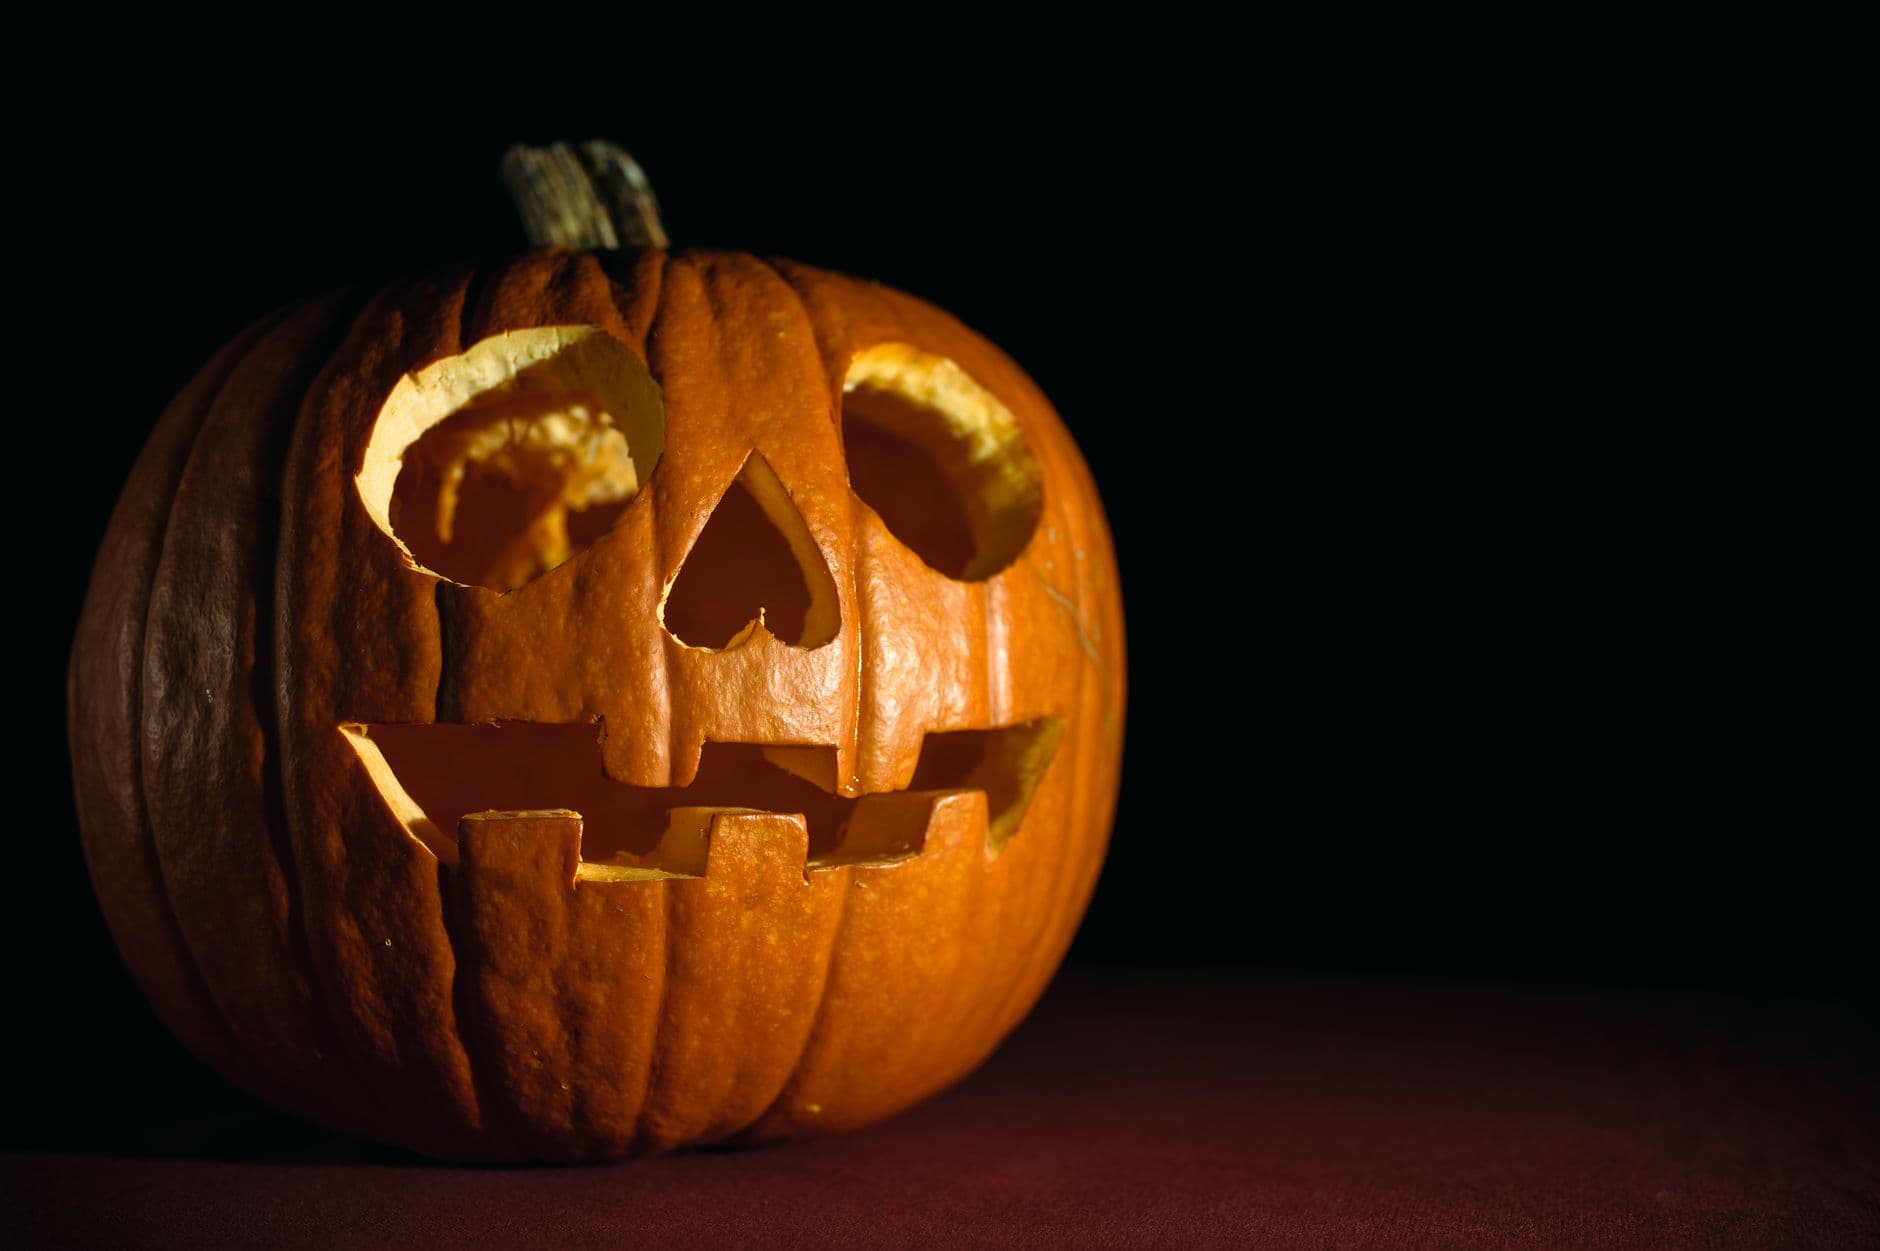
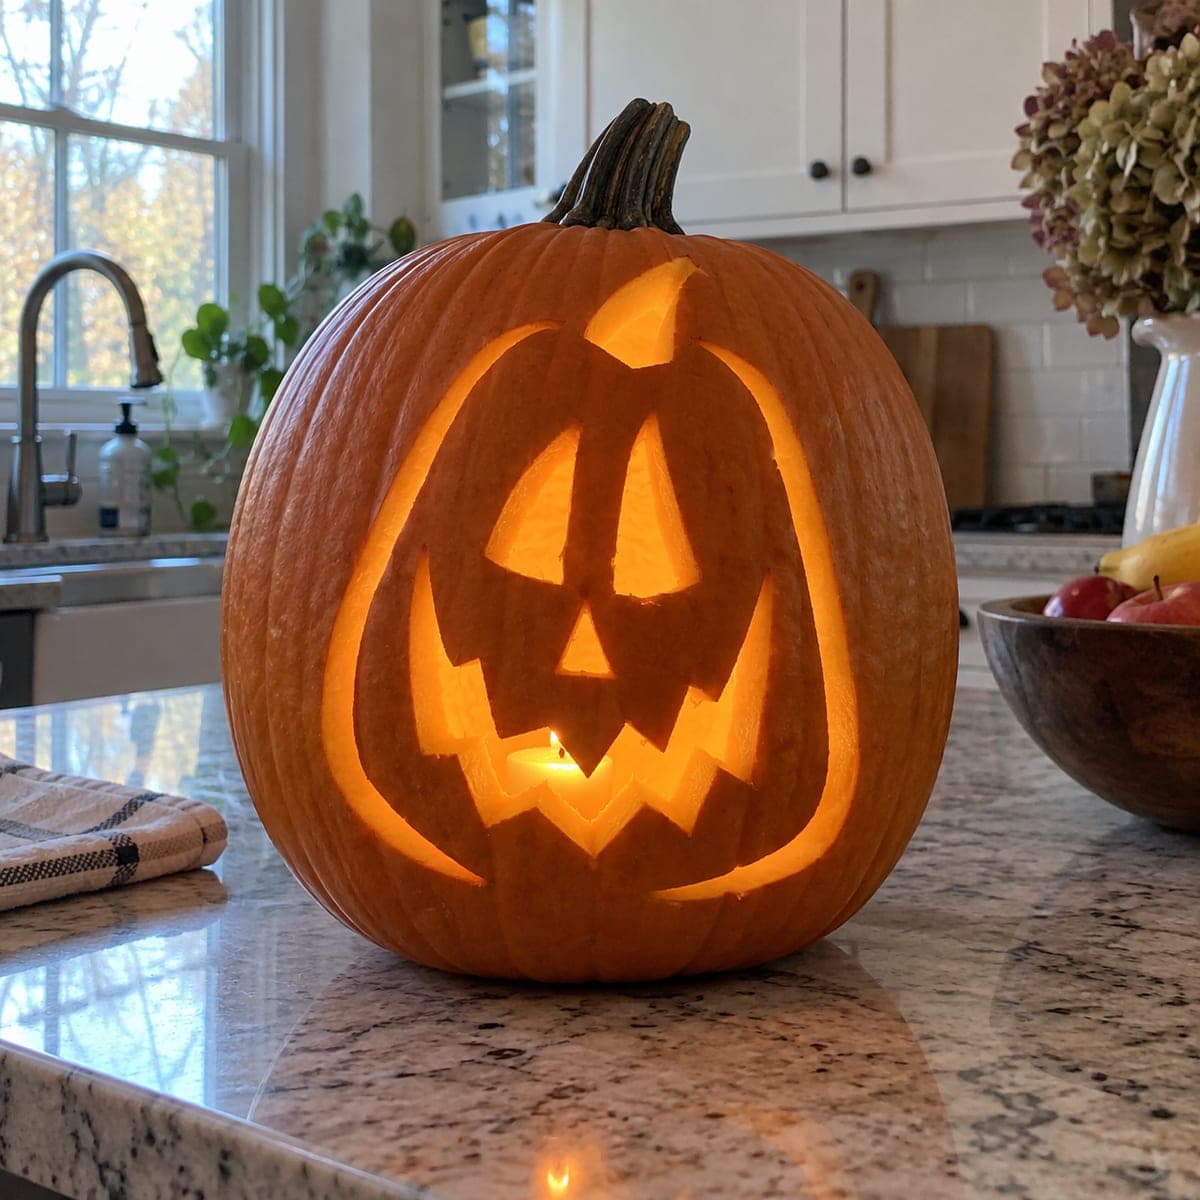
A heart-nosed classic with a notched grin, lit hard from the side against pure black. Simple cuts, dramatic mood.
No ratings yet · Sign in to rate
A heart-nosed classic with a notched grin, lit hard from the side against pure black. Simple cuts, dramatic mood.
The whole charm here comes from clean full cutouts against untouched skin, so light punches straight through the eyes, heart nose, and notched grin. The plan is simple: mark a symmetrical face, hollow the pumpkin well, then cut each opening cleanly. Keep the grin's blocky teeth wide so they stay strong and the light reads bright.
Written by PumpkinCarvingIdeas.com, inspired by @porchglow's photo above. These are our suggestions, not instructions from the uploader, and this approach hasn't been tested on their exact carve.
Choose a round, evenly ripe pumpkin with a flat enough base to sit still. Wipe the skin clean and dry so your marker and stencil stay put. A smooth front face gives you the best canvas for the eyes and grin. Set it at a comfortable table height with good lighting before you start.
Have an adult cut a lid around the stem, angling the knife inward so the lid rests on a ledge instead of falling in. Scoop out the seeds and pulp, then scrape the front wall down to about one inch thick. A thinner wall makes the cutouts much easier and lets more light escape. Save the seeds for roasting if you like.
Draw two round eyes set slightly high, a heart-shaped nose centered below, and a wide grin with squared, notched teeth. Keep both sides roughly even by eyeballing a center line down the pumpkin. Use a washable marker so you can wipe off and redo any line. Leave solid gaps between the teeth so the grin has structure.
Start with the heart nose and the eyes using a small serrated carving saw, cutting on the marker lines with gentle back-and-forth strokes. Let the pieces pop out from the inside once each shape is fully cut. Working small to large keeps the pumpkin sturdy while you carve. Take your time on the heart's point so it stays crisp.
Save the grin for last since it removes the most material. Cut along the top and bottom of the mouth, then carve out the gaps between the blocky teeth. Keep each tooth wide at its base so none snap off. Push the waste out gently and trim any ragged edges with the tip of your tool.
Drop in a battery LED tea light or a small puck light for a warm, safe glow. For that hard side-lit look in the photo, place your pumpkin against a dark backdrop and add a second light off to one side. Shoot in a dim room so the black background stays pure. Snap a few angles to catch the brightest one.
Check things off as you get ready.
Work on a stable surface, keep your free hand out of the cutting path, and have an adult handle sharp tools.
The whole outer skin of the pumpkin stays untouched and dark, framing the face.
Optional: lightly shave a thin halo around each eye or the grin if you want a soft glow border.
The two round eyes, the heart nose, and the notched grin are cut clean through for the brightest light.
Draw each tooth wide and blocky rather than thin and pointed, and leave a solid gap of skin between them. Cut slowly with a small saw so you do not force or twist the blade. Thicker teeth with generous bases hold up well even after a few days.
Because the eyes are simple round shapes, you can enlarge the smaller one slightly to match, cutting just outside the existing edge. Go in small passes and check often. A little asymmetry actually reads as character in a classic face like this.
Set the pumpkin against a black cloth or dark wall and light it from one side with a small lamp or LED, plus the internal light glowing through the cutouts. Keep the rest of the room dark so the background falls to black. Move your side light around until the ridges cast the shadows you like.
Changed a detail? Made it simpler? Share a photo of your version and tell the community what worked.
The best new carvings, ideas worth stealing, and how-tos for carving season. Short, seasonal, and gone by November.

Comments (0)