Halloween Pumpkin Carving Contest Β· Starts October 1st Β· $500 in prizes
← Back to ideas
@ai_concepts
Jul 23, 2026
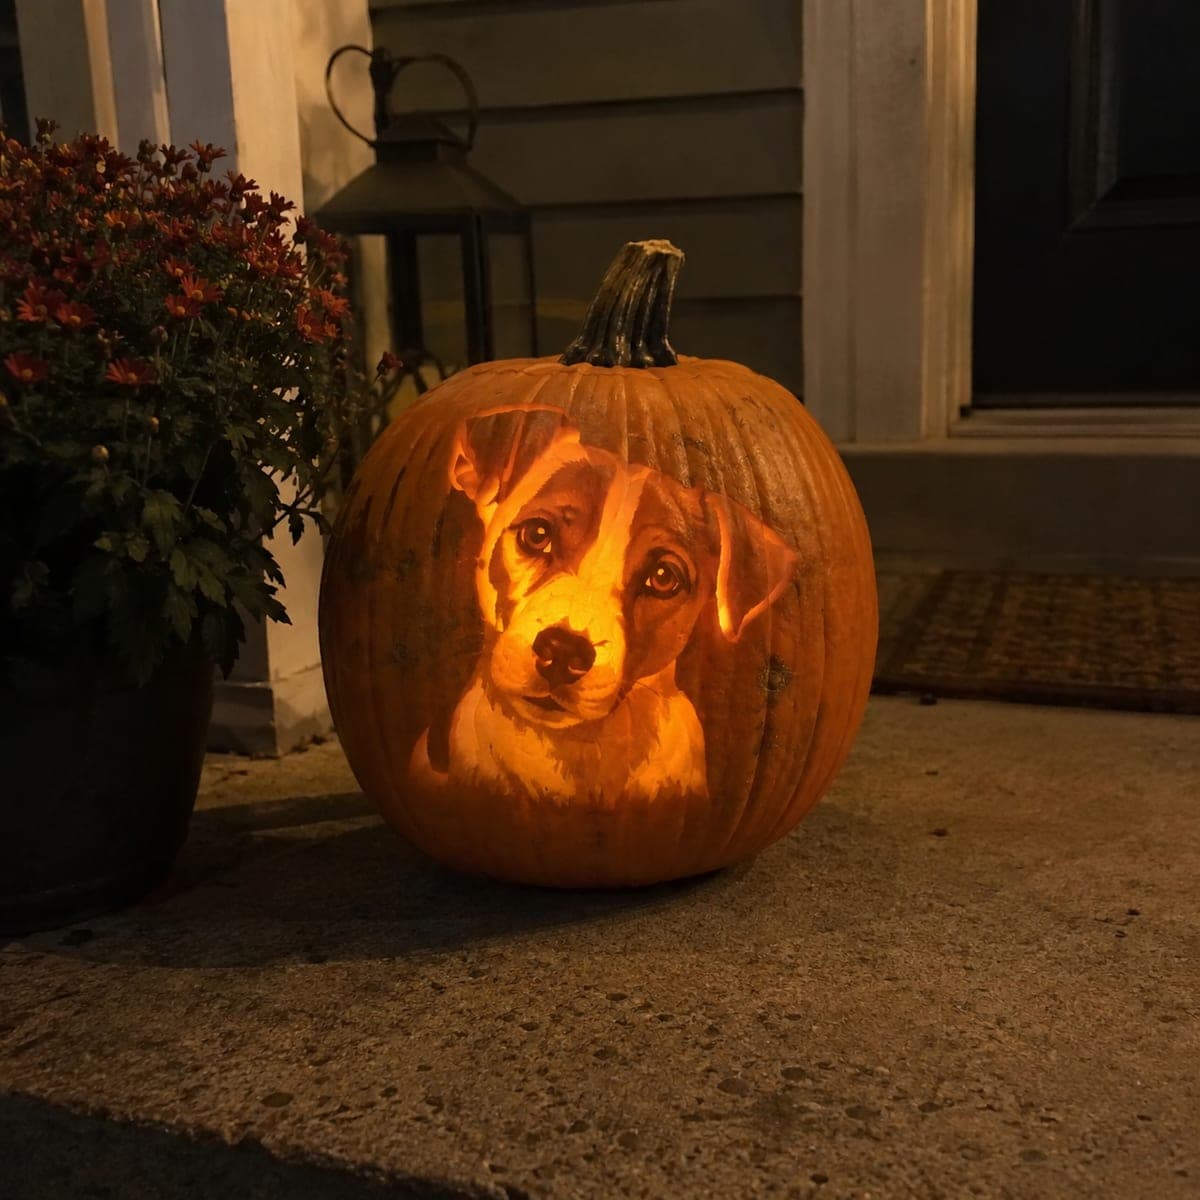
Jack Russell Puppy Portrait Pumpkin CarvingAI
0

Jack Russell Puppy Portrait Pumpkin Carving

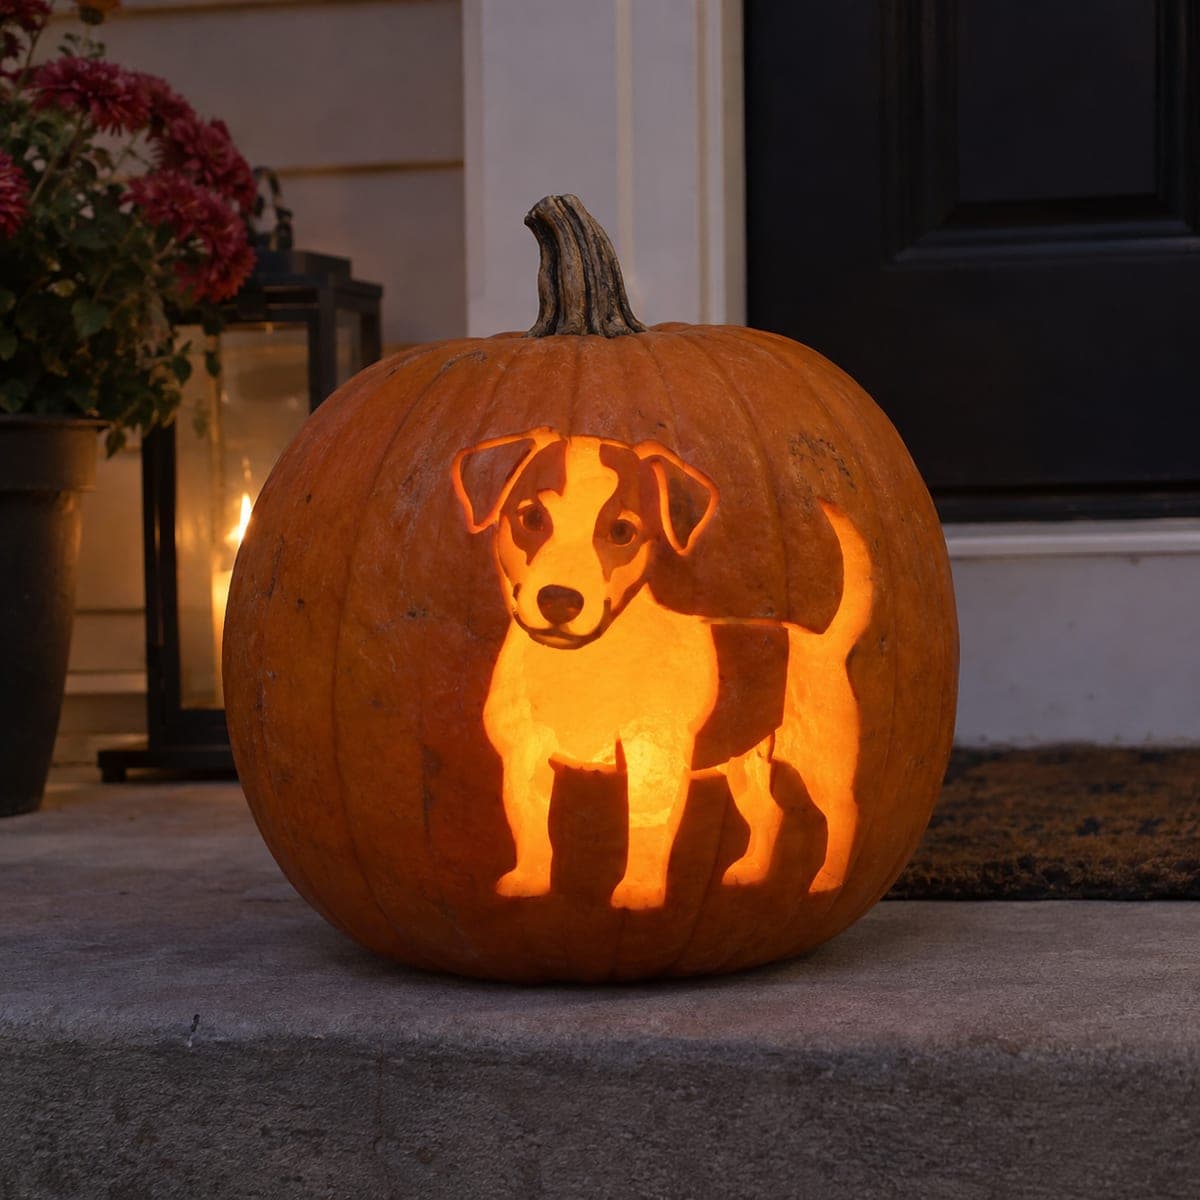
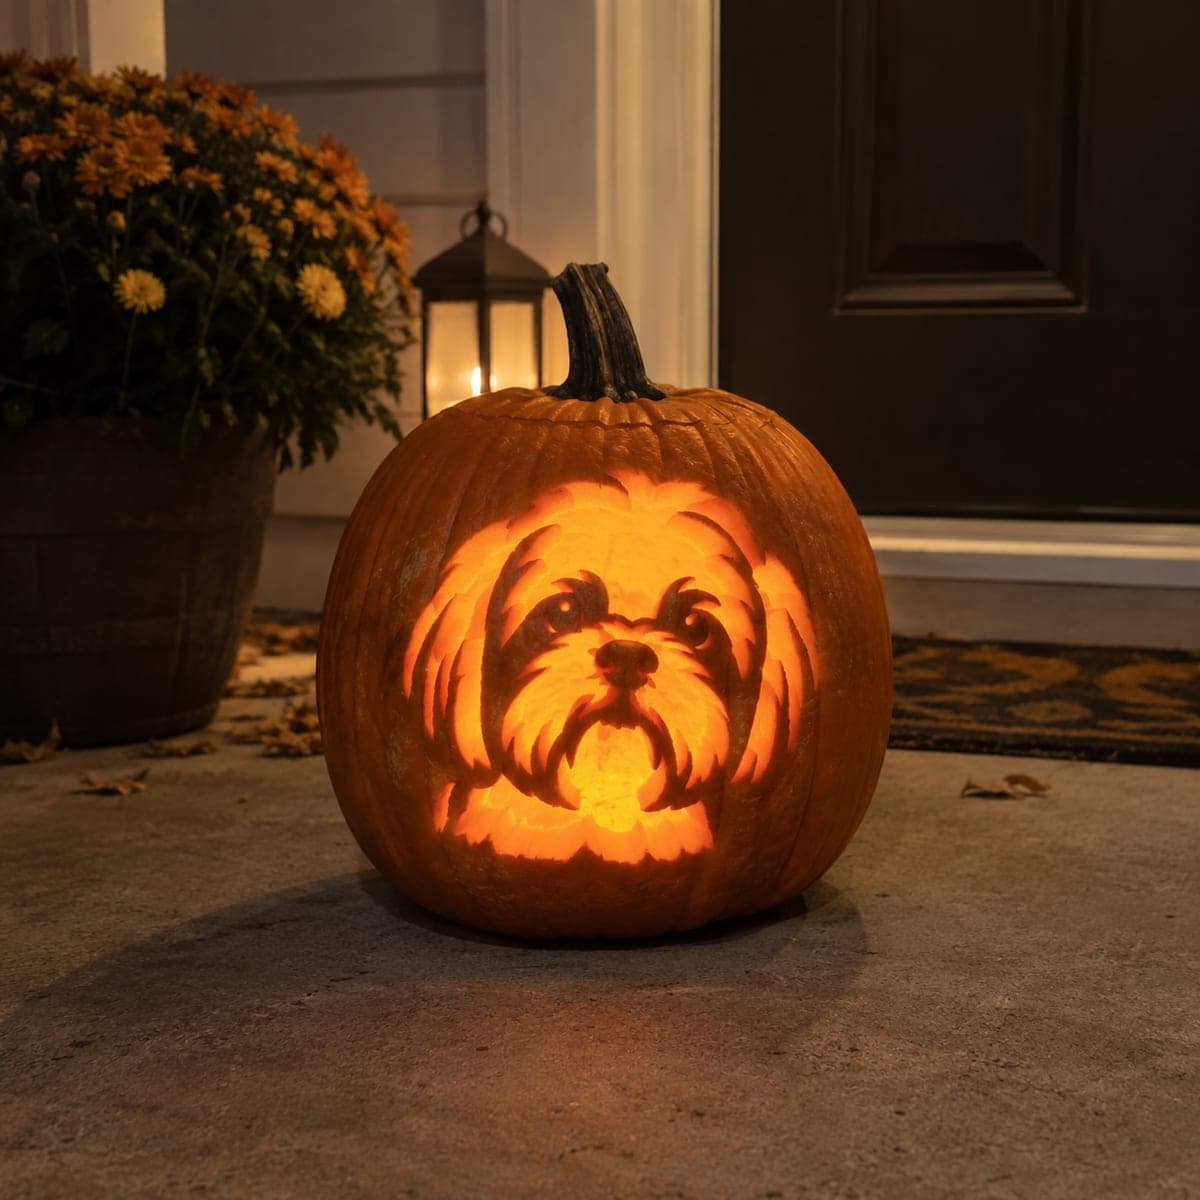
Soulful tilted eyes make this Jack Russell puppy portrait feel alive, with the breed's patched face and folded ears etched in smooth gradients that glow from a hidden light. Depth does the shading here, so the brightest patches are carved thinnest and the dark patches barely scratched. Work from a grayscale photo of your own dog to turn the same technique into a custom pet pumpkin.

This is an AI-generated concept image: a realistic, carvable design idea rather than a photo of a finished carve. AI concepts are always labeled and sit out the leaderboard and the contest.

No ratings yet Β· Sign in to rate

Comments (0)

  • No comments yet β€” be the first.

Save without an account. Sign in to like or comment.

Our tips for carving a similar design

The whole trick here is depth as shading: instead of cutting shapes out, you shave the pumpkin skin to different thicknesses so light passes through unevenly. The brightest muzzle and cheek patches are carved thinnest, the dark ears and eye patches are barely scratched, and everything in between is a smooth gradient. Plan the portrait as a grayscale map before you ever pick up a tool.

Written by PumpkinCarvingIdeas.com, inspired by the image above. These are our suggestions, not instructions from the uploader. This approach to the AI concept has not been tested on a real pumpkin.

From pumpkin to porch

  1. Prep the pumpkin and map the values

    Pick a smooth, pale, evenly rounded pumpkin with the flattest face possible. Cut a wide access hole in the bottom, not the top, so the stem stays intact and the LED sits under the design. Scrape the inside wall behind the face down to about one inch thick and very even, since consistent wall thickness is what makes gradient shading predictable. Print your dog photo in grayscale and study where the lightest and darkest areas fall.

  2. Transfer the portrait

    Tape your grayscale pattern flat against the face, clipping darts into the edges so it hugs the curve. Use a poking tool or transfer paper to mark the main boundaries: the eyes, the nose, the folded ear edges, and the border between the light patches and the tan patches. Mark value zones lightly rather than outlining every hair. Remove the paper and confirm you can read the whole face from your dots.

  3. Rough in the light patches first

    With a fine ribbon or loop tool, shave the brightest areas like the muzzle, the blaze down the forehead, and the chest fur closest to the skin. Go slowly and check the depth by holding a light behind the wall from time to time. The thinner you shave, the brighter that spot glows, so leave a little material in reserve since you can always remove more. Keep edges soft so the light fades instead of jumping.

  4. Build the mid gradients

    Move to the tan cheeks, the shaded side of the muzzle, and the lower fur, scraping these zones only partway so they read as a dim, warm middle tone. Feather the transition between bright and mid areas with light overlapping strokes rather than a hard line. This blending is what makes the face look rounded and alive. Step back often and squint to judge whether the values match your photo.

  5. Protect the dark details

    Leave the eye patches, the folded ear tips, the nose, and the outer pupils almost untouched so they stay dark and define the expression. Only faintly scratch the surface where you want the faintest hint of fur texture. Add tiny catchlight dots in the eyes by shaving two very small bright spots, which is what gives the soulful, wet look. Keep these details thin-walled but fully attached so nothing crumbles.

  6. Light it and photograph

    Set a battery LED puck inside, warm white if you have it, and rest the pumpkin so the light sits low and centered behind the face. Test in a dark room and touch up any patch that reads too bright or too flat. Because none of the skin is fully removed, this carving dries out and darkens fast, so mist the etched surface and refrigerate it overnight between showings. Shoot your photo at dusk on the porch for the best glow.

Gather your supplies

Check things off as you get ready.

Work on a stable surface, keep your free hand out of the cutting path, and have an adult handle sharp tools.

Three levels of light

  • Leave intact

    Eye patches, folded ear tips, nose, and pupils stay as untouched dark skin.

  • Peel & shade

    Tan cheeks and lower fur are shaved partway for a dim, warm middle glow.

  • Cut through

    No full cutouts here; the thinnest shaved muzzle, blaze, and chest are the brightest points.

Learn the carving basics

Before you start cutting

Do I cut any holes through the pumpkin for this?

No, and that is the point. This portrait is pure gradient etching, so light comes through thin walls rather than open cutouts. The only true opening is the access hole in the bottom for your light.

How do I keep the shading even across the curved face?

Start by scraping the inside wall to a uniform thickness so your baseline is consistent everywhere. Then judge each patch by holding a light behind it as you work, not just by eye. Even wall plus frequent light checks is what keeps one cheek from glowing brighter than the other.

This looks fragile. How long will it last?

Etched portraits dry and brown much faster than cutout jack-o-lanterns because so much fresh flesh is exposed. Mist the carved face with water, seal it in plastic, and refrigerate it between showings to buy a few extra days. Plan to carve it within a day or two of when you want to display it.

Your take belongs here, too.

Changed a detail? Made it simpler? Share a photo of your version and tell the community what worked.

Share your pumpkin

More pumpkins like this

You've reached the end Β· 8 pumpkins
The Patch Report

Fresh pumpkins, in your inbox.

The best new carvings, ideas worth stealing, and how-tos for carving season. Short, seasonal, and gone by November.

A short email during carving season. Unsubscribe anytime. See our privacy policy.