Halloween Pumpkin Carving Contest · Starts October 1st · $500 in prizes
← Back to ideas
@ai_concepts
Aug 10, 2026
Koi Fish and Maple Leaf Shaded PumpkinAI
0

Koi Fish and Maple Leaf Shaded Pumpkin

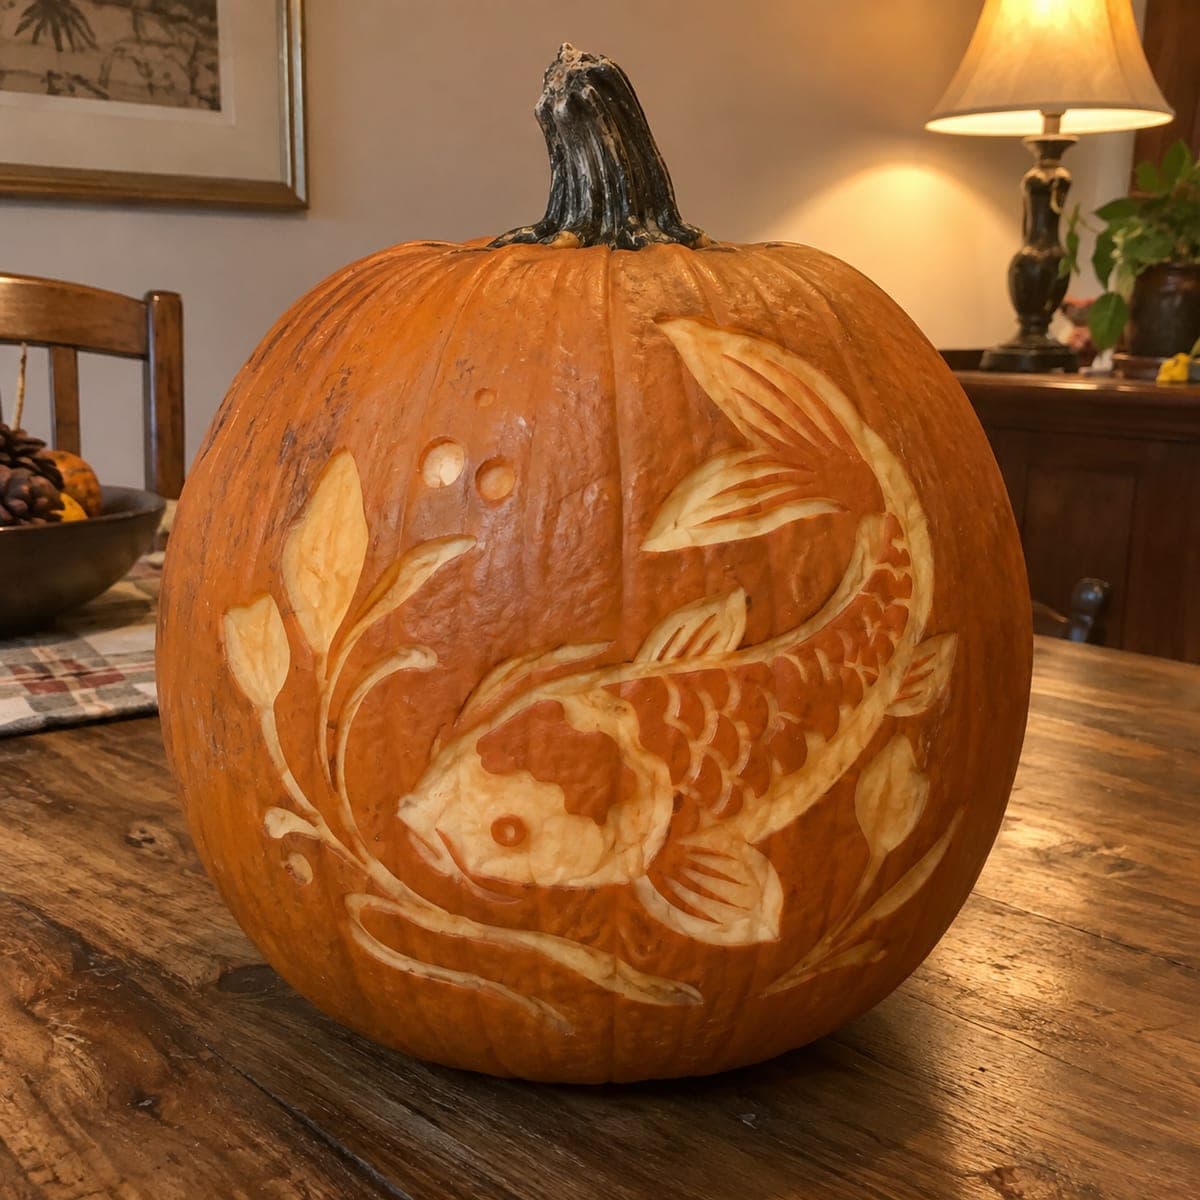
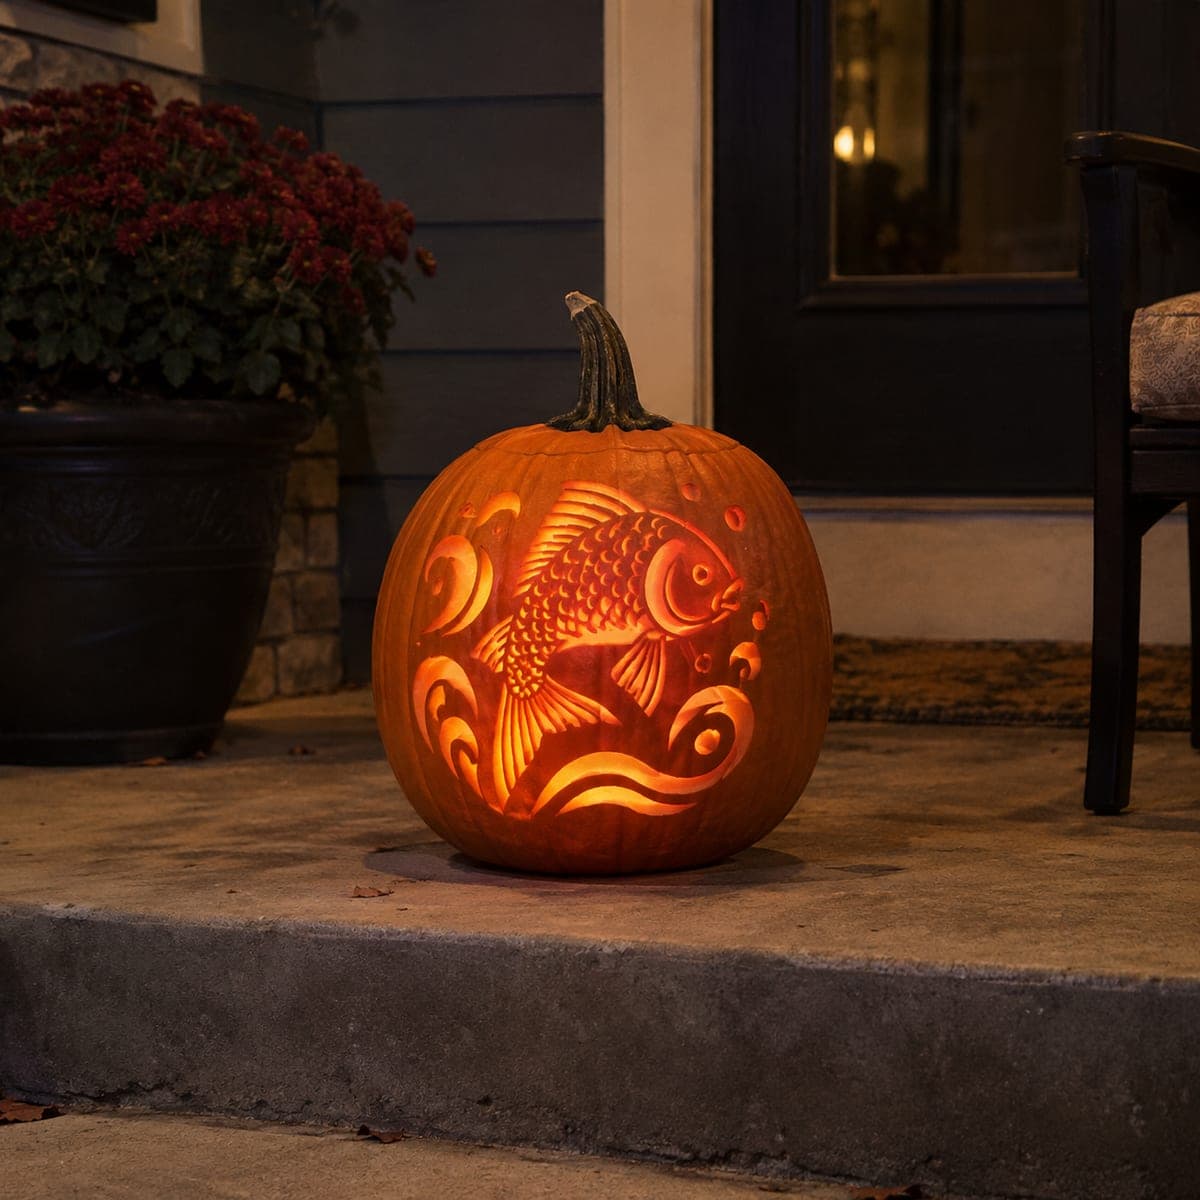
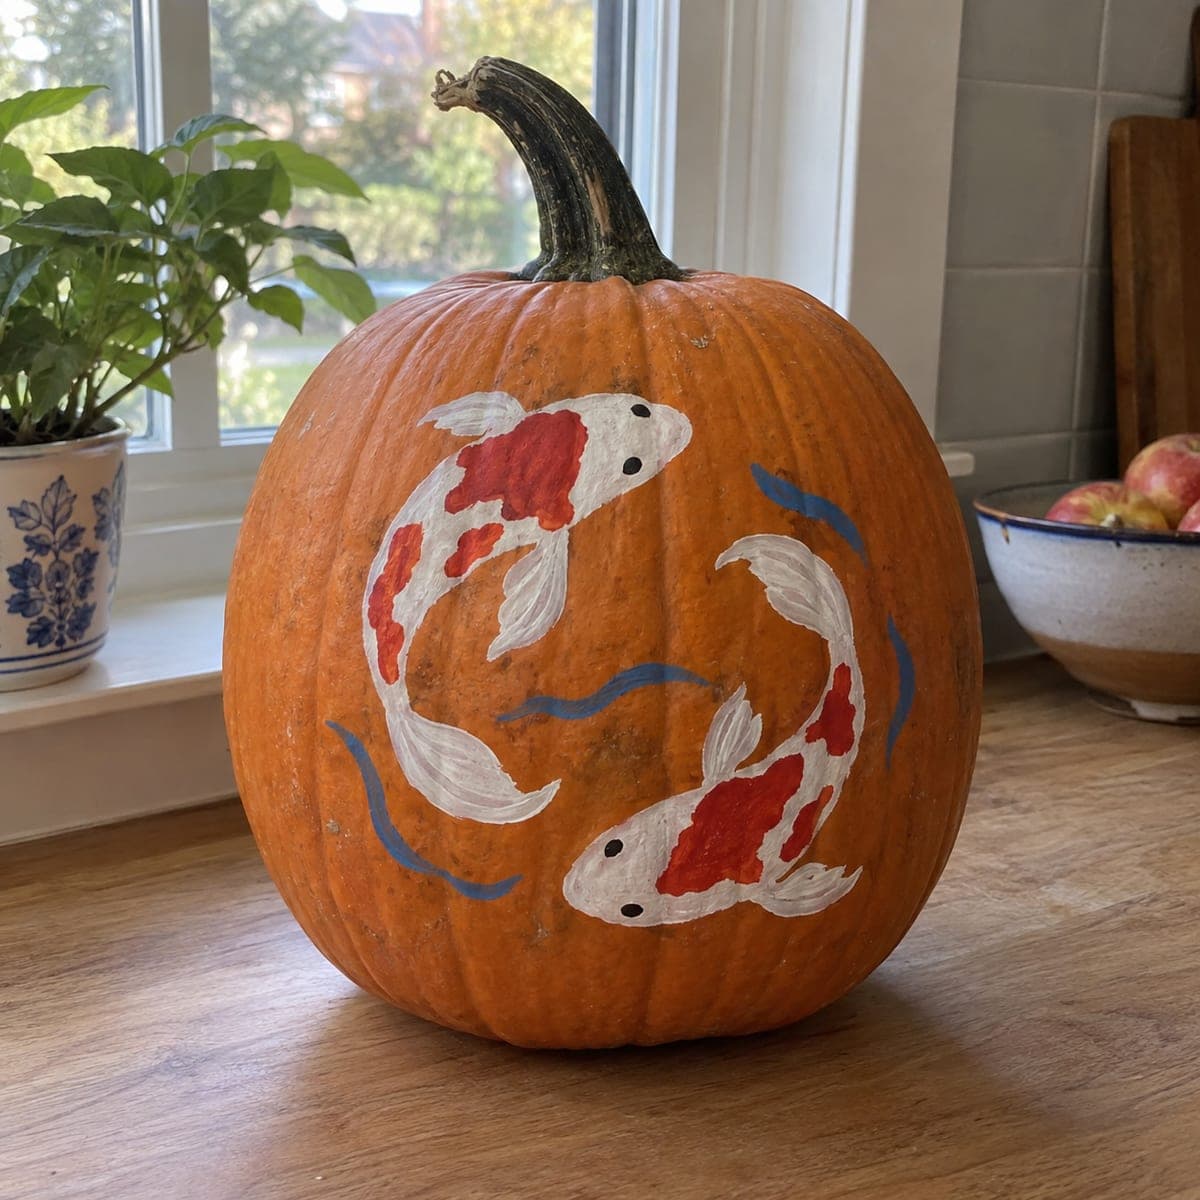
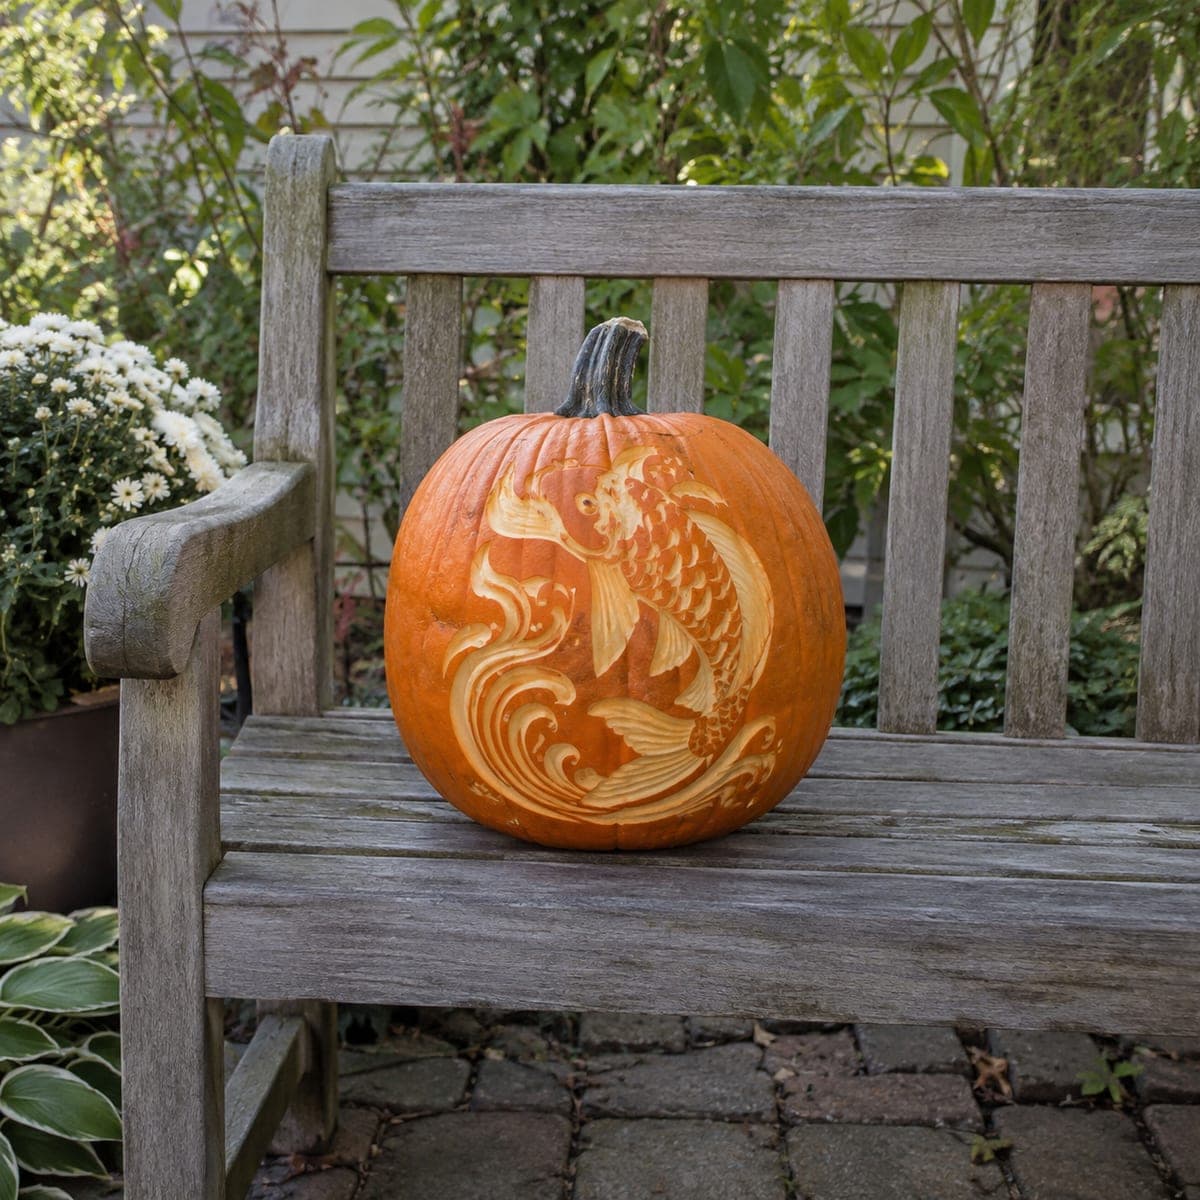
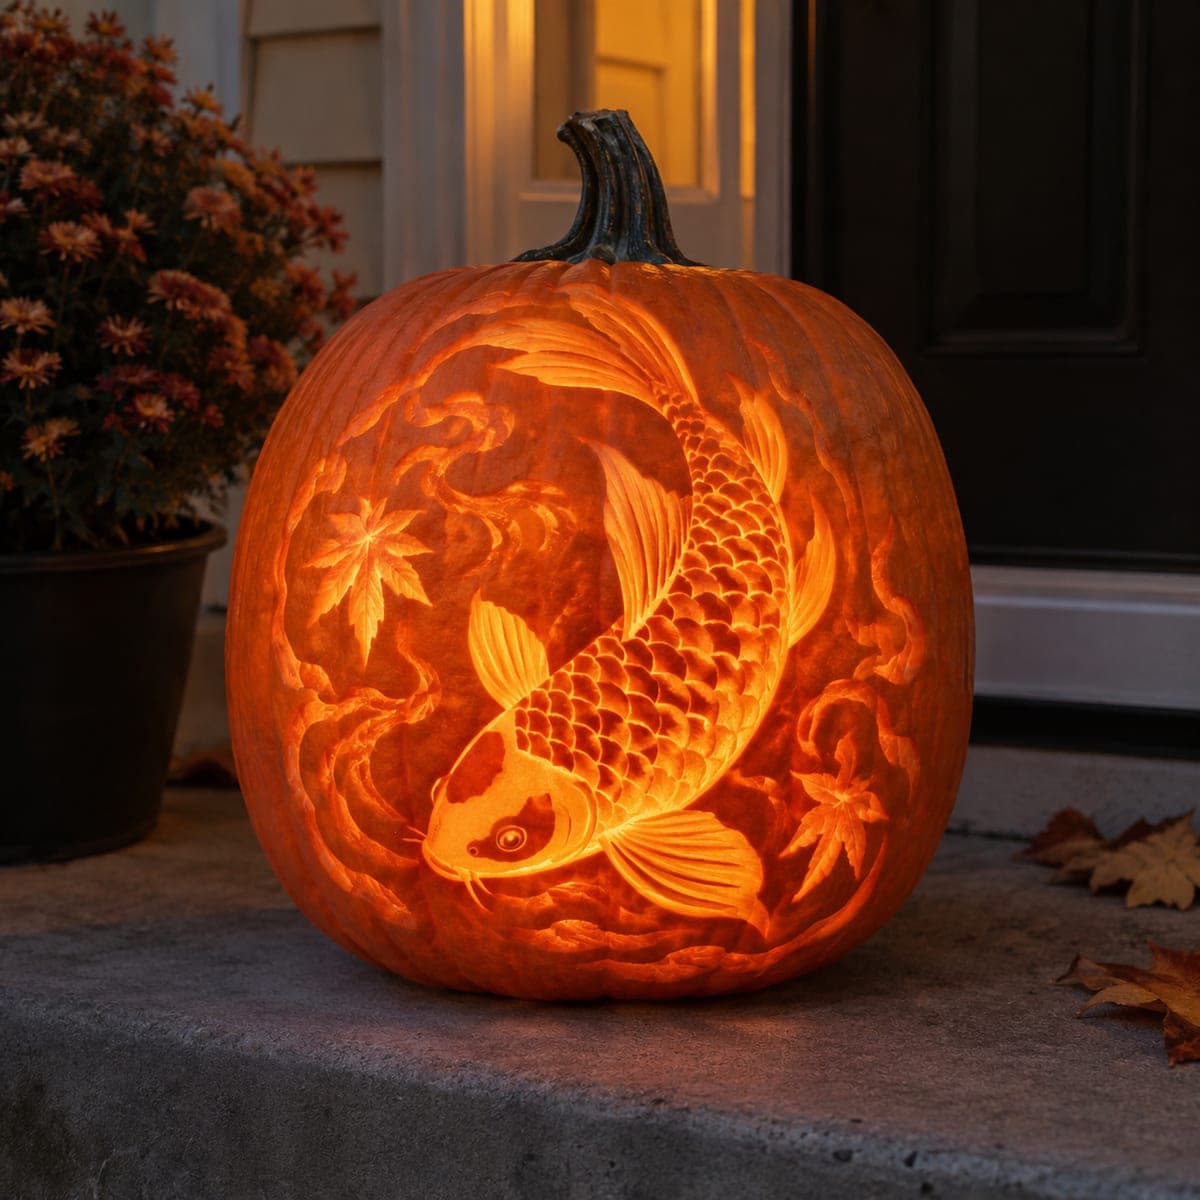
An elegant koi fish leaps through swirling water while maple leaves drift around it, the entire scene etched in deep shading across a large pumpkin that glows from within. Every scale on the fish is individually carved to create a mosaic-like texture, and the water ripples are peeled at varying depths for a sense of motion. This expert-level shaded pumpkin carving idea rewards patient, systematic work with a loop tool. A showpiece design for advanced carvers who want to create an heirloom-quality display.

This is an AI-generated concept image: a realistic, carvable design idea rather than a photo of a finished carve. AI concepts are always labeled and sit out the leaderboard and the contest.

No ratings yet · Sign in to rate
Comments (0)

  • No comments yet — be the first.

Save without an account. Sign in to like or comment.

Our tips for carving a similar design

The core trick here is depth control: almost nothing is cut all the way through, so the whole scene glows through peeled skin at different thicknesses. You build the koi from hundreds of tiny shaved scales, keep the fins and leaves as mid-depth shading, and reserve the brightest full cuts for a few water gaps and the eye. Work the fish first, then the swirling water and drifting maple leaves around it.

Written by PumpkinCarvingIdeas.com, inspired by the image above. These are our suggestions, not instructions from the uploader. This approach to the AI concept has not been tested on a real pumpkin.

From pumpkin to porch

  1. Transfer the layout and plan your depths

    Pick a large, tall pumpkin with a smooth face and clean out the inside, thinning the carving wall to about one inch so light passes evenly. Tape your koi and leaf pattern on, then poke through the main outlines with a pin or transfer tool. Before you cut anything, mark which areas stay dark, which get peeled shallow, and which few spots cut through. A clear depth map keeps this long project consistent.

  2. Peel the base shading for the fish body

    Switch to a ribbon or loop tool and shave off just the outer skin across the koi's body to set your mid-tone glow. Work in smooth, even passes and keep the wall thickness steady so the light reads uniform. Leave the darkest edges of the body untouched so the fish keeps a crisp outline. This base layer is your canvas for the scale texture.

  3. Carve the individual scales

    Using a small loop tool, scoop each scale one at a time in overlapping rows from head to tail. Vary the depth slightly so scales near the light source glow brighter, which creates that mosaic shimmer. Take breaks to step back and check the rows stay aligned and curved with the body. This is the slow, patient heart of the design, so go row by row rather than rushing.

  4. Shade the fins, face, and maple leaves

    Thin the fins and tail with fine parallel grooves so the rays show as glowing lines, keeping the outer fin edges slightly thicker to hold their shape. Peel the maple leaves to a gentle mid-depth and press in vein lines with a detail tool. Shave the face lightly and leave the eye ring darker so it stands out. Keep small skin bridges intact wherever thin details meet so nothing tears loose.

  5. Layer the swirling water last

    Peel the water ripples at varying depths, deeper where you want brighter motion and shallow where the current fades. Save any true cut-through openings for a few small gaps between swirls, and make those final so the pumpkin stays strong while you work. The eye highlight can also be a tiny full cut for a spark of life. Cutting the big openings last protects all the delicate shading you already did.

  6. Light it and photograph the glow

    Drop in a bright battery LED or a small string of LED lights, never a candle, since the thin walls scorch easily. Set the pumpkin on a step or porch and dim the surrounding light so the shaded scales and rippling water show their full range. Rotate the light around inside to find the angle that makes the koi pop. Snap your photo at dusk when the warm glow reads best against the dark.

Gather your supplies

Check things off as you get ready.

Work on a stable surface, keep your free hand out of the cutting path, and have an adult handle sharp tools.

Three levels of light

  • Leave intact

    The dark body outline, the eye ring, and the deepest water shadows stay as untouched skin.

  • Peel & shade

    The koi body, every carved scale, the fins, the face, and the drifting maple leaves are skin-peeled at varying depths for the mosaic glow.

  • Cut through

    Only a few small gaps between water swirls and the tiny eye highlight are cut through for the brightest points.

Learn the carving basics

Before you start cutting

How do I keep hundreds of scales looking even?

Work in curved rows that follow the body, carving one scale at a time and overlapping each row like roof shingles. Keep your loop tool at a consistent depth, and step back often to check alignment before moving on. It is slow, but steady rhythm matters more than speed.

Since this is an AI concept, can a real pumpkin hold this much detail?

Yes, a design like this is achievable on a real pumpkin if you thin the wall evenly and treat almost everything as shading rather than full cuts. Keep the fins and leaf points slightly thicker and leave small bridges so thin areas do not tear. Save the few true openings for last to protect the structure.

How long will a shaded pumpkin like this last?

Shaded carvings dry out faster than simple cutouts because so much skin is removed. Expect two to four days of good looks, and slow it down by wrapping the pumpkin in plastic in the fridge overnight or misting it and wiping the cut surfaces. Carve it close to the day you want to display it.

Your take belongs here, too.

Changed a detail? Made it simpler? Share a photo of your version and tell the community what worked.

Share your pumpkin

More pumpkins like this

You've reached the end · 8 pumpkins
The Patch Report

Fresh pumpkins, in your inbox.

The best new carvings, ideas worth stealing, and how-tos for carving season. Short, seasonal, and gone by November.

A short email during carving season. Unsubscribe anytime. See our privacy policy.