Halloween Pumpkin Carving Contest · Starts October 1st · $500 in prizes
← Back to ideas
@ai_concepts
Sep 7, 2026
Busy Beaver Gnawing a Branch Carved PumpkinAI
0

Busy Beaver Gnawing a Branch Carved Pumpkin

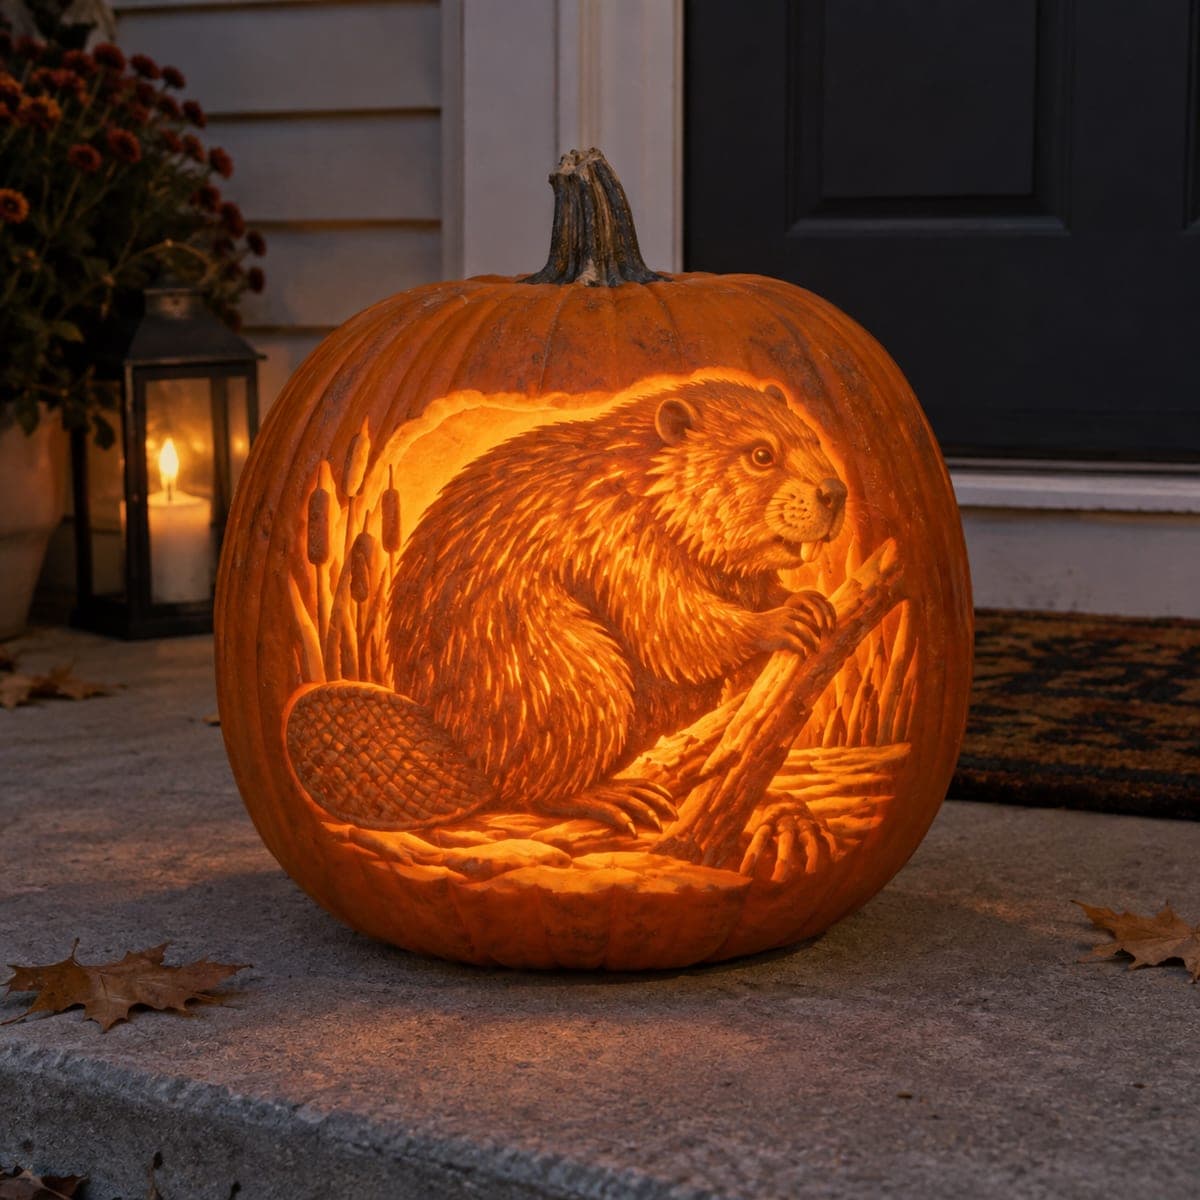
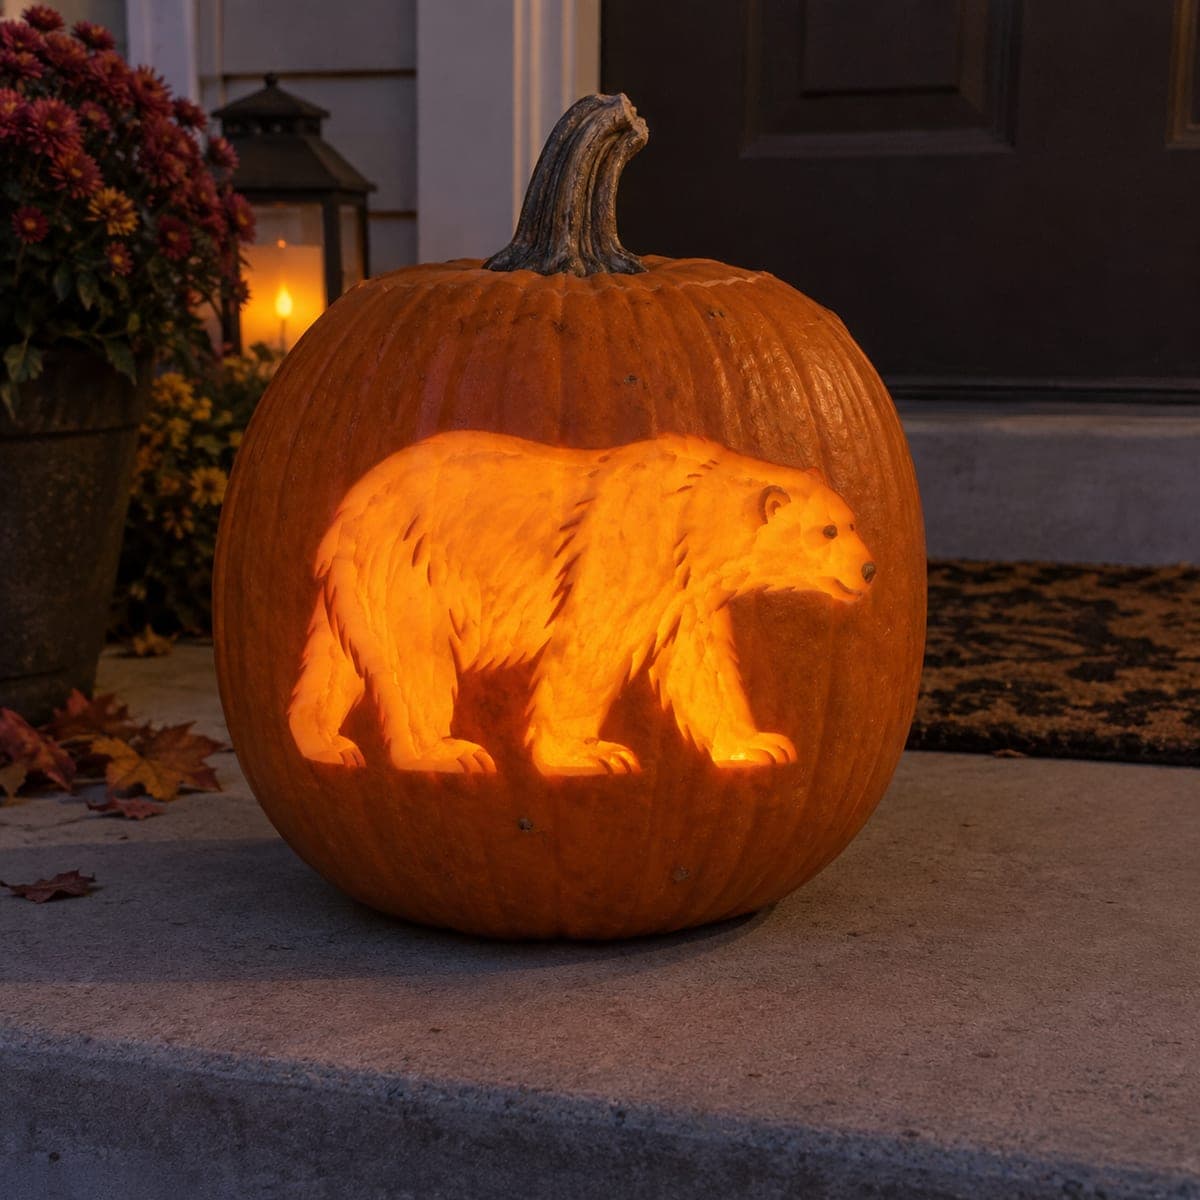
A wonderfully detailed beaver chews on a branch among cattails, every strand of fur and the crosshatched tail etched at varying depths so the whole scene glows like an amber engraving. This is expert-level shading work done with loop tools and hours of patience, carving the brightest highlights thinnest and leaving the outlines nearly full thickness. Work from a printed reference taped beside you and finish the fur in short overlapping strokes. It deserves a sheltered spot out of the rain.

This is an AI-generated concept image: a realistic, carvable design idea rather than a photo of a finished carve. AI concepts are always labeled and sit out the leaderboard and the contest.

No ratings yet · Sign in to rate
Comments (0)

  • No comments yet — be the first.

Save without an account. Sign in to like or comment.

Our tips for carving a similar design

The whole scene is a relief carving, meaning almost nothing is cut all the way through. The trick is depth control: you scrape the pumpkin skin away in layers so the thinnest spots glow brightest and the untouched skin reads as dark outline. Plan the beaver as your center of attention, with cattails and the branch framing it so the light pools warmly around the animal.

Written by PumpkinCarvingIdeas.com, inspired by the image above. These are our suggestions, not instructions from the uploader. This approach to the AI concept has not been tested on a real pumpkin.

From pumpkin to porch

  1. Prep the pumpkin and transfer your pattern

    Pick a tall, wide, blemish-free pumpkin and cut a lid or a base access hole so you can reach the inside. Scrape the inner wall behind your design down to about one inch so light passes evenly. Tape your printed beaver reference beside you and transfer the outline with a poking tool or washable marker. Keep the design centered on the flattest face.

  2. Score the outlines first

    With a fine detail knife, lightly score the outer edges of the beaver, the branch, the cattails, and the ground line. These outlines stay nearly full thickness so they hold the picture together. Do not cut through here. Think of these lines as the darkest ink in an engraving.

  3. Rough in the depth map

    Switch to a loop or ribbon tool and start removing skin in broad zones. Leave the background and outlines dark, take the midtones down a little, and reserve the shallowest scraping for the brightest highlights on the beaver's back, cheek, and the branch. Work slowly and check the depth by holding an LED light inside now and then. It is easier to remove more later than to put pumpkin back.

  4. Shade the fur in short strokes

    Build the fur with many short, overlapping loop-tool strokes that follow the direction the coat grows. Go deeper where the light should be strongest along the spine and shoulder, and stay shallow in the shadowed belly. The tail crosshatch is a grid of shallow scoops, so keep those cuts even and let the ridges between them stay slightly thicker. Patience here is what makes it glow like an amber engraving.

  5. Add cattails, branch texture, and small cutouts

    Etch the long cattail leaves and the ribbed branch with fine shallow lines. If you want a few true bright points, cut a small handful of openings last, such as the eye highlight or a thin gap of sky, so the wall does not weaken while you still have detail work to do. Keep any thin element attached on both ends with a bridge of skin. Save the biggest openings for the very end.

  6. Light it and photograph

    Set a battery LED or a small string of LEDs inside, never a candle, so the heat does not soften your fine shading. Dim the porch lights and shoot at dusk for that warm engraved look. Give this carving a sheltered, dry spot since scraped surfaces dry out and darken faster than solid skin. A daily wipe and a cool overnight spot will stretch its life.

Gather your supplies

Check things off as you get ready.

Work on a stable surface, keep your free hand out of the cutting path, and have an adult handle sharp tools.

Three levels of light

  • Leave intact

    The scene outlines, deep background, and the beaver's shadowed belly stay as untouched skin for dark definition.

  • Peel & shade

    The fur, cattails, ground, and crosshatched tail are skin-peeled at varying depths for the soft mid glow.

  • Cut through

    Only a few tiny points such as an eye highlight or a sliver of sky are cut through for the brightest accents.

Learn the carving basics

Before you start cutting

Do I need to cut all the way through anywhere?

Barely. This is mostly a relief carving where you scrape skin to different depths rather than remove it. You might cut a few tiny openings for the very brightest highlights, but the beaver and background stay solid so the whole face glows evenly.

How do I keep the fur from looking flat?

Vary your depth constantly and always follow the direction the fur grows. Scrape shallow for shadow and deeper for highlight, using short overlapping strokes rather than long even ones. Check often with an LED inside so you can see the tones develop.

How long will a carving this detailed last?

Scraped surfaces dry out faster than a plain jack-o-lantern, so expect a few days at best. Keep it in a sheltered, dry, cool spot out of the rain and sun. Wiping the cut surfaces and storing it somewhere cool overnight helps slow the shrinking.

Your take belongs here, too.

Changed a detail? Made it simpler? Share a photo of your version and tell the community what worked.

Share your pumpkin

More pumpkins like this

You've reached the end · 8 pumpkins
The Patch Report

Fresh pumpkins, in your inbox.

The best new carvings, ideas worth stealing, and how-tos for carving season. Short, seasonal, and gone by November.

A short email during carving season. Unsubscribe anytime. See our privacy policy.