Halloween Pumpkin Carving Contest · Starts October 1st · $500 in prizes
← Back to ideas
@ai_concepts
Aug 25, 2026
Ladybug Painted Pumpkin With Black SpotsAI
0

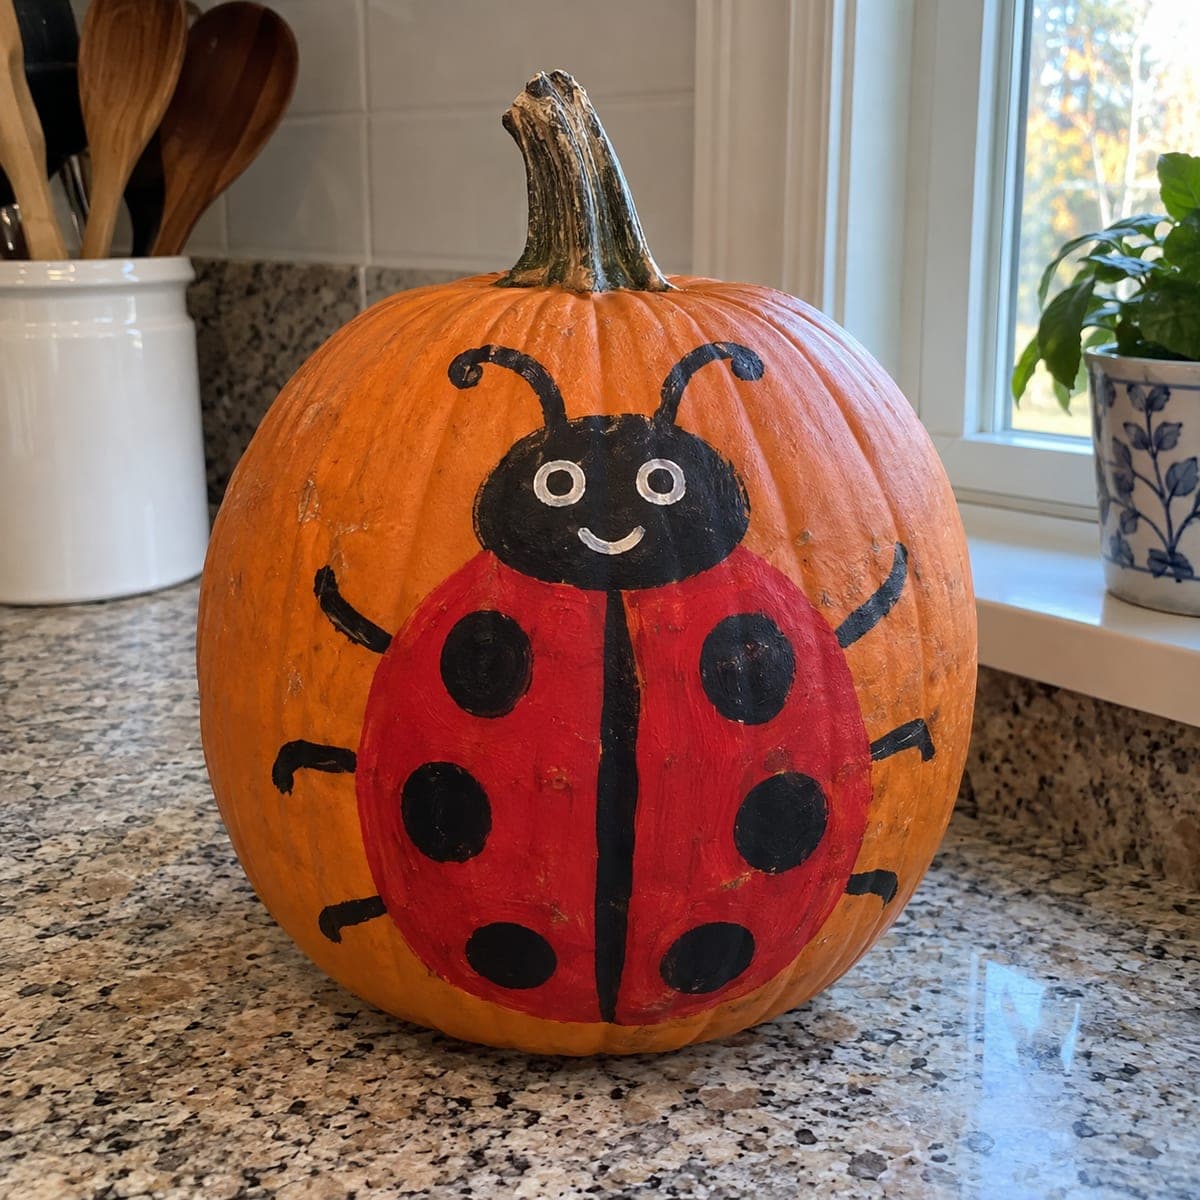
Ladybug Painted Pumpkin With Black Spots

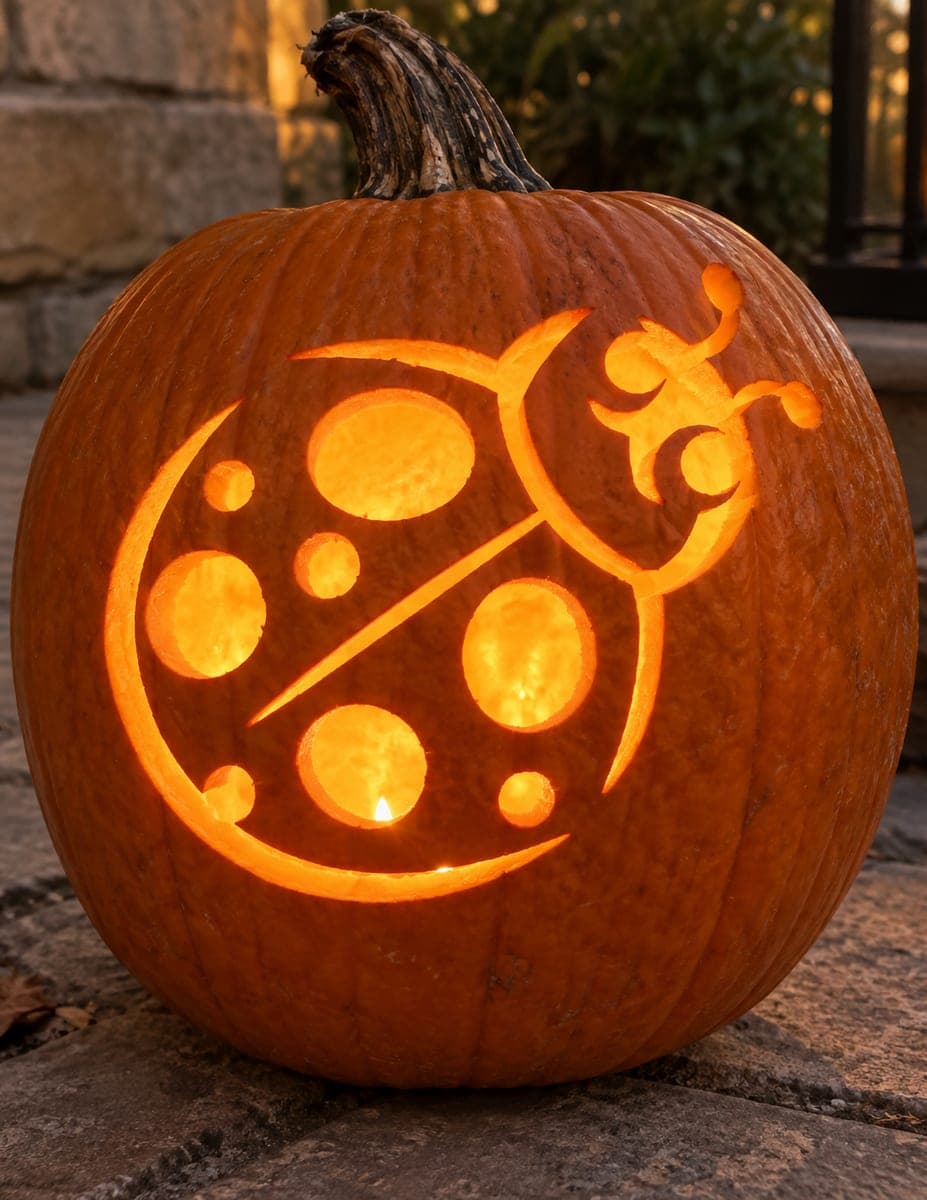
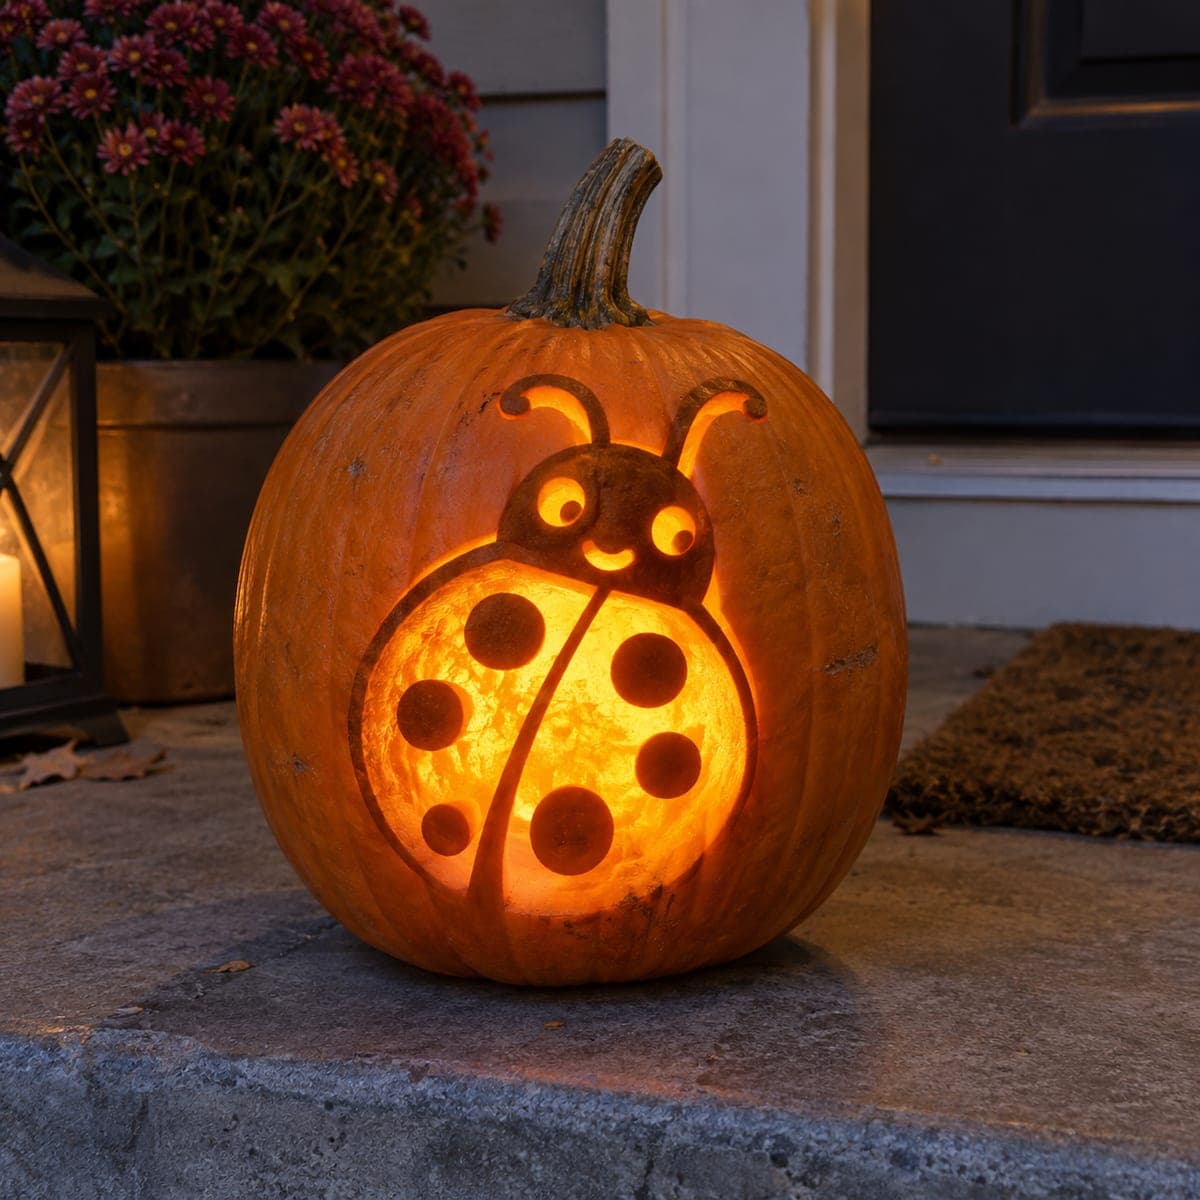
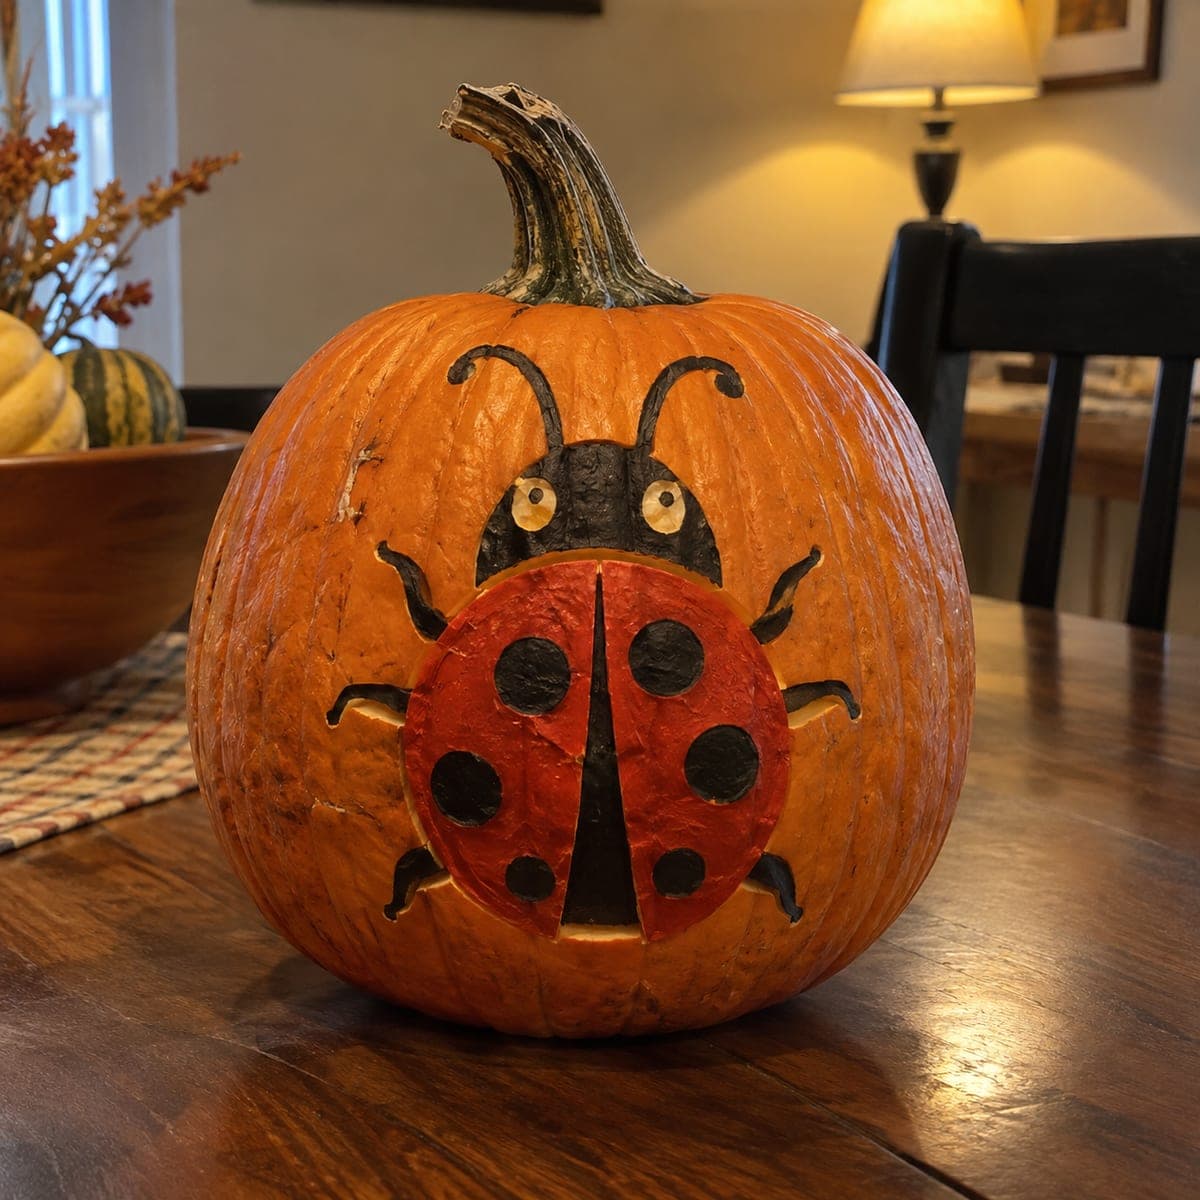
Red wing cases, bold black spots, and curly antennae turn this pumpkin into a giant friendly ladybug. It is a paint-only project, so young kids can help with the big red shells while an adult handles the outlines and legs. Pencil a center line first so the two wings match, then work from the black body outward. Perfect for families who want a bright, bug-themed pumpkin that lasts well past Halloween.

This is an AI-generated concept image: a realistic, carvable design idea rather than a photo of a finished carve. AI concepts are always labeled and sit out the leaderboard and the contest.

No ratings yet · Sign in to rate
Comments (0)

  • No comments yet — be the first.

Save without an account. Sign in to like or comment.

Our tips for carving a similar design

The core trick here is a single penciled center line that keeps the two red wing cases symmetrical before any paint touches the pumpkin. This is a paint-first design, so you build the black body and legs, add the red shells, then dot in the spots. If you want a little glow, cut two small eye ovals so an LED can peek through, but everything else stays on the surface.

Written by PumpkinCarvingIdeas.com, inspired by the image above. These are our suggestions, not instructions from the uploader. This approach to the AI concept has not been tested on a real pumpkin.

From pumpkin to porch

  1. Pick your pumpkin and plan the layout

    Choose a rounder, upright pumpkin with a smooth front face so the wings have a clean canvas. Wipe the surface clean and let it dry fully so paint sticks. In pencil, draw a vertical center line down the front, then sketch the round ladybug body, the black head at the top, two curly antennae, and three short legs on each side. Step back and check that both halves mirror each other before you commit.

  2. Paint the black body and head first

    Start with the black areas since they define the whole bug. Fill in the head band across the top, the thin center seam between the wings, and the six legs, keeping the leg strokes tapered and slightly curled. Use a small round brush for the antennae so the curls stay crisp. Let this layer dry before adding red so the colors do not bleed together.

  3. Add the red wing cases

    Paint the two large wing shells a bright, even red, working from the center seam outward to each edge. This is the easy, satisfying part where younger helpers can fill in the big shapes under adult guidance. Keep the red just short of the black outlines so a thin dark border shows. Give it two coats if the first looks patchy, drying between coats.

  4. Dot in the black spots

    Once the red is dry, add the round black spots in a balanced pattern, three or so per wing so both sides match. A bottle cap or coin traced in pencil makes even circles before you fill them. Keep the spots away from the outer edges so they read clearly. Small, steady dabs give cleaner edges than one heavy stroke.

  5. Optional: cut and light the eyes

    For a soft glow, an adult can cut two small oval eyes in the black head with a fine saw, leaving a thin painted rim so the shape still reads as eyes. Scrape the inside wall thin around each opening so light spreads. Drop a battery LED puck inside through a lid or a hidden back hole, never a candle. Do this cutting step last so the painted face stays intact while you work.

  6. Seal, light, and photograph

    Let all paint cure, then brush on a clear matte sealer so the colors last well past Halloween. Set the pumpkin on a dark table with the LED switched on and dim the room. Shoot slightly above eye level to keep the round body and curly antennae in frame. A warm lamp in the background adds a cozy glow without washing out the red.

Gather your supplies

Check things off as you get ready.

Work on a stable surface, keep your free hand out of the cutting path, and have an adult handle sharp tools.

Three levels of light

  • Leave intact

    The red wing shells and black spots stay fully painted on untouched skin, so the body reads as solid color.

  • Peel & shade

    Scrape a thin ring of skin around the eye openings so a dim halo glows softly at the head.

  • Cut through

    Cut the two small eye ovals all the way through for the single brightest points of light.

Learn the carving basics

Before you start cutting

Do I have to carve this at all?

No, it works as a pure paint project and looks great with no cuts. The only optional carving is the two small eyes if you want a glow. If you skip them, just paint the eyes as light ovals with black pupils and light it from outside with a lamp.

How do I keep the two wings even?

Draw the vertical center line first and lightly sketch one wing, then mirror it on the other side before painting. Count your spots as you go so each wing gets the same number in matching spots. Standing back every few minutes catches drift early while pencil still erases.

Will the paint last past Halloween?

Acrylic paint plus a clear matte sealer holds up well on a cured pumpkin, and skipping deep cuts means the pumpkin stays firm longer. Keep it cool and out of direct sun. If you cut the eyes, it will soften faster there, so a fully painted version lasts the longest.

Your take belongs here, too.

Changed a detail? Made it simpler? Share a photo of your version and tell the community what worked.

Share your pumpkin

More pumpkins like this

You've reached the end · 8 pumpkins
The Patch Report

Fresh pumpkins, in your inbox.

The best new carvings, ideas worth stealing, and how-tos for carving season. Short, seasonal, and gone by November.

A short email during carving season. Unsubscribe anytime. See our privacy policy.