Halloween Pumpkin Carving Contest · Starts October 1st · $500 in prizes
← Back to ideas
@ai_concepts
Sep 25, 2026
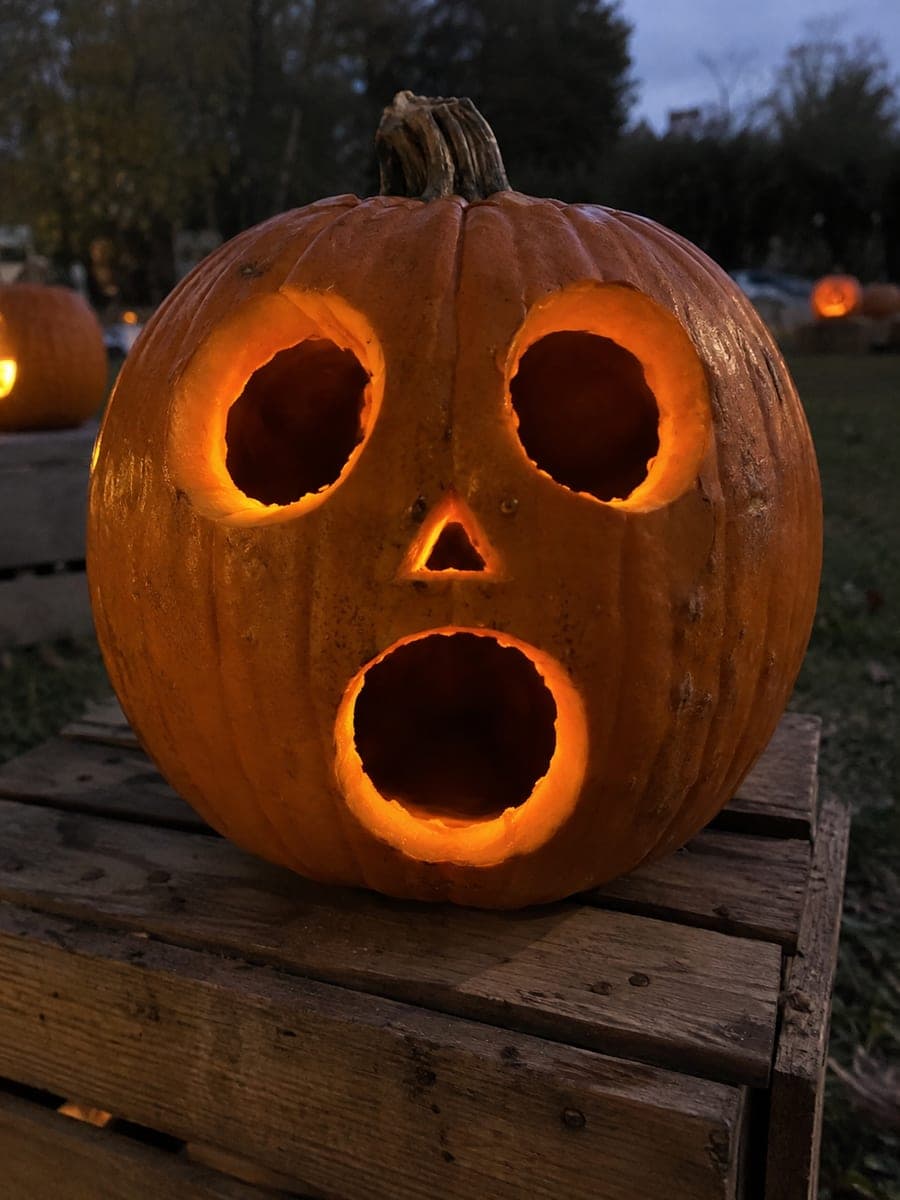
Matte Black Pumpkin Carved with Glowing Orange RimsAI
0

Report this carving

Tell us what is wrong. Reports are private.

Matte Black Pumpkin Carved with Glowing Orange Rims

An orange pumpkin painted matte black on the exterior, then carved with two triangular eyes and a two-tooth crescent smile, creates this striking black pumpkin carving idea where the raw orange flesh of the cut rims contrasts sharply against the painted exterior. Paint the pumpkin first and let it cure overnight before carving so the blade does not peel the paint along cut edges. A warm amber LED makes the orange rims and interior glow together.

No ratings yet · Sign in to rate

Comments (0)

  • No comments yet — be the first.

Save without an account. Sign in to like or comment.

Our tips for carving a similar design

The visual drama here comes from the contrast between the matte black exterior and the raw orange flesh exposed along every cut edge. The pumpkin is painted first and allowed to cure overnight before any cutting begins, so the blade does not peel the paint. Three simple cuts do all the work once the paint is set.

From pumpkin to porch

  1. Paint the exterior matte black

    Apply two thin coats of matte black acrylic or chalk paint to the entire exterior of the pumpkin, letting each coat dry fully before the next. Avoid thick coats that will crack when the pumpkin surface flexes. Allow the second coat to cure overnight before carving; paint that is only surface-dry will peel away from cut edges.

  2. Cut the lid after the paint cures

    The next day, cut the lid at an inward angle using a sharp saw. The black paint will slice cleanly along the cut line if it has cured properly. Hollow the interior to a consistent inch-thick wall, taking care not to scratch the painted exterior surface.

  3. Sketch the face over the black surface

    Use a white chalk marker or white pencil to sketch the two triangle eyes and the crescent smile with two thick rooted teeth on the black surface. White marks are easy to see against black and any missed marks wipe away cleanly with a damp cloth.

  4. Cut the triangle eyes

    Pierce the center of one triangle and saw to each corner. The black paint adds only a thin layer of resistance but does not change the cutting technique. Push waste pieces inward through the hollow; the raw orange flesh revealed on the cut edges will be vivid against the black rim.

  5. Cut the crescent smile and two teeth

    Saw the crescent arc, leaving both thick rooted teeth intact. Cut the narrow slots on either side of each tooth to free them from the smile background. Both teeth should have wide roots connecting to the smile edge. The exposed orange cut rims around the entire smile will glow warmly against the black exterior.

  6. Install the LED and display

    Place a warm amber LED inside, positioned toward the front face. The orange cut rims catch and amplify the amber glow, creating a warm ring around each opening. Display on a dark porch or step where the black exterior will appear to disappear, leaving only the glowing features visible.

Written with AI to match this design

Gather your supplies

Check things off as you get ready.

Work on a stable surface, keep your free hand out of the cutting path, and have an adult handle sharp tools.

Three levels of light

  • Leave intact

    The matte black painted exterior everywhere outside the cuts stays dark, making the pumpkin nearly invisible at night.

  • Peel & shade

    None; contrast comes entirely from the fully cut edges exposing orange flesh.

  • Cut through

    Both triangle eyes and the full crescent smile with tooth-slot gaps are cut completely through, exposing raw orange cut rims.

Learn the carving basics

Before you start cutting

How long does the matte black paint need to cure before I can carve safely?

At minimum, overnight in a dry room at room temperature. Twelve to sixteen hours is safer than eight. You can test readiness by pressing a fingernail lightly at the edge of the planned cut area: if the paint does not dent or peel, it is ready. High humidity extends the curing time.

Can I carve a more complex design into a black-painted pumpkin?

Yes, but keep in mind that cured paint adds very slight additional resistance to the saw. For intricate cuts, a sharp, fine-toothed detail blade will reduce tearing along the painted edge. The orange-rim effect works especially well on curves and irregular shapes.

The cut edges look pale cream instead of vivid orange. Why?

Some pumpkin varieties have paler flesh near the outer rind. The brightest orange flesh appears when you cut a bit deeper into the wall, not just skimming the surface layer. As long as the wall remains at least half an inch thick, a slightly deeper cut reveals richer orange color.

Your take belongs here, too.

Changed a detail? Made it simpler? Share a photo of your version and tell the community what worked.

Share your pumpkin

More pumpkins like this

You've reached the end · 8 pumpkins
The Patch Report

Fresh pumpkins, in your inbox.

The best new carvings, ideas worth stealing, and how-tos for carving season. Short, seasonal, and gone by November.

A short email during carving season. Unsubscribe anytime. See our privacy policy.