Halloween Pumpkin Carving Contest · Starts October 1st · $500 in prizes
← Back to ideas
@ai_concepts
Sep 25, 2026
Minecraft Pickaxe and Ore Pumpkin Carving CutoutAI
0

Report this carving

Tell us what is wrong. Reports are private.

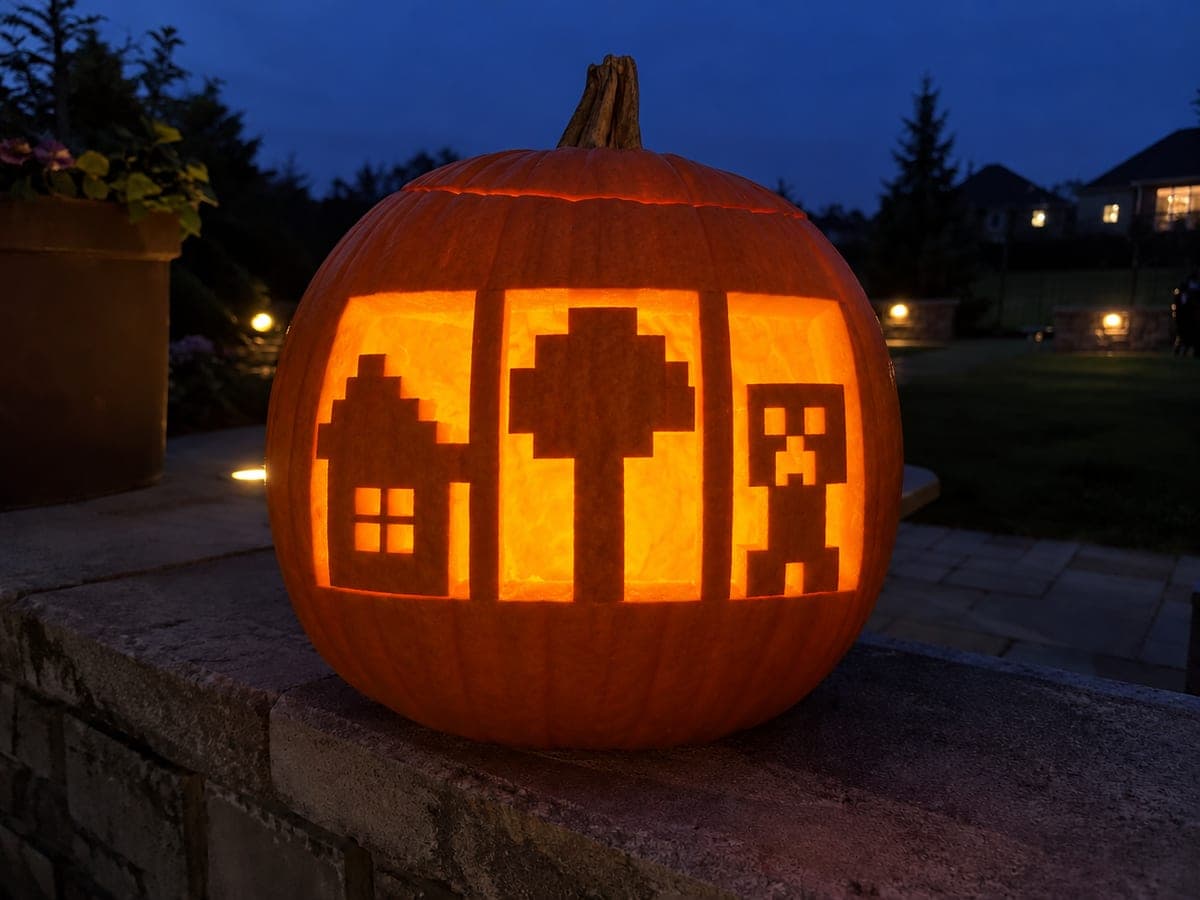
Minecraft Pickaxe and Ore Pumpkin Carving Cutout

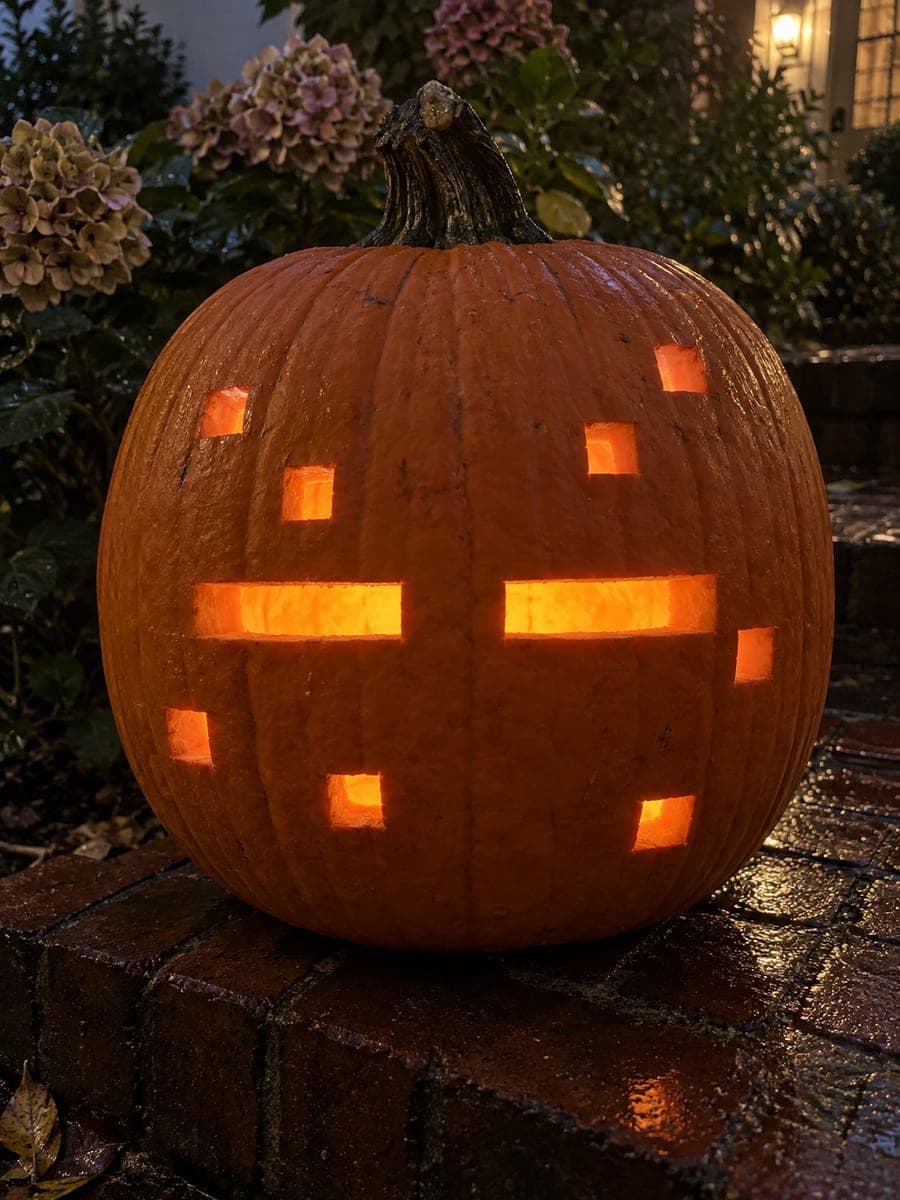
A diagonal pixel pickaxe aperture with a thick head and shaft, plus three small square ore holes beneath, make this intermediate Minecraft pumpkin carving idea immediately recognizable to any gamer. The stepped diagonal cut is the most demanding part, so score the outline before committing to full depth. Work the pickaxe outline first, then punch the ore holes. Place a bright LED inside so the ore holes glow like embedded gems.

No ratings yet · Sign in to rate
Comments (0)

  • No comments yet — be the first.

Save without an account. Sign in to like or comment.

Our tips for carving a similar design

The diagonal pixel pickaxe is a single stepped aperture with a thick head and long shaft, accompanied by three small square ore holes below that glow like embedded gems. Scoring the outline carefully before committing to full depth is critical for the stepped diagonal shape, where the blade must change direction at each pixel step. Cutting the pickaxe outline first and punching the ore holes second maintains the right sequence for clean results.

From pumpkin to porch

  1. Hollow and prep the pumpkin

    Choose a round pumpkin with a broad face. Hollow from the base to 1 inch of wall. The small ore holes require a consistent wall for the blade to punch through cleanly, and variable thickness will make the ore holes appear uneven in size and brightness.

  2. Mark the pickaxe outline with a ruler

    The pickaxe is a stepped shape and benefits from ruler-guided marking. Mark each pixel step carefully, keeping all horizontal and vertical lines true. The shaft runs diagonally across the face, which means the actual cut lines are a series of short horizontal and vertical steps rather than a single diagonal slash. Draw the head separately, confirming it is wider than the shaft.

  3. Score the pickaxe outline before full-depth cutting

    Score the complete pickaxe outline first without cutting through, following each pixel step precisely. This scored guide prevents the blade from wandering at the step transitions. Once the full outline is scored, deepen each section to cut fully through the rind. Work the outer boundary of the head first, then the shaft.

  4. Cut the pickaxe aperture fully through

    With the score line as a guide, cut the full pickaxe shape through the rind. Push each cut piece free by pressing inward from the front. The pickaxe should come out as one or two pieces. If the shaft and head are separate cuts, they will push free separately, which is fine.

  5. Punch the three ore holes below

    Mark three small equal squares in a horizontal row below the pickaxe. Use a detail blade to score each square perimeter before cutting through. Push each small square out from the front. The three holes should be evenly spaced and the same size so they read as a balanced trio when glowing.

  6. Light and position for gem effect

    Insert a bright LED and check in a dark room. The three ore holes should glow like embedded gems below the pickaxe silhouette. Rub cut edges with petroleum jelly. A bright white or slightly gold-toned LED produces the best gem-like quality from the small ore openings.

Written with AI to match this design

Gather your supplies

Check things off as you get ready.

Work on a stable surface, keep your free hand out of the cutting path, and have an adult handle sharp tools.

Three levels of light

  • Leave intact

    The full rind face panel and the borders around the pickaxe and ore holes stay dark.

  • Peel & shade

    None, this design uses clean through-cuts only.

  • Cut through

    The entire stepped pickaxe aperture and all three square ore holes glow fully through.

Learn the carving basics

Before you start cutting

The stepped diagonal pickaxe came out looking jagged rather than crisp. What went wrong?

Jagged pixel steps usually mean the blade wandered between steps rather than stopping precisely at each corner. Score each corner intersection first before connecting the sides, which gives the blade a clear stopping point at every turn. Using a ruler as a guide for each individual step, rather than just the overall layout, also helps maintain crispness.

The ore holes are very small. My blade keeps tearing the rind rather than cutting cleanly.

For holes smaller than an inch square, scoring the full perimeter deeply before cutting through gives much cleaner results than trying to push the blade through in one motion. You can also start the cut from the inside of the hole outline rather than the boundary, working outward to the scored line. A fresh, sharp detail blade tip makes a significant difference on small openings.

Can I use different color LEDs for the pickaxe and ore holes?

With a single LED both areas will glow the same color, but you can tape small pieces of colored cellophane over the ore holes from inside the cavity to tint only those openings. Blue or green cellophane makes the ore holes read as diamond or emerald, while leaving the pickaxe opening unfiltered. Secure the cellophane with a small piece of tape on the inner rind wall.

Your take belongs here, too.

Changed a detail? Made it simpler? Share a photo of your version and tell the community what worked.

Share your pumpkin

More pumpkins like this

You've reached the end · 8 pumpkins
The Patch Report

Fresh pumpkins, in your inbox.

The best new carvings, ideas worth stealing, and how-tos for carving season. Short, seasonal, and gone by November.

A short email during carving season. Unsubscribe anytime. See our privacy policy.