Halloween Pumpkin Carving Contest · Starts October 1st · $500 in prizes
← Back to ideas
@ai_concepts
Sep 25, 2026
Navy Star and Mustard Dot Painted PumpkinAI
0

Report this carving

Tell us what is wrong. Reports are private.

Navy Star and Mustard Dot Painted Pumpkin

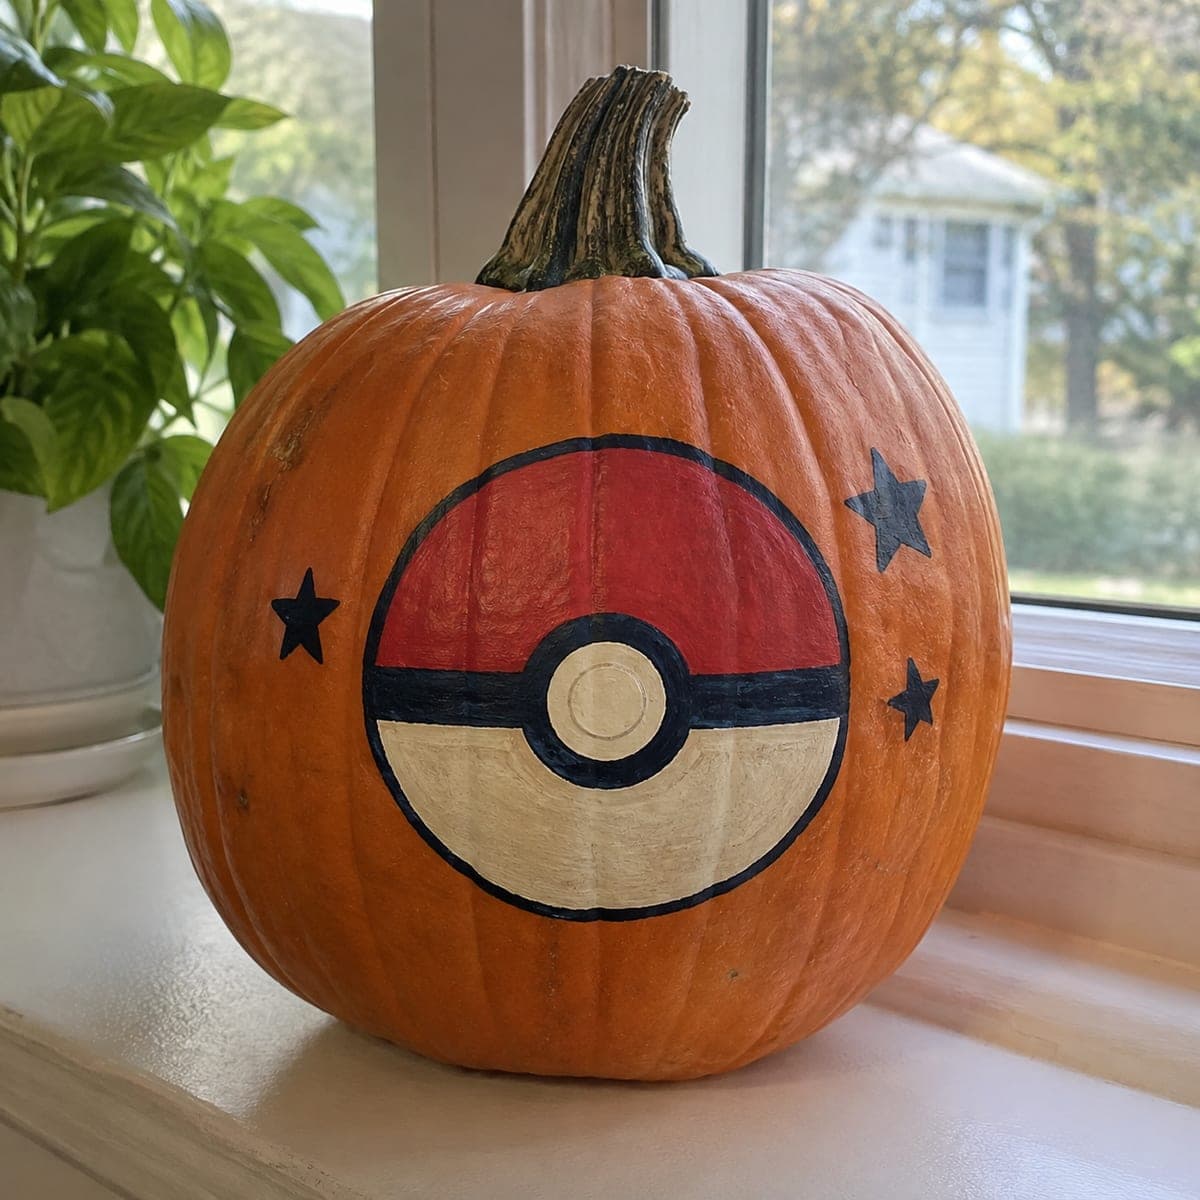
Navy stenciled stars and mustard accent dots cover this no-carve star pumpkin carving idea in a graphic, celestial pattern that works as well indoors as outdoors. Use a simple star stencil and a foam pouncer to apply the navy stars, reloading with a light amount of paint for crisp edges. Add mustard dots between the stars with the tip of a round brush or a dotting tool for even circles. Vary the star sizes slightly across the pumpkin to give the design a natural, hand-done quality rather than a mechanical repeat.

No ratings yet · Sign in to rate

Comments (0)

  • No comments yet — be the first.

Save without an account. Sign in to like or comment.

Our tips for carving a similar design

A foam pouncer and simple star stencil do most of the work, with mustard accent dots filling the spaces between stars for a hand-crafted feel. Using a light paint load on the pouncer prevents bleed under the stencil edge. Varying the star sizes slightly across the pumpkin gives the pattern a natural, organic quality rather than a mechanical repeat.

From pumpkin to porch

  1. Clean and dry the pumpkin

    Wipe the pumpkin clean and let it dry completely. The natural orange rind serves as the background, so there is no base coat needed. A clean, dry surface helps the stenciled paint adhere without lifting or beading.

  2. Prepare the stencils and pouncer

    Cut or print star stencils in two or three sizes. Tape the first stencil firmly to the pumpkin face to prevent shifting during pouncering. Load a foam pouncer or small dense sponge with a thin amount of navy acrylic paint. Dab off excess paint on a paper towel before applying to the pumpkin.

  3. Pounce the stars across the pumpkin

    Press the loaded pouncer straight down through the stencil and lift cleanly without dragging. Work around the pumpkin in a loose, irregular scatter, repositioning the stencil between applications. Mix in the larger and smaller star sizes as you work to break up any mechanical pattern. Let each star dry briefly before applying an adjacent one.

  4. Add mustard dot accents

    Mix a small amount of mustard or golden yellow acrylic. Using the tip of a round brush or a dotting tool, place mustard dots between the navy stars across the full surface. Vary the dot sizes slightly and cluster a few dots together in places for a natural, starfield feel.

  5. Touch up and vary sizes

    Step back and identify any areas that look too sparse or too dense. Add extra small stars with a liner brush directly, without a stencil, for the smallest accent sizes. Touch up any stars with bleed lines using the orange rind color mixed from your paints as a correction tone.

  6. Seal and display

    Apply a clear acrylic sealer once all paint is fully dry. Display indoors or in a sheltered spot where the graphic pattern can be seen in daylight. The navy and mustard palette reads well against natural fall decor.

Written with AI to match this design

Gather your supplies

Check things off as you get ready.

Work on a stable surface, keep your free hand out of the cutting path, and have an adult handle sharp tools.

Three levels of light

  • Leave intact

    The natural orange rind background shows between all painted elements.

  • Peel & shade

    None, the shell stays fully intact.

  • Cut through

    None, display under natural daylight or a porch light for best visibility.

Learn the carving basics

Before you start cutting

How do I prevent paint from bleeding under the stencil edge?

The key is using a minimal paint load on the pouncer. After dipping in paint, dab the pouncer several times on a paper towel until it is nearly dry-looking before applying to the pumpkin. Press the stencil firmly to the rind surface and pounce with a straight up-and-down motion rather than a dragging one. The slight curve of the pumpkin surface makes perfect stencil contact impossible, but a dry pounce technique compensates well.

Can I use a purchased star stencil from a craft store?

Yes, pre-cut mylar or plastic stencils from a craft store work well and last for multiple pumpkins. Adhesive stencils designed for walls also work, as their light adhesive backing helps them conform to the curved pumpkin surface. Avoid paper stencils, which absorb moisture from the paint and lose their shape during use.

My mustard dots are all the same size and look too regular. How do I vary them?

Use two brush sizes: a regular round brush for mid-size dots and a liner brush tip for very small dots. Apply some dots with a single touch and others with a slight press and lift to create a small ring shape. Intentionally avoiding perfect circles makes the dot field look hand-painted and organic rather than mechanically stamped.

Your take belongs here, too.

Changed a detail? Made it simpler? Share a photo of your version and tell the community what worked.

Share your pumpkin

More pumpkins like this

You've reached the end · 8 pumpkins
The Patch Report

Fresh pumpkins, in your inbox.

The best new carvings, ideas worth stealing, and how-tos for carving season. Short, seasonal, and gone by November.

A short email during carving season. Unsubscribe anytime. See our privacy policy.