Halloween Pumpkin Carving Contest · Starts October 1st · $500 in prizes
← Back to ideas
@ai_concepts
Sep 25, 2026
Painted Ghost Face No-Carve Pumpkin IdeaAI
0

Report this carving

Tell us what is wrong. Reports are private.

Painted Ghost Face No-Carve Pumpkin Idea

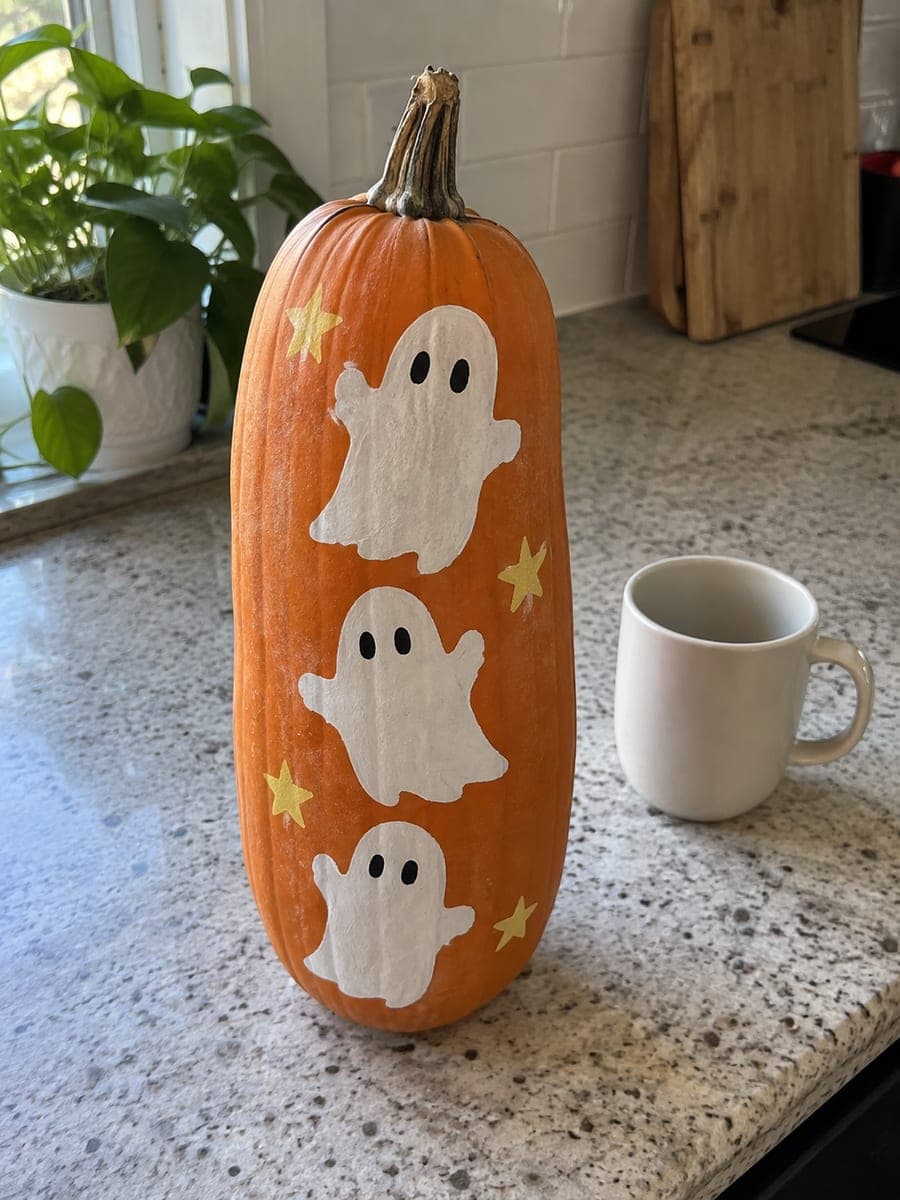
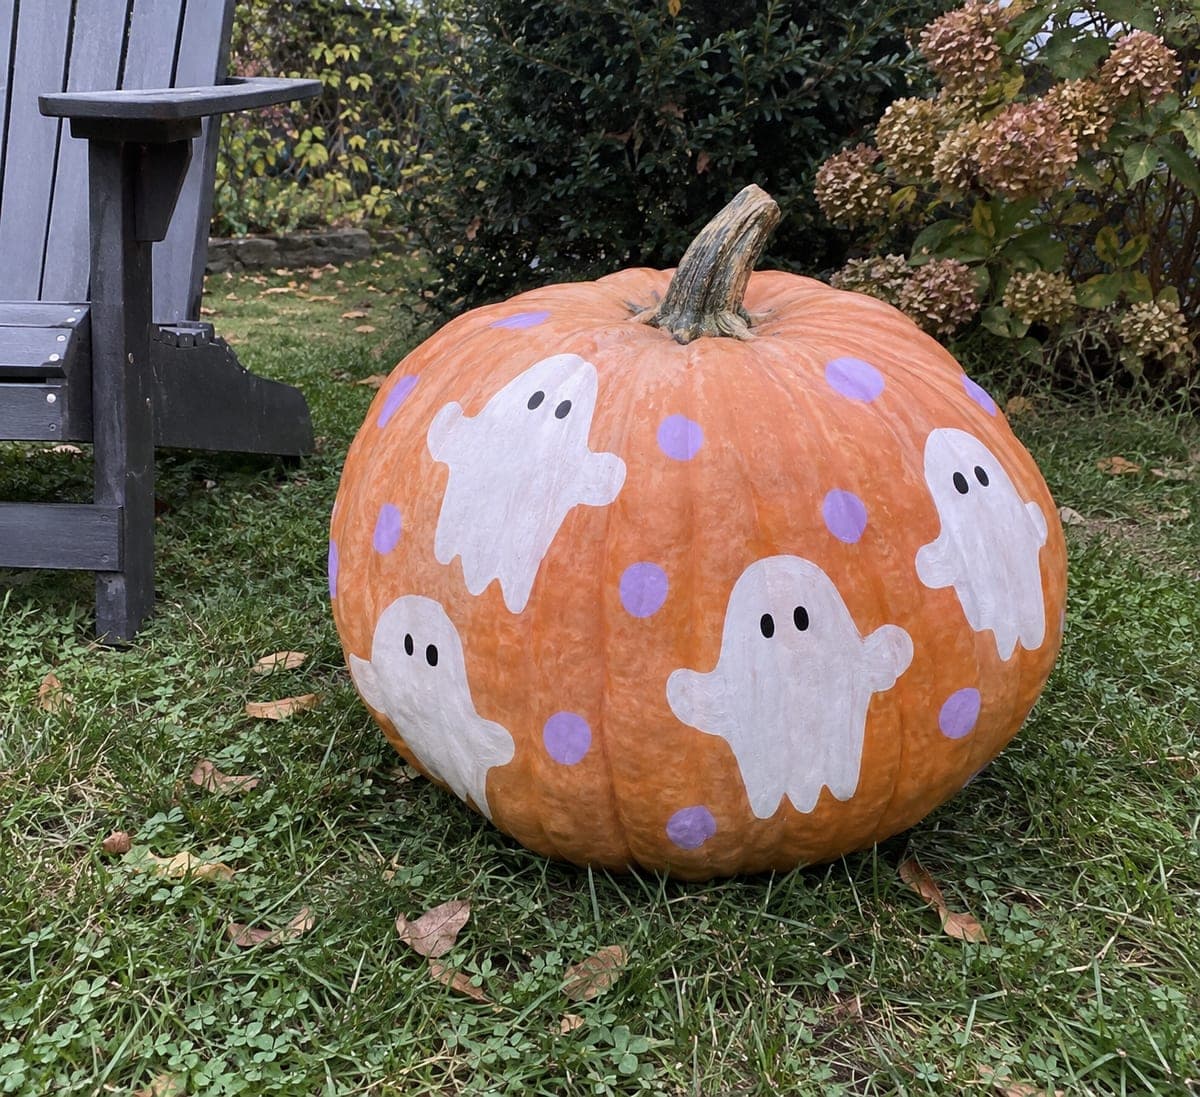
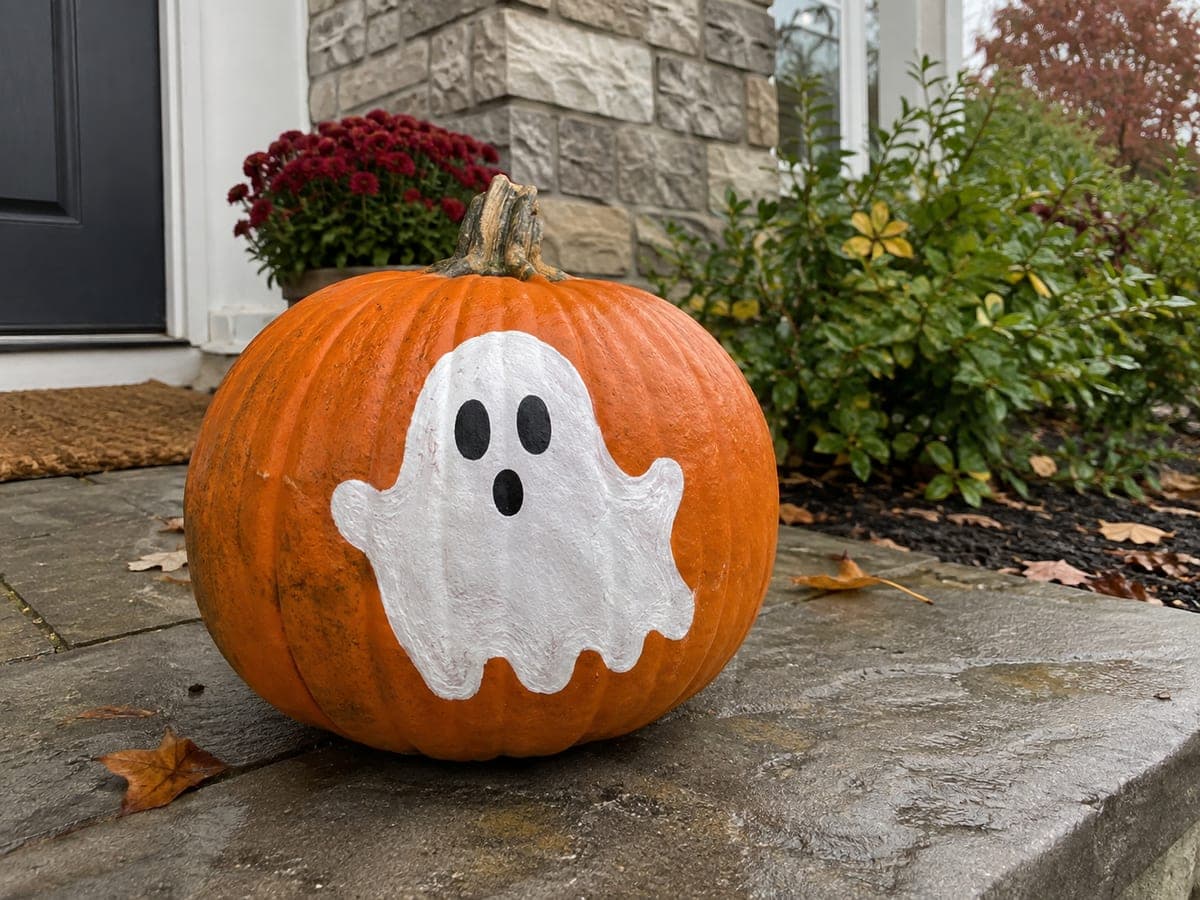
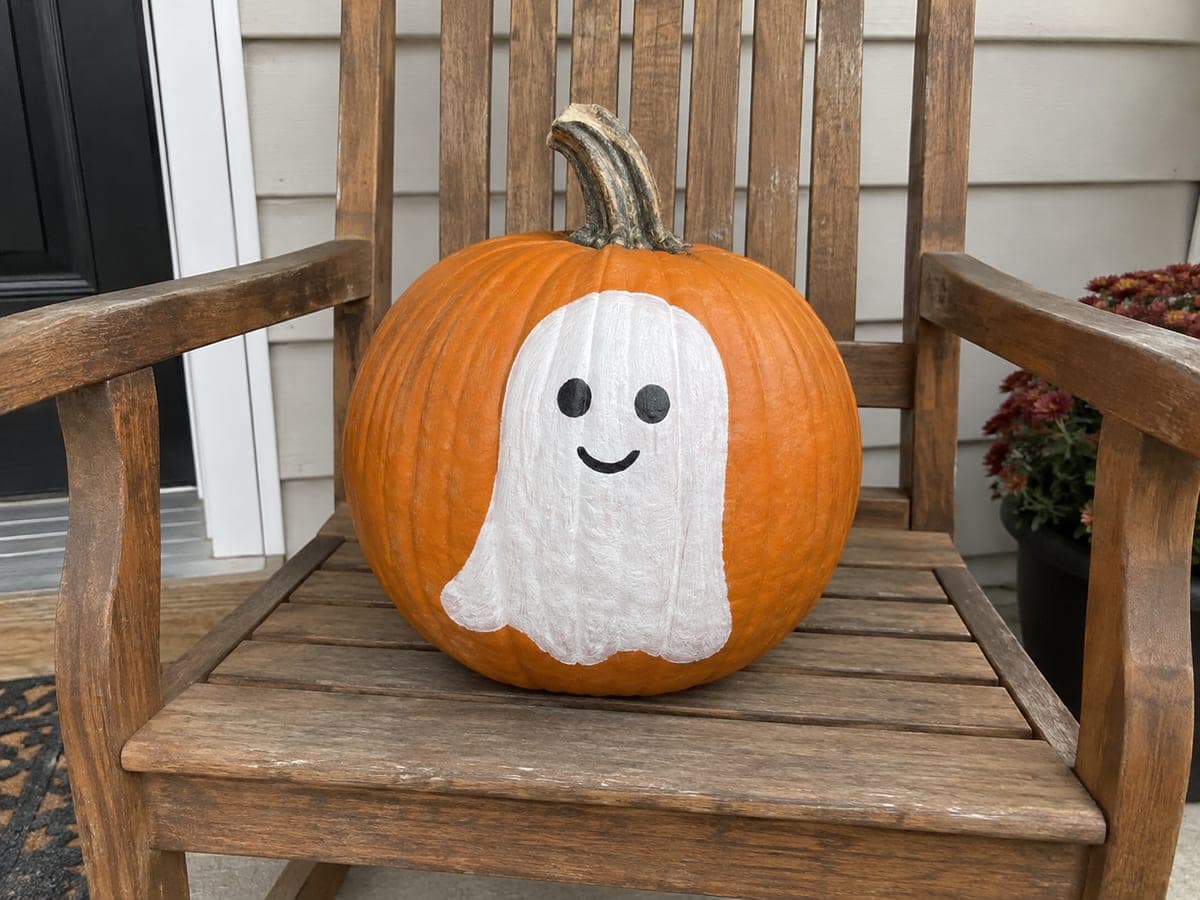
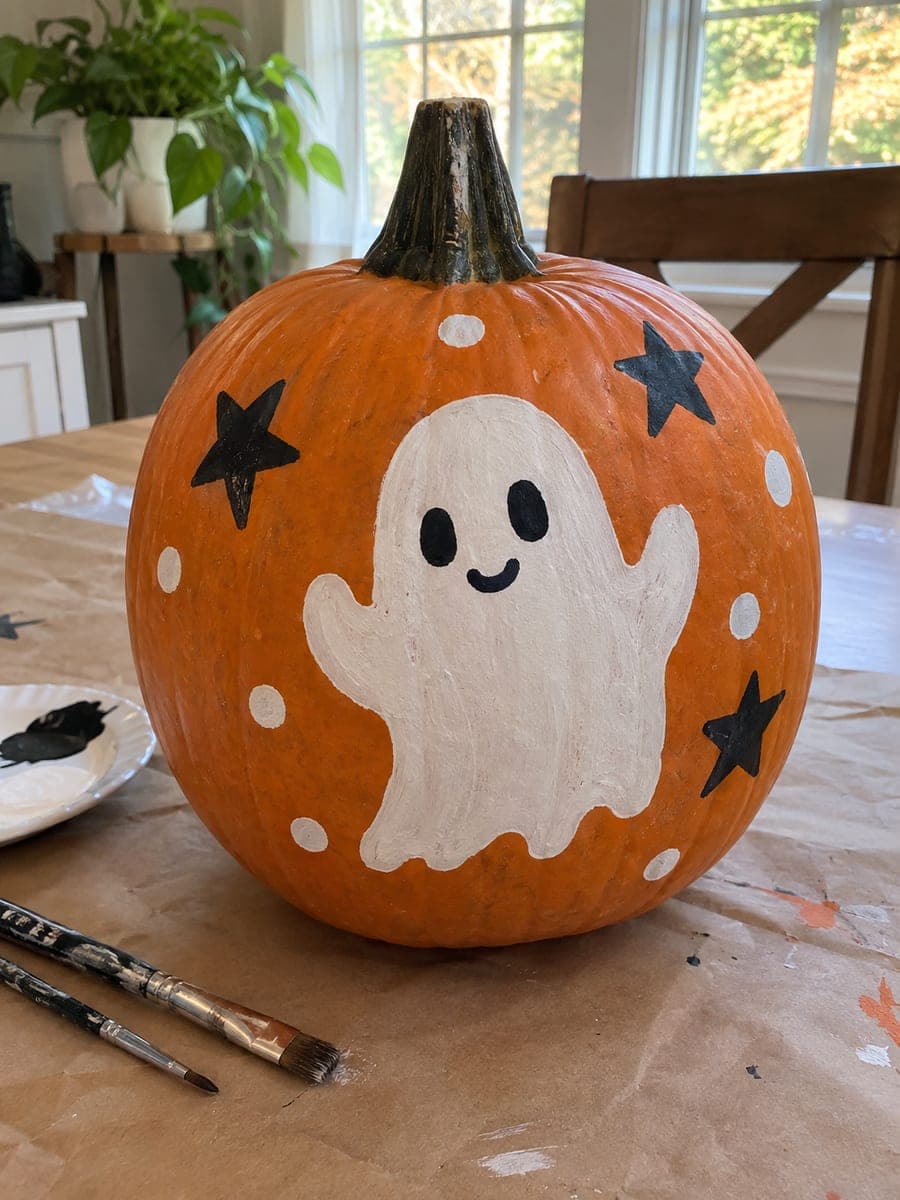
A friendly white ghost with two black oval eyes and a small black smile floats on an intact orange pumpkin, surrounded by six white dots and three bold black stars. This no-carve last minute pumpkin idea uses only two paint colors and chunky brush shapes, so the whole thing comes together in under an hour. Apply the ghost shape first in two or three wide strokes to get the rounded silhouette, then add the face details once dry. The deliberately handmade finish is part of the charm.

No ratings yet · Sign in to rate
Comments (0)

  • No comments yet — be the first.

Save without an account. Sign in to like or comment.

Our tips for carving a similar design

A large white ghost shape is the centerpiece, blocked in with a few broad brush strokes and then given two oval eyes and a small smile in black once the white is fully dry. Six white dots and three black stars scattered around it complete the scene with just two colors. The chunky hand-painted quality of the shapes is part of the design's charm.

From pumpkin to porch

  1. Clean and prep the surface

    Wipe the pumpkin clean and let it dry completely. If the rind feels waxy, wipe the front face with a cotton ball lightly dampened with rubbing alcohol to improve paint adhesion. A light chalk-pencil outline of the ghost silhouette before painting keeps the brushwork well centered.

  2. Paint the white ghost body

    Load a wide flat brush with white acrylic paint and block in the ghost shape using two or three broad strokes. The silhouette should have a rounded top, small arm bumps on the sides, and a wavy bottom edge. Let the first coat dry completely, then apply a second coat for solid white opacity over the orange rind.

  3. Add the face details

    Once the white is fully dry, use a small round brush loaded with black paint to add two oval eyes and a small curved smile. Keep these features slightly large so they read clearly from several feet away. Let the black dry fully before touching any adjacent white areas.

  4. Paint the stars and dots

    Using black paint, add three bold star shapes scattered around the ghost. Switch to white paint and dab six round dots in the remaining open spaces, varying their sizes slightly for a natural look. Let everything dry completely.

  5. Seal and display

    Apply two thin coats of matte sealer spray, letting the first dry before the second. A porch light aimed at the pumpkin highlights the white ghost shape against the orange background beautifully at night, and the design photographs well under almost any lighting condition.

Written with AI to match this design

Gather your supplies

Check things off as you get ready.

Work on a stable surface, keep your free hand out of the cutting path, and have an adult handle sharp tools.

Three levels of light

  • Leave intact

    The bare orange rind surrounding the painted ghost and decorations is the background.

  • Peel & shade

    None; the shell stays fully intact.

  • Cut through

    None; use a porch or accent light to illuminate the painted surface from outside.

Learn the carving basics

Before you start cutting

How do I keep the ghost shape from looking blobby?

Sketch the ghost outline lightly with chalk pencil first, including the rounded top, the arm bumps, and the wavy skirt at the bottom. Paint within those lines with confident strokes rather than hesitant dabbing. A slightly imperfect wavy skirt edge reads as ghostly movement rather than an error.

Can I use paint markers instead of a brush?

Paint markers are excellent for the black face details and star outlines but too narrow to fill the large white ghost body efficiently. Use a brush for the white base and switch to paint markers for the precise black details once the white is fully dry.

How do I stop the black paint from bleeding into the white?

Let the white paint cure for at least 30 minutes before applying any black details. Apply each black feature in a single confident stroke rather than scrubbing the brush, which can lift still-soft white paint underneath. A paint marker requires even less pressure and reduces the bleed risk further.

Your take belongs here, too.

Changed a detail? Made it simpler? Share a photo of your version and tell the community what worked.

Share your pumpkin

More pumpkins like this

You've reached the end · 8 pumpkins
The Patch Report

Fresh pumpkins, in your inbox.

The best new carvings, ideas worth stealing, and how-tos for carving season. Short, seasonal, and gone by November.

A short email during carving season. Unsubscribe anytime. See our privacy policy.