Halloween Pumpkin Carving Contest · Starts October 1st · $500 in prizes
← Back to ideas
@ai_concepts
Sep 25, 2026
Scallop-Bottom Ghost Painted Pumpkin Facing ForwardAI
0

Report this carving

Tell us what is wrong. Reports are private.

Scallop-Bottom Ghost Painted Pumpkin Facing Forward

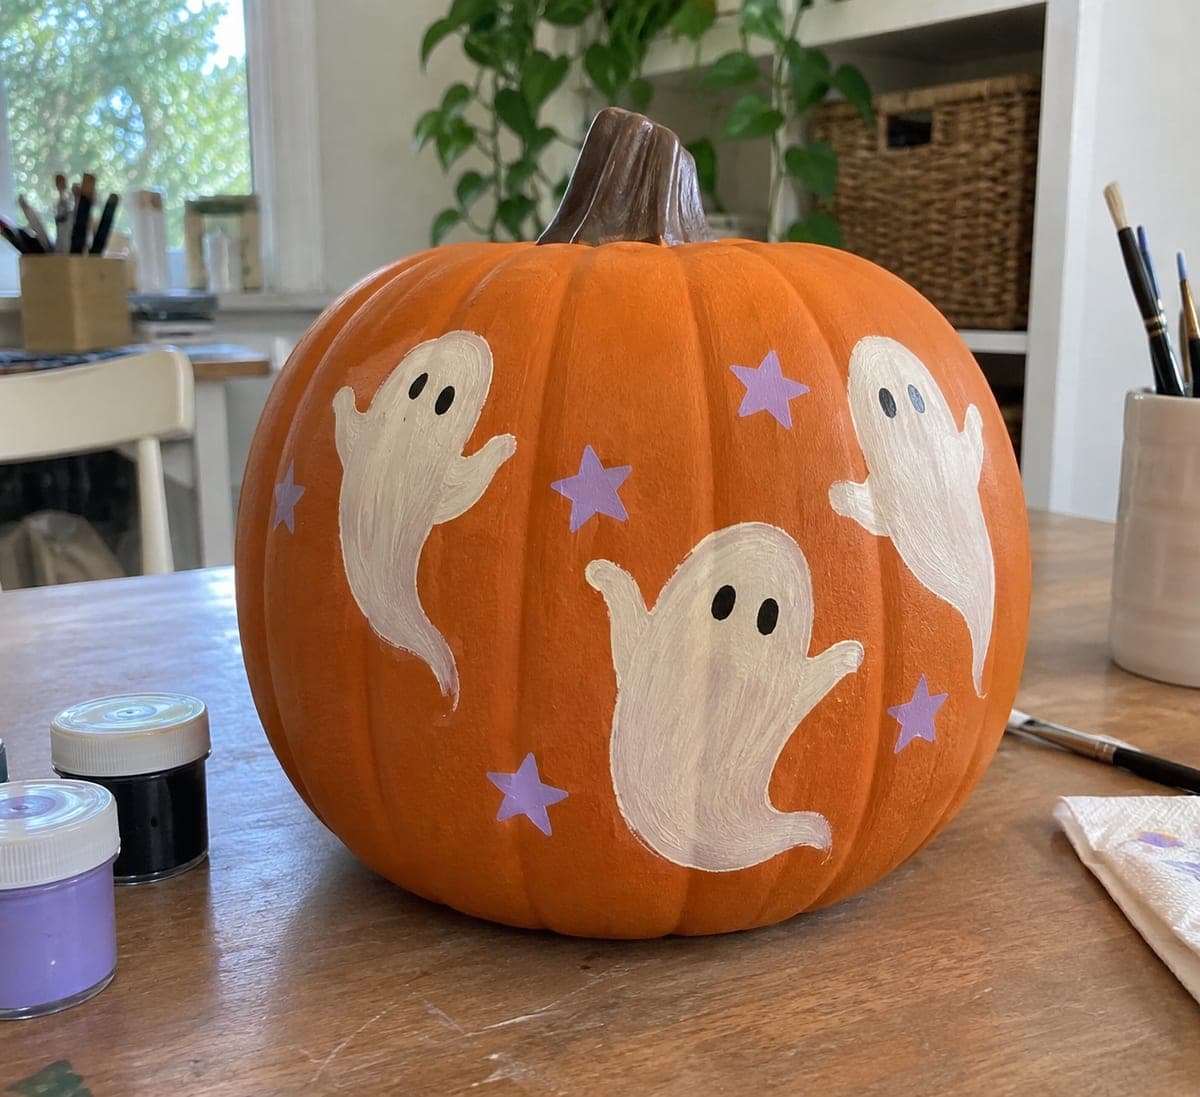
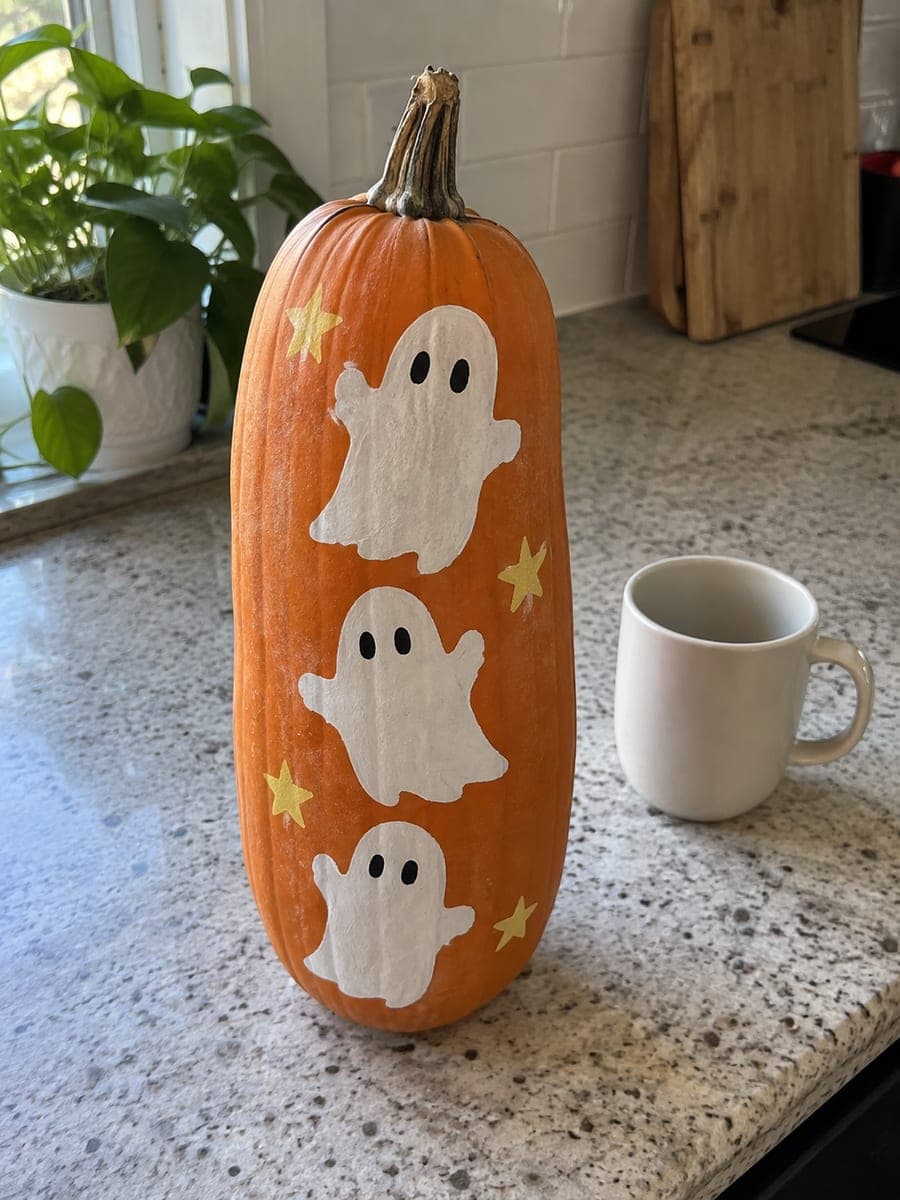
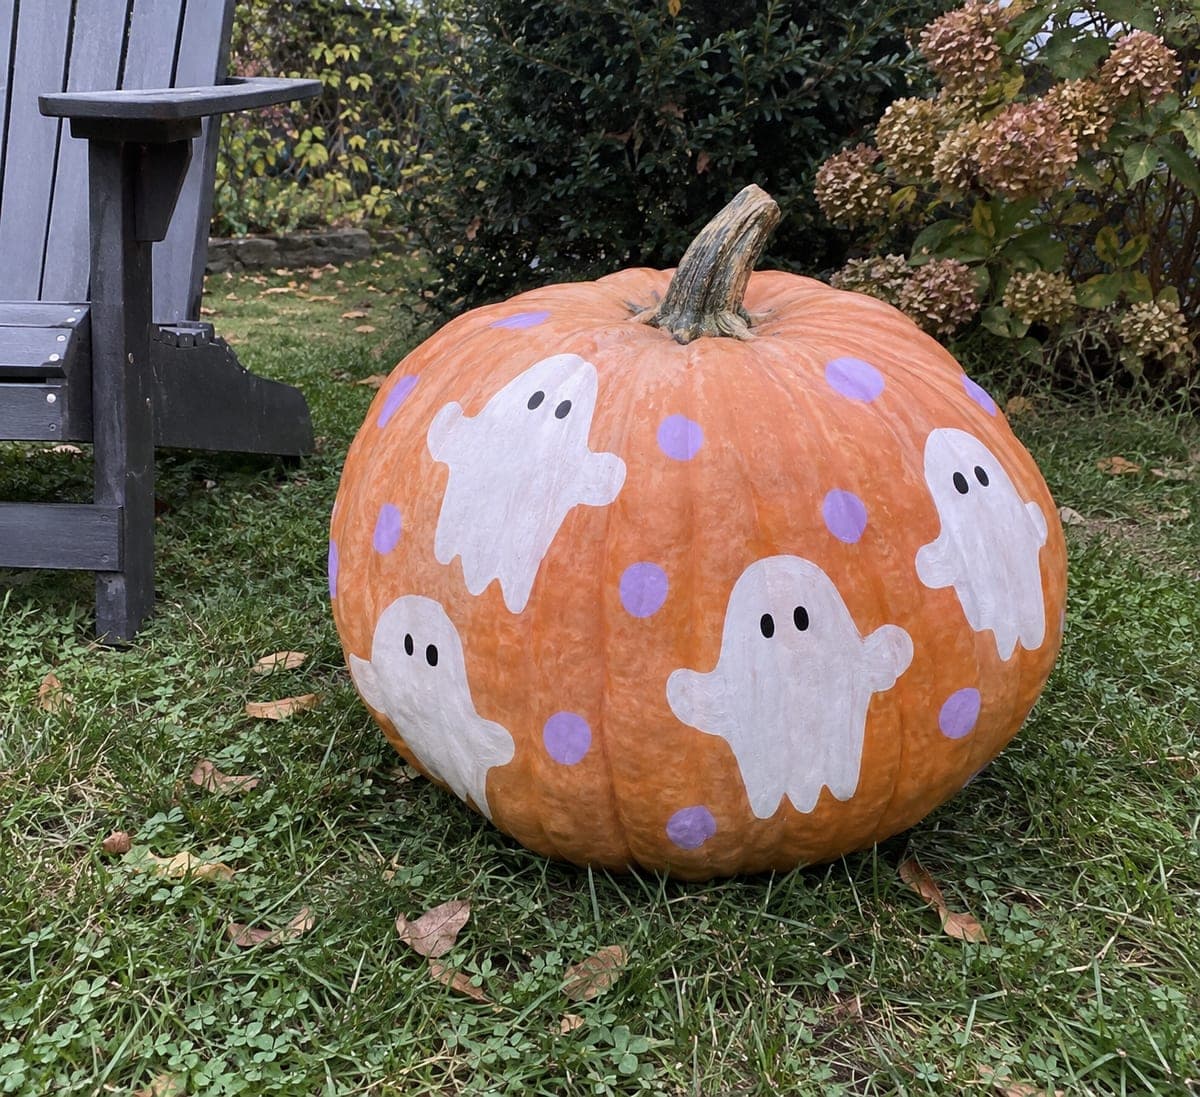
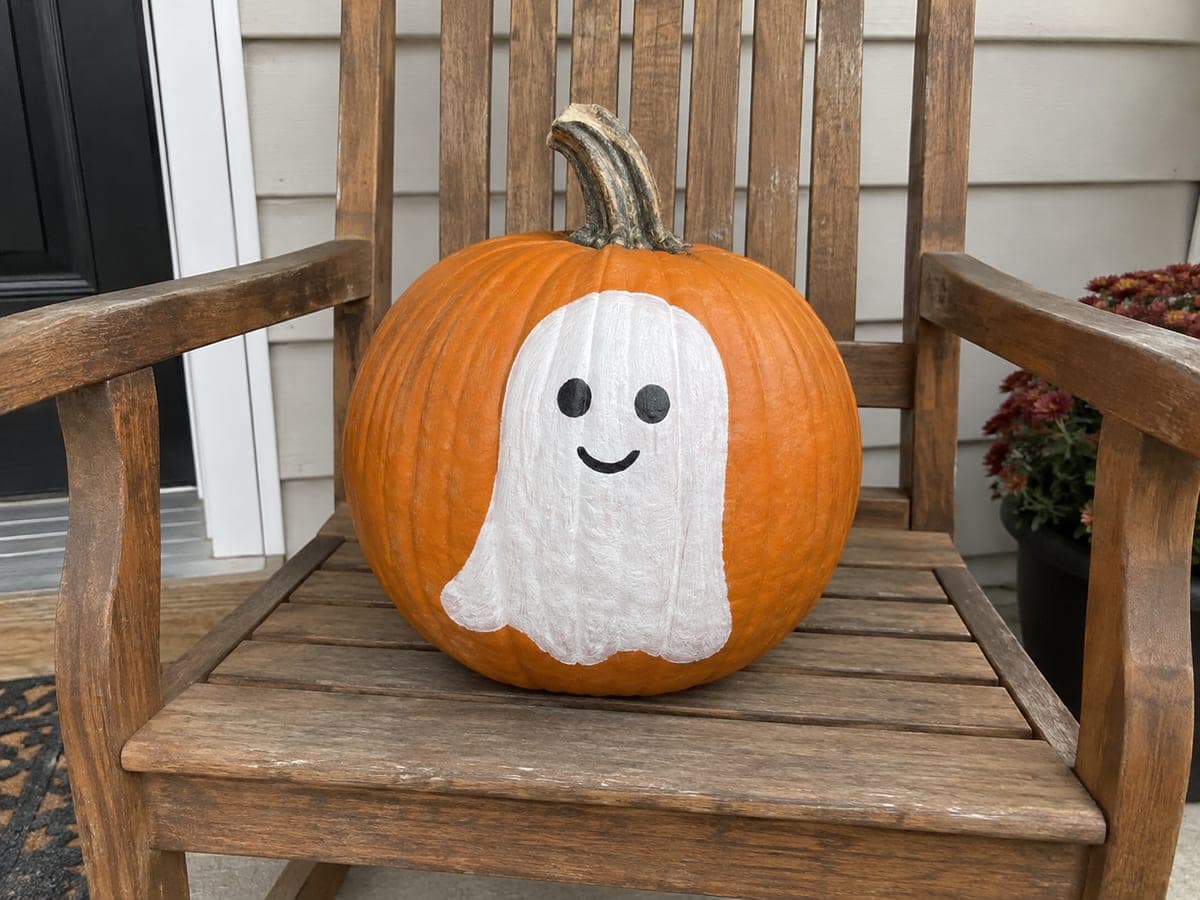
One rounded white ghost shape with a scalloped hem, two black dot eyes, and a small curved smile turns an intact pumpkin into a delightful no-carve simple pumpkin carving idea. Begin with the white body shape using a wide flat brush, adding the scalloped bottom edge in short curved strokes before the paint dries for a seamless look. Once the white is fully dry, add the two black dots and the smile with a fine detail brush or paint marker. Displayed on a front porch or windowsill, it reads clearly day or night.

No ratings yet · Sign in to rate
Comments (0)

  • No comments yet — be the first.

Save without an account. Sign in to like or comment.

Our tips for carving a similar design

A single rounded white ghost body with a scalloped lower edge is painted first, then small black dot eyes and a curved smile are added after the white dries. The scalloped hem is the design detail that separates this from a plain oval ghost: short curved brush strokes along the bottom while the white is still wet produce a seamless wavy edge.

From pumpkin to porch

  1. Prep the pumpkin

    Wipe the pumpkin clean and dry it fully. Let it reach room temperature before painting. A dry surface allows acrylic paint to bond without beading or peeling at the edges.

  2. Sketch the ghost outline

    Use a soft pencil to sketch a rounded dome shape for the ghost head and body, leaving the lower edge open where the scalloped hem will go. The body should occupy the central two-thirds of the pumpkin face. Keep the shape slightly wider than tall for a friendly rather than spooky look.

  3. Paint the white body

    Load a wide flat brush with white acrylic and fill in the ghost body with smooth strokes. While the paint is still wet, add the scalloped lower edge using short curved brush strokes along the bottom of the shape. Each scallop should overlap slightly with the previous one for a continuous wavy hem.

  4. Apply a second white coat

    Once the first coat is dry, apply a second coat to achieve full opacity over the orange rind. This second coat is also when you can refine the scallop curves if any looked uneven on the first pass.

  5. Add black detail with a fine brush

    Once the white is completely dry, use a round detail brush or paint marker to add two small black dot eyes in the upper portion of the ghost body. Place a short gentle curved smile below the eyes. Keep the eyes close together and round for the friendliest expression.

  6. Seal and display

    Apply a coat of matte spray sealant once all paint is dry. Display on a front porch or windowsill where the ghost reads clearly against any background, day or night.

Written with AI to match this design

Gather your supplies

Check things off as you get ready.

Work on a stable surface, keep your free hand out of the cutting path, and have an adult handle sharp tools.

Three levels of light

  • Leave intact

    The orange rind background stays fully intact around and behind the ghost

  • Peel & shade

    None, the shell is completely intact

  • Cut through

    None, place a spotlight or porch light nearby to illuminate the design at night

Learn the carving basics

Before you start cutting

How do I make the scalloped hem look even?

Use the flat side of the brush and make each scallop curve the same size by pressing the brush the same distance into the wet white paint each time. Practice the motion on a piece of paper first to build muscle memory before applying it to the pumpkin.

Can I add more detail to the ghost, like arms or a pattern on the body?

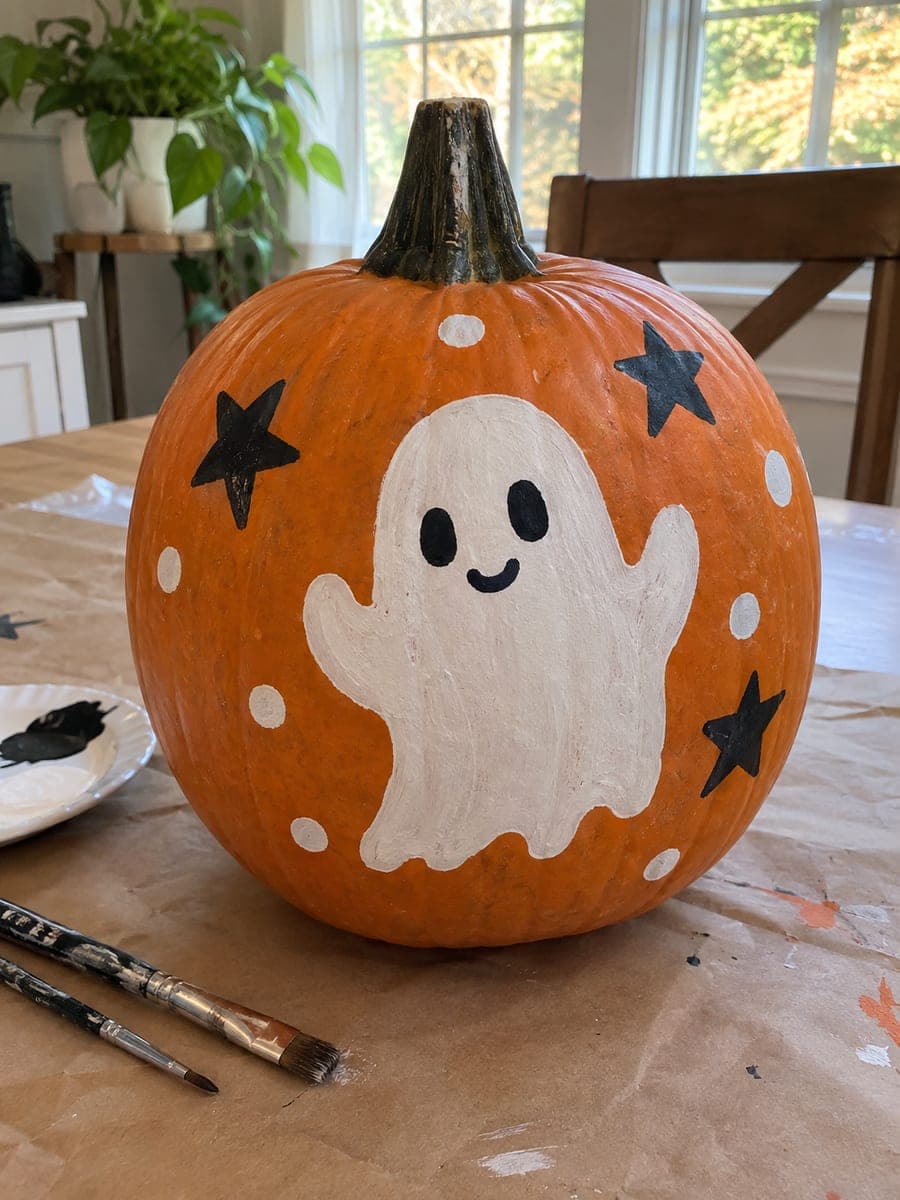
Yes. Simple curved arms added while the second white coat is still slightly wet blend naturally into the body shape. Painted details like dots or tiny stars on the body body can be added with a fine brush after the base coats are fully dry.

What if I am using an orange pumpkin and the white looks dull?

Apply a very thin coat of white gesso as a primer before the main white coats. Gesso blocks the orange undertone more effectively than plain acrylic white and significantly reduces the number of coats needed for full opacity.

Your take belongs here, too.

Changed a detail? Made it simpler? Share a photo of your version and tell the community what worked.

Share your pumpkin

More pumpkins like this

You've reached the end · 8 pumpkins
The Patch Report

Fresh pumpkins, in your inbox.

The best new carvings, ideas worth stealing, and how-tos for carving season. Short, seasonal, and gone by November.

A short email during carving season. Unsubscribe anytime. See our privacy policy.