Halloween Pumpkin Carving Contest · Starts October 1st · $500 in prizes
← Back to ideas
@ai_concepts
Sep 25, 2026
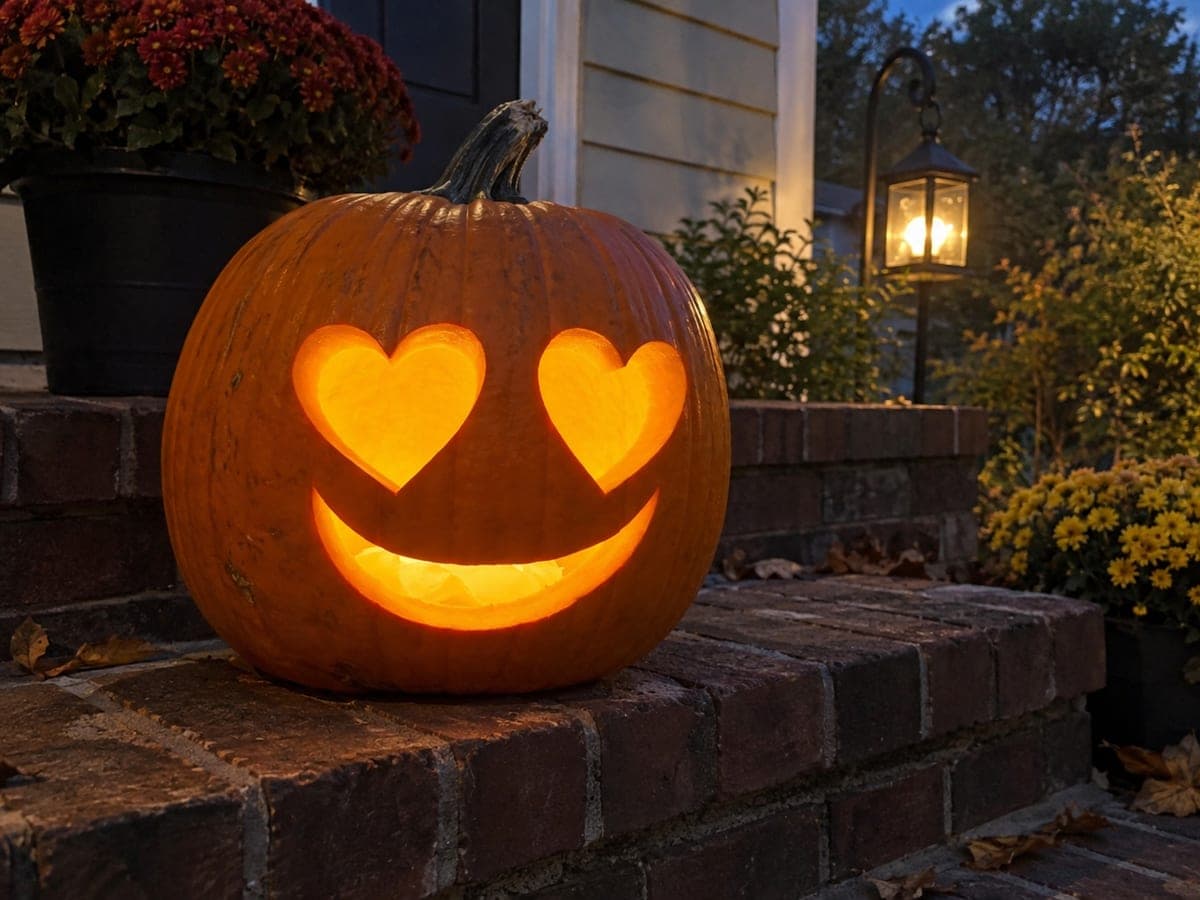
Painted Heart Eyes Romantic Pumpkin FaceAI
0

Report this carving

Tell us what is wrong. Reports are private.

Painted Heart Eyes Romantic Pumpkin Face

Two solid red heart eyes, a black curved smile, two pink circle cheeks, and eight small pink hearts scattered around the face are painted flat on an intact orange pumpkin in this easy no-carve heart eyes pumpkin idea. Broad brush shapes mean this design takes under thirty minutes with acrylic paint. Apply the red hearts first as anchors for the overall composition, then build outward with the smile and scattered detail hearts.

No ratings yet · Sign in to rate
Comments (0)

  • No comments yet — be the first.

Save without an account. Sign in to like or comment.

Our tips for carving a similar design

With broad, flat brush shapes and no cutting involved, this design comes together in under thirty minutes. The two red heart eyes anchor the composition first, and everything else is built outward from them: the curved smile below and the scattered pink hearts around the face. Letting each color layer dry before adding the next prevents muddy edges.

From pumpkin to porch

  1. Clean and dry the pumpkin

    Wipe the pumpkin surface with a damp cloth to remove any dirt or wax, then let it dry completely. Acrylic paint adheres best to a clean, dry surface. If the rind has a visible waxy sheen, a light pass with rubbing alcohol will help the paint grip.

  2. Sketch the layout

    Use a white chalk pencil or a light pencil to sketch the two heart eye positions in the upper third of the face and the curved smile below them. The eight small accent hearts can be dotted around the cheeks and forehead at this stage. Step back to check the spacing before painting.

  3. Paint the red heart eyes

    Load a medium flat brush with opaque red acrylic and fill in each heart with smooth strokes, following the outline first and then flooding the center. Two coats give better coverage. Let the hearts dry fully before moving on.

  4. Add the smile and cheeks

    Switch to matte black and paint the curved smile with a medium round brush, keeping the line thick enough to be visible from a few feet away. Fill in two round pink circles on the cheeks with a wide flat brush, blending the edges slightly for a softer look.

  5. Paint the small accent hearts

    Use a small round or liner brush to paint eight small pink hearts scattered around the face. Vary the sizes slightly for a natural scattered look. Let everything dry completely before applying a matte sealing varnish over the whole painted area.

  6. Seal and display

    Once the varnish is dry, the pumpkin is ready to display. An exterior spotlight or a warm porch light shining on the face will make the red and pink shapes pop against the orange rind. No candle or LED is needed.

Written with AI to match this design

Gather your supplies

Check things off as you get ready.

Work on a stable surface, keep your free hand out of the cutting path, and have an adult handle sharp tools.

Three levels of light

  • Leave intact

    The orange rind areas between the painted shapes stay bare and visible.

  • Peel & shade

    None, the shell remains fully intact.

  • Cut through

    None. Use an outside spotlight or porch light to illuminate the painted design.

Learn the carving basics

Before you start cutting

How do I get clean heart edges without a stencil?

Paint the outer shape first with a small round brush, then fill the center with a flat brush. Once the first coat is dry, use the round brush a second time to sharpen any wobbly edges by painting back over them. A steady hand matters more than speed.

Will the paint crack or peel before Halloween?

Acrylic paint on a clean, dry rind sealed with matte varnish typically holds well for two to three weeks. Keep the pumpkin out of direct rain and bring it indoors on very cold nights to extend its life further.

Can I use craft store foam brushes instead of bristle brushes?

Foam brushes work fine for the large heart fills and the cheek circles. Switch to a bristle round brush for the curved smile and the small accent hearts, where a chisel edge and flex in the bristles help you follow curves and points accurately.

Your take belongs here, too.

Changed a detail? Made it simpler? Share a photo of your version and tell the community what worked.

Share your pumpkin

More pumpkins like this

You've reached the end · 8 pumpkins
The Patch Report

Fresh pumpkins, in your inbox.

The best new carvings, ideas worth stealing, and how-tos for carving season. Short, seasonal, and gone by November.

A short email during carving season. Unsubscribe anytime. See our privacy policy.