Halloween Pumpkin Carving Contest · Starts October 1st · $500 in prizes
← Back to ideas
@ai_concepts
Sep 25, 2026
Painted Star Eyes Pumpkin in Cream and BlueAI
0

Report this carving

Tell us what is wrong. Reports are private.

Painted Star Eyes Pumpkin in Cream and Blue

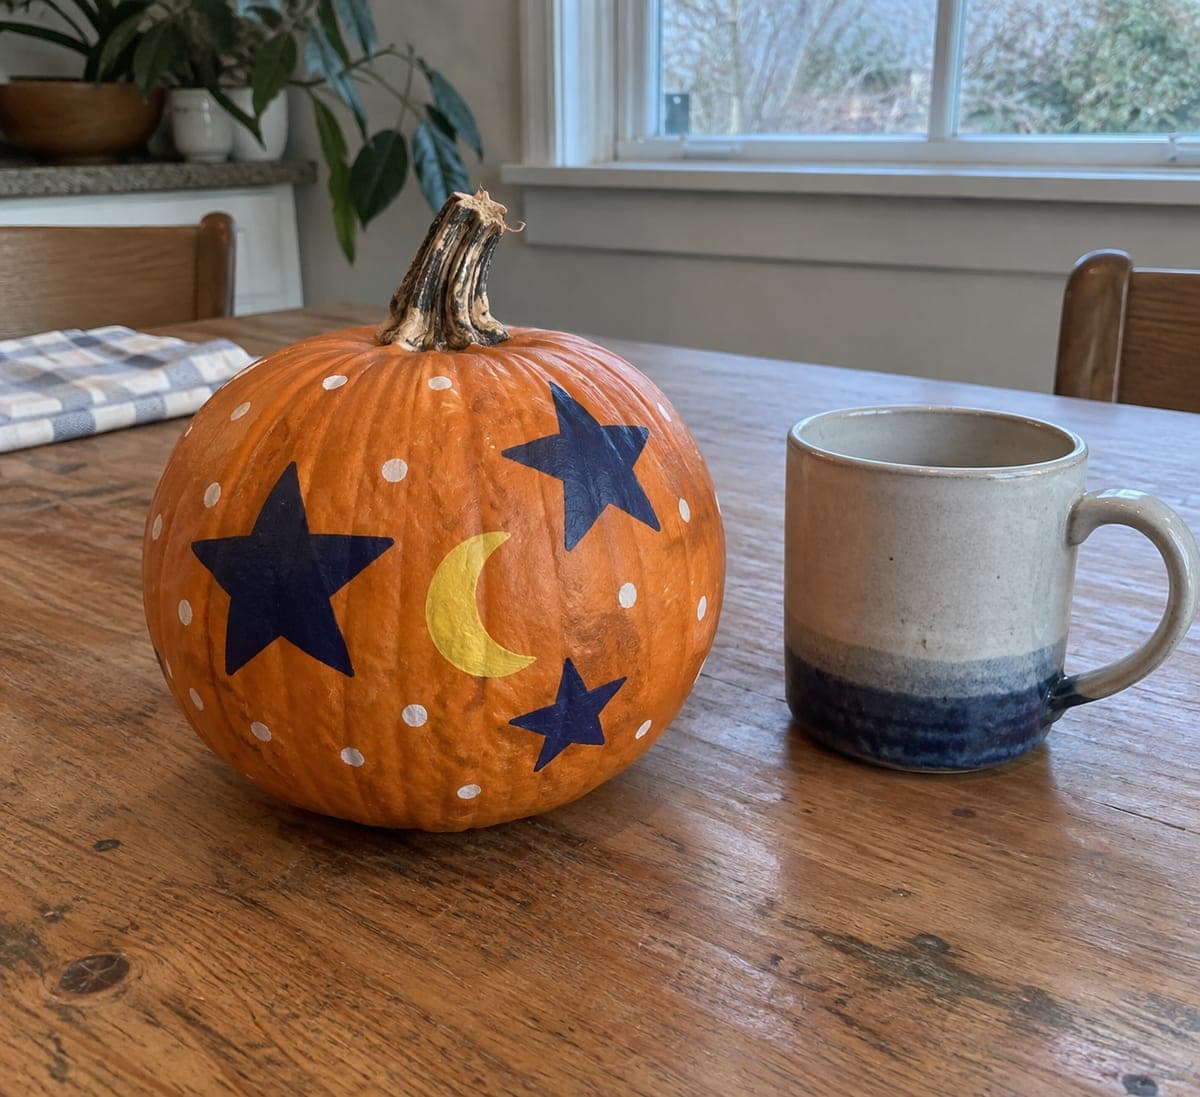
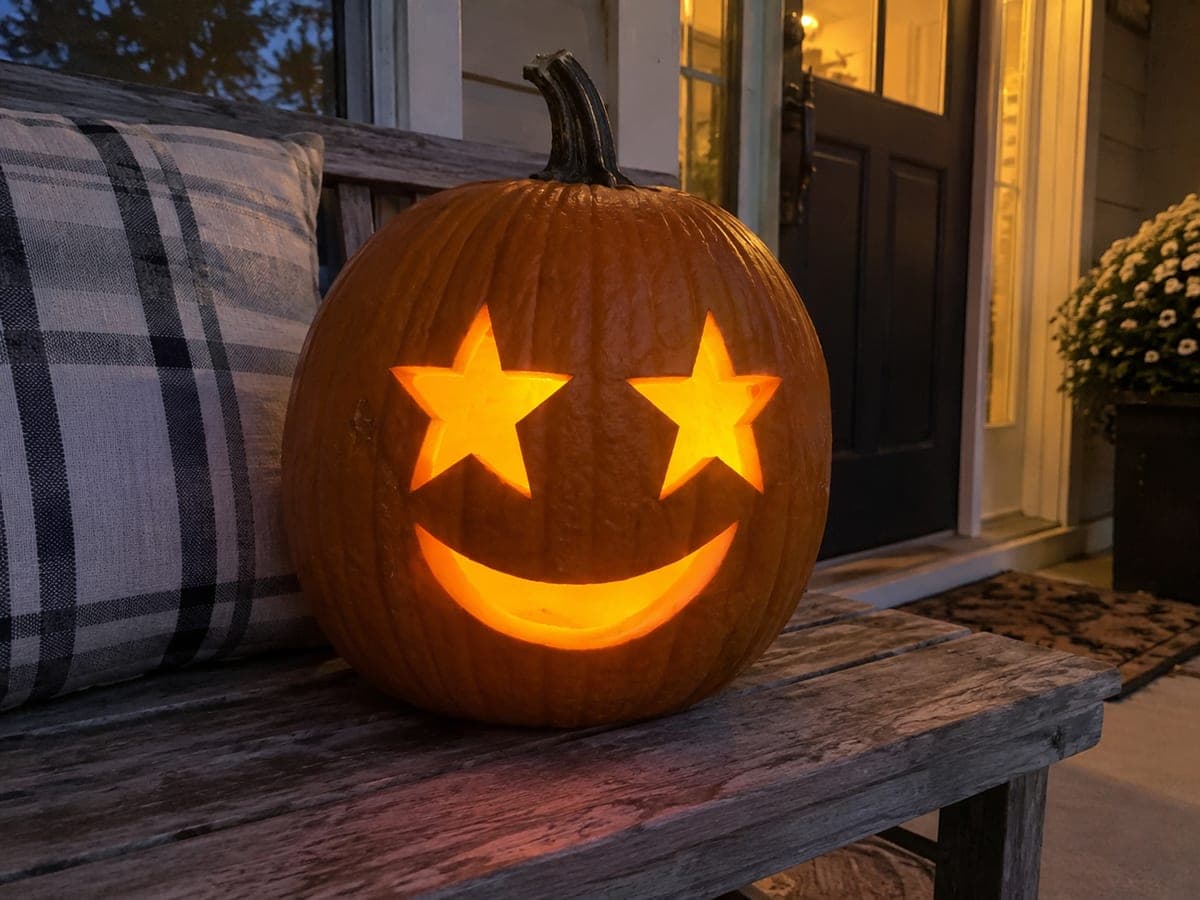
Two solid cream five-point star eyes, a black curved smile, blue painted cheeks, and eight small blue stars are painted in broad flat shapes on an intact orange pumpkin for this easy no-carve star eyes pumpkin idea. Use a flat brush for the star eyes and a liner brush for the curved smile, letting each layer dry before adding the next. The cream and blue palette creates a cool night-sky feel without any cutting.

No ratings yet · Sign in to rate
Comments (0)

  • No comments yet — be the first.

Save without an account. Sign in to like or comment.

Our tips for carving a similar design

A cream-and-blue palette on an orange rind creates a striking cool-night contrast without any cutting. The two large cream star eyes go on first as anchors, and every other element is positioned relative to them. A flat brush handles all the fill work; a liner brush draws the curved smile and the small accent stars.

From pumpkin to porch

  1. Clean and dry

    Wipe the pumpkin down with a damp cloth and let it dry completely. If the rind has a waxy sheen, a quick pass with rubbing alcohol improves paint adhesion. Work on a covered surface to protect the table.

  2. Sketch the layout

    Lightly pencil the positions of the two large star eyes, the curved smile beneath them, the two blue cheek circles, and the eight small star accents. Step back and assess the spacing before you open any paint.

  3. Paint the cream star eyes

    Using a flat brush and opaque cream acrylic, paint each star eye with outline-first strokes, then fill the center. Apply two coats for solid coverage and let the first coat dry before applying the second.

  4. Add the black smile and blue cheeks

    Paint the curved smile with a medium round brush loaded with matte black. While that dries, mix or use a ready-made cornflower or cobalt blue and paint the two cheek circles with a wide flat brush, letting them softly blend at the edges if desired.

  5. Paint the small blue star accents

    Use a small round brush or liner brush to paint eight small five-point stars in the same blue, scattering them around the cheeks and lower forehead. Vary the sizes slightly to look natural rather than mechanical.

  6. Seal and display

    Once fully dry, brush on a coat of matte varnish to protect the painted surface from moisture. Place the pumpkin where an exterior light or spotlight can hit the face directly. No candle or LED is needed since the design reads equally well unlit.

Written with AI to match this design

Gather your supplies

Check things off as you get ready.

Work on a stable surface, keep your free hand out of the cutting path, and have an adult handle sharp tools.

Three levels of light

  • Leave intact

    The natural orange rind between all painted shapes stays visible and provides warm contrast.

  • Peel & shade

    None, the shell is completely intact.

  • Cut through

    None. An outside spotlight or porch light illuminates the painted design.

Learn the carving basics

Before you start cutting

How do I paint five-point stars neatly without a stencil?

Draw the star lightly in pencil first using the dot-and-connect method: mark five evenly spaced points on an imaginary circle, then connect every other point to form the star shape. Paint carefully inside the pencil lines and touch up the points with a liner brush once the fill is dry.

Will the blue stand out against an orange pumpkin?

Blue and orange are complementary colors, so the contrast is actually very strong. A deeper cobalt or navy looks bold; a lighter sky blue looks softer. Both read well at night under porch lighting. Add a small amount of white to the blue for a more pastel, gentle tone if preferred.

Can I substitute craft-store spray paint for the base colors?

Spray paint can work for broad cheek circles or a full face base coat, but brush-painted stars and the curved smile need a brush for control. If you spray a base, mask off the orange rind areas you want to keep with newspaper and tape before spraying.

Your take belongs here, too.

Changed a detail? Made it simpler? Share a photo of your version and tell the community what worked.

Share your pumpkin

More pumpkins like this

You've reached the end · 8 pumpkins
The Patch Report

Fresh pumpkins, in your inbox.

The best new carvings, ideas worth stealing, and how-tos for carving season. Short, seasonal, and gone by November.

A short email during carving season. Unsubscribe anytime. See our privacy policy.