Halloween Pumpkin Carving Contest · Starts October 1st · $500 in prizes
← Back to ideas
@ai_concepts
Sep 25, 2026
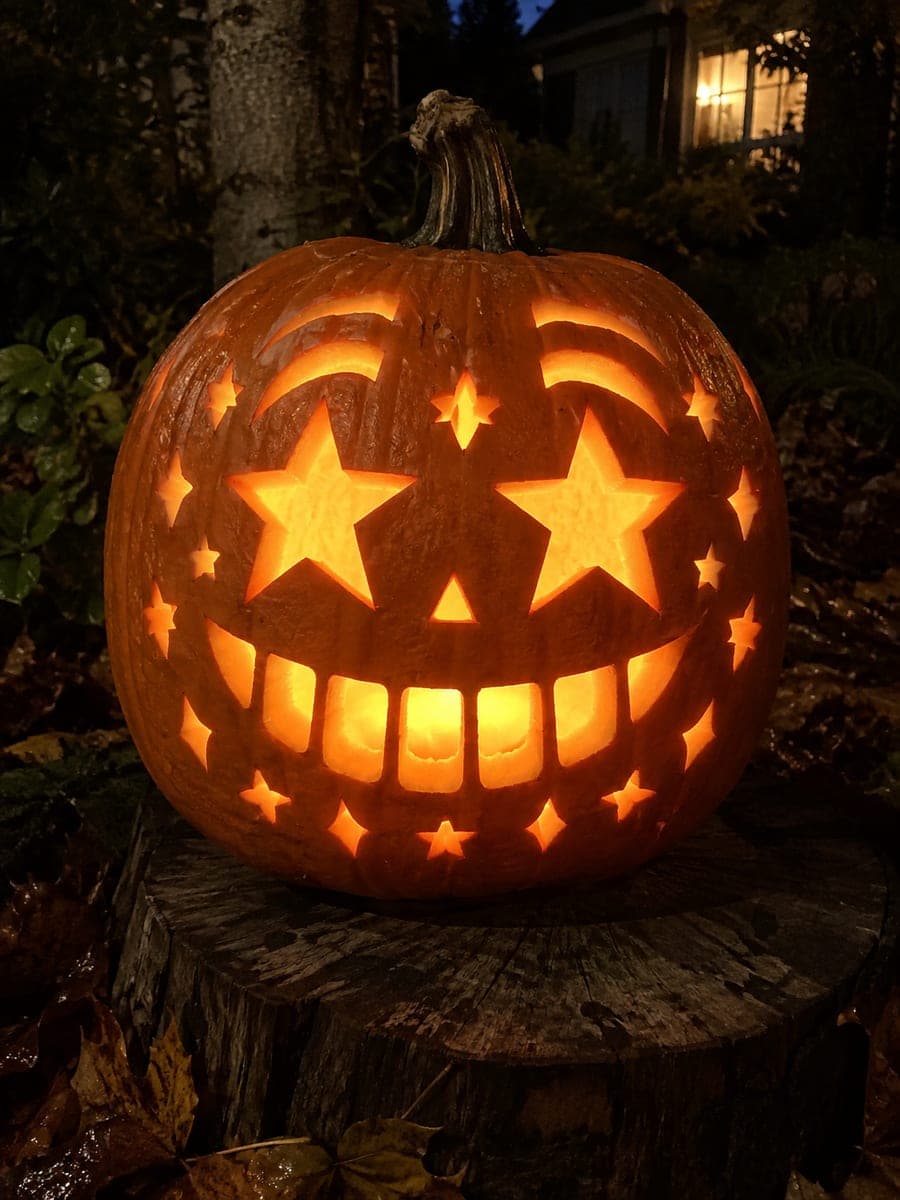
Star Eyes Pumpkin with Brows and Circular FrecklesAI
0

Report this carving

Tell us what is wrong. Reports are private.

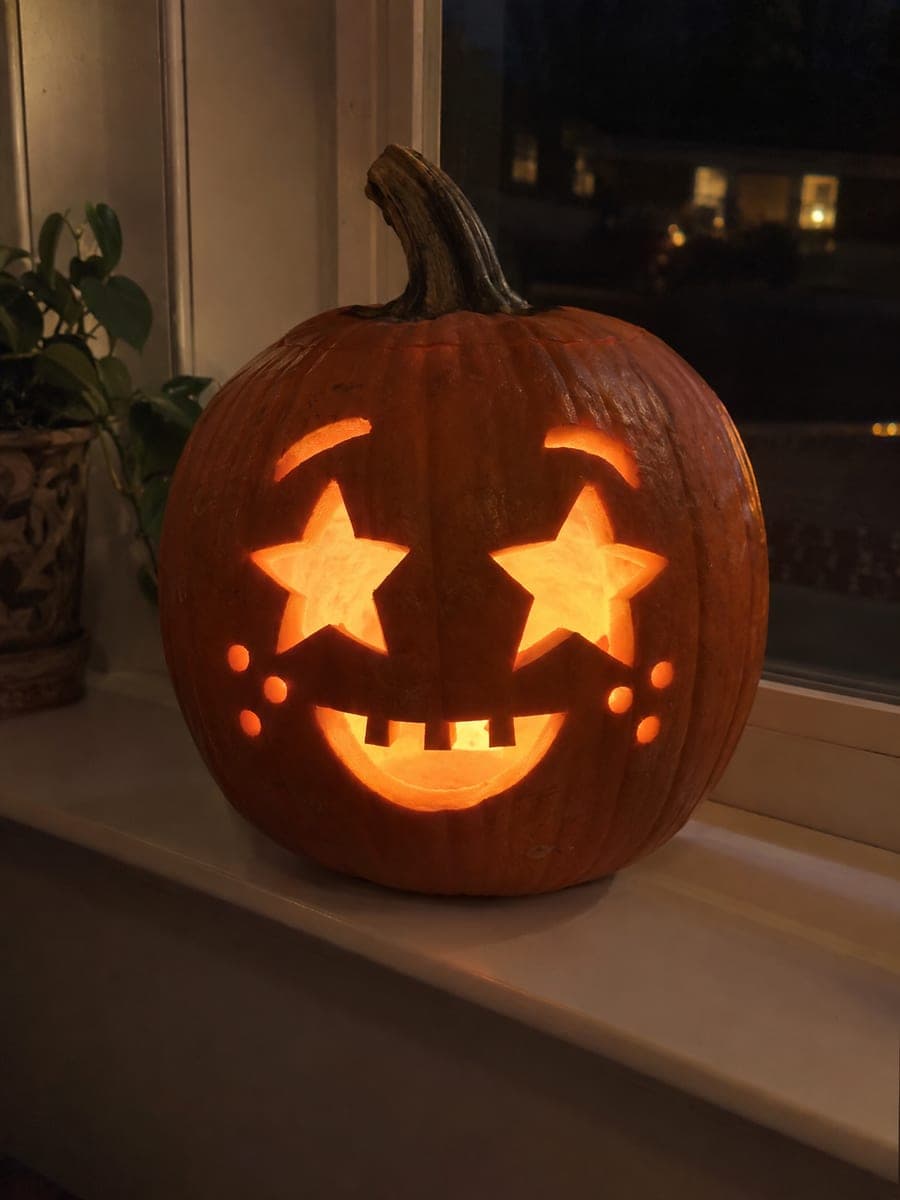
Star Eyes Pumpkin with Brows and Circular Freckles

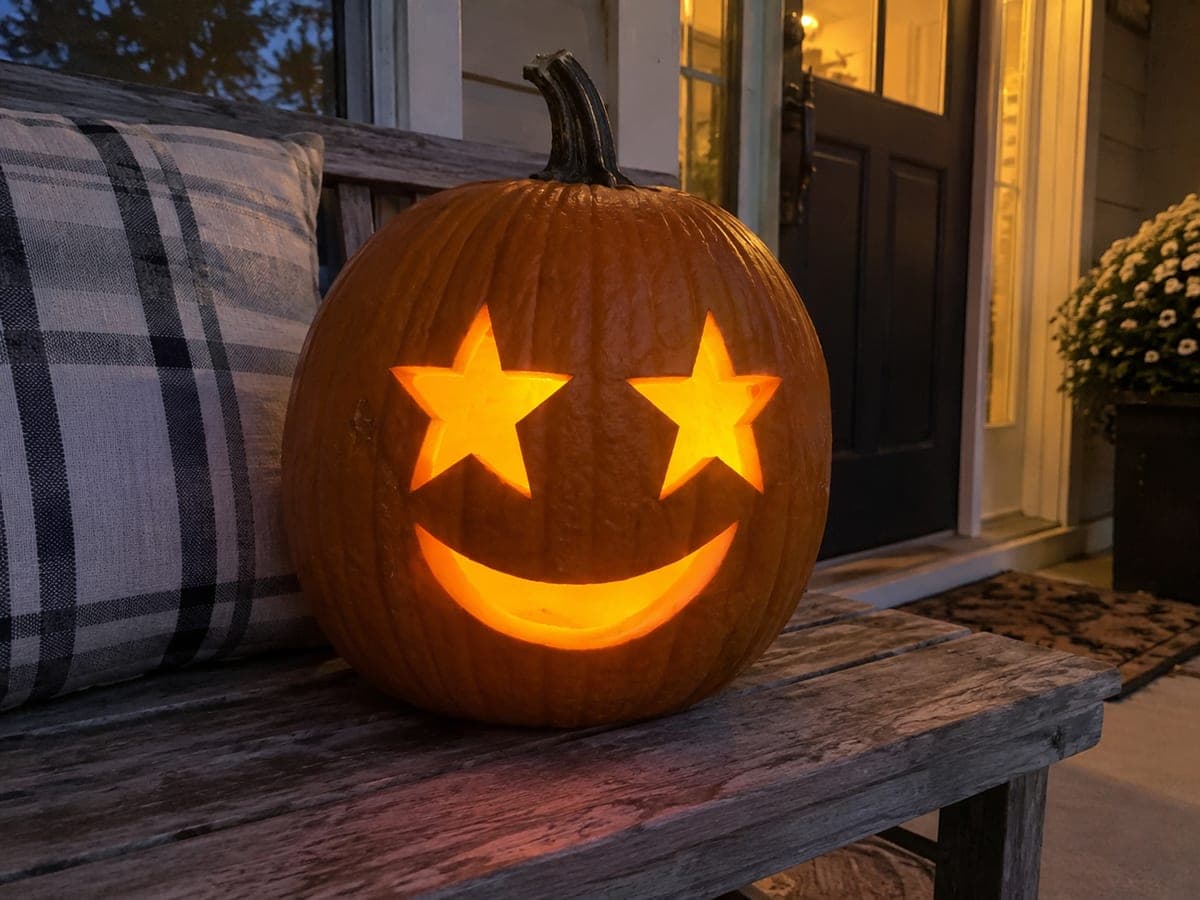
Two empty five-point star eye holes, two short curved brow cuts, a four-tooth smile, and eight circular freckle holes give this star eyes pumpkin carving idea a friendly, layered look. Start with the brow cuts, then proceed to the stars, and finish with the small round freckles using a hand drill or narrow gouge. LED lighting from inside projects each star point as a ray of warm light onto the surrounding darkness.

No ratings yet · Sign in to rate

Save this design for carving night, then share a photo of your own jack-o'-lantern once it's glowing.
Comments (0)

  • No comments yet — be the first.

Save without an account. Sign in to like or comment.

Our tips for carving a similar design

This design adds three detail layers to the basic star eye template: curved brow slots for expression, a four-tooth smile for a cheerful grin, and eight round freckle holes that scatter small points of light across the cheeks. Cutting order runs brows first, then stars, then smile, then freckles, so that each earlier cut is supported by solid rind while you make the next one.

From pumpkin to porch

  1. Prep and hollow

    Cut a lid and scoop the pumpkin to one inch of wall thickness. Mark a light center line down the face to keep both sides balanced before sketching any features.

  2. Cut the brow slots

    Sketch two short curved brow cuts just above where the stars will sit. Cut these narrow channels first while the rind above the eyes is at full strength. Keep each slot about a quarter inch wide for a clean glow.

  3. Cut the star apertures

    Transfer both star templates below the brows and cut from center outward on each of the five points. Remove the pieces from inside and confirm each point is clean and fully open.

  4. Carve the smile

    Draw a wide smile with four square teeth rooted at the top. Cut the gap between each tooth as a short vertical line first, then cut the curved smile arc along the bottom. Push the four tooth-gap pieces out from inside.

  5. Drill the freckle holes

    Mark four holes on each cheek in a scattered pattern. Use a hand drill or narrow corer to push each hole straight through the rind without rocking the tool side to side. Work slowly on the last two holes as the wall will have fewer intact areas supporting it.

  6. Light and display

    Place a battery LED inside and view from a few feet away. The star rays, brow slits, toothy grin, and freckle dots all contribute separate light points for a lively, layered effect. Display head-on at porch height.

Written with AI to match this design

Gather your supplies

Check things off as you get ready.

Work on a stable surface, keep your free hand out of the cutting path, and have an adult handle sharp tools.

Three levels of light

  • Leave intact

    All rind between features, including between brow slots and between freckle holes, stays dark.

  • Peel & shade

    None.

  • Cut through

    Both star eyes, two brow slots, four tooth gaps in the smile, and all eight round freckle holes are cut completely through.

Learn the carving basics

Before you start cutting

How do I make the round freckle holes perfectly circular?

A dedicated pumpkin hole-punch tool or a narrow apple corer produces the most consistent circles. A hand drill with a small spade bit also works. Avoid carving circles freehand with a knife as they tend to look like irregular blobs rather than round dots.

Can I position the brows so they look surprised rather than friendly?

Arching each brow slightly toward the center of the face gives a surprised look; tilting the inner ends down and outer ends up gives a stern look. Sketch both positions lightly before committing to a cut and step back to assess from normal viewing distance.

Does the order of freckle holes matter?

Yes. Cut the holes closest to the smile and closest to the star eyes last. Starting with the holes near the outer edge of each cheek gives you a solid, intact ring of rind to hold while you work inward. Cutting center holes first can cause the cheek area to flex and crack.

Your take belongs here, too.

Changed a detail? Made it simpler? Share a photo of your version and tell the community what worked.

Share your pumpkin

More pumpkins like this

You've reached the end · 8 pumpkins
The Patch Report

Fresh pumpkins, in your inbox.

The best new carvings, ideas worth stealing, and how-tos for carving season. Short, seasonal, and gone by November.

A short email during carving season. Unsubscribe anytime. See our privacy policy.