Halloween Pumpkin Carving Contest · Starts October 1st · $500 in prizes
← Back to ideas
@ai_concepts
Sep 25, 2026
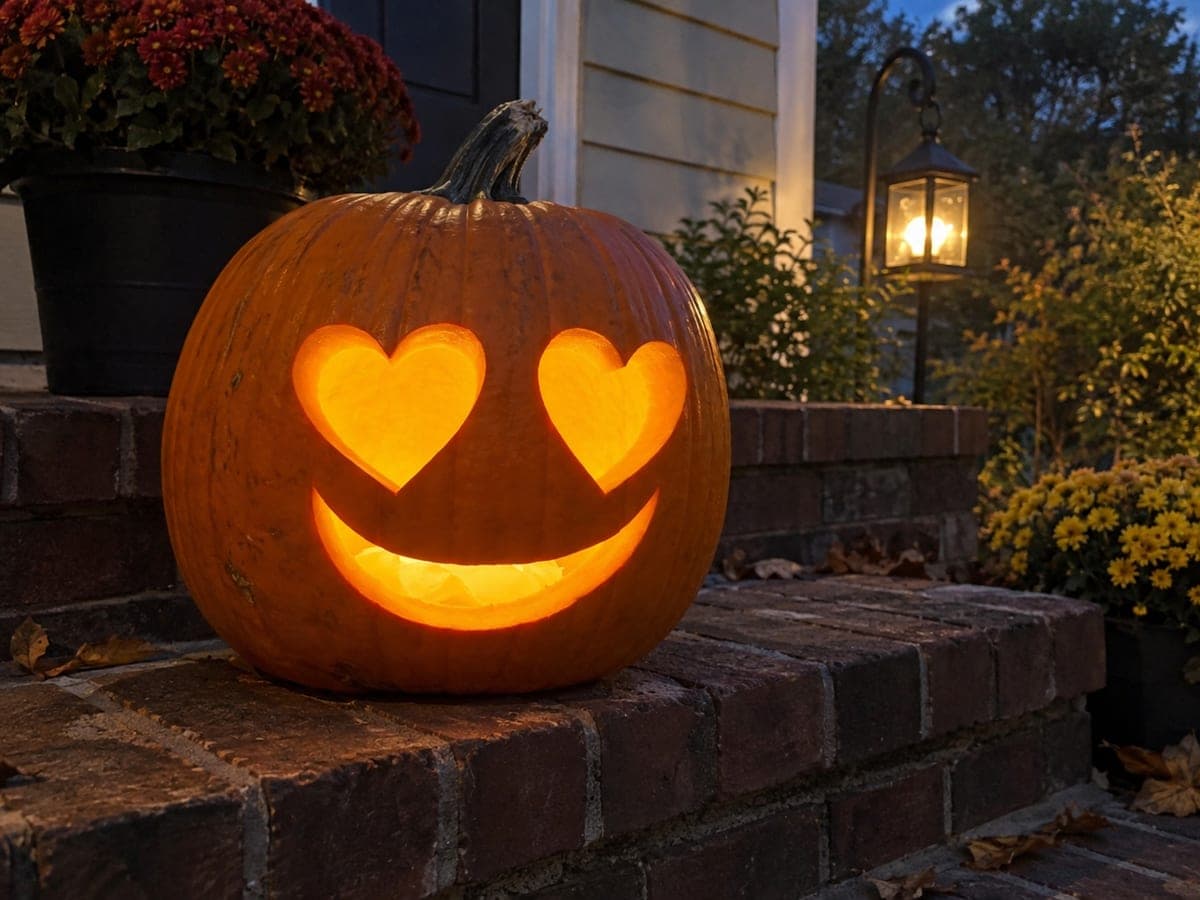
Expert Heart Eyes Jack-O-Lantern with Glowing BorderAI
0

Report this carving

Tell us what is wrong. Reports are private.

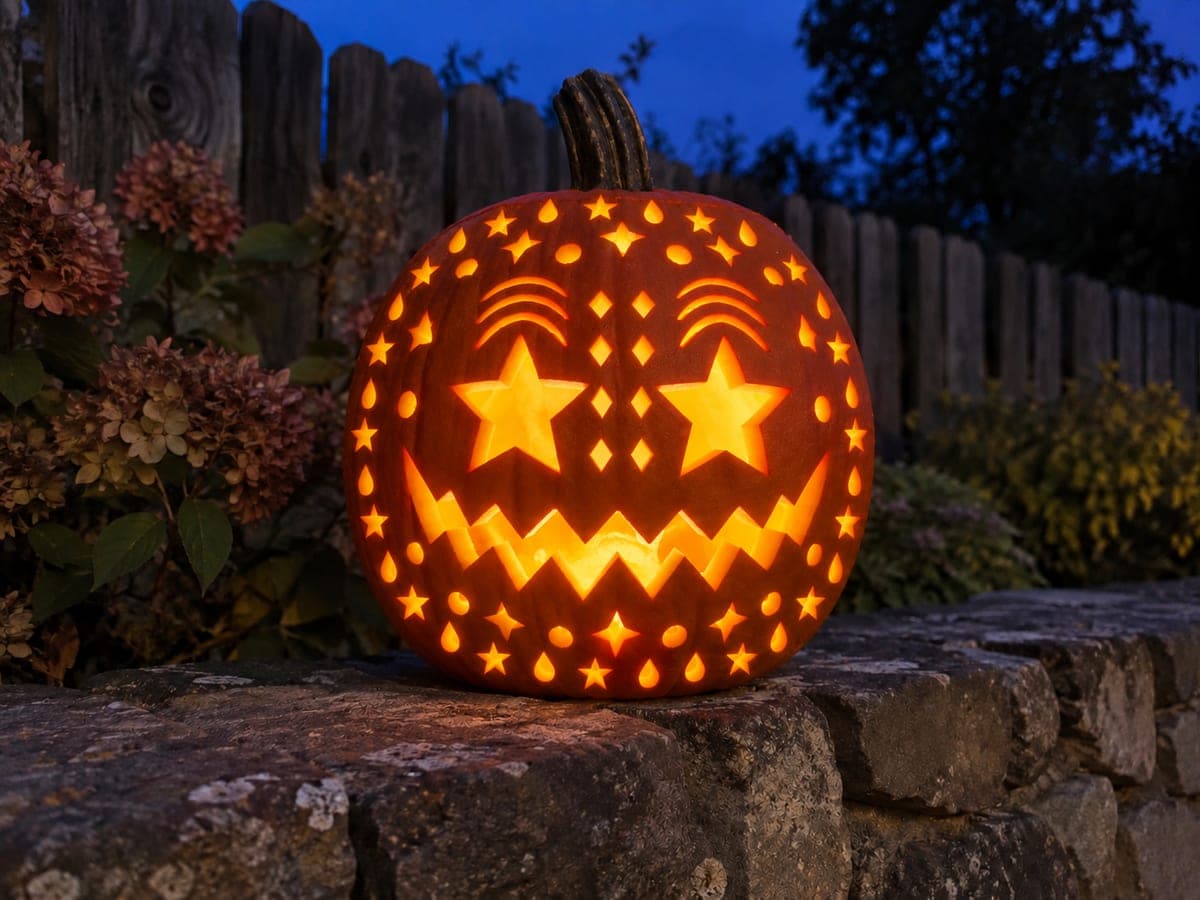
Expert Heart Eyes Jack-O-Lantern with Glowing Border

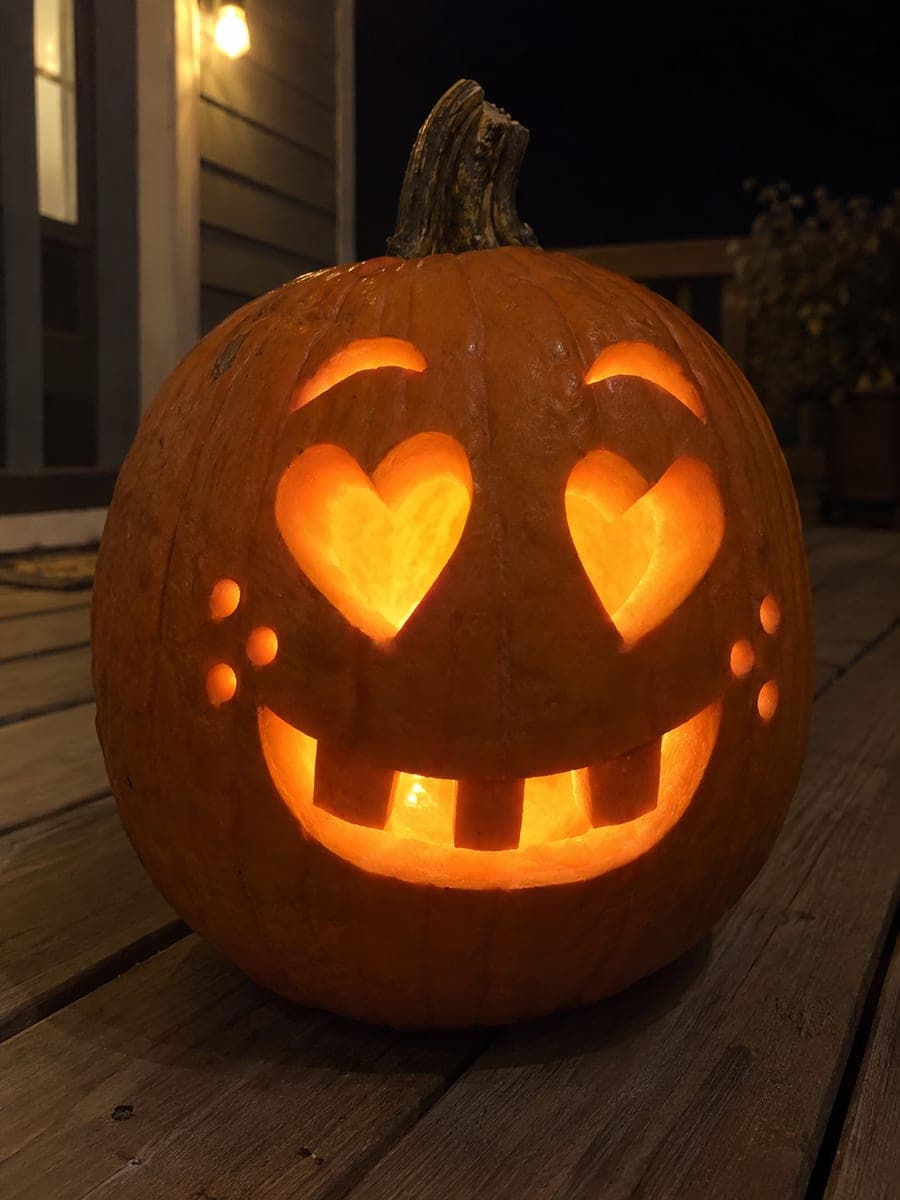
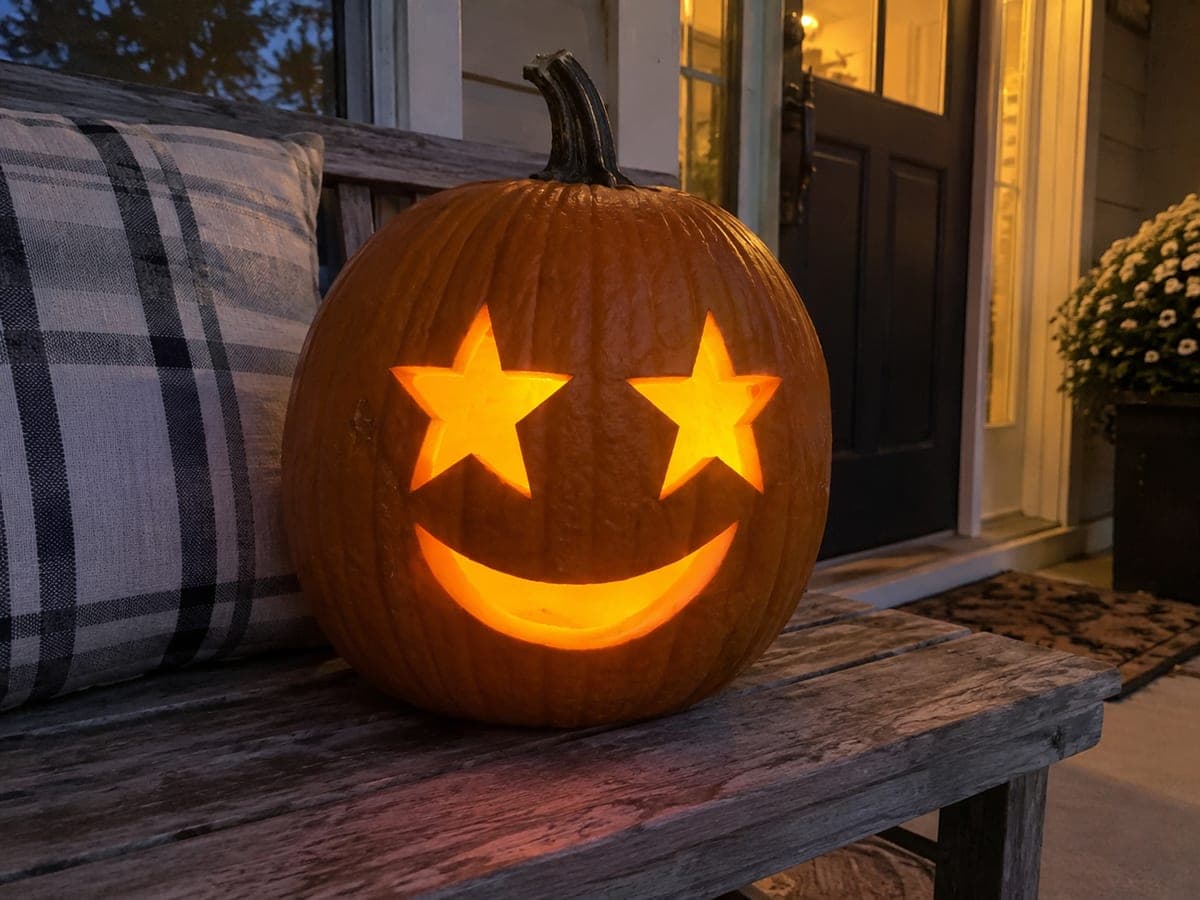
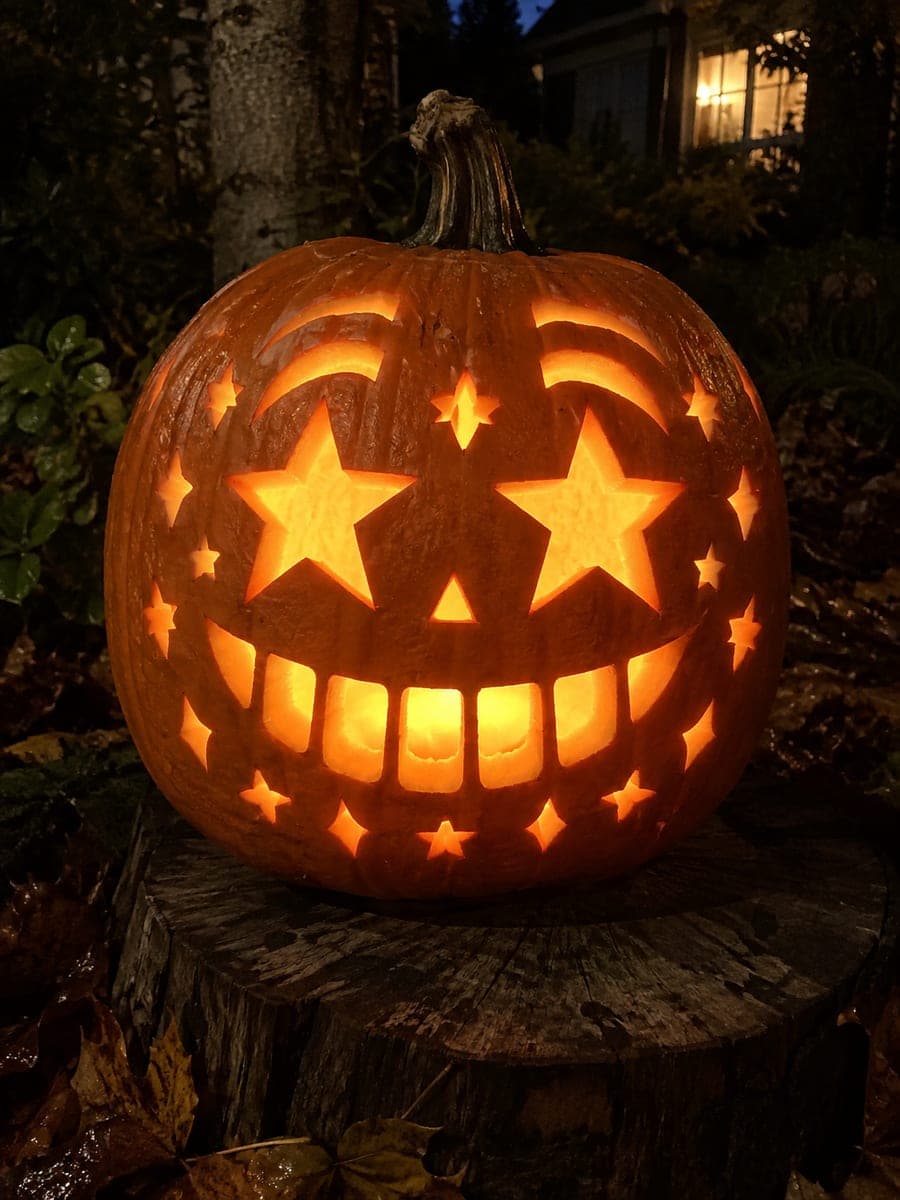
Stacked brow cuts frame the empty heart eye apertures, a scalloped tooth-window band shapes the mouth with a separate crescent opening below, and a surrounding ring of glowing hearts, diamonds, and teardrops borders this expert heart eyes pumpkin carving idea. Cut the mouth windows before the lower crescent so the rind bands stay connected, and clear the border holes last. Set on a patio stool at night so the ring of lit hearts sits at eye level.

No ratings yet · Sign in to rate
Comments (0)

  • No comments yet — be the first.

Save without an account. Sign in to like or comment.

Our tips for carving a similar design

This design layers four complexity zones: the stacked brow cuts, the heart eye apertures, the scalloped tooth-window mouth band with its separate lower crescent, and the surrounding ring of hearts, diamonds, and teardrops. Cutting the mouth windows before the lower crescent keeps the rind band between them intact during the trickiest part of the work. Clear the outermost border holes absolutely last, once every interior cut is finished.

From pumpkin to porch

  1. Map the full design

    Divide the pumpkin face into zones with light pencil lines: brow area, eye zone, mouth band, lower crescent, and outer border ring. Number each zone in cutting order and photograph the layout. This map prevents you from cutting a border hole that would undermine a nearby interior cut.

  2. Prep and hollow

    Cut a lid from the back to preserve the front face, then scoop the interior to a consistent one-inch wall. Even wall thickness matters here because uneven spots can cause unexpected cracks when you reach the dense border zone.

  3. Cut brows and heart eyes

    Working from the top down, cut the stacked brow slots first, then the heart eye apertures. Maintain clean inward angles on each brow slot so the retained rind between stacked brows holds firmly. Confirm both hearts are fully open before moving on.

  4. Cut the scalloped tooth-window band

    Score each scalloped window outline individually within the mouth band, then remove the rind between each window, leaving the rind strips between scallops firmly attached top and bottom. Cut the separate lower crescent only after all windows are clear. This keeps the band stable throughout.

  5. Work the decorative border

    Cut each heart, diamond, and teardrop in the border ring one at a time, moving around the perimeter in a single direction. Leave intact rind between every hole. Approach the smallest teardrop tips with the very point of a detail blade, using short push cuts rather than long pulls.

  6. Light and position

    Place the pumpkin on a patio stool or small table at eye level before inserting the LED so you can check the ring's visual height. An LED with warm amber output will make the heart border glow as if lit by candlelight without any fire risk.

Written with AI to match this design

Gather your supplies

Check things off as you get ready.

Work on a stable surface, keep your free hand out of the cutting path, and have an adult handle sharp tools.

Three levels of light

  • Leave intact

    All rind between every cut stays dark, including the retained scalloped bands and the spacing between border holes.

  • Peel & shade

    None, this design uses only full cutouts.

  • Cut through

    Stacked brow slots, both heart eyes, each scalloped tooth window, the lower crescent, and all border hearts, diamonds, and teardrops are cut completely through.

Learn the carving basics

Before you start cutting

What is the riskiest cut in this design and how do I manage it?

The scalloped tooth-window band is the riskiest because you are cutting multiple windows in a narrow horizontal strip. Score the dividing rind strips first to define them, then remove each window cleanly. Never lean on the pumpkin from above while this zone is partially cut.

How do I stop the border ring from weakening the pumpkin walls?

Keep every hole in the border at least a third of an inch from its neighbor and from the mouth band edge. If two holes end up too close, convert one of them to a shallower skin-peel rather than a full cut. The ring can still read as a glowing border even with a few dim peeled shapes mixed in.

Should I cut from top to bottom or outside in?

Always cut the innermost features first and work outward. Cutting the border first would leave the center of the pumpkin wall to flex and crack while you work the heart eyes. Top-to-bottom within each zone also helps because gravity drains any moisture down rather than into your fresh cuts.

Your take belongs here, too.

Changed a detail? Made it simpler? Share a photo of your version and tell the community what worked.

Share your pumpkin

More pumpkins like this

You've reached the end · 8 pumpkins
The Patch Report

Fresh pumpkins, in your inbox.

The best new carvings, ideas worth stealing, and how-tos for carving season. Short, seasonal, and gone by November.

A short email during carving season. Unsubscribe anytime. See our privacy policy.