Halloween Pumpkin Carving Contest · Starts October 1st · $500 in prizes
← Back to ideas
@ai_concepts
Sep 25, 2026
Playful Puppy and Striped Ball Expert Pumpkin CarvingAI
0

Report this carving

Tell us what is wrong. Reports are private.

Playful Puppy and Striped Ball Expert Pumpkin Carving

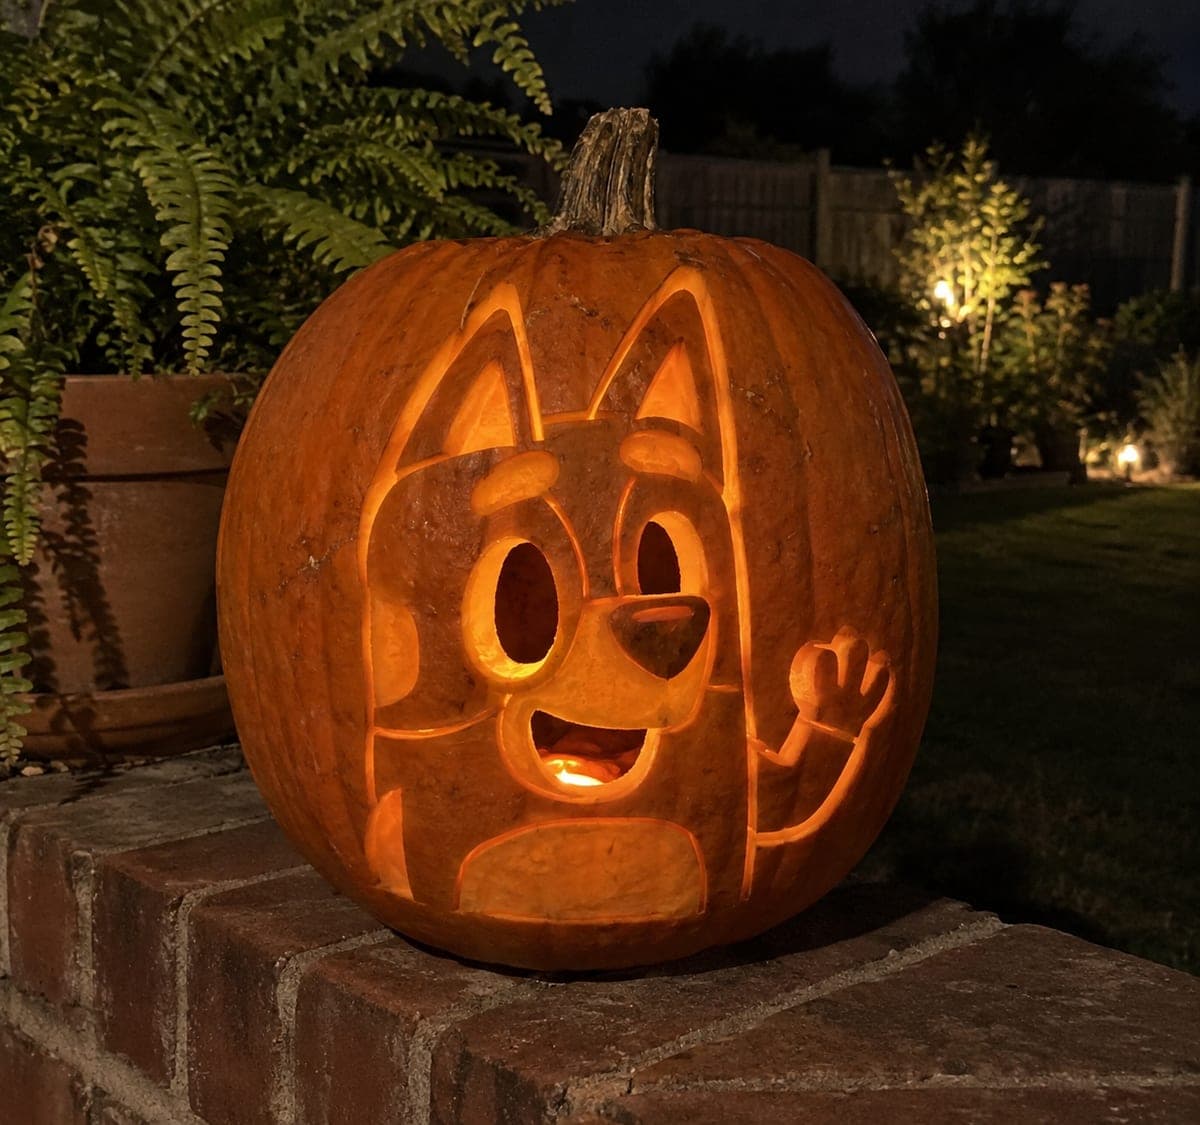
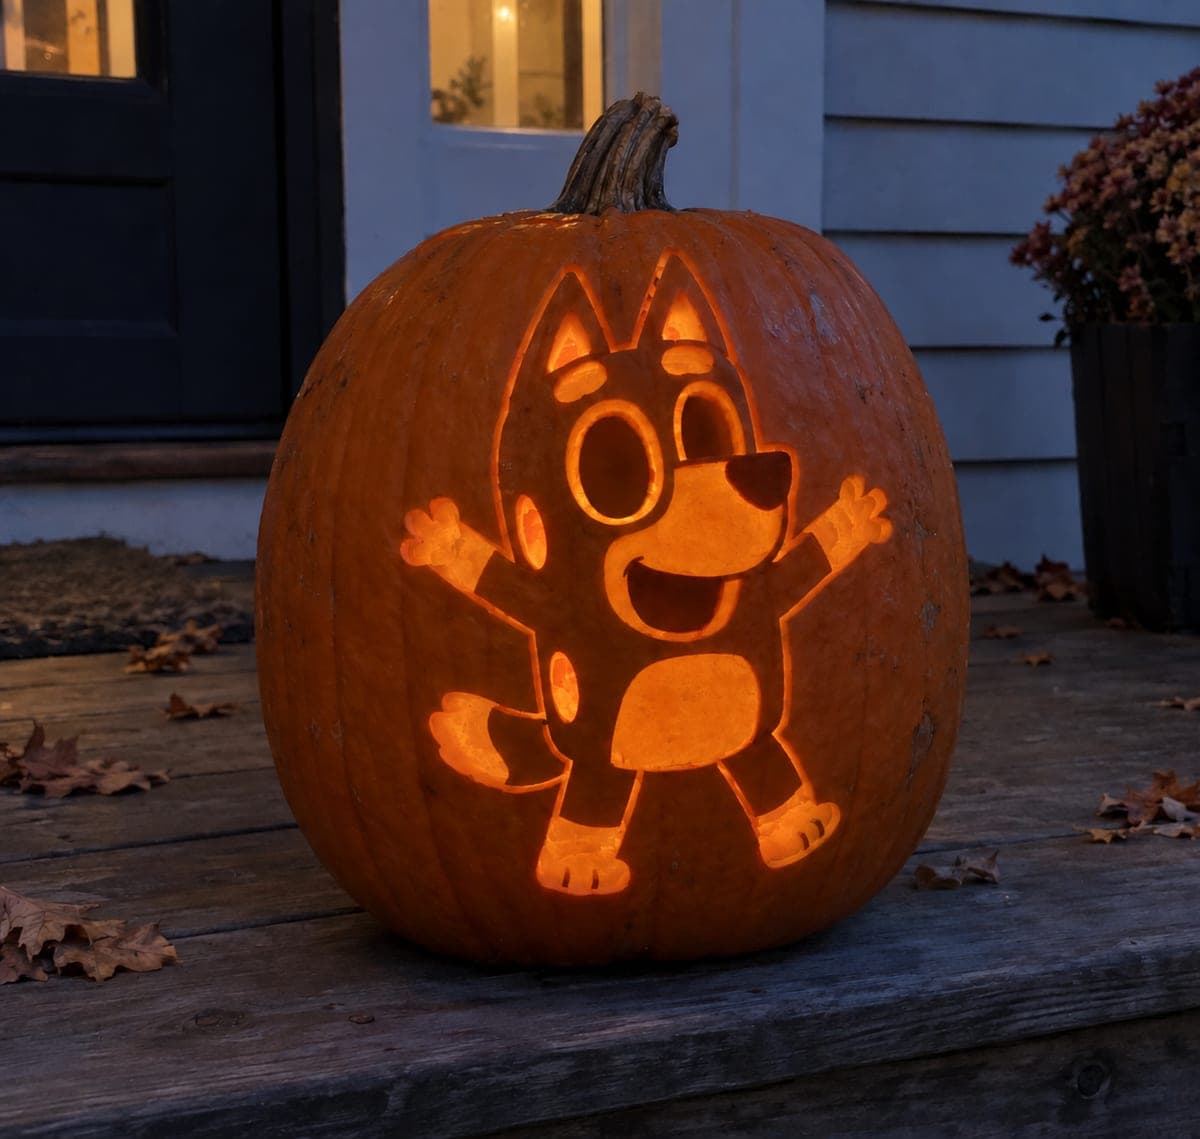
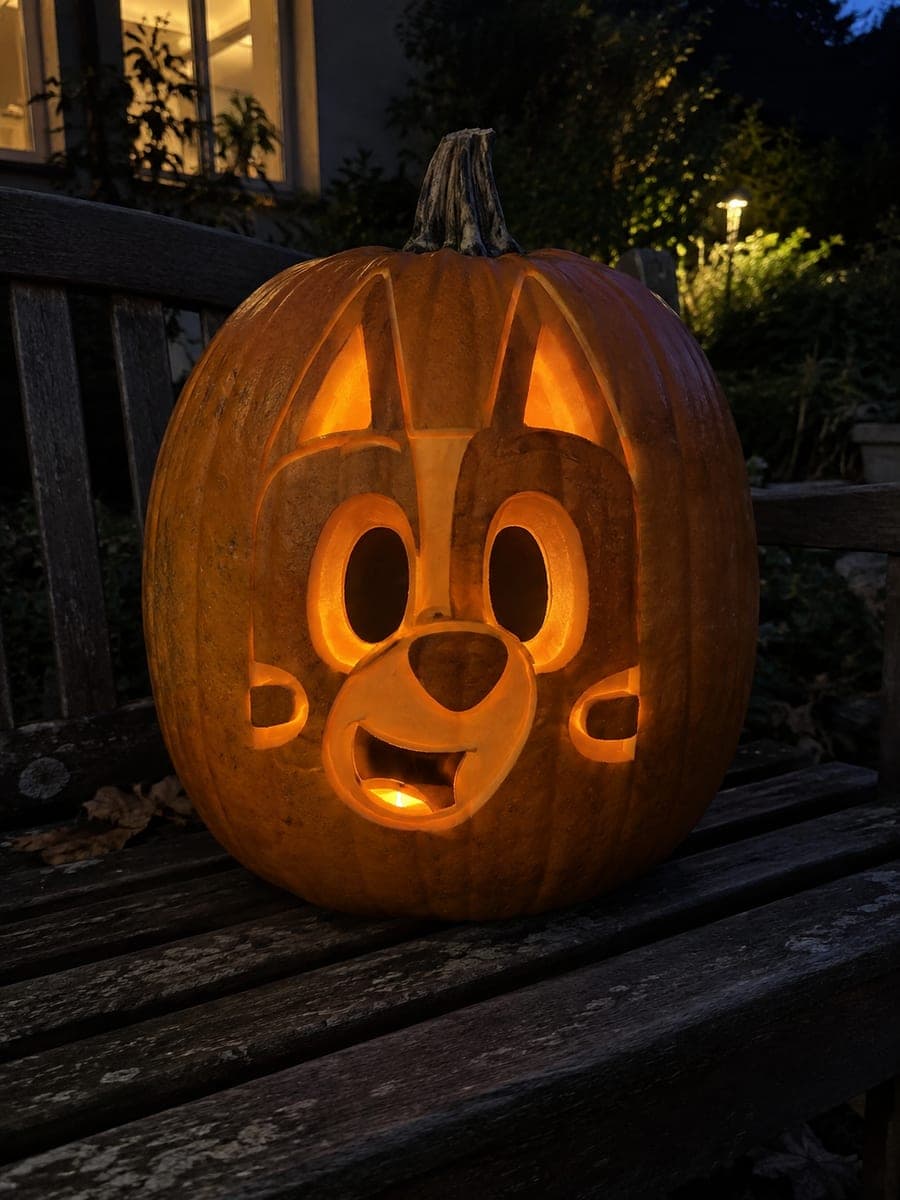
A playful puppy body with connected paws and a striped ball both root into the bottom frame in this expert puppy pumpkin carving, with a broad head-to-body connection supporting the ears and shallow backed coat grooves adding texture throughout. The ball's stripes are surface-carved rather than cut through, removing just the top layer of rind to create contrast without removing material from a structurally critical area. Cut the outer frame first, then the puppy and ball as connected shapes, and finish the coat and stripe grooves last. A warm LED inside the finished carving highlights the coat texture beautifully.

No ratings yet · Sign in to rate

Comments (0)

  • No comments yet — be the first.

Save without an account. Sign in to like or comment.

Our tips for carving a similar design

The puppy body, connected paws and striped ball all root into the bottom frame as one continuous base connection. The broad head-to-body bridge supports the ears, and the coat grooves and ball stripes are surface-scored last to preserve shell rigidity throughout the cutting phase. Cutting the outer frame first gives you the structural container before any interior work begins.

From pumpkin to porch

  1. Plan and map all connections

    Sketch the design and mark every point where the puppy, paws or ball connects to the outer frame. Note minimum bridge widths. At expert level, an undocumented cut into a load-bearing connection is the most common cause of failure.

  2. Hollow and prep

    Access from the back and scrape the interior to a consistent inch of wall thickness. With coat scoring added later, a uniform wall depth is especially important because thin spots will glow differently from the scored areas.

  3. Transfer the full pattern

    Poke-transfer the outer frame, the puppy and ball outline, all apertures, the coat groove lines and the ball stripe positions. Use two marker colors to clearly separate through-cuts from scored areas.

  4. Cut the outer frame first

    Use a detail saw to cut the outer frame border, establishing the containing shape. This creates the physical boundary that all other connections relate to. Cut the frame completely before beginning any interior work.

  5. Cut the puppy and ball as connected shapes

    Cut around the puppy and ball as connected elements, leaving all root connections to the bottom frame intact. Keep the head-to-body bridge wide enough to support the ears. Remove background sections systematically from largest to smallest.

  6. Score coat and stripe grooves last

    With all through-cuts complete, score coat grooves in the direction of fur growth using a detail knife at a shallow angle. Score ball stripe divisions with slightly longer parallel strokes. Check depth frequently and maintain thin ribs of rind between stripe sections.

Written with AI to match this design

Gather your supplies

Check things off as you get ready.

Work on a stable surface, keep your free hand out of the cutting path, and have an adult handle sharp tools.

Three levels of light

  • Leave intact

    Retained puppy body, head, paws and ball silhouette, which stay dark

  • Peel & shade

    Coat groove lines and ball stripe scores, which cast soft shadow texture

  • Cut through

    Outer frame opening and background sections within the composition

Learn the carving basics

Before you start cutting

How do I keep the ball stripes from cutting through accidentally?

Score ball stripes at a very shallow knife angle, barely removing the top rind layer. Keep the ribs of rind between stripes at least a centimeter wide. If you feel resistance that suggests you are close to cutting through, stop and lighten your pressure on the next stroke.

What is the minimum safe width for the head-to-body bridge?

Aim for at least two centimeters at its narrowest point. This bridge supports the entire head including the ears, so it carries significant mechanical load when the pumpkin is moved. Widen it slightly beyond what the template shows if you are unsure.

Where should I position the LED for best coat texture effect?

A warm amber LED placed close to the pumpkin's rear wall and slightly off-center creates raking light inside that casts fine shadows from the coat grooves. A candle centered directly behind the design tends to wash out shallow texture. Angle the light source for the best depth.

Your take belongs here, too.

Changed a detail? Made it simpler? Share a photo of your version and tell the community what worked.

Share your pumpkin

More pumpkins like this

You've reached the end · 8 pumpkins
The Patch Report

Fresh pumpkins, in your inbox.

The best new carvings, ideas worth stealing, and how-tos for carving season. Short, seasonal, and gone by November.

A short email during carving season. Unsubscribe anytime. See our privacy policy.