@harvestmoonhank
Sep 5, 2026
Porch veterans
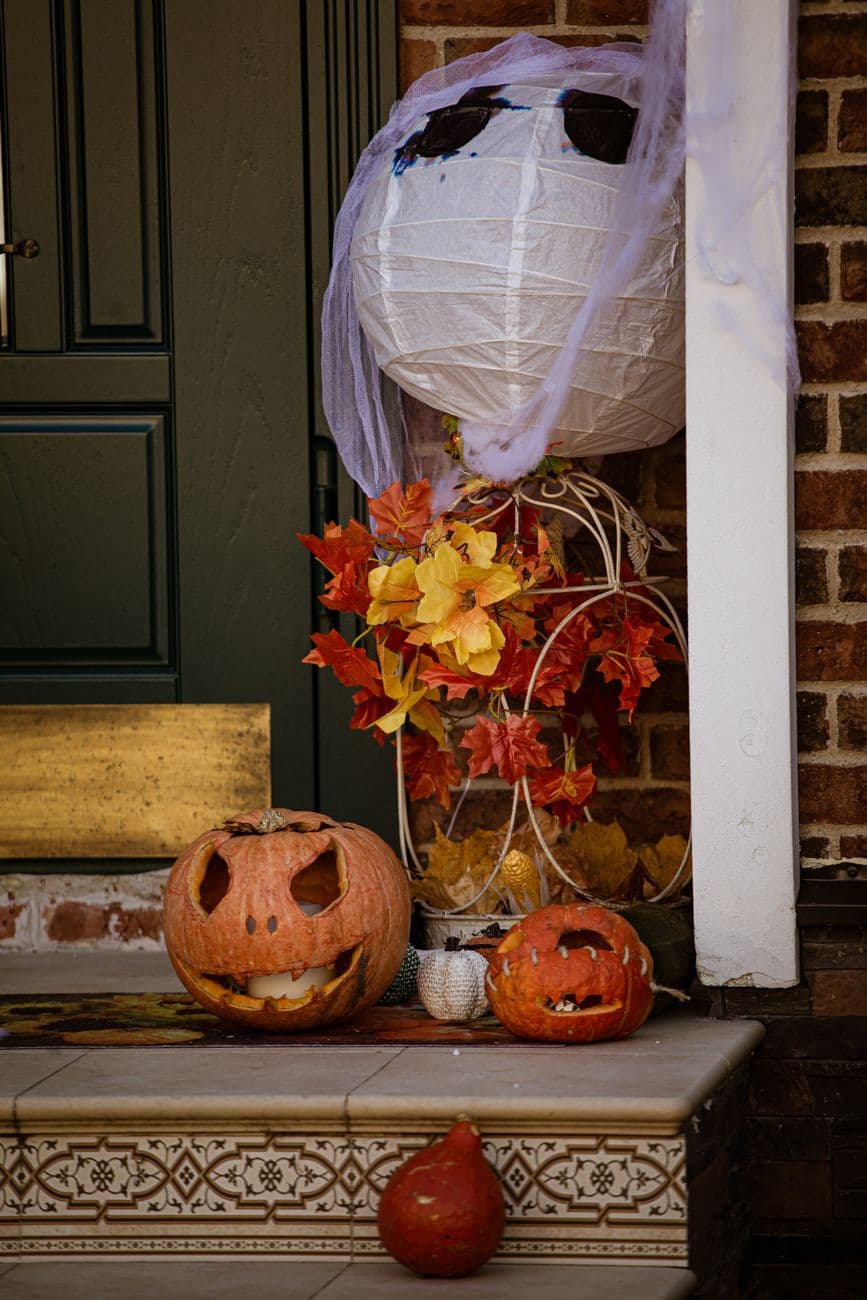
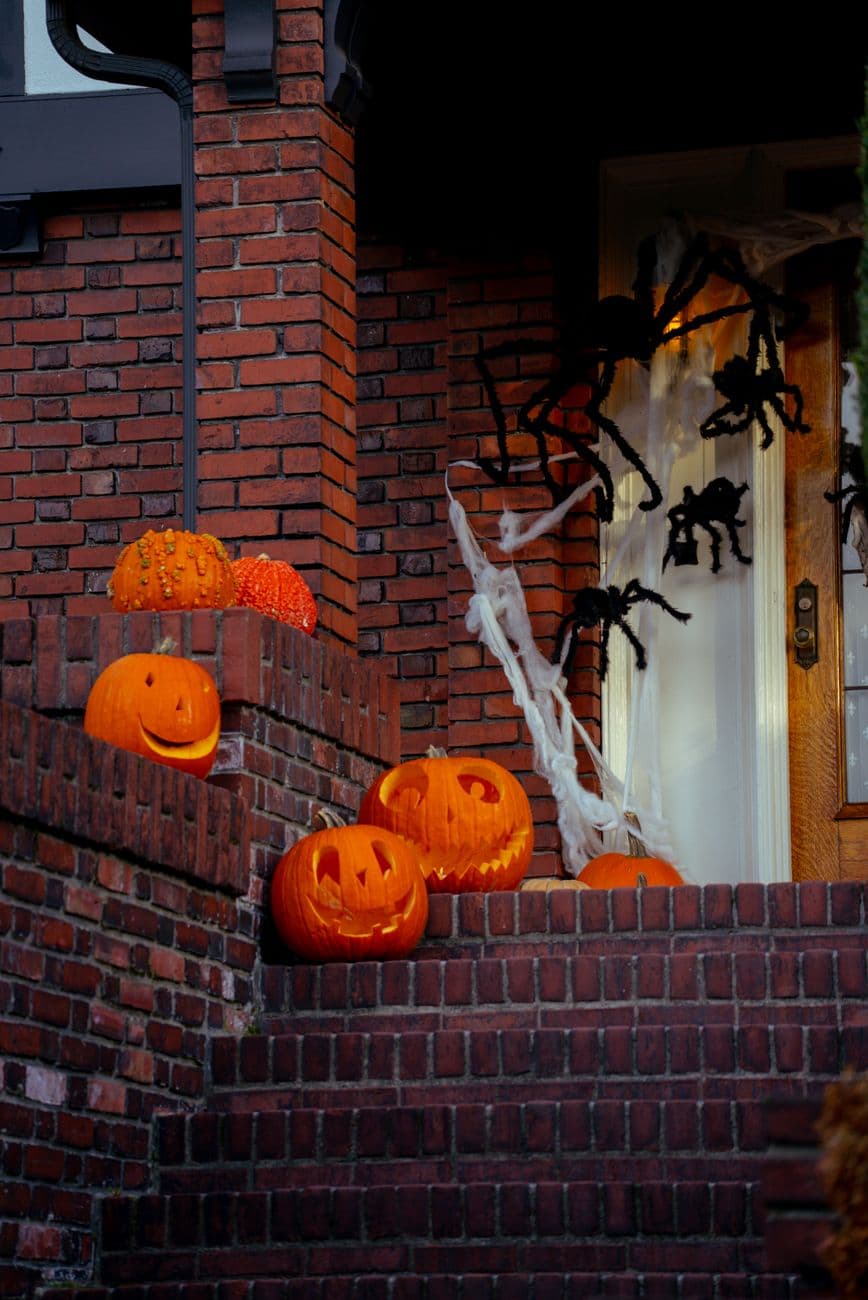
A slumping big jack and its small stitched-mouth partner holding the doorstep under a paper-lantern ghost. A porch that has seen some Octobers.
No ratings yet · Sign in to rate
A slumping big jack and its small stitched-mouth partner holding the doorstep under a paper-lantern ghost. A porch that has seen some Octobers.
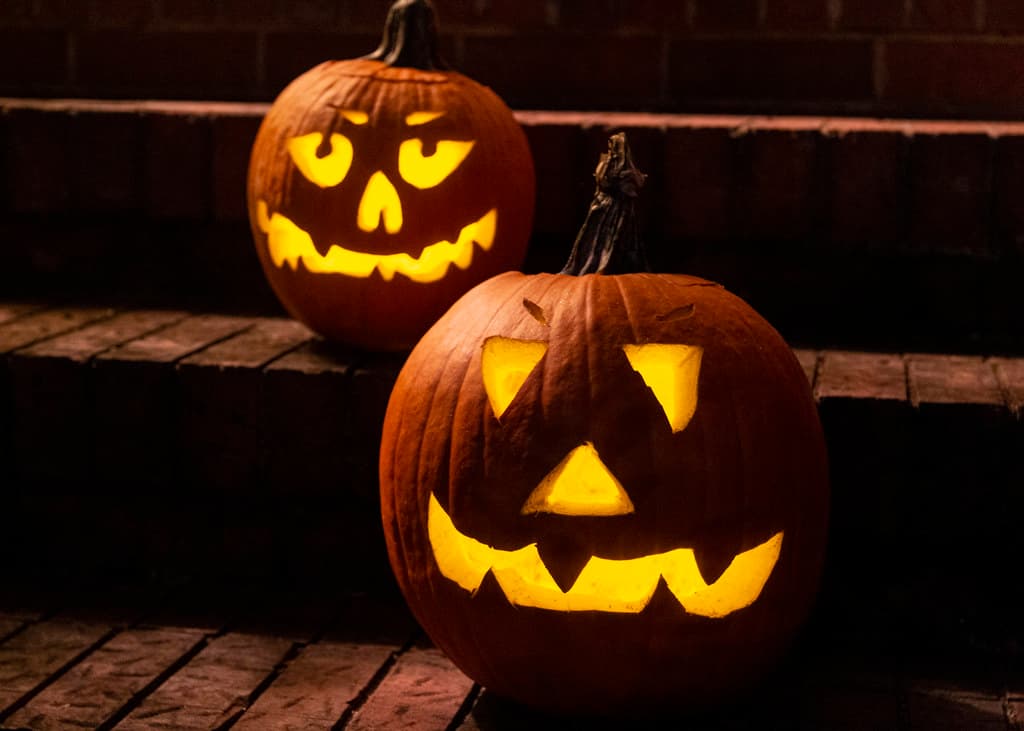
The charm here is a mismatched duo: a big triangle-eyed jack with a jagged toothy grin, paired with a smaller pumpkin whose mouth is closed with little stitch cuts. Both use plain through-cutouts, so the trick is contrast in scale and mood rather than fancy shading. Plan the big one as your main face and treat the little one as a quick sidekick you can finish in an afternoon.
Written by PumpkinCarvingIdeas.com, inspired by @harvestmoonhank's photo above. These are our suggestions, not instructions from the uploader, and this approach hasn't been tested on their exact carve.
Choose one large round pumpkin for the main face and one smaller squat one for the partner. Cut a lid or, better, a wide hole in the bottom of each so you can set them down over a light later. Scrape the inside wall behind the face down to about one inch thick with a sturdy scoop. A thinner wall cuts more easily and lets more light through.
Draw two upward-pointing triangle eyes, a small triangle nose, and a wide grinning mouth with a few blocky teeth. Keep the teeth chunky and leave solid pumpkin between each one so they stay strong. Space the features a little loosely, since a slightly uneven layout gives that friendly weathered look. Mark with a washable pen so you can wipe and redo lines.
An adult should handle all blade work with a small serrated carving saw. Cut the eyes and nose first, then saw the mouth outline, saving the notches between teeth for last so the shape stays supported while you work. Push the cut pieces inward and gently free them. Go slow around the teeth so none snap off.
On the small pumpkin, give it two simple eyes and a straight or slightly curved mouth line. For the stitches, cut a shallow row of short slots across the mouth instead of one open gash, leaving thin bridges of skin between them. Those bridges read as stitching and keep the mouth from gaping open. Add a tiny nose if you like.
Drop a battery LED tea light or a small LED puck under each pumpkin through the bottom hole. Skip real candles, since the thin teeth and stitch bridges can scorch. Set the big jack forward and the little one just behind and to the side so they feel like a pair. Tuck a few faux fall leaves around the bases to match a lived-in porch.
These faces look great with a day of natural slumping, so let them soften a little before your final photo. Wipe away pen marks and dab cut edges dry. Shoot at dusk with the LEDs on and the porch light low to catch the warm glow. A slightly wilted, tilted jack only adds to the veteran charm.
Check things off as you get ready.
Work on a stable surface, keep your free hand out of the cutting path, and have an adult handle sharp tools.
The full orange skin of both pumpkins stays untouched and dark, holding their round shapes.
Thin the skin around the stitch line on the small pumpkin for a soft glow that hints at the seam.
The big jack's triangle eyes, nose, and toothy mouth are cut all the way through for the brightest light.
Leave plenty of solid pumpkin between each tooth and cut the notches between them last. Work with a small saw and light pressure rather than forcing the blade. If a tooth feels loose, a dab of toothpick support from behind can steady it.
Draw one mouth line, then cut a row of short slots along it instead of opening the whole line. Keep a narrow bridge of skin between each slot so they look like stitches holding the mouth shut. Shallow slots read best when lit from inside.
For a display like this, a bottom hole works best so you can set each pumpkin down over its LED and lift it to swap batteries. It also keeps the top intact for that classic domed look. Cut the hole wide enough for your hand and the light.
Changed a detail? Made it simpler? Share a photo of your version and tell the community what worked.
The best new carvings, ideas worth stealing, and how-tos for carving season. Short, seasonal, and gone by November.

Comments (0)