Halloween Pumpkin Carving Contest · Starts October 1st · $500 in prizes
← Back to ideas
@ai_concepts
Jul 26, 2026
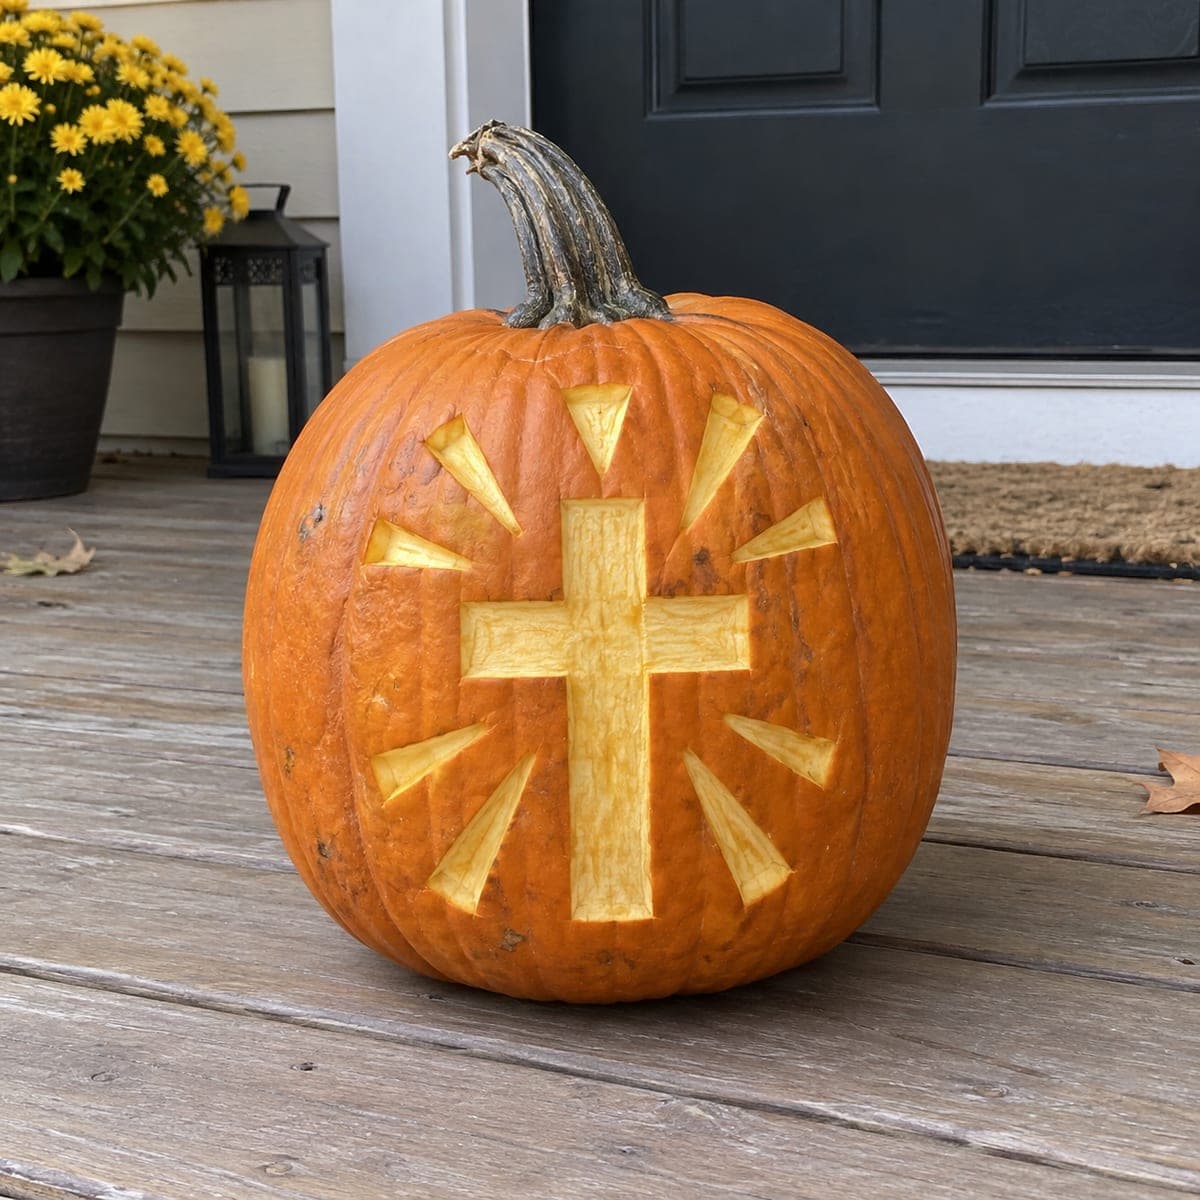
Radiant Cross With Light Rays PumpkinAI
0

Radiant Cross With Light Rays Pumpkin

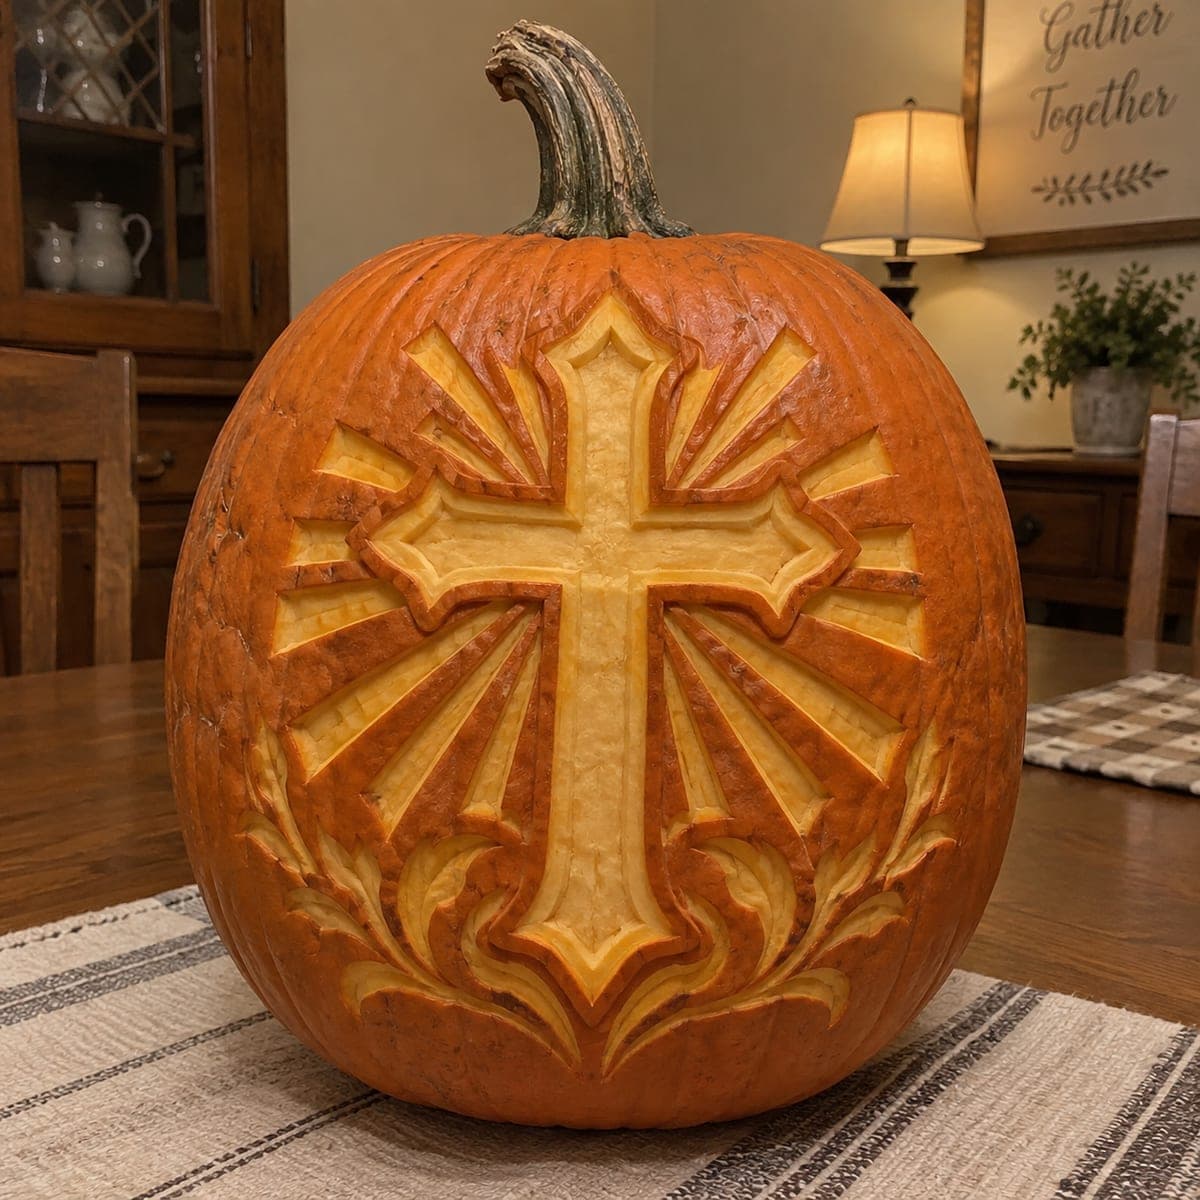
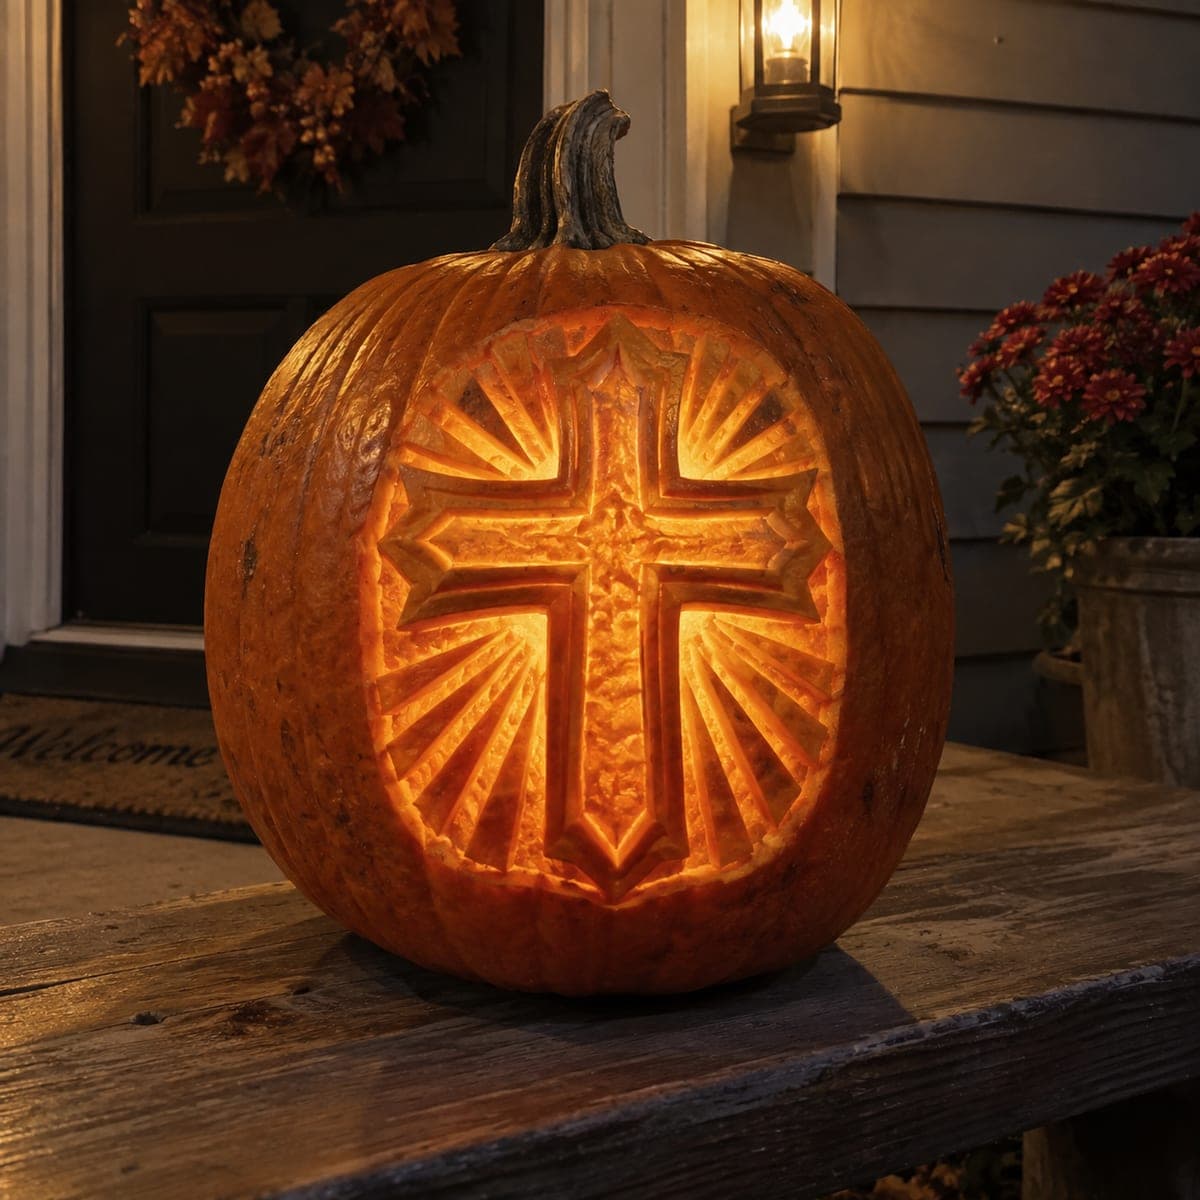
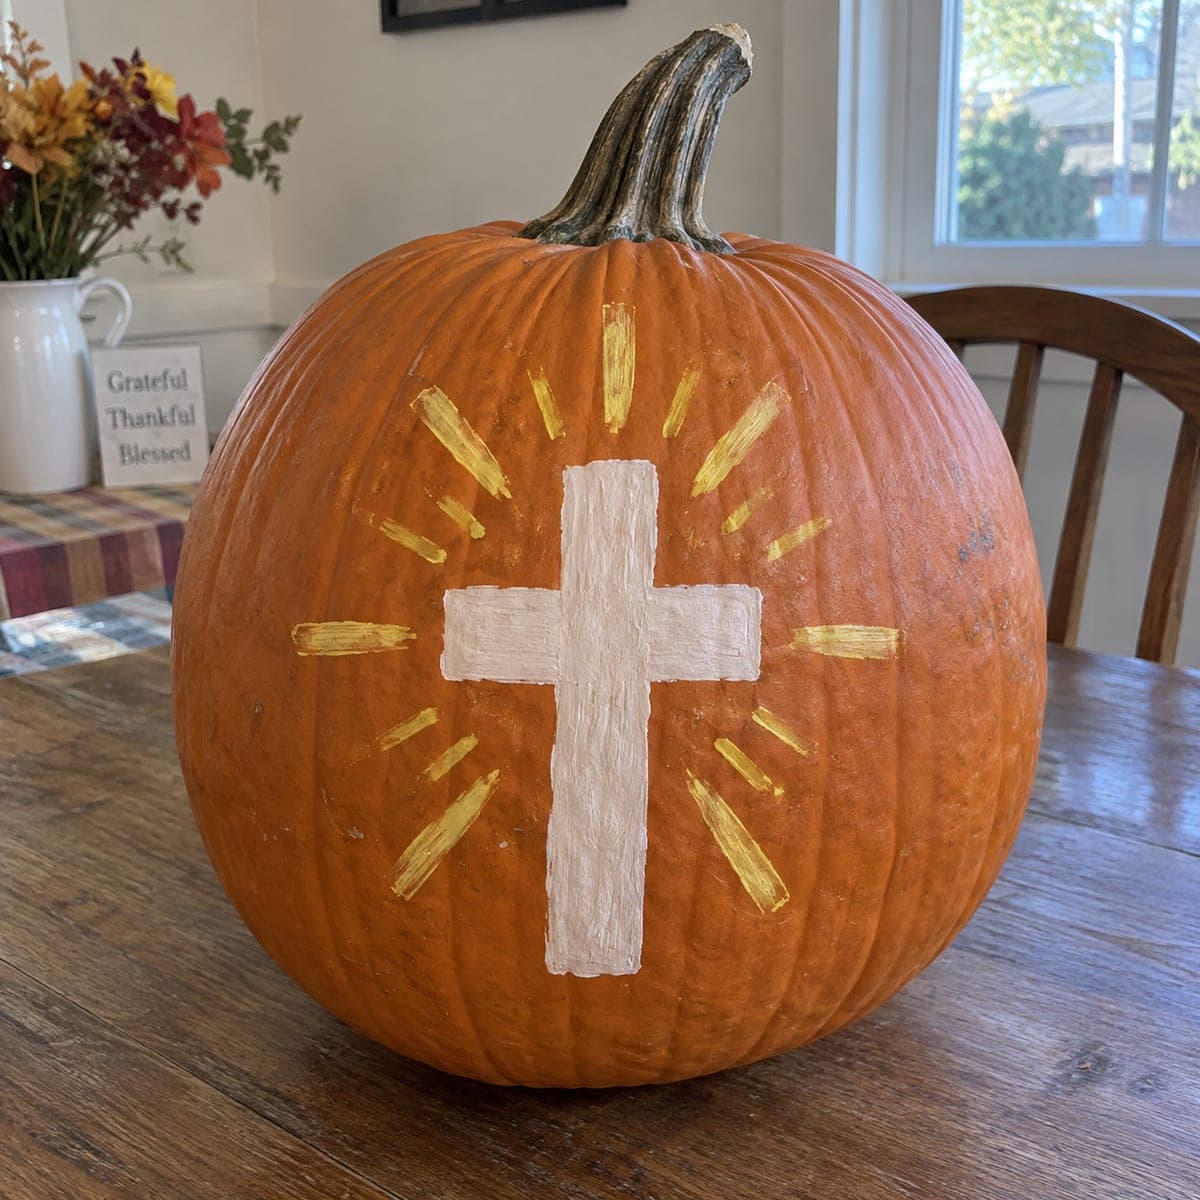
A cross surrounded by radiating beams of light is peeled into this pumpkin's surface, a meaningful design for families who prefer a faith-centered display. The carving is all shallow surface work, so the shapes glow pale in daylight and warm gold if you add a candle at night. Use painter's tape to mask the straight edges of the cross before cutting, then freehand the tapered rays around it.

This is an AI-generated concept image: a realistic, carvable design idea rather than a photo of a finished carve. AI concepts are always labeled and sit out the leaderboard and the contest.

No ratings yet · Sign in to rate

Comments (0)

  • No comments yet — be the first.

Save without an account. Sign in to like or comment.

Our tips for carving a similar design

The whole design lives on the pumpkin's surface, so the trick is shading rather than cutting all the way through. You peel away only the outer skin to reveal the pale flesh of the cross and the tapered rays around it, which glow soft in daylight and warm gold at night. Tape guides the straight edges of the cross, and the rays are freehanded so no two are exactly alike.

Written by PumpkinCarvingIdeas.com, inspired by the image above. These are our suggestions, not instructions from the uploader. This approach to the AI concept has not been tested on a real pumpkin.

From pumpkin to porch

  1. Pick a smooth face and clean it

    Choose the flattest, cleanest side of the pumpkin for your canvas. Wipe it dry so tape and transfer marks hold. Since this is a shallow etched design, you do not need to gut the whole pumpkin, but you can cut a small lid or bottom hole later for a light. A large, evenly rounded face gives the rays room to spread.

  2. Mark the cross with tape

    Lay strips of painter's tape to form the vertical beam and the crossbar, leaving clean straight edges where the shape begins. Keep the crossbar a little above center so the design sits in the upper middle. Step back and check that the arms look balanced before you commit. The tape acts as both a guide and a mask for crisp lines.

  3. Sketch the rays around it

    Draw short tapered triangles pointing outward from the cross, wider at the tip and narrowing toward the center. Space them like sunbeams, a few near each arm and more clustered near the top. Keep gaps of untouched skin between rays so each one reads clearly. A washable marker or a poke-through pattern both work fine here.

  4. Peel the cross flesh

    Using a lino-style scoop or a shallow gouge, remove only the orange skin inside the cross down to the pale flesh. Aim for an even depth so the light passes through uniformly, and let an adult handle the blades. Pull the tape as you finish each edge to keep the lines sharp. Take your time, since going too deep risks poking through where you do not want a hole.

  5. Etch the rays

    Peel each triangular ray the same shallow depth as the cross. Work from the narrow inner point out to the wider tip so your hand stays steady. If you want extra brightness, you can carefully cut fully through the very center of the cross or the ray tips, but do those openings last so the surface stays firm while you work. Leave thin walls between shapes so nothing collapses.

  6. Light it and photograph

    Set a battery LED puck inside, or shine one from behind if you only etched the surface. Skip real candles, since the flame heats thin flesh and dries it out fast. Shoot in the evening on a porch step to catch the pale cross turning warm gold. A little dab of petroleum jelly on the cut edges slows browning if you want it to last.

Gather your supplies

Check things off as you get ready.

Work on a stable surface, keep your free hand out of the cutting path, and have an adult handle sharp tools.

Three levels of light

  • Leave intact

    The orange field around the cross and the gaps between each ray stay untouched and dark.

  • Peel & shade

    The cross and the tapered rays are skin-peeled so they glow soft gold.

  • Cut through

    Optionally cut fully through the cross center or a few ray tips for the brightest accents, done last.

Learn the carving basics

Before you start cutting

Do I need to hollow out the whole pumpkin?

Not for the etched look alone, since the design reads well in daylight without a light inside. If you want the nighttime glow, cut a small lid or a hole in the back or bottom and scrape the inner wall thin behind the design. A thinner wall lets more LED light pass through the peeled areas.

How deep should I peel the cross and rays?

Just past the orange skin into the pale flesh, roughly an eighth of an inch. Keep every shape the same depth so the glow looks even instead of patchy. Going too deep near thin spots can accidentally break through, so check your progress often.

How do I keep the cross edges straight?

Leave the painter's tape in place while you peel and work right up to its edge. Pull each strip only after that section is finished so the line stays crisp. For the freehand rays, a light pencil or marker guide keeps the tapers even.

Your take belongs here, too.

Changed a detail? Made it simpler? Share a photo of your version and tell the community what worked.

Share your pumpkin

More pumpkins like this

You've reached the end · 8 pumpkins
The Patch Report

Fresh pumpkins, in your inbox.

The best new carvings, ideas worth stealing, and how-tos for carving season. Short, seasonal, and gone by November.

A short email during carving season. Unsubscribe anytime. See our privacy policy.