Halloween Pumpkin Carving Contest · Starts October 1st · $500 in prizes
← Back to ideas
@ai_concepts
Aug 26, 2026
Radiant Cross Pumpkin Carving With Sunburst RaysAI
0

Radiant Cross Pumpkin Carving With Sunburst Rays

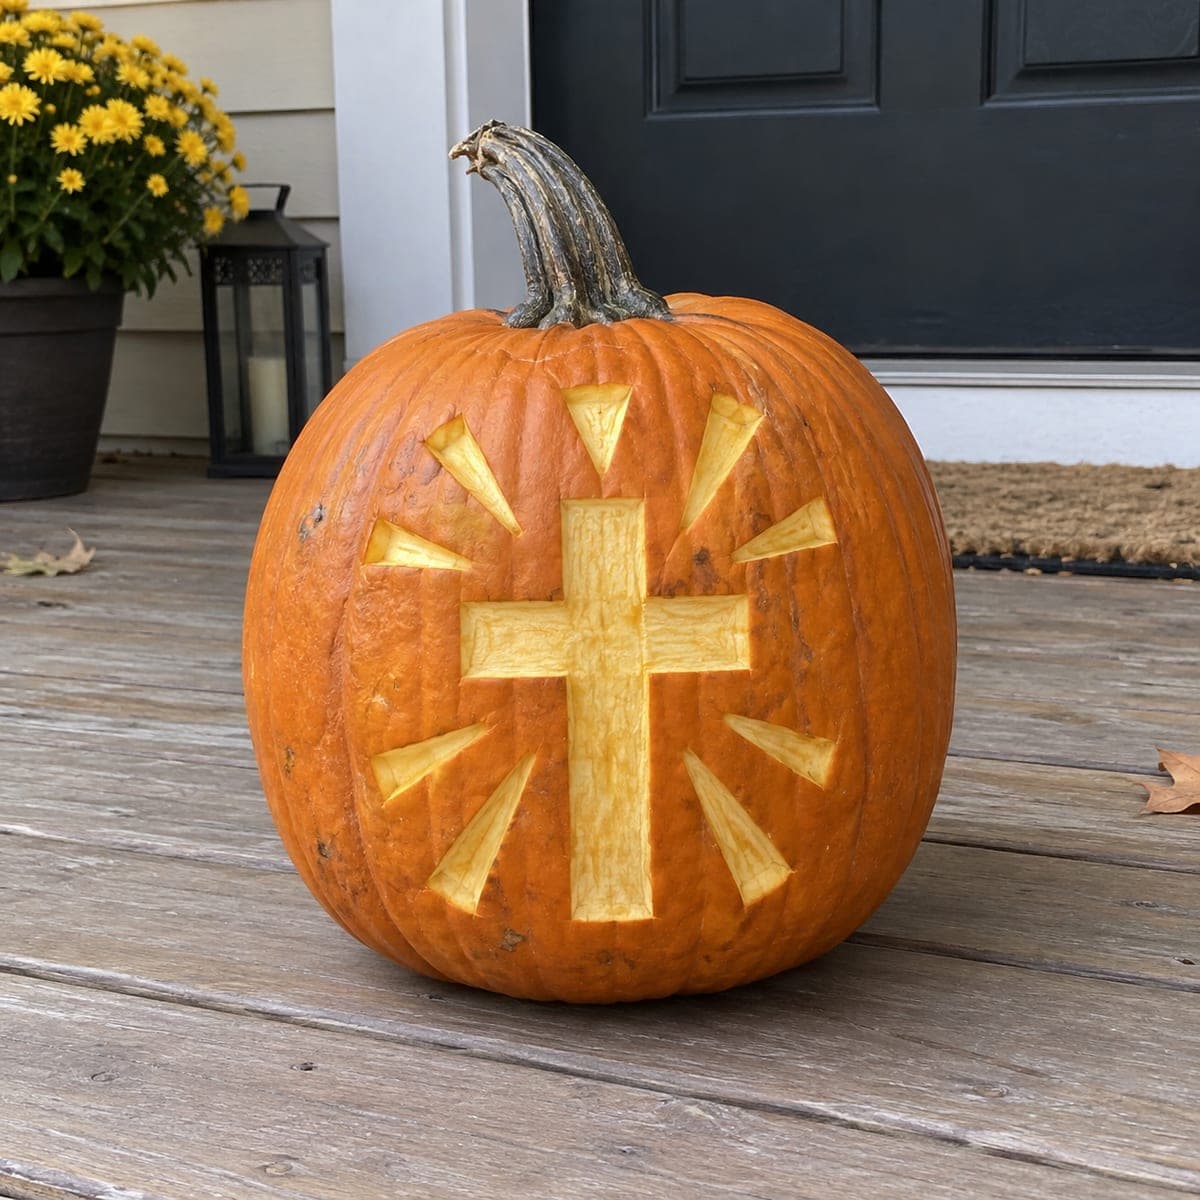
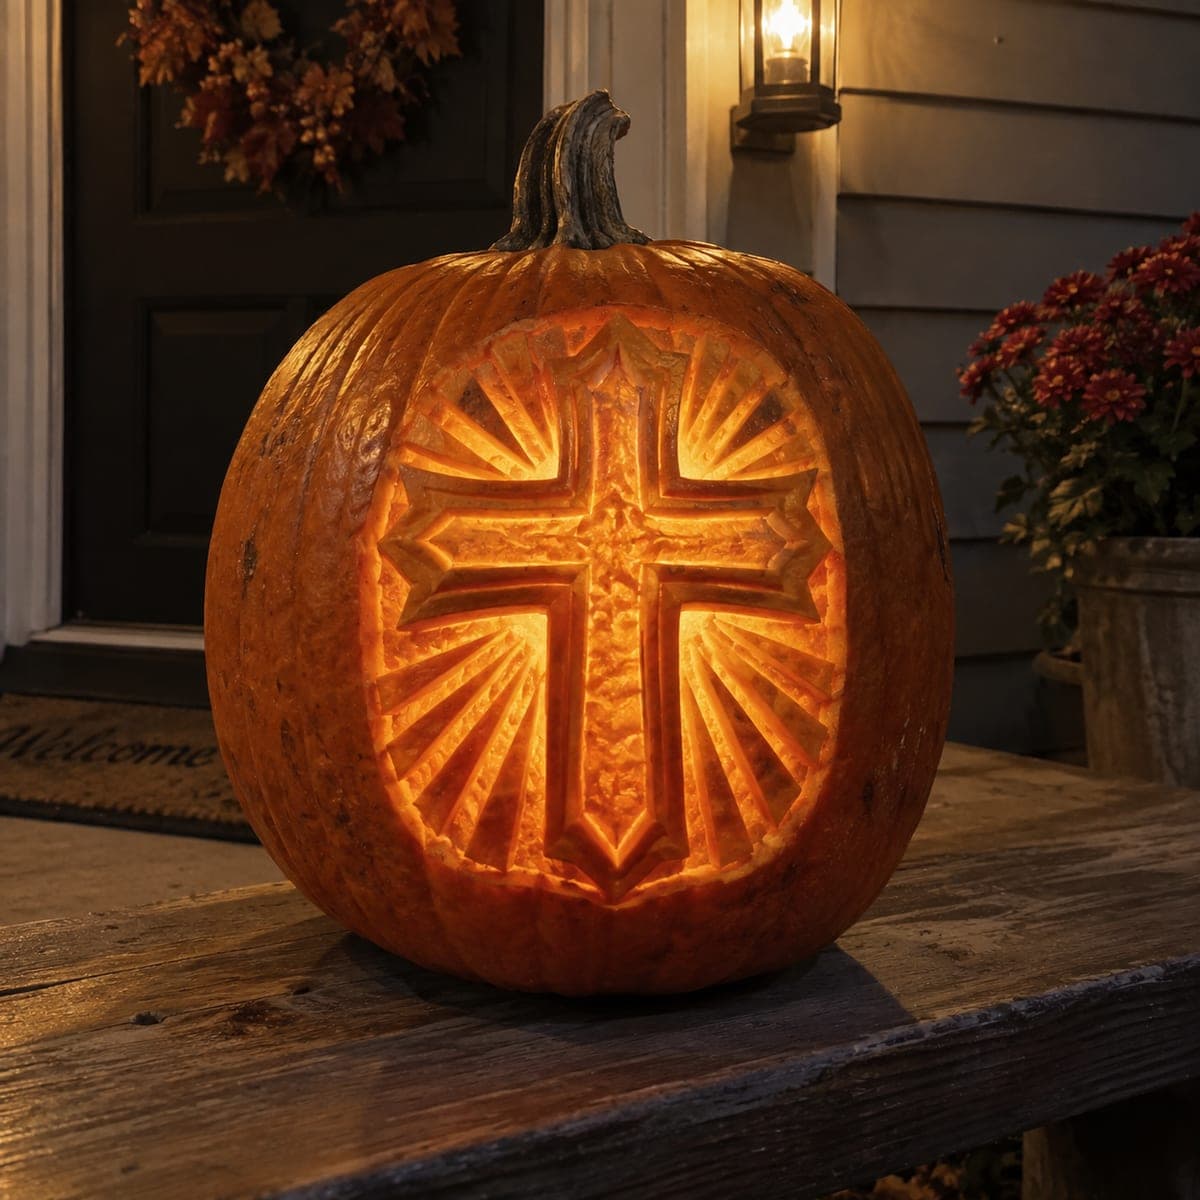
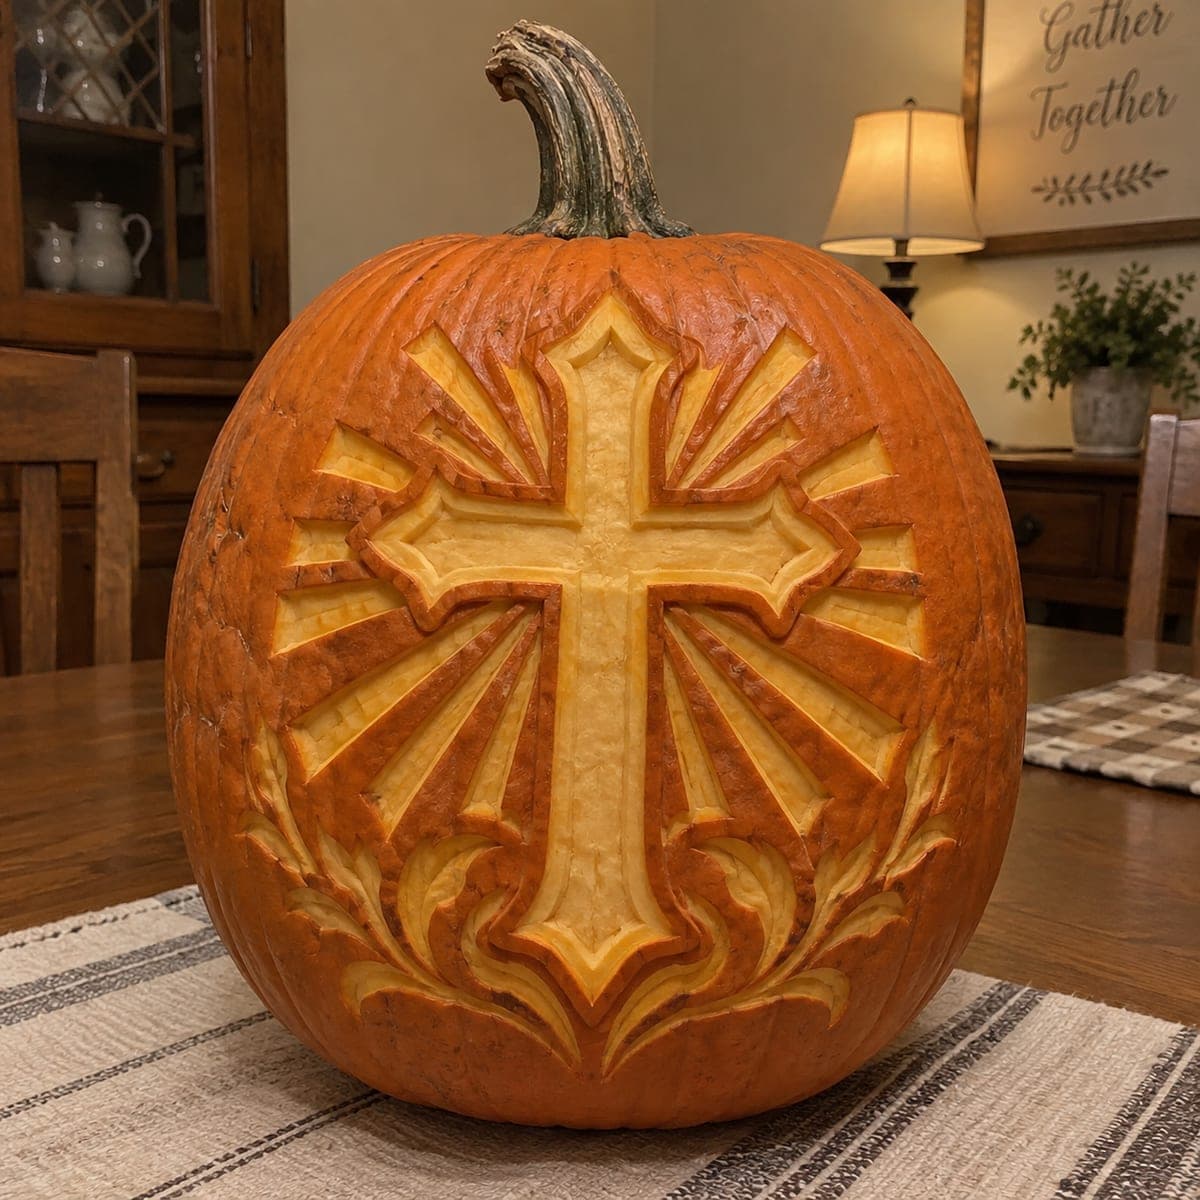
An ornate cross stands at the center of this pumpkin, carved in bold relief with beveled edges and rays of light streaming outward in etched wedges. The rays alternate between shallow and deep cuts, which gives the glow a real sunburst rhythm when a candle is inside. Carve the cross outline first, then fan the rays out from its edges so they stay evenly spaced. A meaningful design for harvest festivals and church trunk-or-treat events.

This is an AI-generated concept image: a realistic, carvable design idea rather than a photo of a finished carve. AI concepts are always labeled and sit out the leaderboard and the contest.

No ratings yet · Sign in to rate
Comments (0)

  • No comments yet — be the first.

Save without an account. Sign in to like or comment.

Our tips for carving a similar design

The core trick here is relief carving, where you shave away the skin at different depths instead of cutting all the way through. The cross stays raised and dim while a fan of rays around it glows at varying brightness, creating a sunburst rhythm. Plan it by drawing the cross first, then spacing the wedge rays evenly outward from its edges.

Written by PumpkinCarvingIdeas.com, inspired by the image above. These are our suggestions, not instructions from the uploader. This approach to the AI concept has not been tested on a real pumpkin.

From pumpkin to porch

  1. Prep the pumpkin and transfer the design

    Pick a large pumpkin with a smooth, flat front face so the cross reads clearly. Cut a lid from the bottom or back rather than the top, since the raised cross should stay intact on the front. Scrape the inside wall behind the design down to about one inch thick so light passes through peeled areas. Tape your printed pattern on and poke through the outline with a pin or transfer tool.

  2. Outline the cross

    Using a small detail saw or a sturdy craft knife, score along the outer edge of the cross to define its shape. Do not cut through the wall, just trace a clean groove that separates the cross from the background. Keep the four arms and the ornate points connected as one solid piece. This raised cross will stay the darkest part of the design.

  3. Bevel the cross edges

    With a loop or ribbon tool, gently shave a slope around the outside of the cross so its edges catch light. Angle the cut so the cross appears to rise out of the surface. Work slowly and keep the beveled band even in width all the way around. A shallow inner groove along the cross adds a second highlight line if you want more detail.

  4. Lay out and carve the rays

    Mark ray lines fanning out evenly from the cross toward the edge of the design circle. Carve each ray as a shallow wedge with a gouge, alternating a deeper cut with a shallower one to build the sunburst rhythm. Peel the skin between rays where you want a soft mid glow. Keep the tool moving away from your holding hand and take light passes rather than forcing depth.

  5. Add depth and clean up

    Go back over the deepest rays and thin those spots a little more so they glow brightest against the raised cross. Brush out pulp and smooth any rough shaved areas with the loop tool. Check the balance by holding the pumpkin up to a lamp and deepen any ray that looks flat. Rub cut edges with a little petroleum jelly to slow drying.

  6. Light it and photograph

    Set a battery LED puck or string inside, never a candle, since relief carving traps heat against thin walls. Position the light low and centered so it spreads up through the rays. Take your photo at dusk on a porch step for the warm glow shown here. Mist the carving and store it cool between displays to keep the rays crisp.

Gather your supplies

Check things off as you get ready.

Work on a stable surface, keep your free hand out of the cutting path, and have an adult handle sharp tools.

Three levels of light

  • Leave intact

    The raised cross itself and its beveled border stay as untouched skin so they read dark and solid.

  • Peel & shade

    The skin between the rays and the shallow ray wedges get peeled thin for a soft mid orange glow.

  • Cut through

    The deepest ray wedges are shaved nearly through the wall for the brightest sunburst streaks, but nothing is cut fully open.

Learn the carving basics

Before you start cutting

Do I cut all the way through anywhere on this design?

No, this is a relief carving, so you shave the skin to different depths rather than making open holes. The cross stays raised, and the rays glow because the wall behind them is thinned. Keeping everything closed is what gives the soft, even sunburst instead of harsh bright gaps.

How do I keep the rays evenly spaced?

Draw the cross first, then use a pencil and a straightedge to fan guide lines outward from its edges at regular angles. Mark every ray before you carve any of them so the spacing stays balanced. Working from the cross outward, rather than starting at the rim, keeps the fan centered.

Why alternate shallow and deep ray cuts?

Alternating depths makes some rays glow brighter than others, which gives the burst a rhythm instead of a flat wash of light. Carve the deep rays a little thinner in the wall and leave the shallow ones with more skin. Test it against a light partway through and adjust before you finish.

Your take belongs here, too.

Changed a detail? Made it simpler? Share a photo of your version and tell the community what worked.

Share your pumpkin

More pumpkins like this

You've reached the end · 8 pumpkins
The Patch Report

Fresh pumpkins, in your inbox.

The best new carvings, ideas worth stealing, and how-tos for carving season. Short, seasonal, and gone by November.

A short email during carving season. Unsubscribe anytime. See our privacy policy.