Halloween Pumpkin Carving Contest · Starts October 1st · $500 in prizes
← Back to ideas
@ai_concepts
Sep 14, 2026
Simple Basketball Panel PumpkinAI
0

Simple Basketball Panel Pumpkin

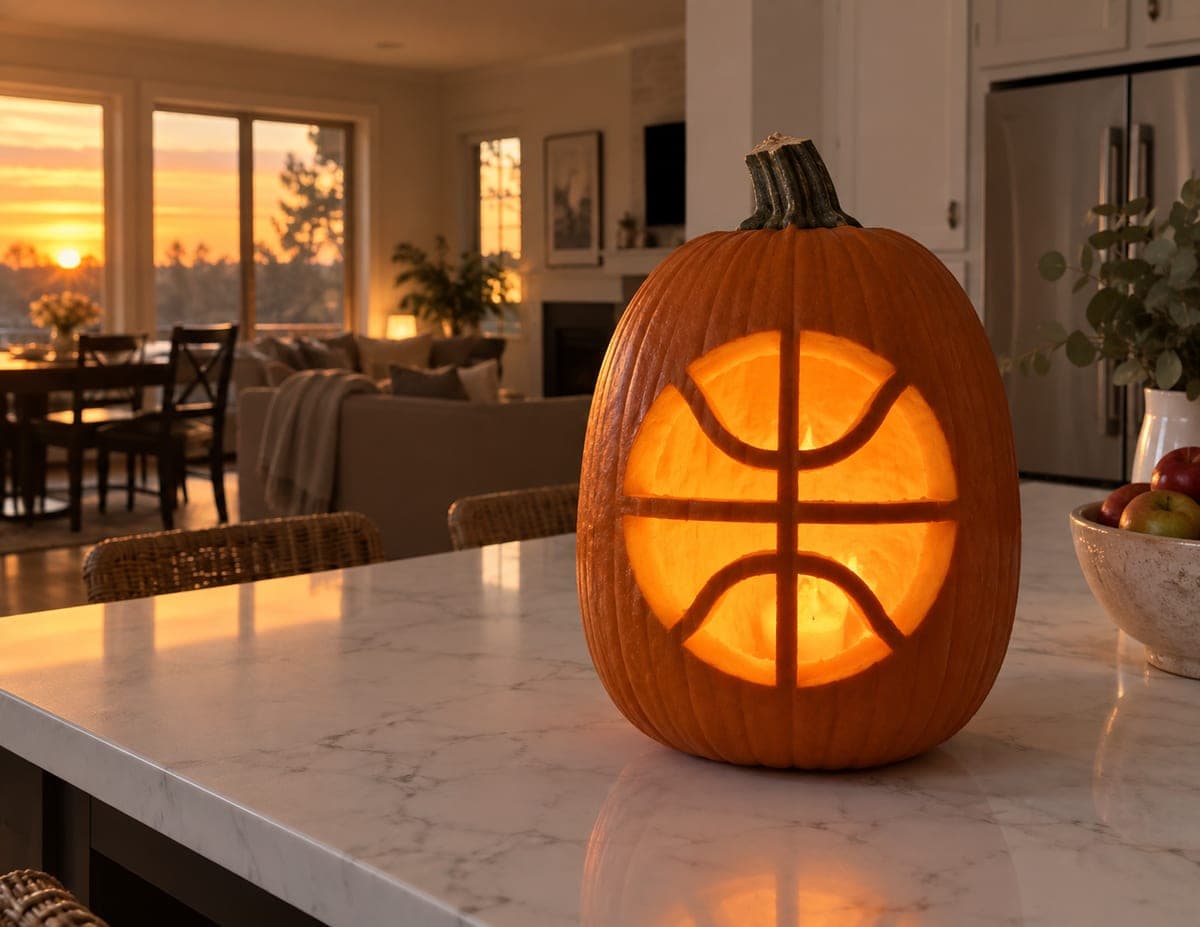
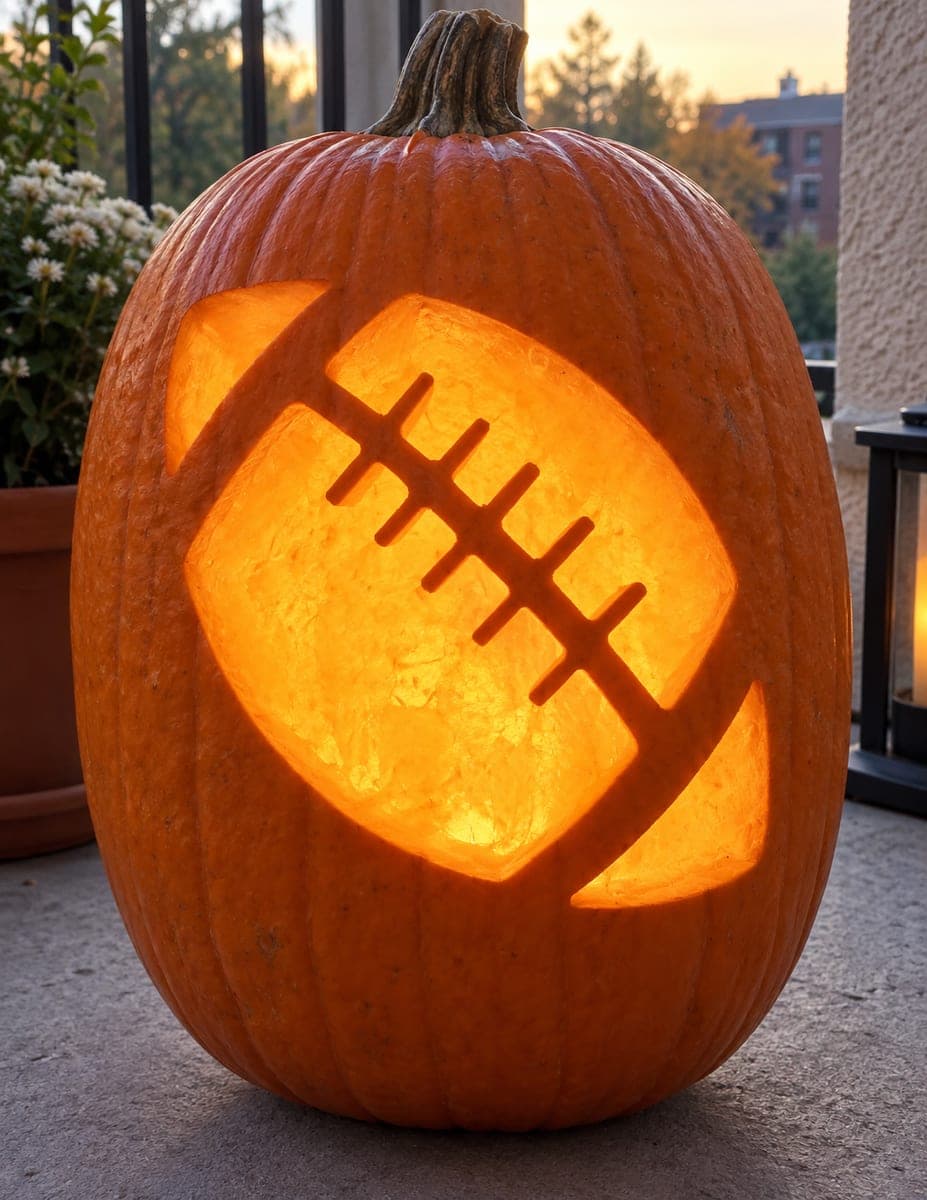
A basketball is carved as a near-circular cutout with one vertical and one horizontal seam line left as thin uncut rind strips crossing the glowing interior, giving the classic panel pattern of a real ball. The two crossing seam lines are the defining detail of this sports pumpkin carving idea; keep each seam at least a quarter-inch wide so they hold their shape when the surrounding sections are removed. Cut the four glowing panel sections one at a time, checking that the seam bridges remain centered and even after each cut before moving to the next panel.

This is an AI-generated concept image: a realistic, carvable design idea rather than a photo of a finished carve. AI concepts are always labeled and sit out the leaderboard and the contest.
No ratings yet · Sign in to rate

Comments (0)

  • No comments yet — be the first.

Save without an account. Sign in to like or comment.

Our tips for carving a similar design

The core trick here is leaving two thin rind strips, one vertical and one curved horizontal, to stand as the basketball seams while the four panels around them are cut through to full light. Plan the circle first, mark the seam lines at least a quarter-inch wide, then remove one panel at a time so the seam bridges stay supported until the very end. Since this is a design concept and no real pumpkin exists, treat these as steps you could follow to build a similar carving.

Written by PumpkinCarvingIdeas.com, inspired by the image above. These are our suggestions, not instructions from the uploader. This approach to the AI concept has not been tested on a real pumpkin.

From pumpkin to porch

  1. Prep the pumpkin

    Pick a tall pumpkin with a smooth, wide front face for the ball. Cut a lid from the bottom or the back rather than the top so the stem stays intact and the pumpkin sits flat. Scoop the inside and thin the front wall to about one inch with a sturdy scraper. A thinner wall makes the panels easier to cut and lets more light glow through.

  2. Mark the ball and seams

    Draw a large circle centered on the front face, roughly a basketball outline. Add one straight vertical line down the middle and one gently curved horizontal line across it, plus the two short curved side seams that give the classic panel look. Keep every seam line at least a quarter-inch wide so the strips hold their shape. Shade the four panel sections lightly so you know which parts get removed.

  3. Score the outline first

    Using a small carving saw, cut along the outer circle only enough to define it, but do not remove anything yet. Trace each seam line with a light pass so the borders are crisp. Working the outline before the openings keeps your lines even. Take your time here, since clean seams are the whole payoff of this design.

  4. Cut the panels one at a time

    Remove the four glowing panel sections one by one, not all at once. After each cut, check that the seam bridges remain centered and evenly wide before moving to the next panel. Cutting them individually keeps the thin rind strips supported so they do not sag or snap. Cut the largest openings last for the same reason.

  5. Clean up the edges

    Bevel the inside edges of each opening at a slight angle so more light escapes and the panels read brightly. Trim any ragged spots along the seams with a detail blade. Wipe the cut edges and rub a little petroleum jelly on them to slow drying. Step back and confirm the vertical and horizontal seams still cross at the center.

  6. Light it and photograph

    Set a battery LED puck inside, never a candle, since the tight panels trap heat. Warm white light gives that orange basketball glow. Photograph at dusk on a clean counter so the seams stand out against the bright interior. Turn the pumpkin slightly until the four panels look even.

Gather your supplies

Check things off as you get ready.

Work on a stable surface, keep your free hand out of the cutting path, and have an adult handle sharp tools.

Three levels of light

  • Leave intact

    The pumpkin skin outside the ball circle and the two crossing seam strips stay uncut and dark.

  • Peel & shade

    Optionally skin-peel a faint ring just outside the circle for a soft halo, though this design reads fine without it.

  • Cut through

    The four panel sections inside the circle are cut fully through for the brightest basketball glow.

Learn the carving basics

Before you start cutting

How wide should I keep the seam strips?

Aim for at least a quarter-inch, and a little wider is safer on a fresh pumpkin. Thin strips look elegant but can sag once the panels around them are open. If your rind is soft, bump the seams closer to half an inch.

Why cut the panels one at a time instead of all four together?

Removing them one by one keeps the seam bridges supported so they do not flex or tear. After each cut you can check that the crossing seams stay centered and even. It is slower but it protects the defining detail of the design.

Do I need a stencil for the curved seams?

A stencil helps the two side curves match, but you can freehand them with a light marker first. Draw both curves before cutting so they mirror each other. Adjust on the skin until the ball looks balanced, then carve.

Your take belongs here, too.

Changed a detail? Made it simpler? Share a photo of your version and tell the community what worked.

Share your pumpkin

More pumpkins like this

You've reached the end · 8 pumpkins
The Patch Report

Fresh pumpkins, in your inbox.

The best new carvings, ideas worth stealing, and how-tos for carving season. Short, seasonal, and gone by November.

A short email during carving season. Unsubscribe anytime. See our privacy policy.