Halloween Pumpkin Carving Contest · Starts October 1st · $500 in prizes
← Back to ideas
@ai_concepts
Sep 14, 2026
Simple Pi Symbol PumpkinAI
0

Simple Pi Symbol Pumpkin

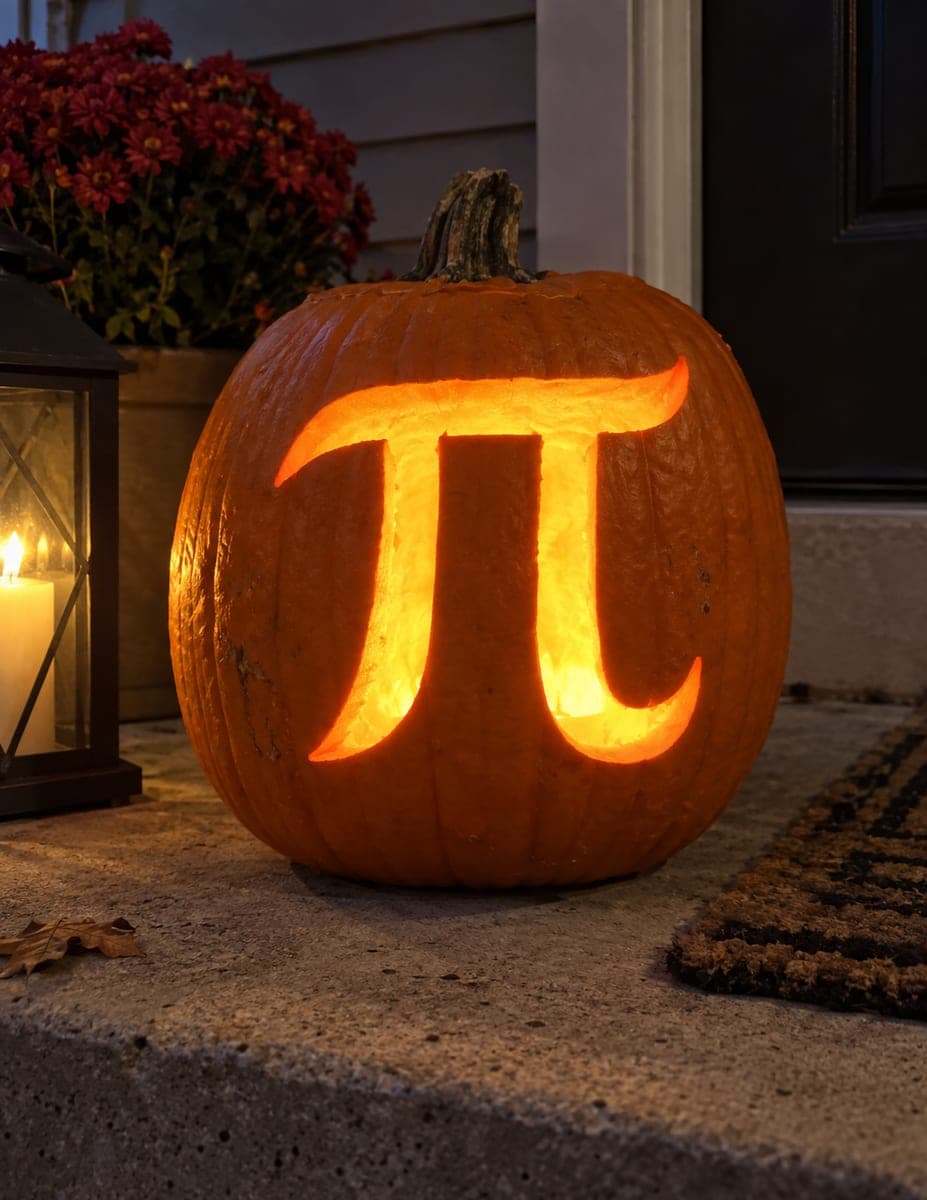
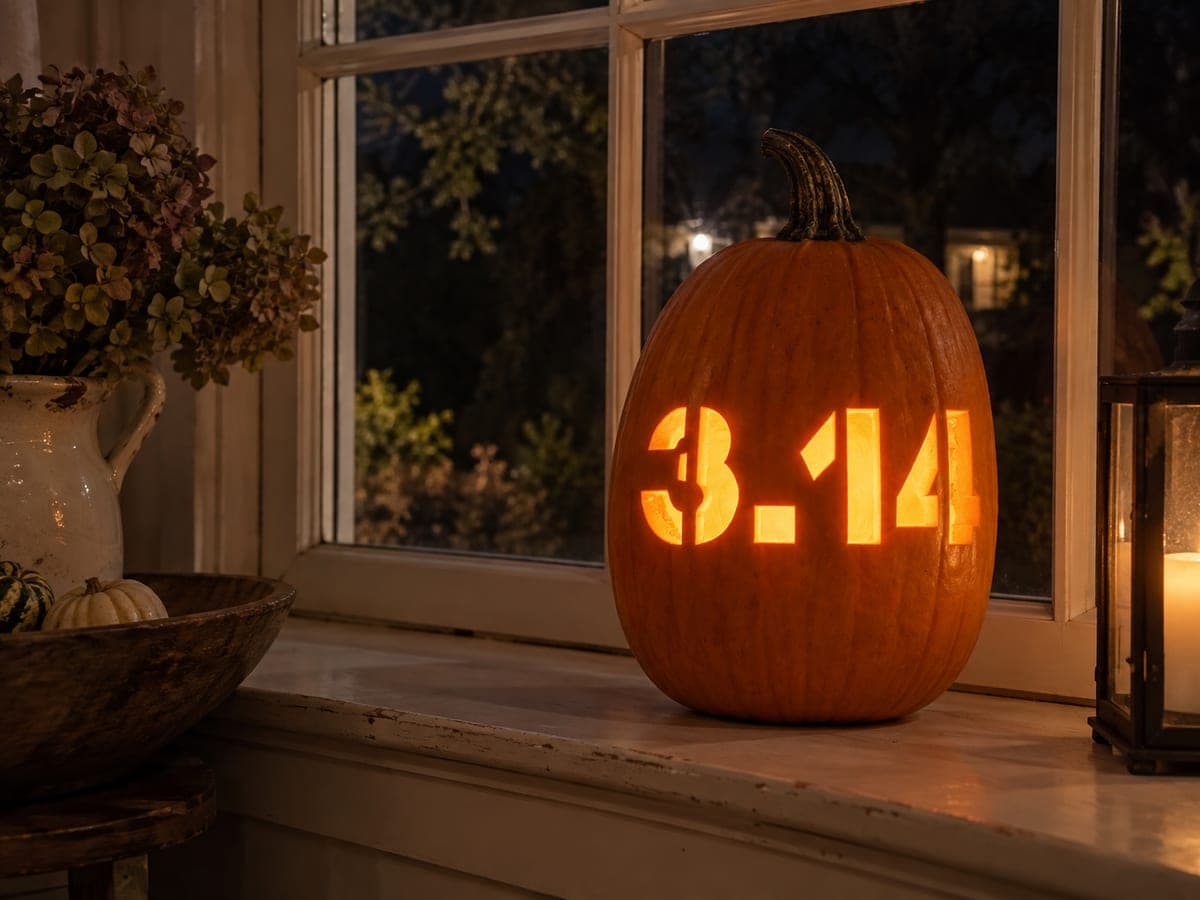
The Greek pi symbol fills this jack-o-lantern carving with a bold horizontal top bar and two downward legs with slightly flared feet, all pierced through so the entire symbol glows in warm amber. This simple pumpkin carving idea is a great choice for math teachers, science fans, or anyone who wants a striking geometric design with minimal cuts. Center the symbol on the flattest face of the pumpkin and score the straight top bar first using a ruler, then connect the two legs freehand so they taper naturally with the pumpkin's curve.

This is an AI-generated concept image: a realistic, carvable design idea rather than a photo of a finished carve. AI concepts are always labeled and sit out the leaderboard and the contest.

No ratings yet · Sign in to rate
Comments (0)

  • No comments yet — be the first.

Save without an account. Sign in to like or comment.

Our tips for carving a similar design

The whole design is one Greek pi symbol pierced all the way through, so the trick is keeping the top bar dead straight while letting the two legs taper with the pumpkin's natural curve. Plan it as three connected openings: a horizontal bar across the top and two flared legs dropping from it. Because the letter is a single continuous shape, there are no fragile bridges to worry about, just clean edges and steady cuts.

Written by PumpkinCarvingIdeas.com, inspired by the image above. These are our suggestions, not instructions from the uploader. This approach to the AI concept has not been tested on a real pumpkin.

From pumpkin to porch

  1. Pick the face and open a lid

    Choose the flattest, smoothest side of the pumpkin as your canvas so the symbol reads clearly. Cut a lid around the stem at an angle so it rests back in place later, or cut a hatch in the back for easier LED access. Scoop the walls on the carving side down to about one inch thick with a sturdy scraper. A thinner wall makes the straight cuts easier and lets more light through.

  2. Lay out the top bar with a ruler

    Sketch the horizontal top bar first using a ruler or a straight edge held against the curve. Keep it level by eye with the ground, and mark both ends where the bar will flare slightly upward like little hooks. Use a washable marker or poke a dotted line with a pin so you can adjust before cutting. Getting this bar straight is what sells the whole symbol.

  3. Draw the two legs freehand

    From under the bar, sketch the two downward legs so they curve gently inward and then flare out into small feet at the bottom. Let the legs follow the pumpkin's natural rounding rather than fighting it. Space them evenly so the gap between them matches the caption's balanced look. Step back and check the shape from a few feet away before you cut.

  4. Score the outline before full cuts

    Trace the entire symbol lightly with a poker tool or a shallow scoring pass first. This gives you a guide groove to follow and a last chance to fix the shape. Have an adult do the deeper cutting with a fine detail saw or a serrated pumpkin blade. Take your time on the curved leg edges so they stay smooth.

  5. Cut through the symbol, bar last

    Cut out the two legs first, working slowly along your scored lines with gentle sawing motions. Save the long top bar for last since it is the widest opening and removing it earlier could weaken the face. Push each freed piece out from the inside to avoid cracking the edges. Clean up any ragged spots with the tip of your blade.

  6. Light it and photograph

    Set a battery LED tea light or a small puck light inside for a warm amber glow, never a candle. Position the light low so it fills the legs and grazes up into the bar evenly. Photograph at dusk with the front porch light off so the cutout reads bright against the dark skin. A little peeled shading around the edges, done next, can add extra depth.

Gather your supplies

Check things off as you get ready.

Work on a stable surface, keep your free hand out of the cutting path, and have an adult handle sharp tools.

Three levels of light

  • Leave intact

    All the surrounding pumpkin skin stays untouched and dark, framing the symbol.

  • Peel & shade

    Optionally peel a thin halo just outside the symbol's edges for a soft dim glow that adds depth.

  • Cut through

    The full pi shape, both legs and the top bar, is cut through for the brightest amber light.

Learn the carving basics

Before you start cutting

How do I keep the top bar looking straight on a round pumpkin?

Use a ruler or straight edge to mark the bar, and check it by eye against the ground line so it looks level from the front. Poke a dotted guide line first rather than cutting right away. Slight curving with the pumpkin's surface is fine as long as the overall bar reads as horizontal.

Will the design be fragile since it is all cut through?

No, this is one of the safer easy designs because the pi is a single connected opening with no thin islands to break. Just keep your wall around one inch thick and cut the wide top bar last so the face stays supported while you work. Push pieces out gently from inside.

What size and shape pumpkin works best?

Pick a medium pumpkin with one broad, flat face so the symbol has room to sit centered without wrapping around the curve. Avoid heavily ribbed sides since the grooves can distort the straight bar. A smoother surface keeps the clean geometric look.

Your take belongs here, too.

Changed a detail? Made it simpler? Share a photo of your version and tell the community what worked.

Share your pumpkin

More pumpkins like this

You've reached the end · 8 pumpkins
The Patch Report

Fresh pumpkins, in your inbox.

The best new carvings, ideas worth stealing, and how-tos for carving season. Short, seasonal, and gone by November.

A short email during carving season. Unsubscribe anytime. See our privacy policy.